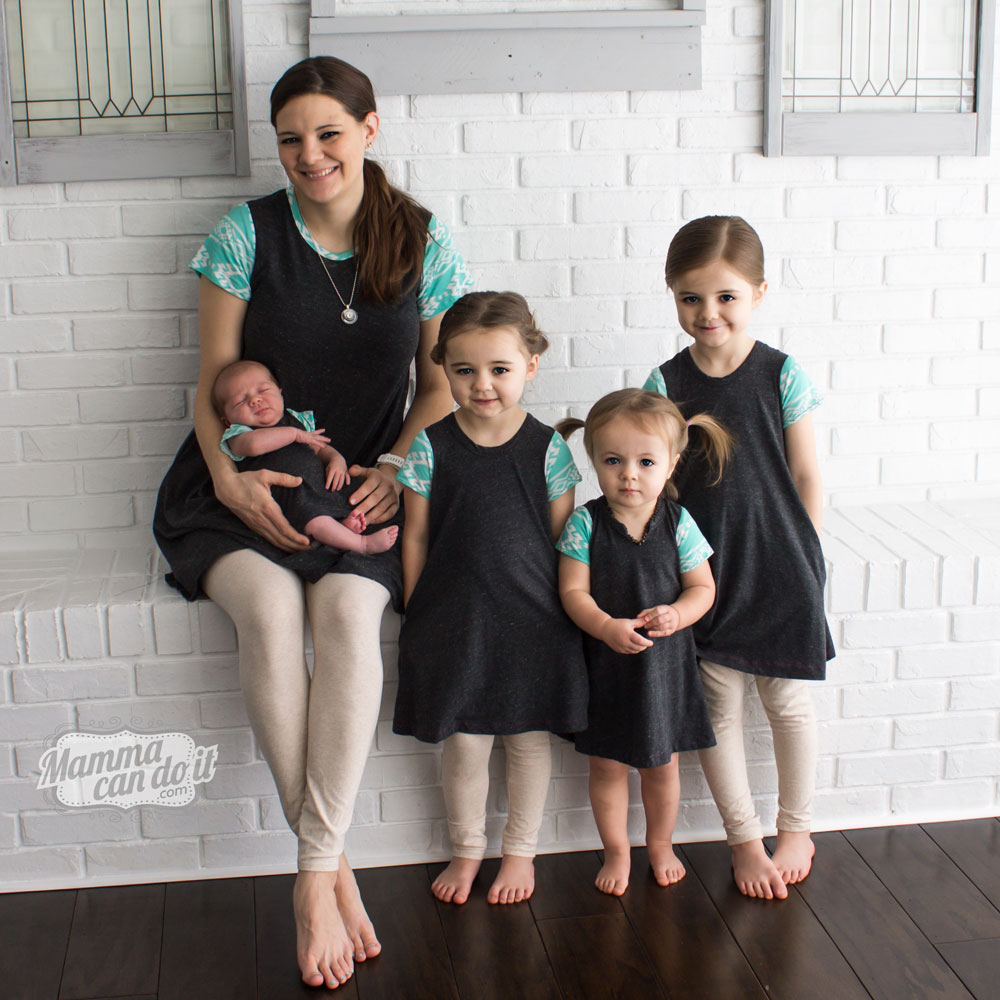
Do you know how you feel when you are done with a really good book? This feeling that a part of you is going to go on ‘un-living’? It’s really quite silly, but I know that most of us feel that way. As we are getting ready to close this chapter of the Adalynn dress series, I feel like I am finishing a really good book.
This dress pattern has been one of the largest challenges as a designer yet. And I dare say that it has also been the most rewarding.
You might remember a couple years ago when I had the pregnancy pillow challenge. That was a HUGE breakthrough and was worth every second as well. You can read about that here.
In the end of December and the first weeks of January, This dress pattern started off pretty easy. I am mostly familiar with babies, and it wasn’t too bad getting started with the baby designs. The baby sizes are only nb-24 months, and I could almost design a baby dress with my eyes shut. All of a sudden however, the fit was all wrong! I had strange puckering where it shouldn’t be! The neckline was drooping, and I had armpit lines.
What in the world!?!
After sewing about 18 dresses for my Joy (that is not an exaggeration), I was close to giving up, when I realized that it was my binding. You see, I had not previously used binding on any of my patterns. I was always using a band (I called it binding. Forgive my ignorance.). The binding was stretching from the pressure of the presser foot and it was causing my necklines to stretch and sag. I had to fix this problem, but how?!
Hello Google. Hello testing. Hello, new method!
I also discovered that I was not evenly stretching my binding as evenly as I should be.
If I was having these kind of problems, I just knew that my customers would have similar problems. I did NOT want to have to answer 800 emails from people who hated their dresses because of binding issues.
I created a new system. A new binding system. A system that works for me and 99% of people who use it. This binding method is so easy. However, I did create a video to help, just in case someone didn’t understand. See the binding video to see what I mean.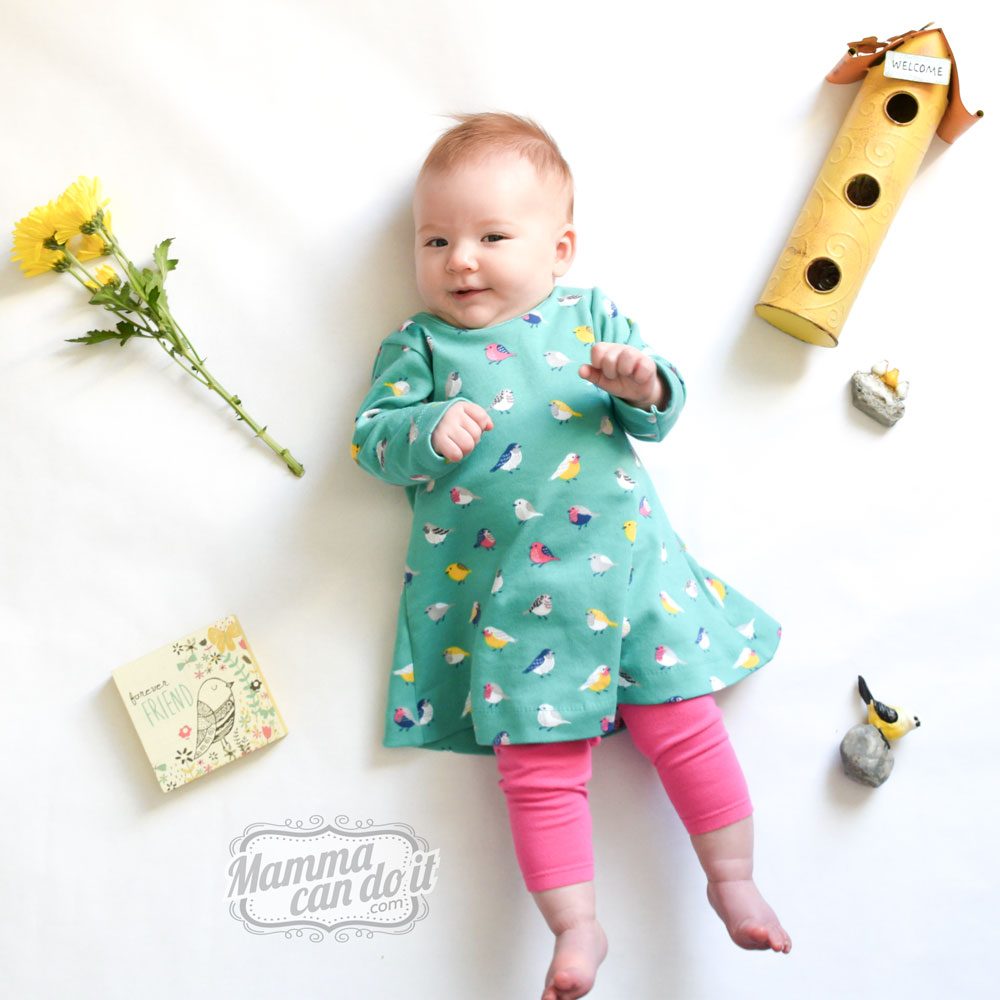 Once the binding was fixed, everything was lovely. There were a couple changes during the test process, but what we discovered was that the dress was drafted beautifully and fit like a dream. All of those 18 dresses were simply because of the binding!
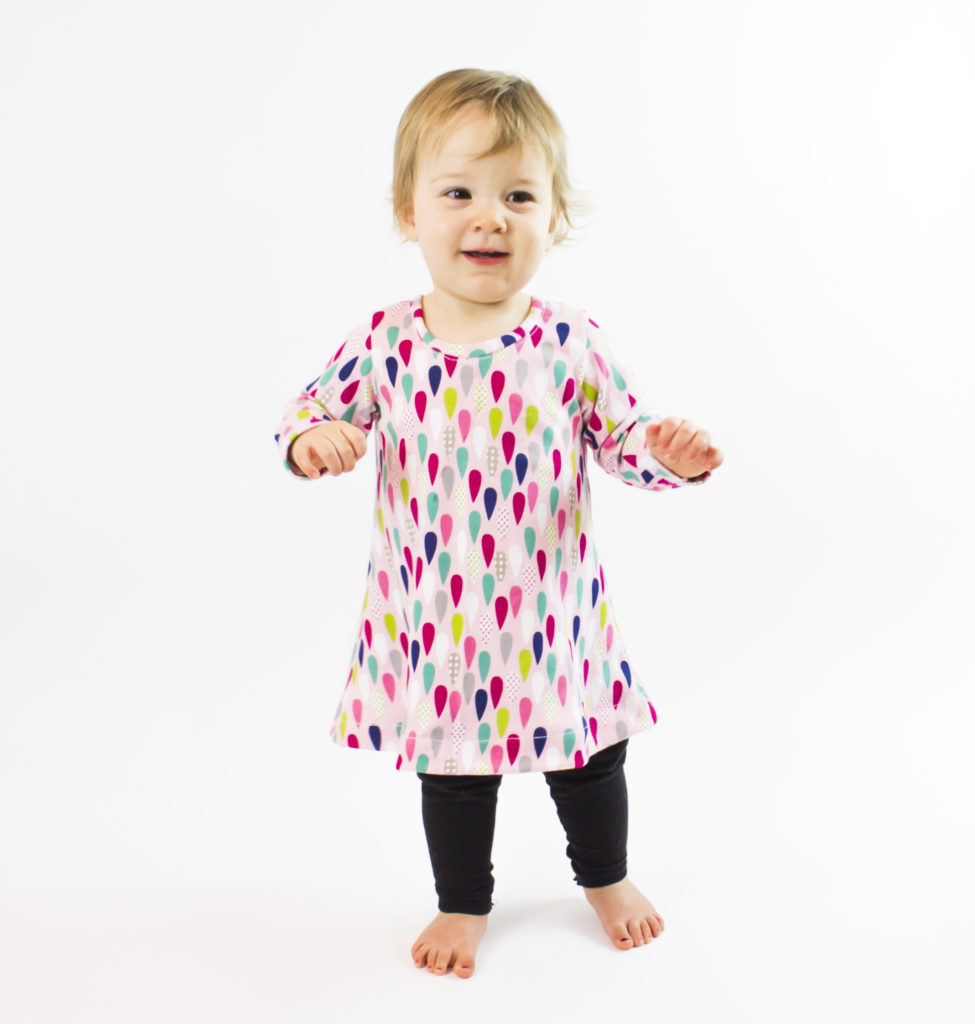
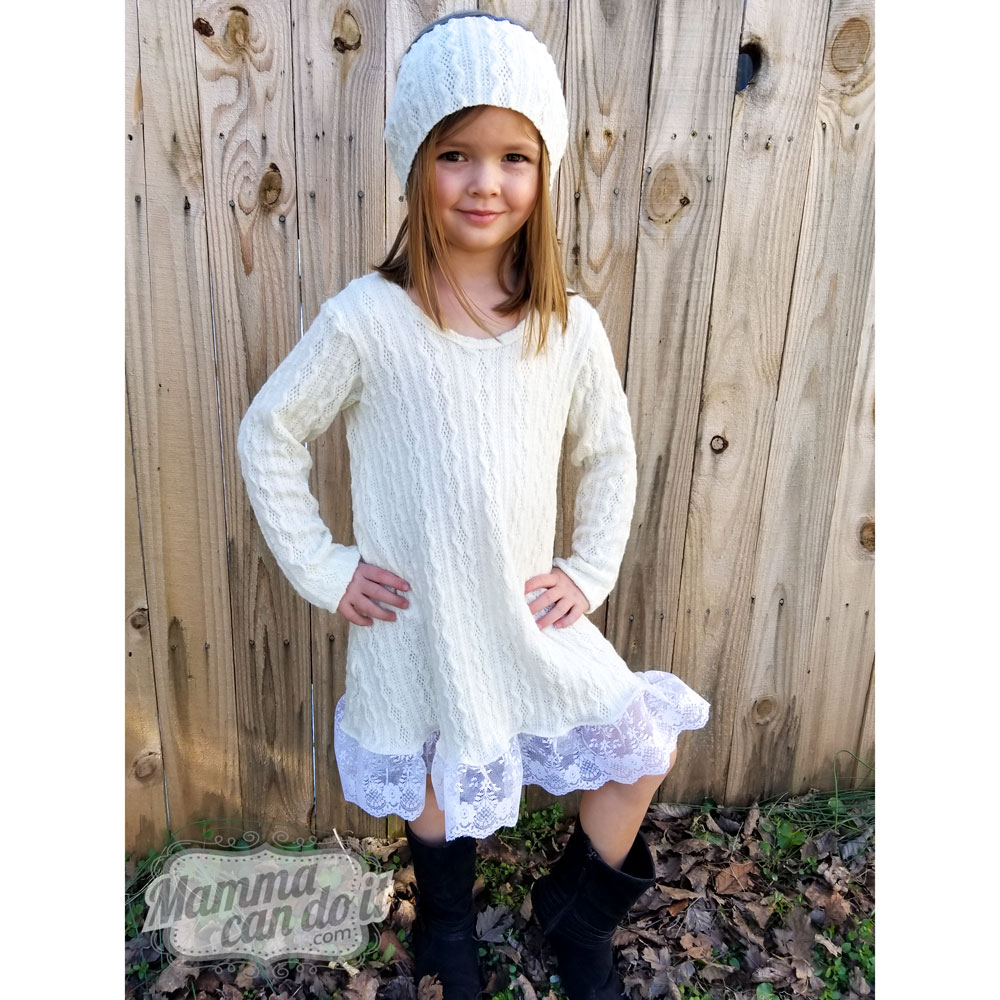
The Baby Adalynn release went really well. Everyone was very pleased including myself! I loved seeing how many people tried binding for the first time, or knit sewing for the first time. Seeing people try new things is a dream come true for me.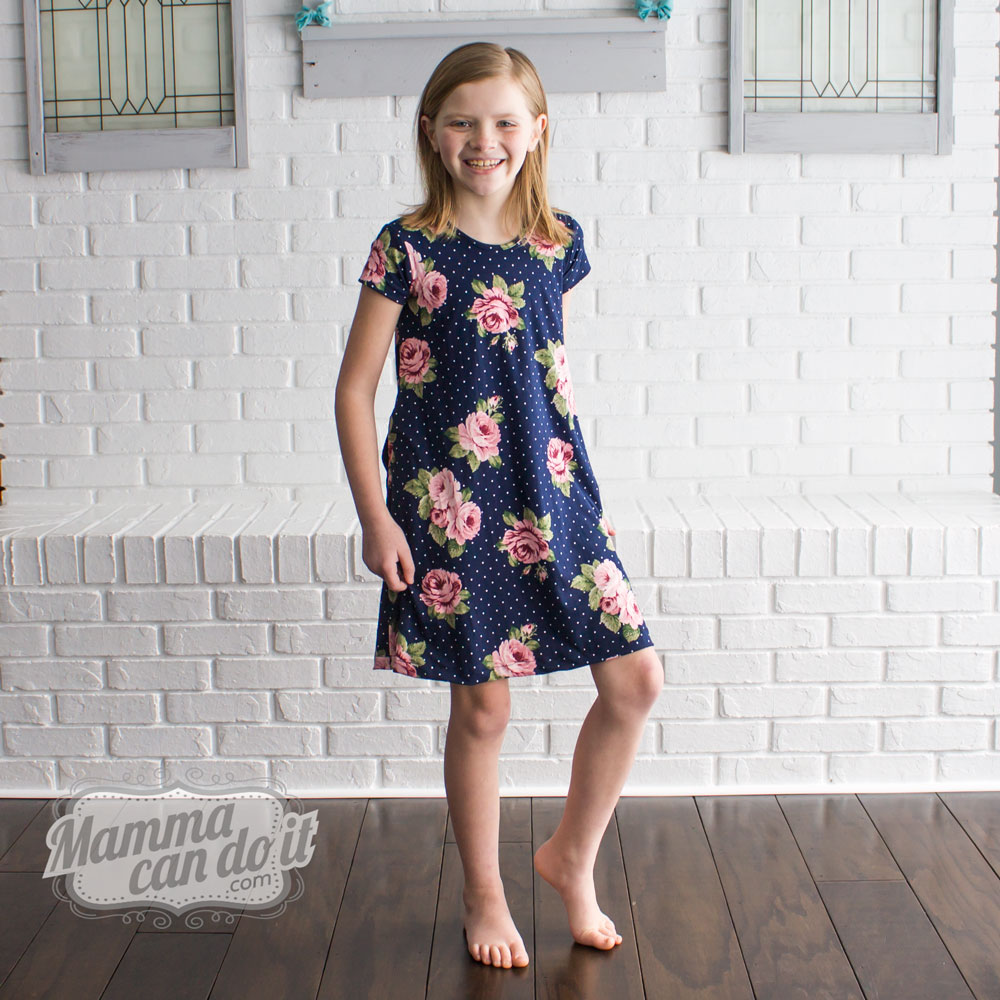 Next up was the girl pattern. There were a few glitches, but overall, I felt like it was easy peasey. Especially considering that I am venturing in to larger sizes, I felt like there were less hiccups than I expected. There were some really creative testers in the group that had some good ideas. This is where I started learning a new lesson: Let.People.Be.Creative.
Side note: Personality wise, I have always been headstrong and I like things to be done a certain way. I tend to be very linear, where I follow my thoughts through to the end, regardless of ideas or suggestions that might come my way. If I get side tracked, I will eventually come back to my first thought and keep it exactly the same as before. This is a blessing and a fault, all wrapped up into one. My children never have to guess what my rules are (blessing), I diligently work at something until it’s done (blessing), but I tend to ignore valuable insight if it contradicts my plans (not so blessing).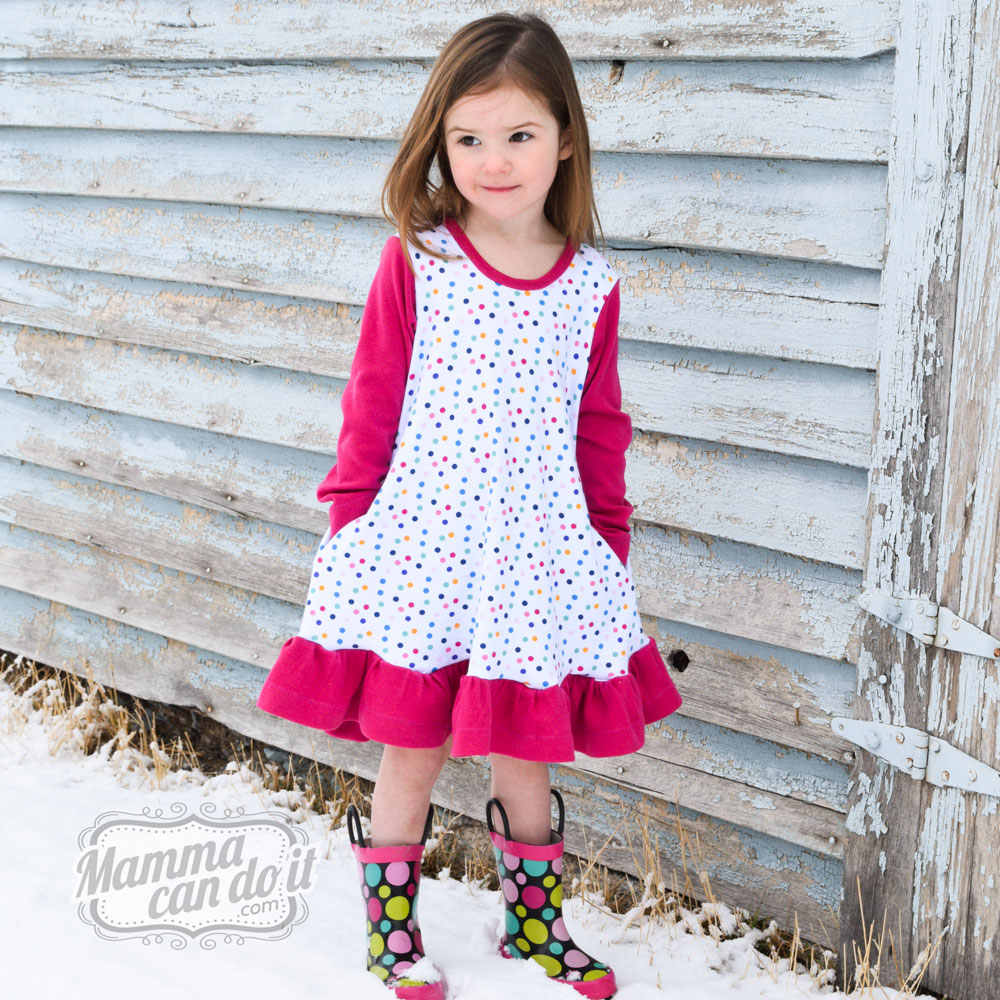
Insert the Adalynn series. Ha!
At the very end of the test, my testers asked if they could get creative with the pattern. At first I was objectionable. But decided that I wanted to see what they could come up with. Holy Moly! There were such BEAUTIFUL ideas that I wish I would have thought about myself! I knew that I wanted to start letting my testers get creative early on. Not only do I want to SEE what they can do, but I seriously want them to experience the joy of creativity. It’s part of why I do what I do!
 Then came the Women’s test. If you imagine background music while you read, this is where you would hear Beethoven’s 5th symphony.
I think that we were 3 hours in when we realized there was a problem. Up until this point, I had never had a test with women’s sizes. And I had never designed a knit garment for women with such a size range.
I had women choosing their sizing based on their full bust measurements. That’s fine and dandy, unless you have women who have a larger than average bust, or a smaller than average bust. Which is pretty much everyone.
On top of the bust measurement issue, we had people who were not pleased with the fit, even when it was the look I was going after.
We also had a problem with fabric. One fabric with 50% stretch looked great. But another with 100% stretch looked like a bag. Many of my customers are new to knits or new to various fabric types. So if my testers were having trouble with fabric, I knew my testers would be too.
Linear. Remember that I am linear? I was shocked that someone didn’t like what I was intending to do. Ha! When I saw pictures, and I saw the fits, I could see that they weren’t happy. They didn’t feel beautiful. That is NOT what I want. Not only do I want my testers to feel amazing, but I want my customers and everyone who has the opportunity to sew my patterns to feel amazing. After a couple days of major fit defects I had to stop the test. I had to decide how to fix this major fitting issue. I didn’t want to completely throw out my patterns and start from scratch. Especially because the ‘classic’ fit looked GREAT on some people and they loved it! How could I fix the issues with everyone else!?
 I decided to talk to my husband about it (insert Beethoven’s symphony again haha!).
Ok, lets get one thing cleared up: MR Can Do It (aka Aaron) is seriously the most talented individual that I have ever met. No joke. I’m not the only one who thinks so. He tends to be behind most Mamma Can Do It things nowadays too. Seriously.
When I discussed with Aaron what my issue was, he immediately said that I needed a fit chart. A way that someone could choose what fit that they wanted. Then follow the chart to figure out what fabric they were using and complete the fit. Then he left for work. Longest.Day.Ever.

Later that evening we had some time to discuss again and I knew what I needed to do! That was when I developed my Fit Worksheet.
It helps the user to figure out what they want the dress to fit like. They get three options. The classic fit, which is based off of the full bust. The Semi fitted, which is based above the bust. And the fitted, which is also based above the bust. All of these measurements take ease and negative ease into account. It’s fantastic. 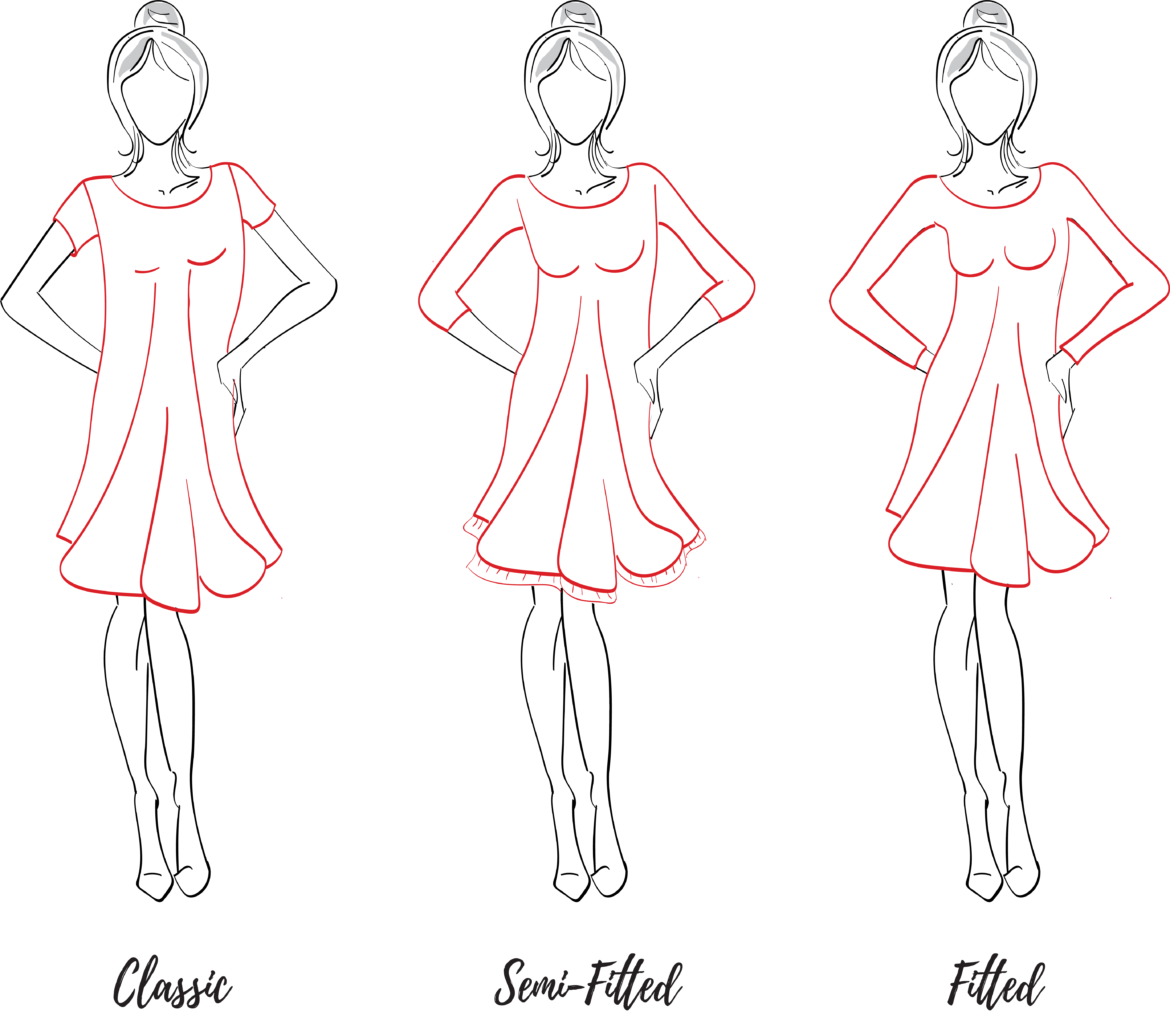
The next part of the worksheet helps the user to get the fit that they want, regardless of which fabric that they choose. Fabric that has a 50% stretch will be tighter on someone that chooses a 100% stretch fabric. The worksheet helps the user to input the stretch of their fabric to determine which size to make so that they ALWAYS get the fit that they want. It’s amazing. Thank you husband for a breakthrough idea. 🙂
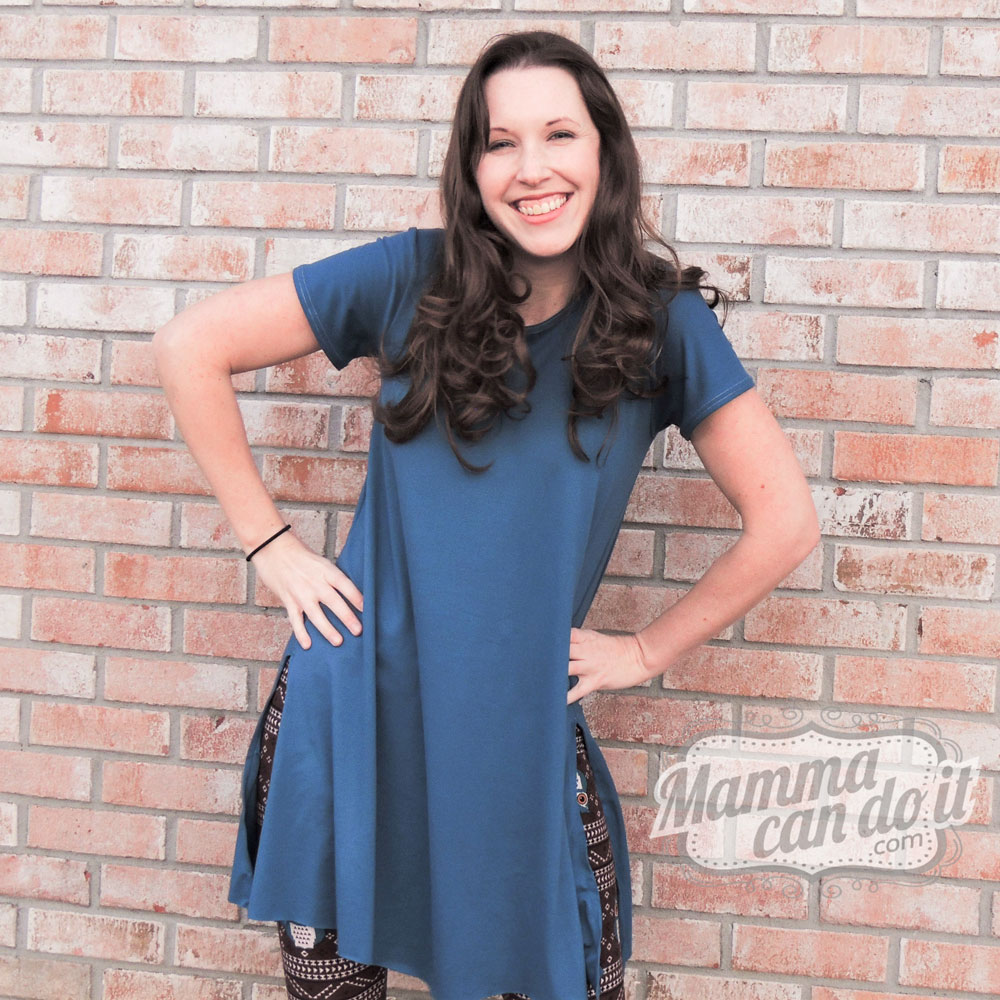
Once the Fit Worksheet was given to our testers, every.single.dress. turned out beautifully. They were exactly what we ALL wanted. My testers look and feel beautiful.
There were a couple hangups that were minor, like the pocket not wanting to lay down, but once we made a tutorial for a pocket tack, everyone looooooved their design.
 The best part of the whole Women’s and Plus size tests was how much creativity we saw! I encouraged my testers to be creative and to write about what they did. They loved it! I am so happy to share all of their blog posts and tutorials with everyone. What a wonderful experience.
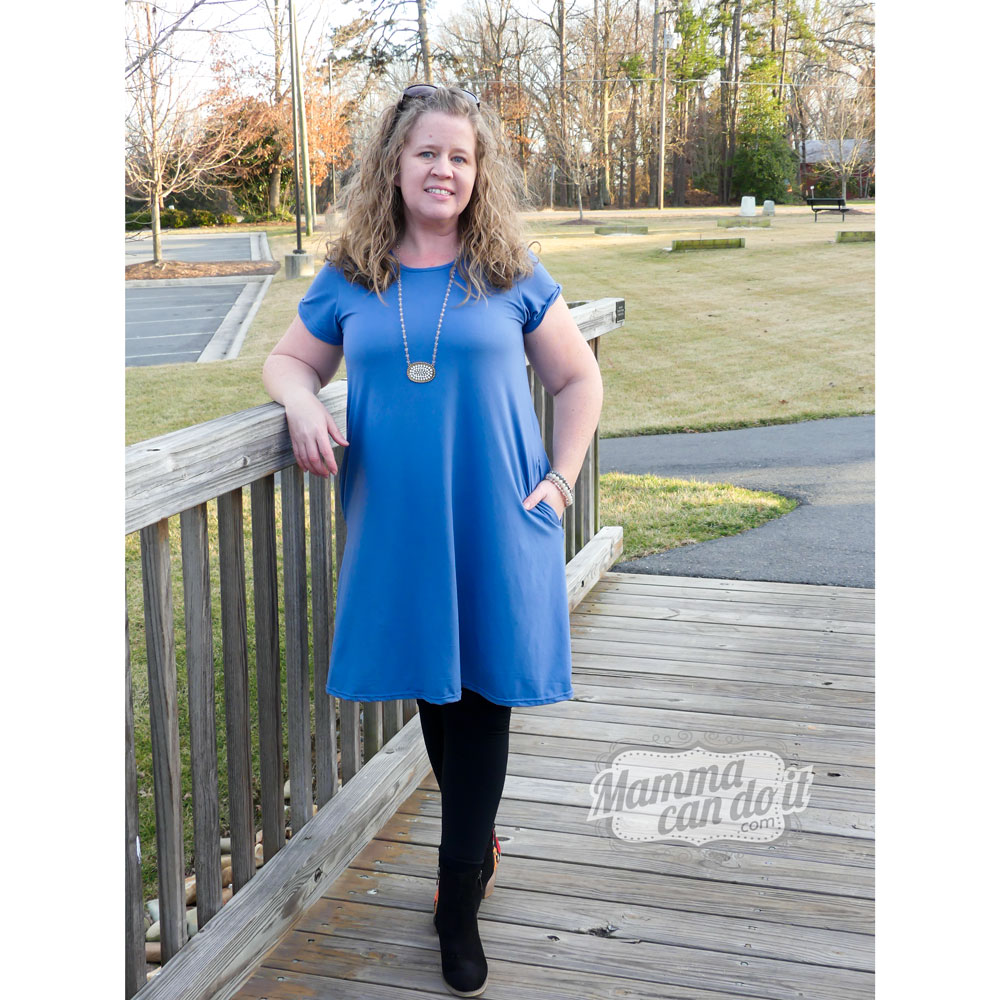
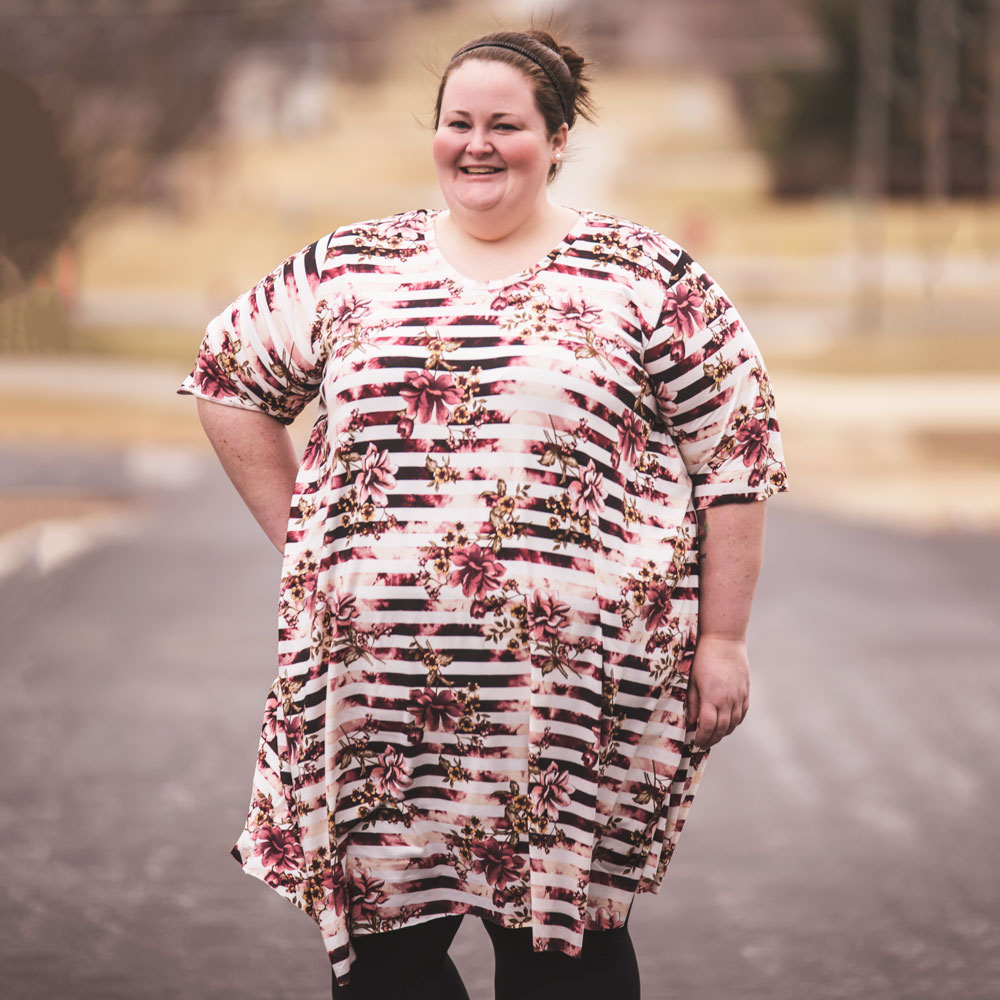
 The Plus size test went beautifully. I had never done plus sizes before and I was nervous, but with the Fit Worksheet, everyone got the perfect fit. They feel beautiful. You can see it on their faces. It was awesome.
 I realize that this was a long post, but I know that sometimes it’s nice to hear about advancements. I love what I have learned in the last month and a half. I love the people that I’ve worked with and what it took to make this design amazing. Thank you everyone for being part of my journey.
Love,
Elizabeth Singler


2 thoughts on “Wrapping up the Adalynn Series”
Is the girl size pattern available for purchase?
Yes!