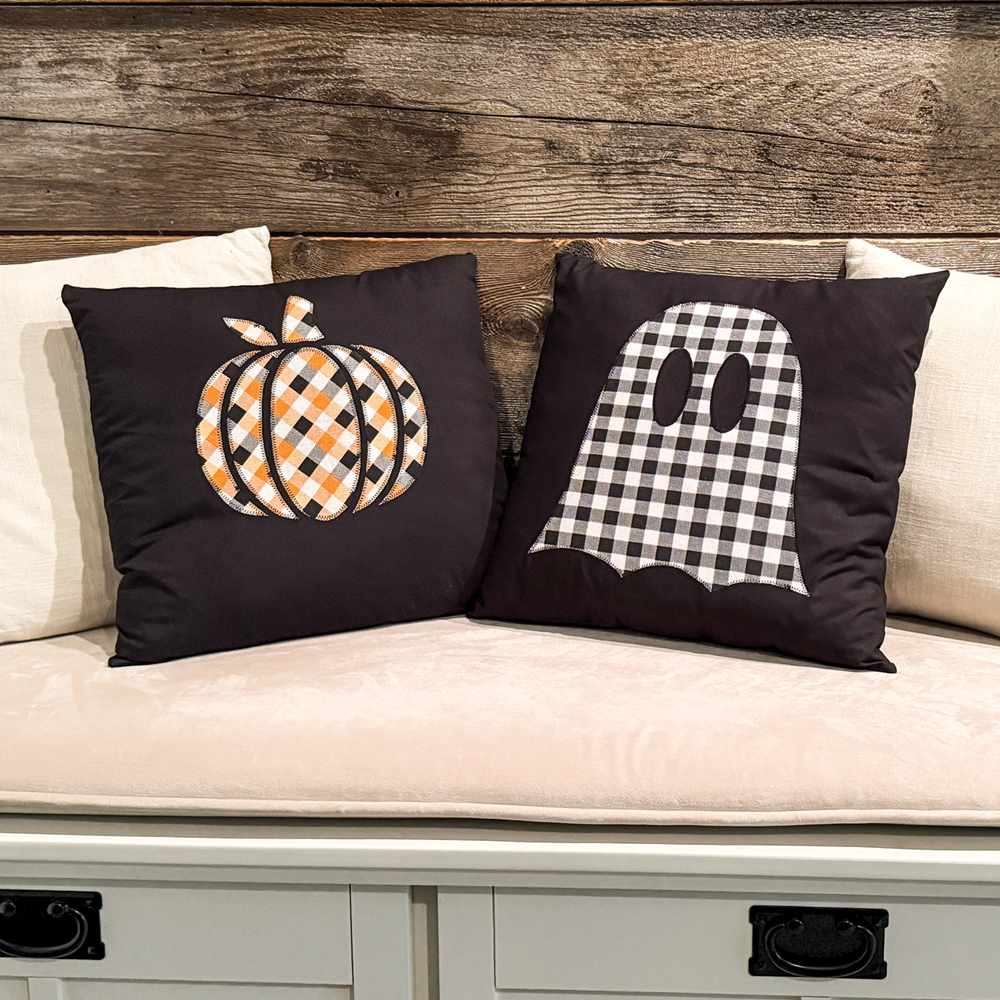
Ready to give your living room a seasonal refresh? This fall, we’re stitching up a cozy DIY pillow cover. In this tutorial, I’ll show you how to appliqué onto the front of your pillow and then finish it off with a polished zipper closure. There are 2 applique designs included in this free pattern—a playful ghost and cute pumpkin. Grab your favorite fall fabrics, a hot cup of cider, and let’s get sewing!
Get the free pattern here
Supplies:
• Main Fabric for pillow – 2, 17″ x 17″ squares of Woven fabric or you can use a Fat Quarter. (ex. 100% Cotton and Cotton Canvas)
• Contrasting Fabric for appliqué – scrap of woven fabric or you can use a Fat Quarter.
• Heat n Bond Lite Iron-On Adhesive
• Wonder Tape
• 14 – 15″ Zipper
• Point Turner (optional) – I like this one.
• Sewing Clips or Pins
• Cutting Mat
• Scissors or Rotary Cutter
• Sewing Machine
• Fabric Marker and Pencil
• 16 x 16 Pillow Form
• Iron
Video Tutorial
Sewing Tutorial
Create and sew appliqué
3/8″ seam allowance
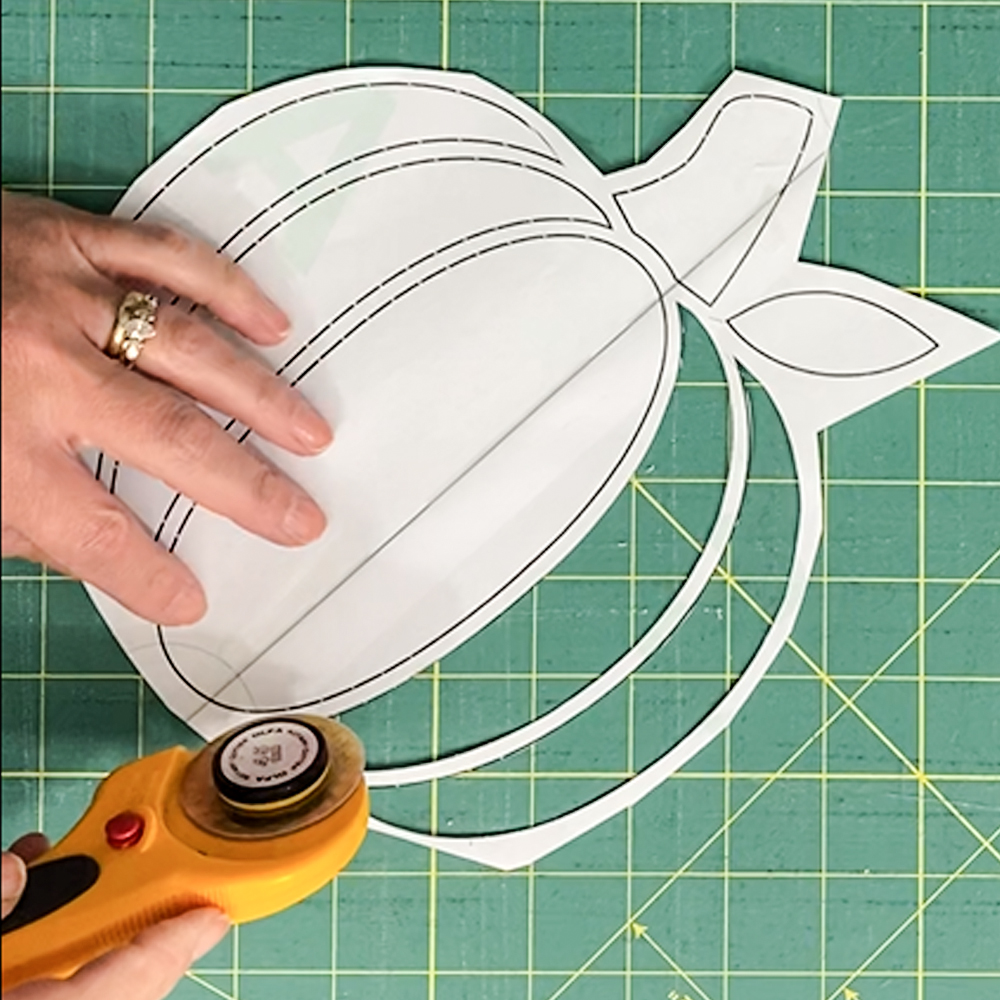
Print out the Appliqué template and carefully cut it out.
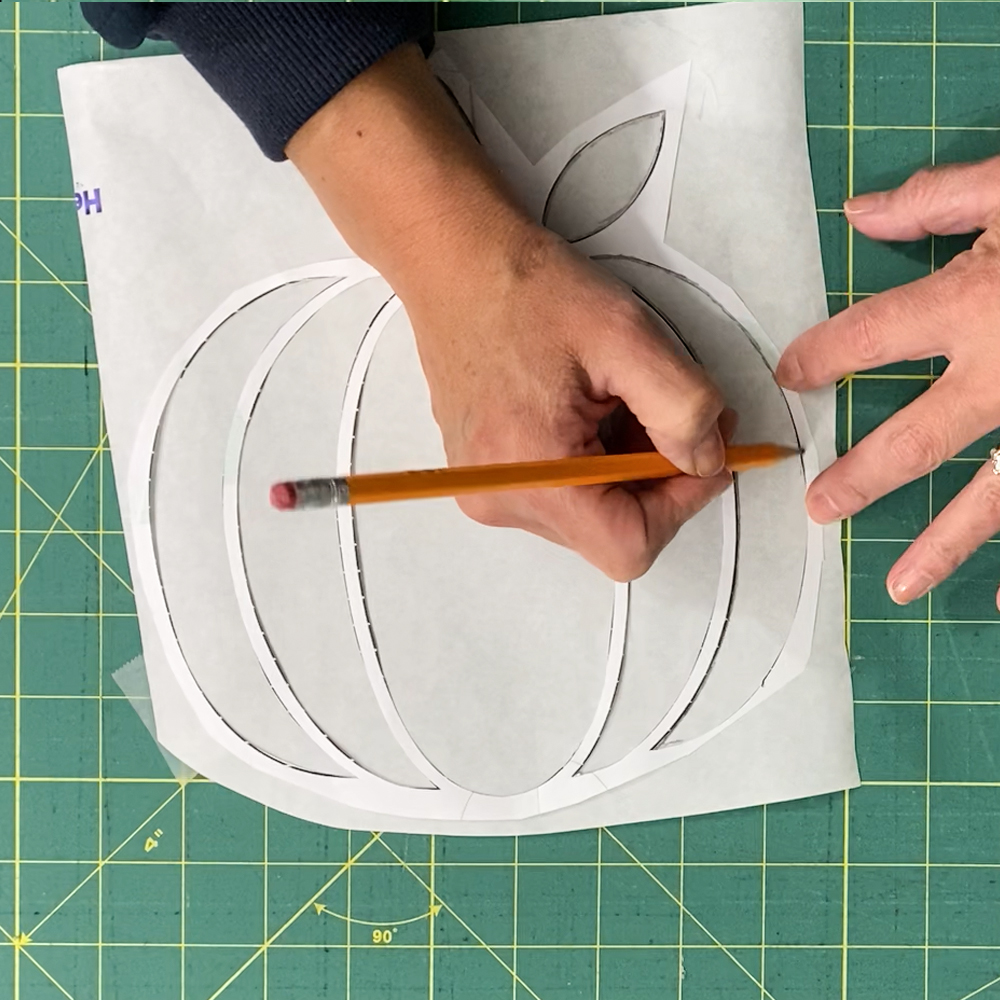
Cut out a piece of Heat n Bond Lite Iron-On Adhesive the size of your template. Trace the design onto the paper side of the Heat n Bond.
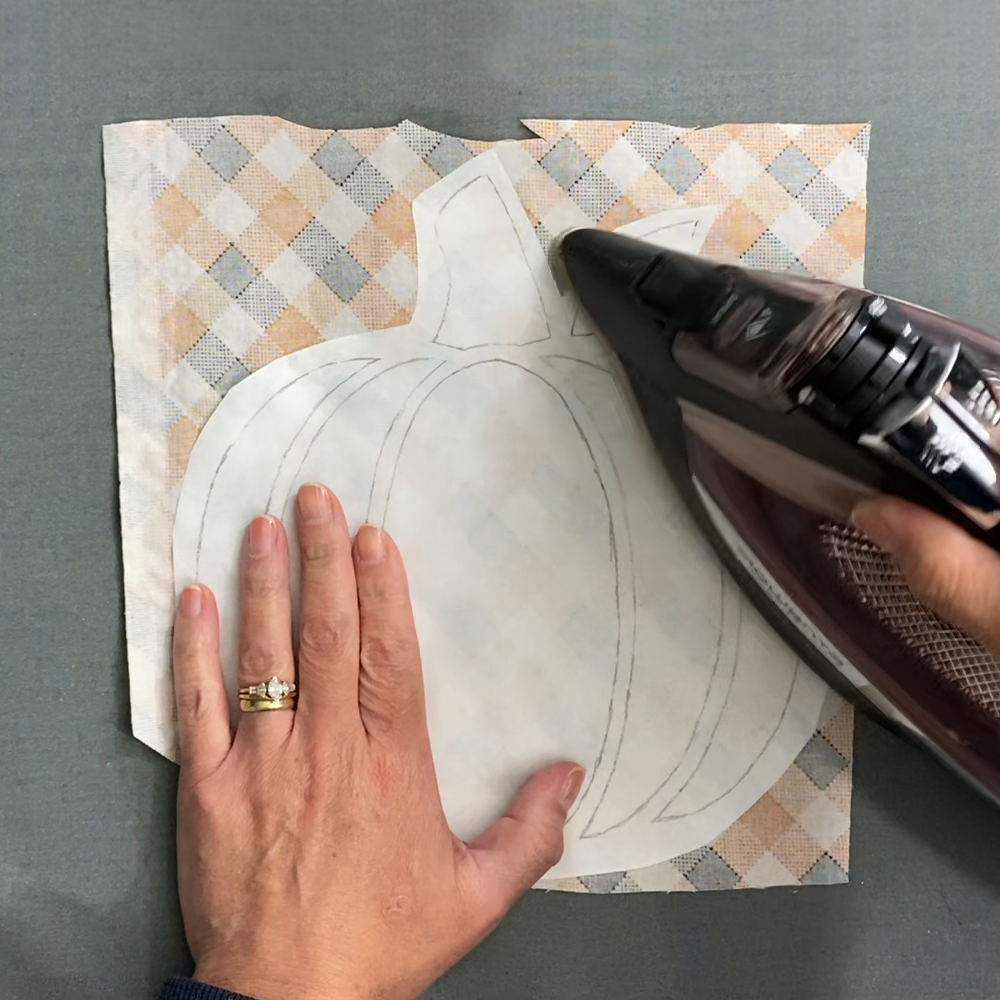
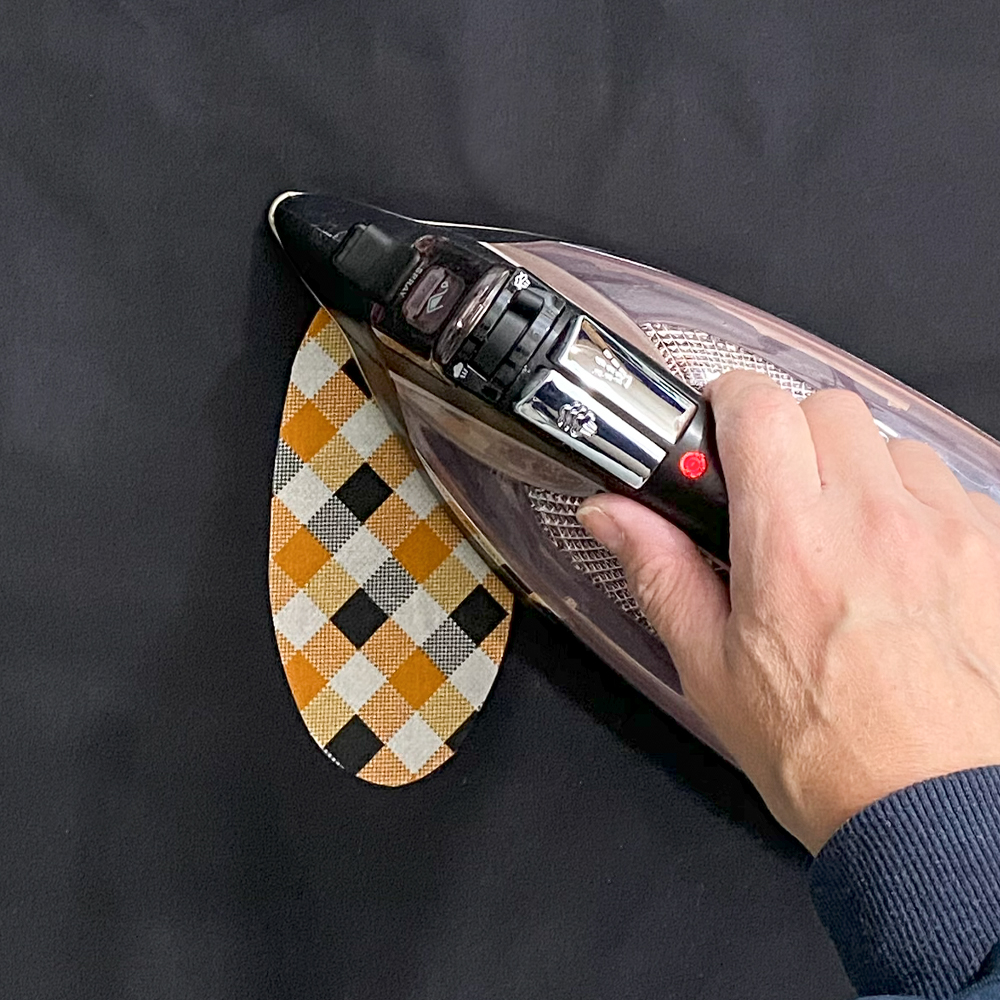
Place the Heat n Bond onto the WRONG side of fabric. The rough side will be toward the WRONG side of the fabric. The paper side will be facing you. Iron the Heat n Bond to the fabric per the instructions on your iron-on.

Cut out the the template

Peel the paper backing off of each appliqué piece
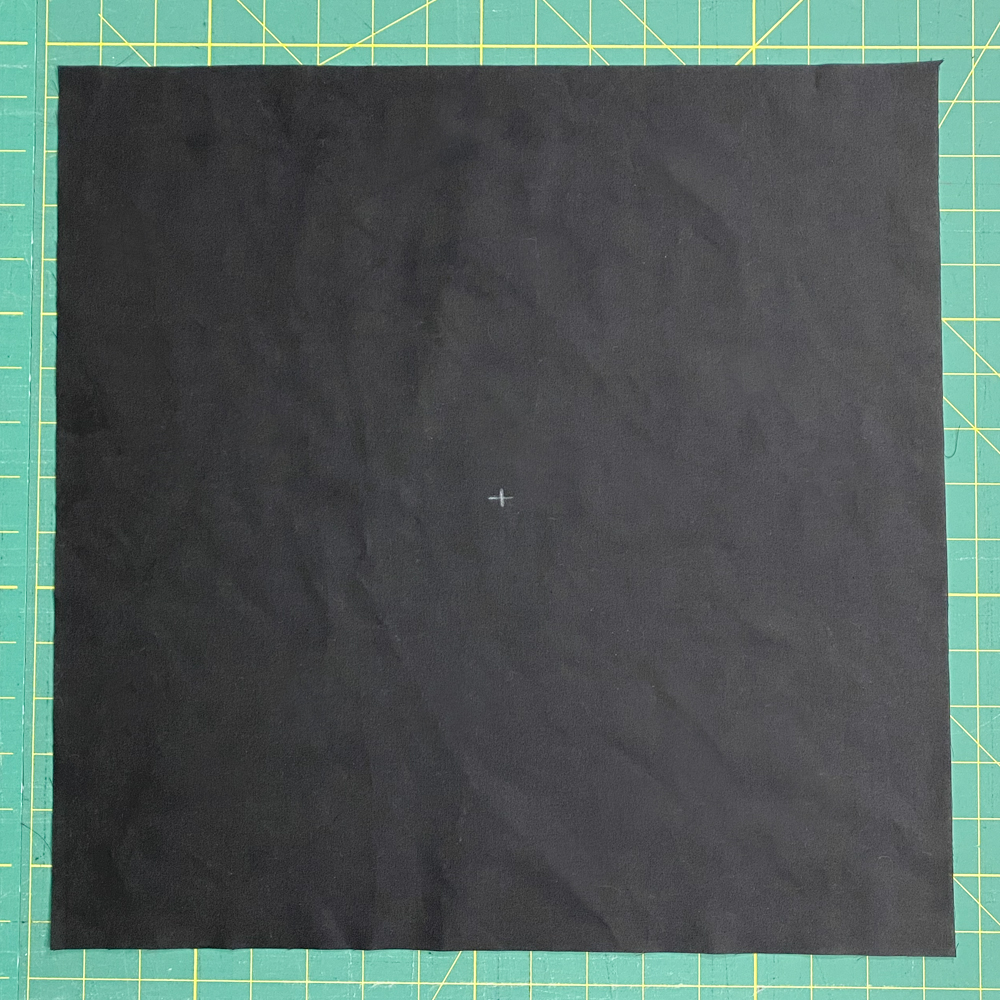
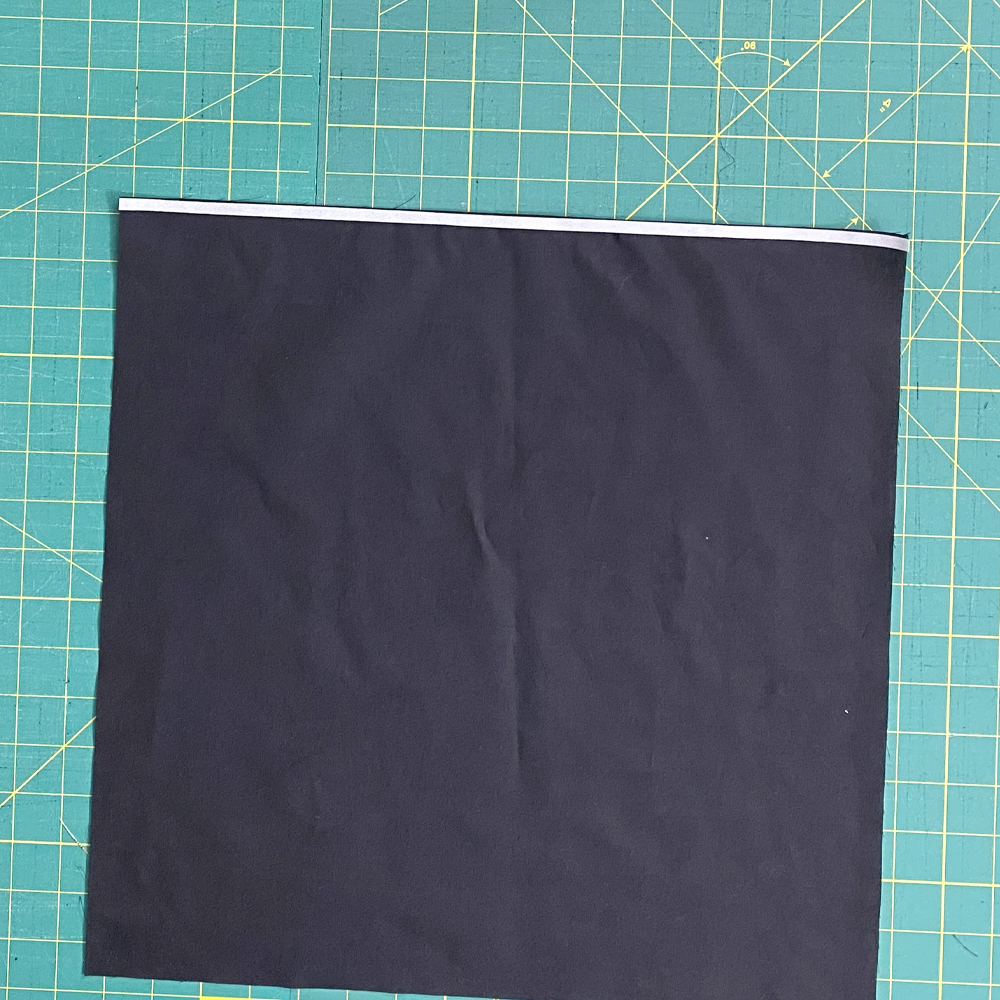
Cut 2, 17″ x 17″ square in the main fabric for the pillow. Find the center of your front pillow cover piece.
Place the center appliqué piece into the center of the pillow.
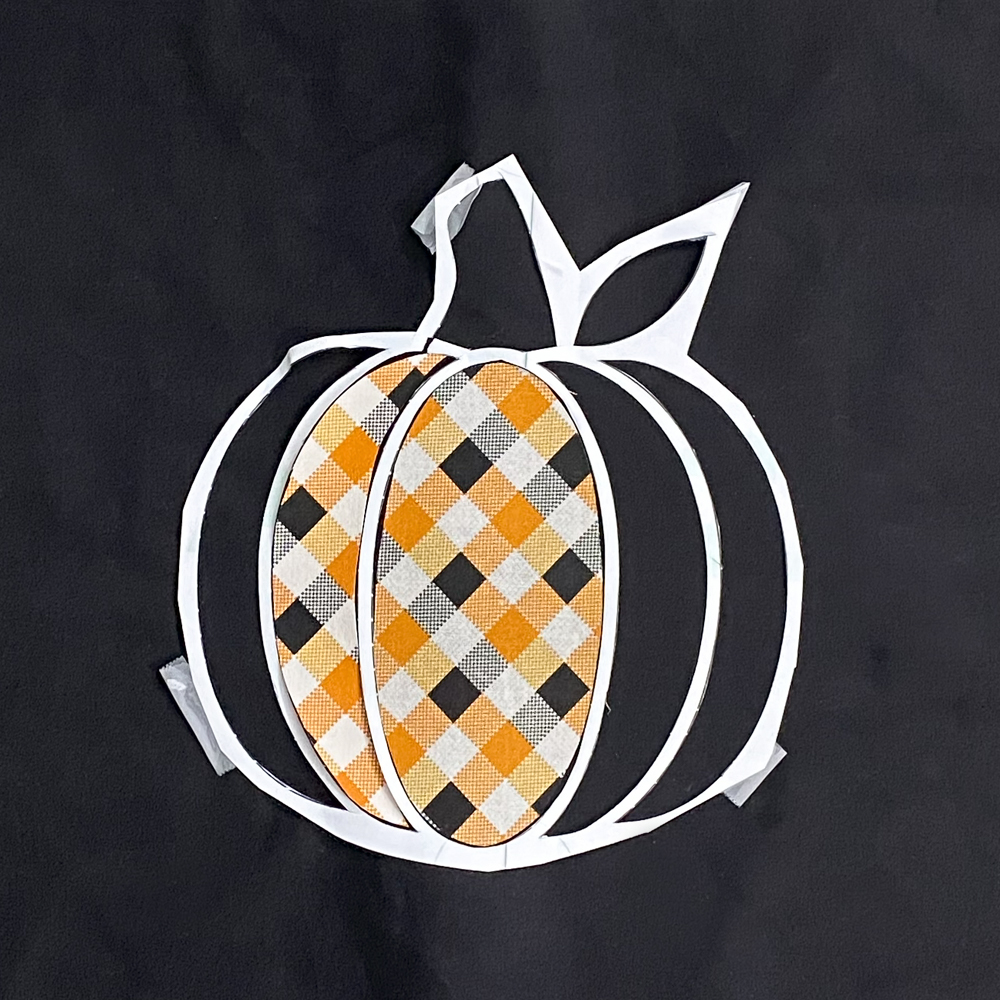
You can use your paper template to align the other appliqué pieces.
Double check that the space between each piece is equal between the pieces.

Once you have the pieces where you would like, press them into place.
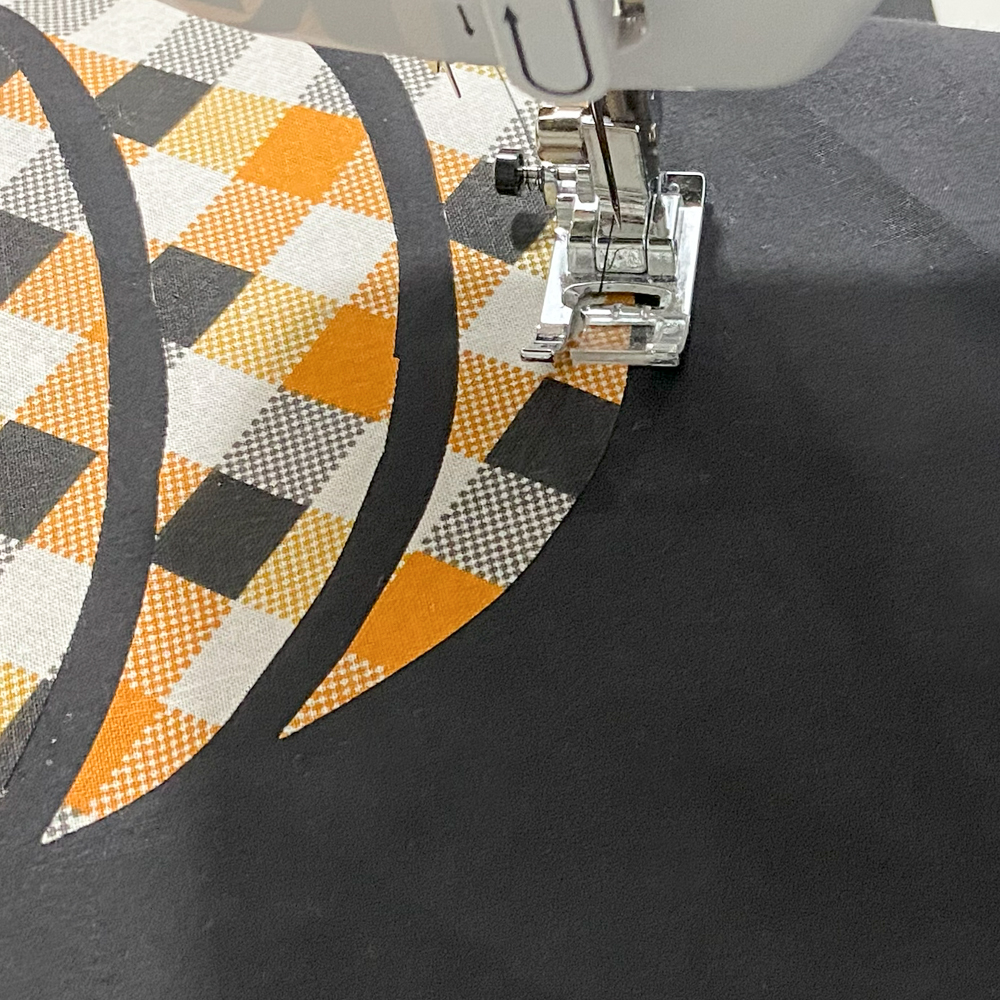
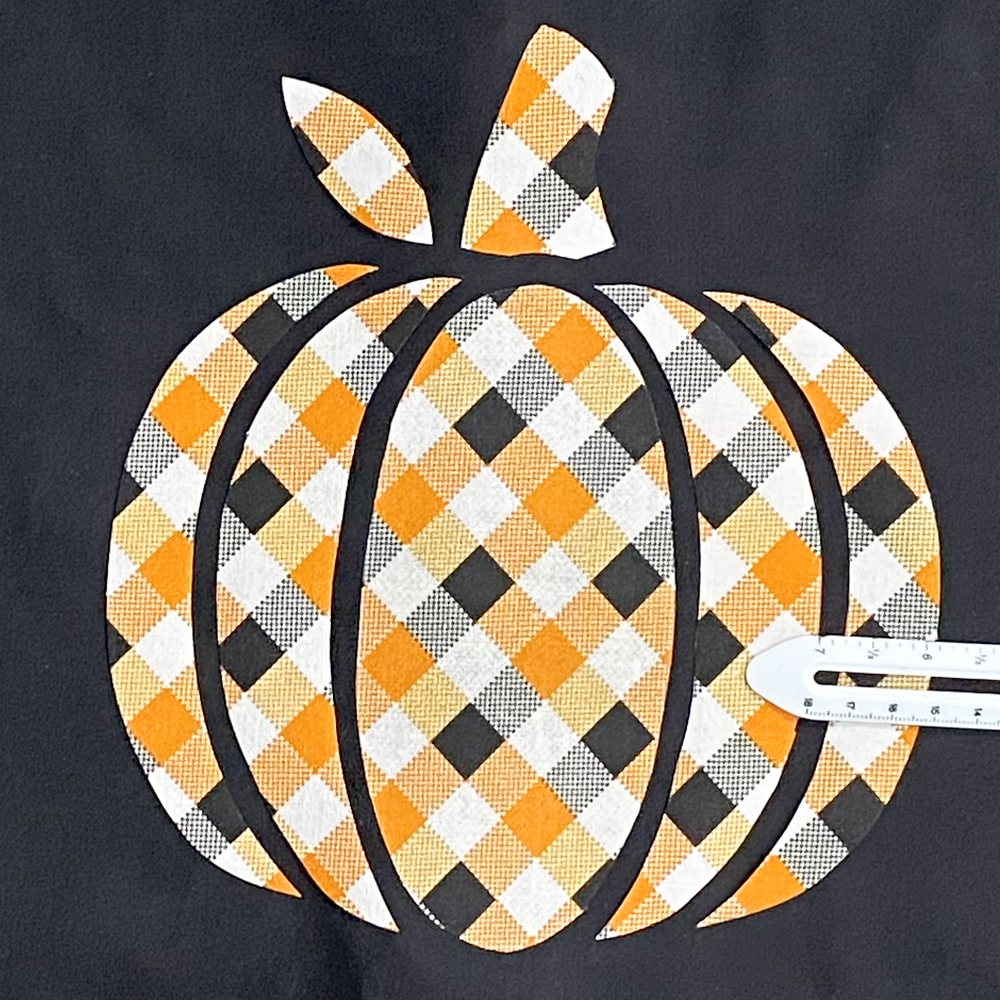
Use a zig zag or blanket stitch along the edge of each piece. Don’t forget to back stitch.
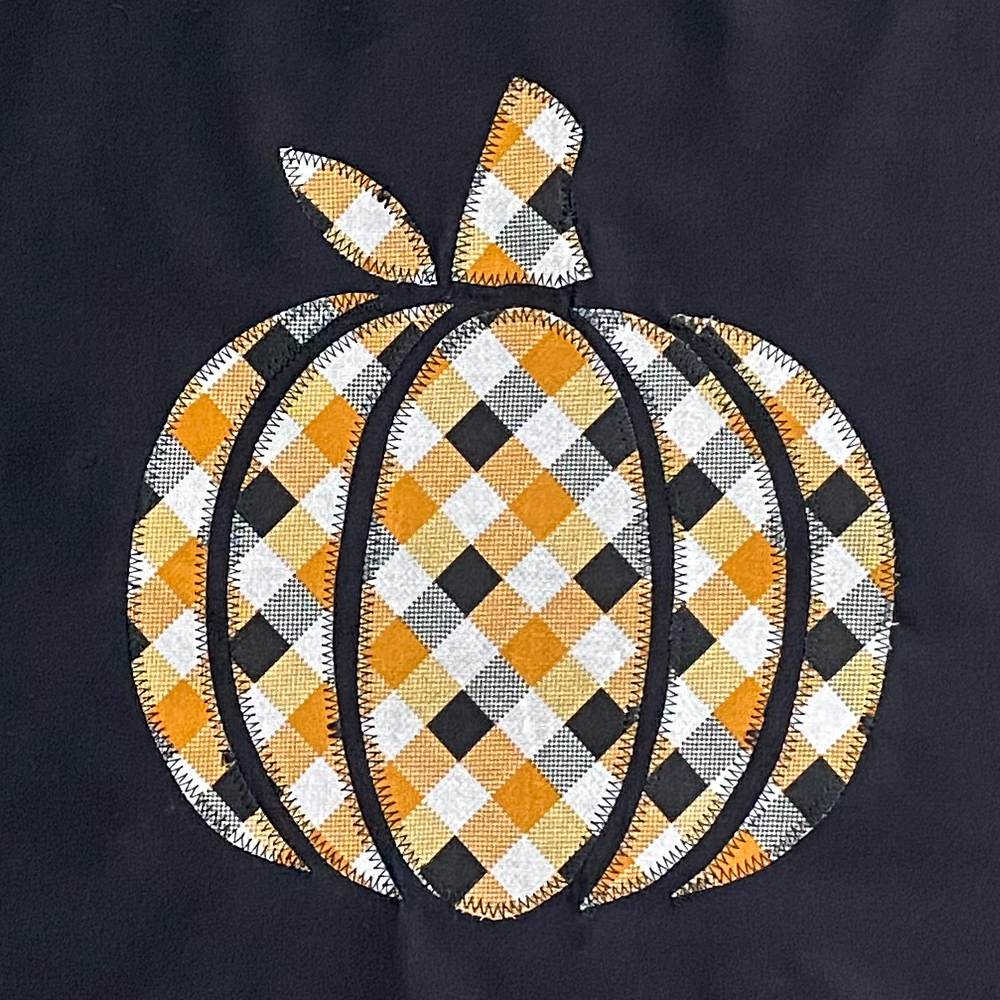
Here’s a closer look of the finished sewn pumpkin.
Assemble pillow
Now it’s time to install the zipper. Cut a piece of wonder tape and place it at the top of the pillow case. Remove the paper from the tape.
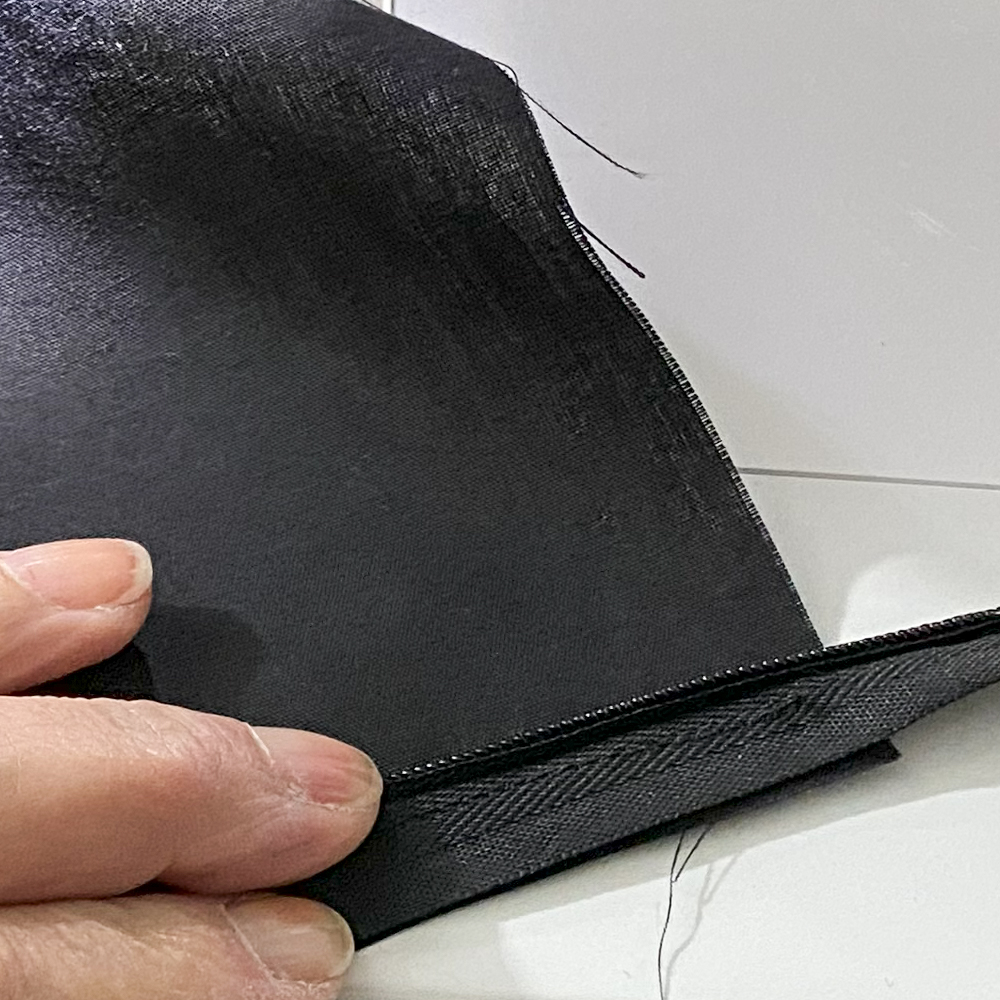
Roll the invisible zipper out so that you can sew close to the zipper teeth. You can carefully use your iron to do this, making sure you don’t melt the teeth.
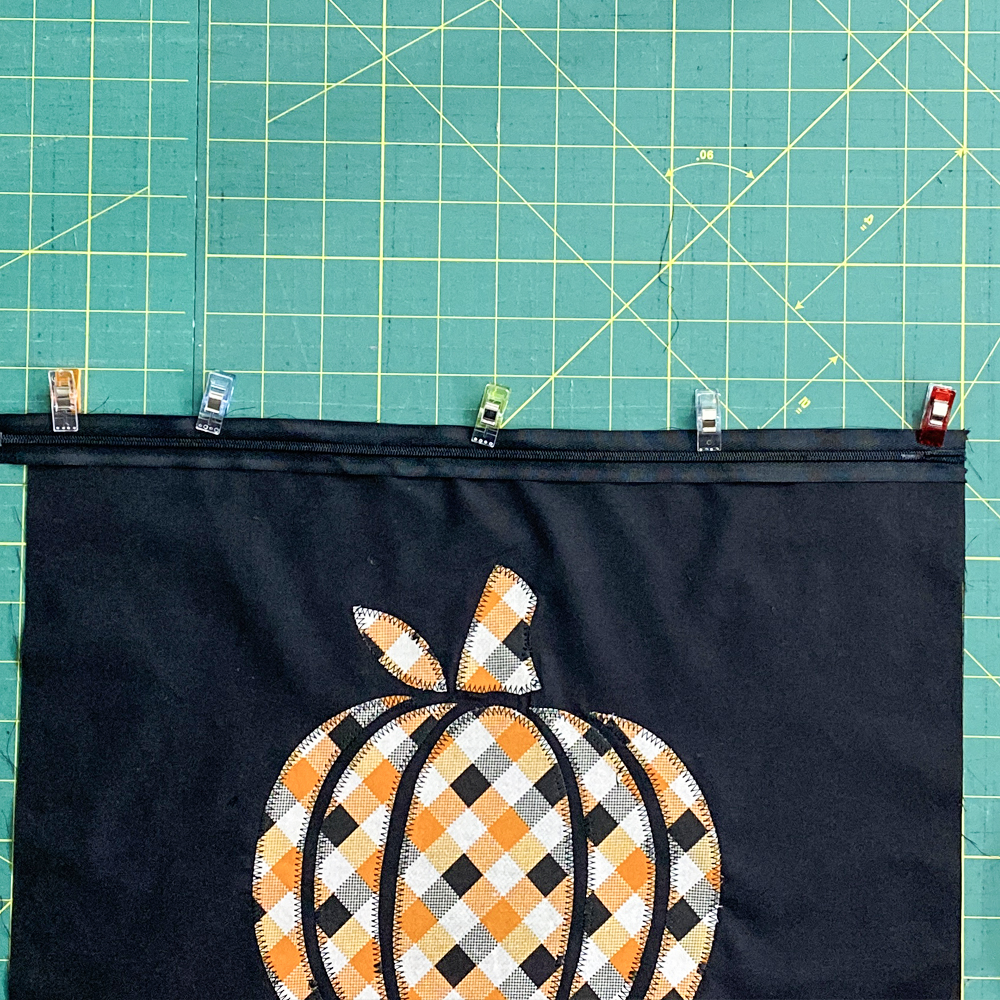
Place the zipper RIGHT side down onto the front pillow piece with the zipper pull facing to the left.
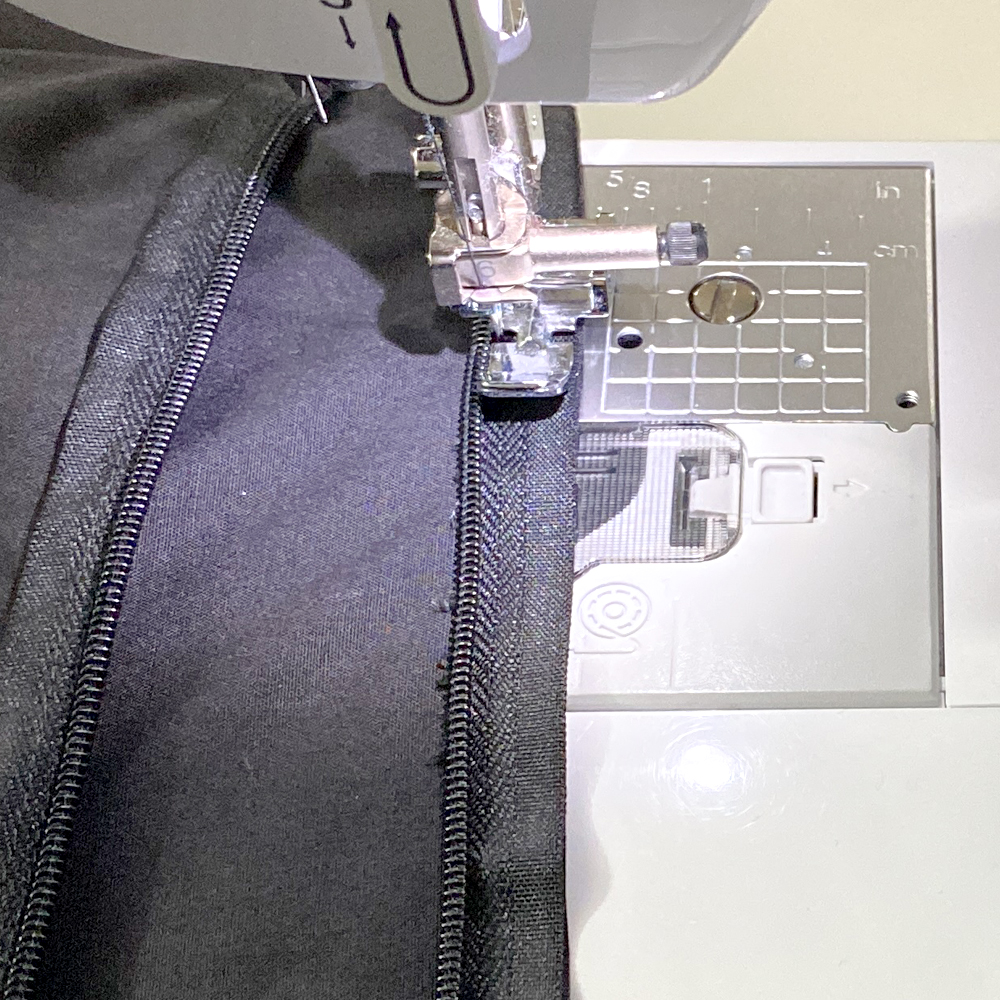
Sew very close to the zipper teeth. When you get to the zipper pull. Lift your presure foot and pull the zipper behind it. Lower the presure foot and continue sewing.
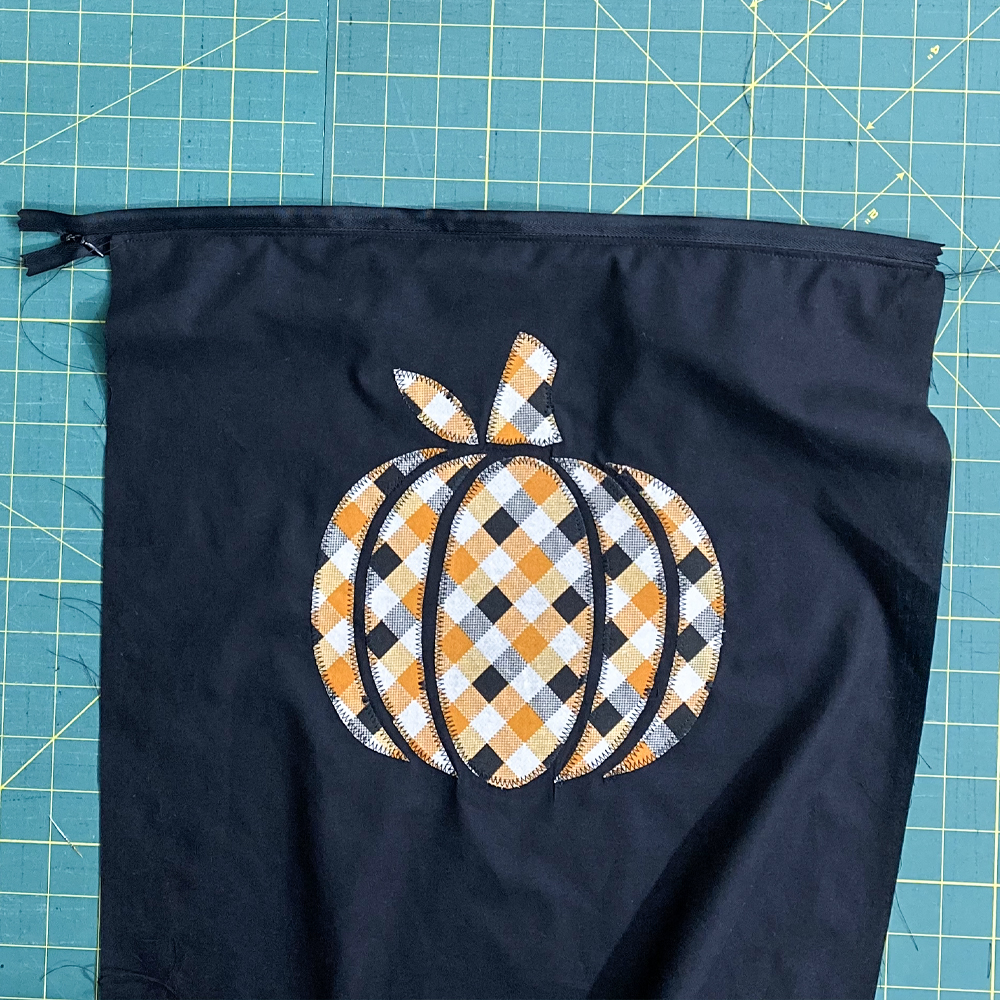
Top stitch
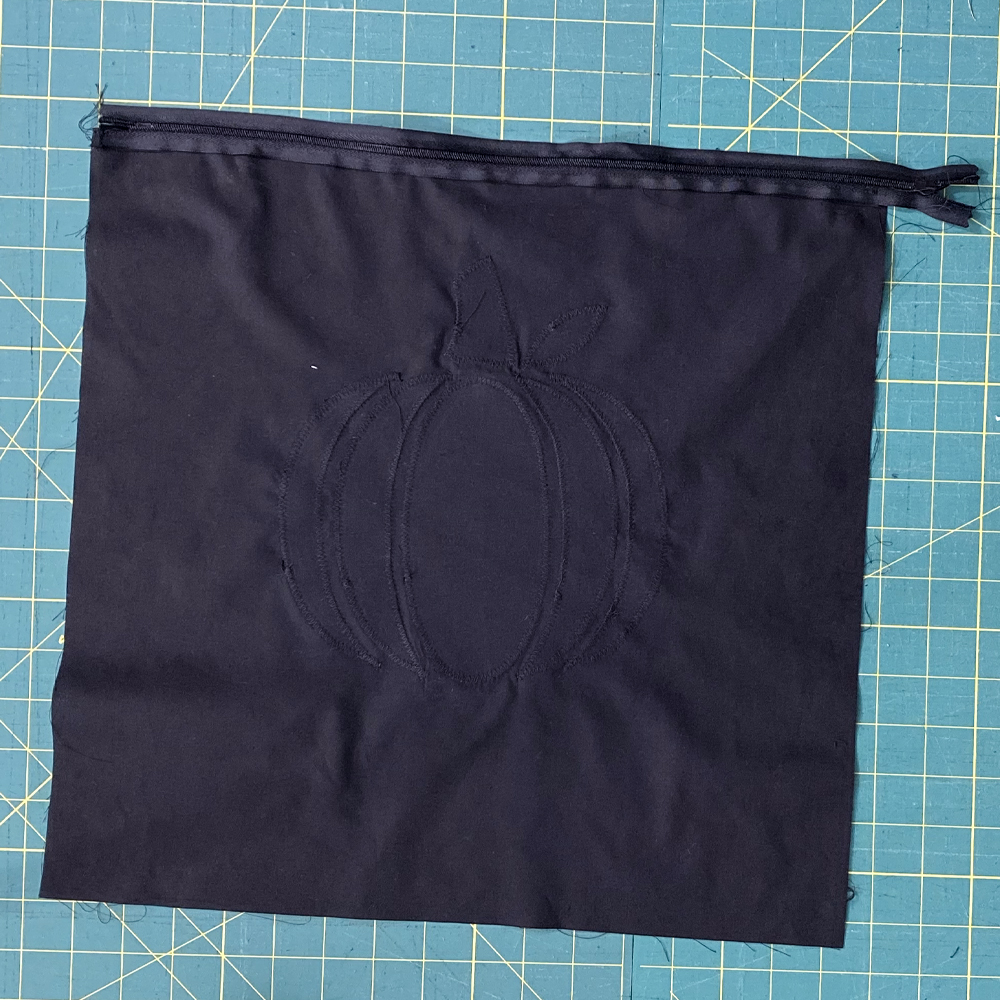
Repeat these steps with the other side of the zipper and pillow piece.
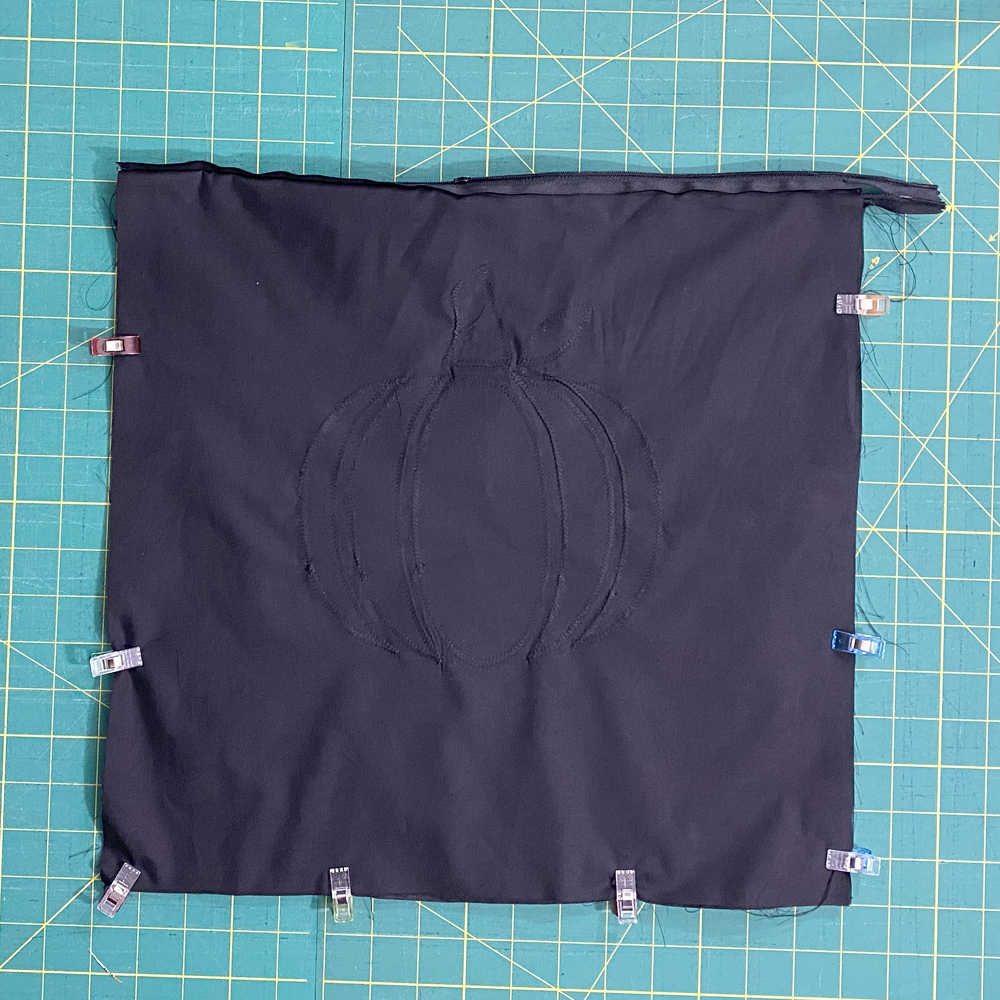
Open your zipper about half way and place the 2 squares RIGHT sides together aligning the raw edges. Stitch around the three sides.
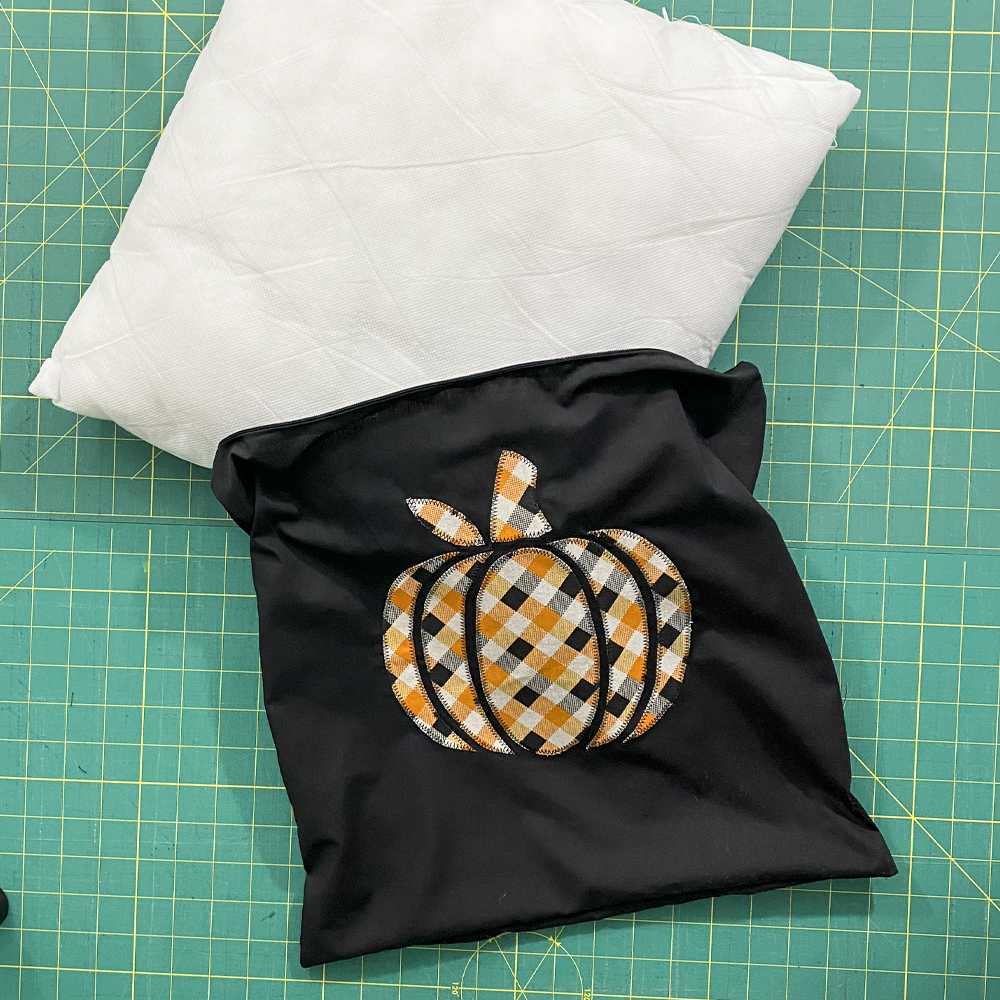
Turn the pillow case RIGHT side out and press. Insert the pillow form.
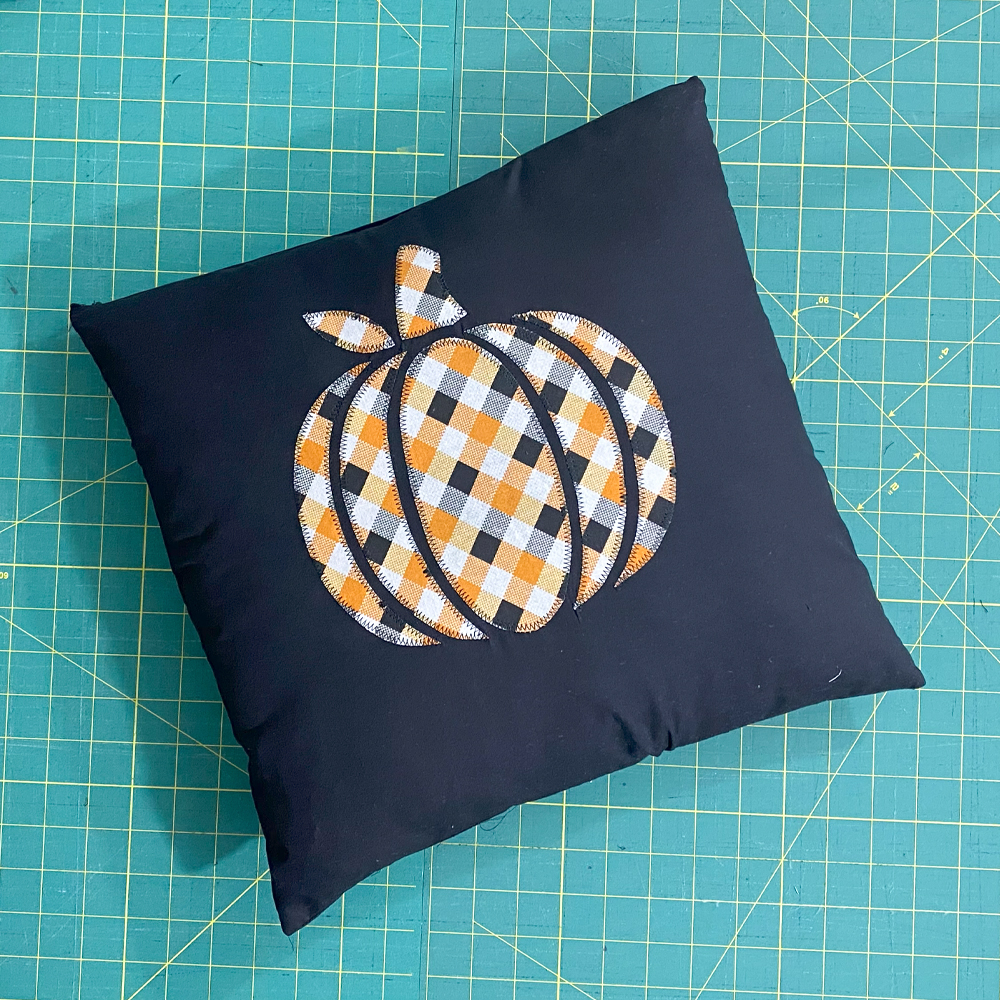
Ta da’ You did it!
Show off your fall Appliqué and share it with our community of sewists. Make sure to tag us on Facebook and Instagram using @mammacandoit so we can see you in them!
Don’t forget to join us on Facebook, Instagram, Twitter, Youtube, and Pinterest to stay up to date on all things Mamma Can Do It!


