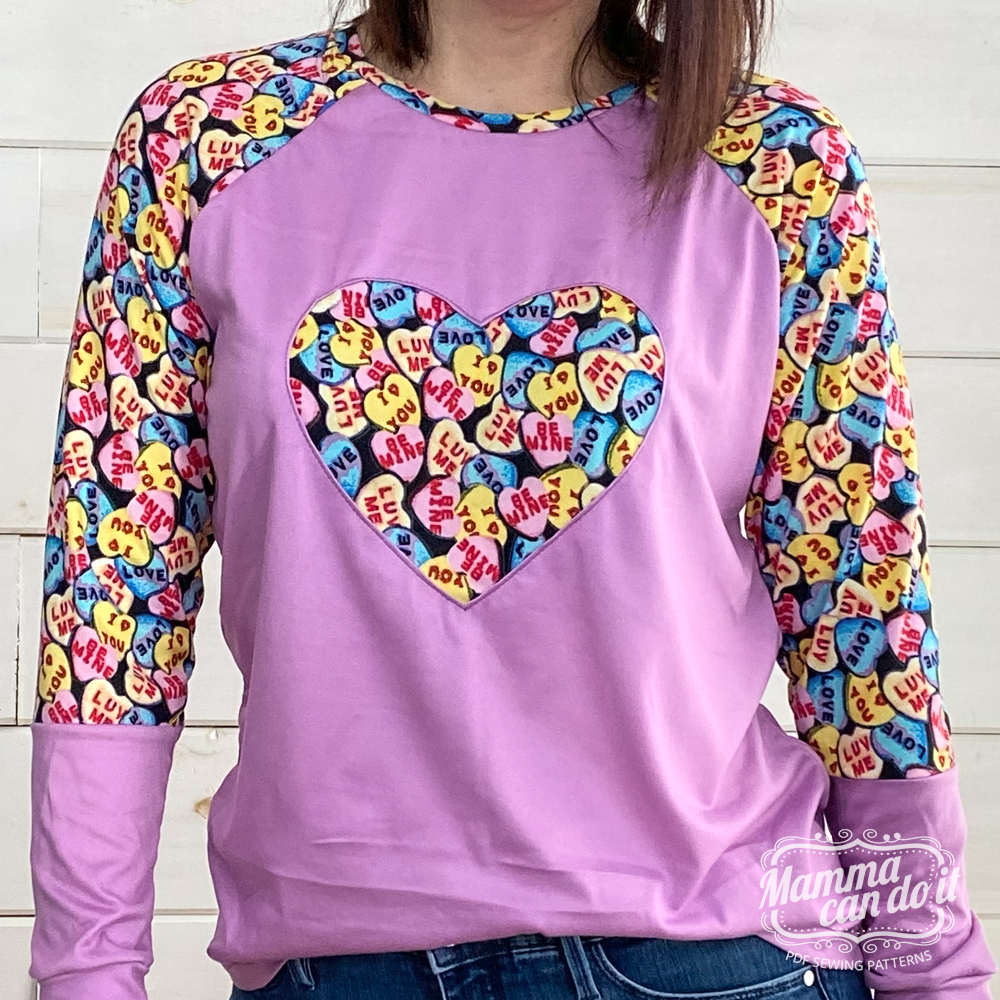
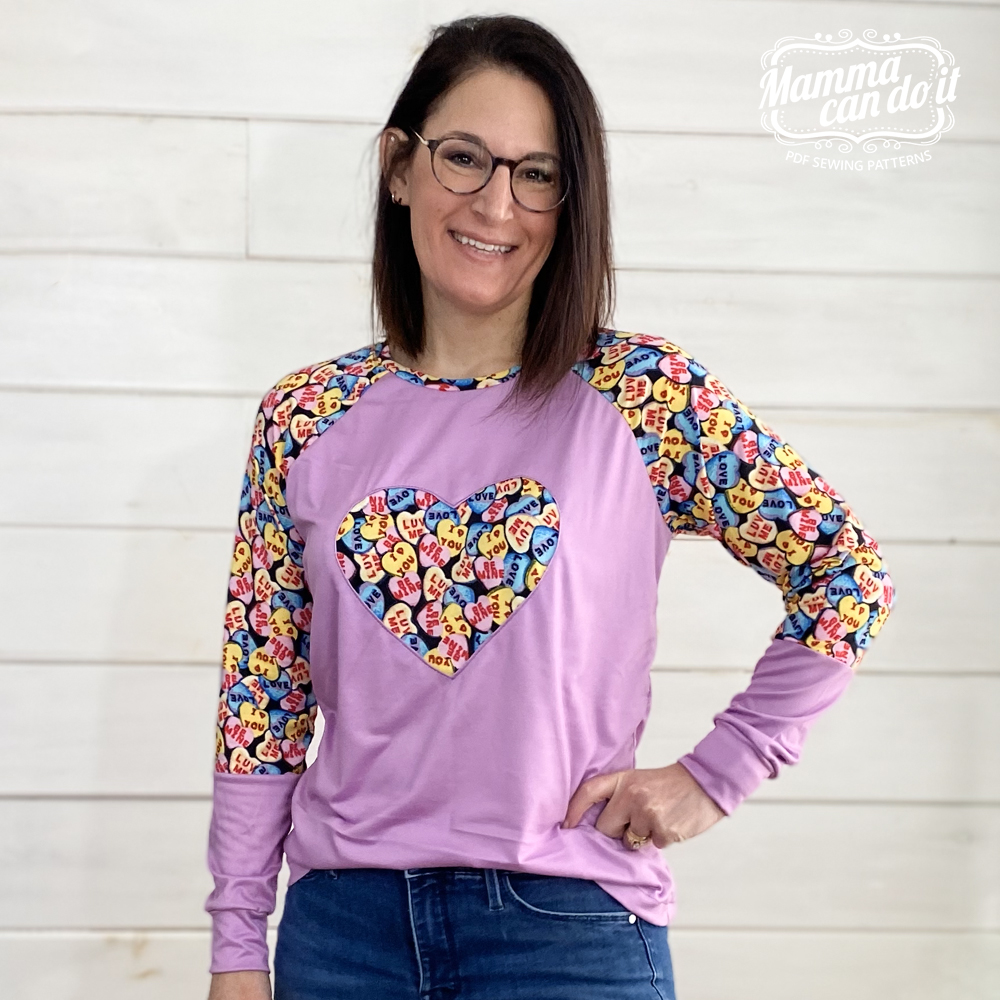
I have had this Valentine’s fabric in my stash forever, just waiting for the perfect project to come along. With Valentine’s Day just around the corner, I thought it would work well with this Reverse Appliqué heart. This heart fabric has a smaller pattern design which worked great behind the heart shape. I chose the Homerun Raglan shirt for this project because I also wanted to use the heart fabric for the sleeves and color-block them as well. I used a Double Brushed Poly (DBP) for this project and it worked out great! This technique can be applied to your other projects as well. This appliqué would be cute on a onesie or even the Adventure Bag.
You can grab the FREE heart template here. It can be printed at home, cut out with a cricut or you can use a projector if you prefer.
What is a Reverse Appliqué?
A Reverse Appliqué is when you transfer your design to the outer/main layer of your fabric. You then cut out the shape. A contrasting piece of fabric is placed behind the design and it is topstitched into place with a sewing machine or a hand stitch.
What fabrics work best with a Reverse Appliqué?
- Woven Fabrics – Quilting cotton, Denim, Linen or even Silk.
- Stretch Fabrics – Medium-weight stable fabrics like jersey. You could even use a woven fabric behind the main if you’d like.
Supplies for this project
- Shirt Sewing Pattern – I used the Homerun Raglan or you could do this on any shirt pattern. It would be especially cute on a onesie or a bag.
- Free Appliqué
- Ruler
- Fabric Marking Pen
- Scissors/Snips
- Rotary Cutter
- Pins
- Cutting Mat
- Iron
- Matching Thread
- Sewing Machine (optional, you can hand stitch the design if you prefer)
- Cricut (optional)
Video Tutorial
Yes…I know it’s a heart. I don’t know why I keep saying circle in this video 🙂
Sewing Tutorial
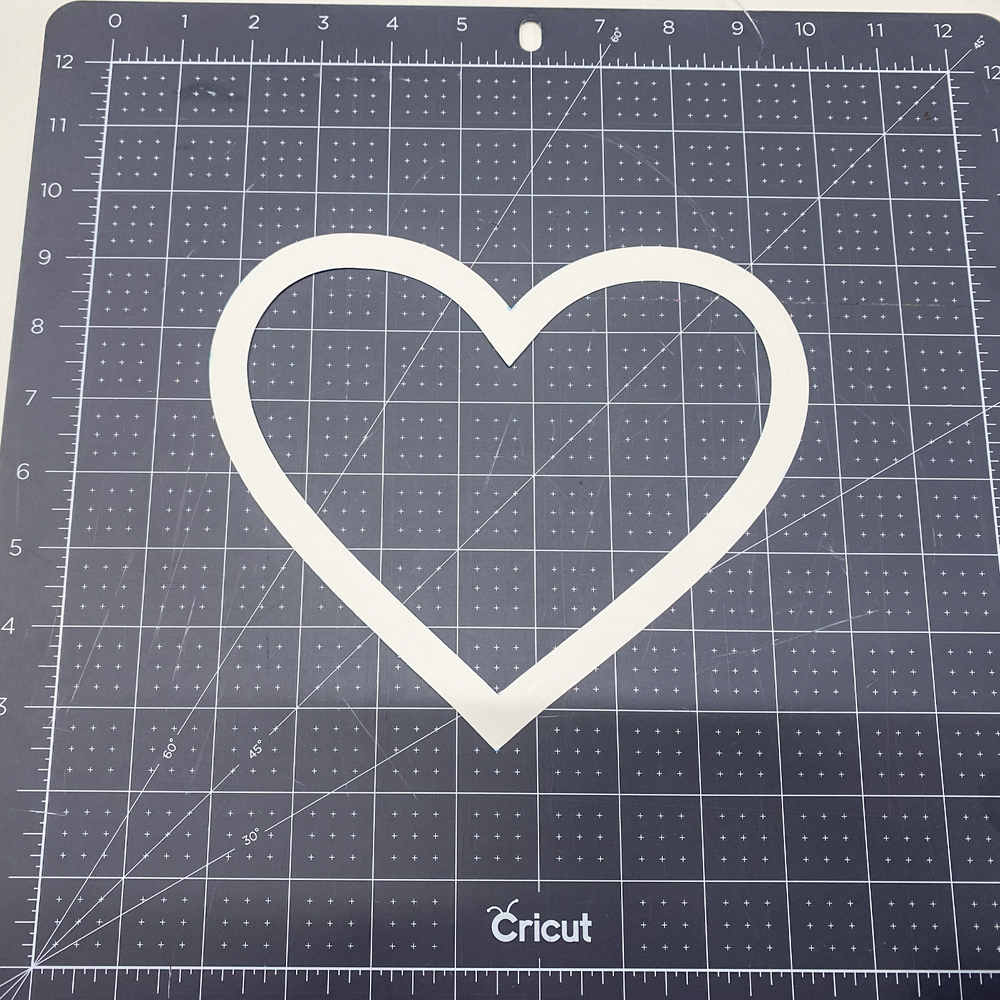
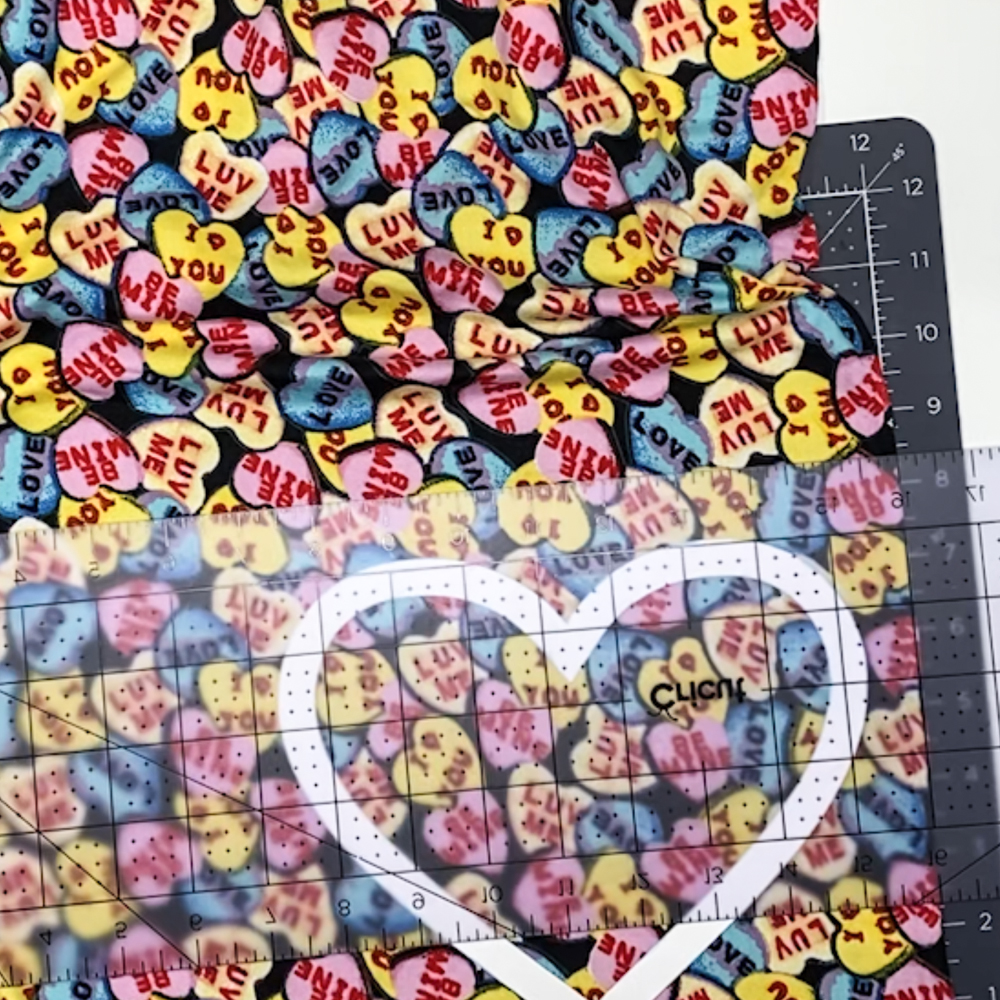
Begin by printing and cutting out the design. In this example, I am using the free heart template. You can print this template out with your printer or use the svg included and cut it out with your cricut like I did. If you are using your own design, make sure to include a 1/2″ seam allowance around the outside of your design.
It is the easiest to add the applique before sewing your shirt together.
Decide where you would like to place the design. I am adding mine to the center front of my shirt but you could place it anywhere you would like.
The next step is to find the center of the shirt. I placed my template about 5″ from the unfinished neckline but you may want yours a little lower or higher. It will depend on the pattern and size you are making.
Mark the appliqué on both the top and bottom of the heart with a fabric marker. This will make it easier to line up when you lay the shirt flat.
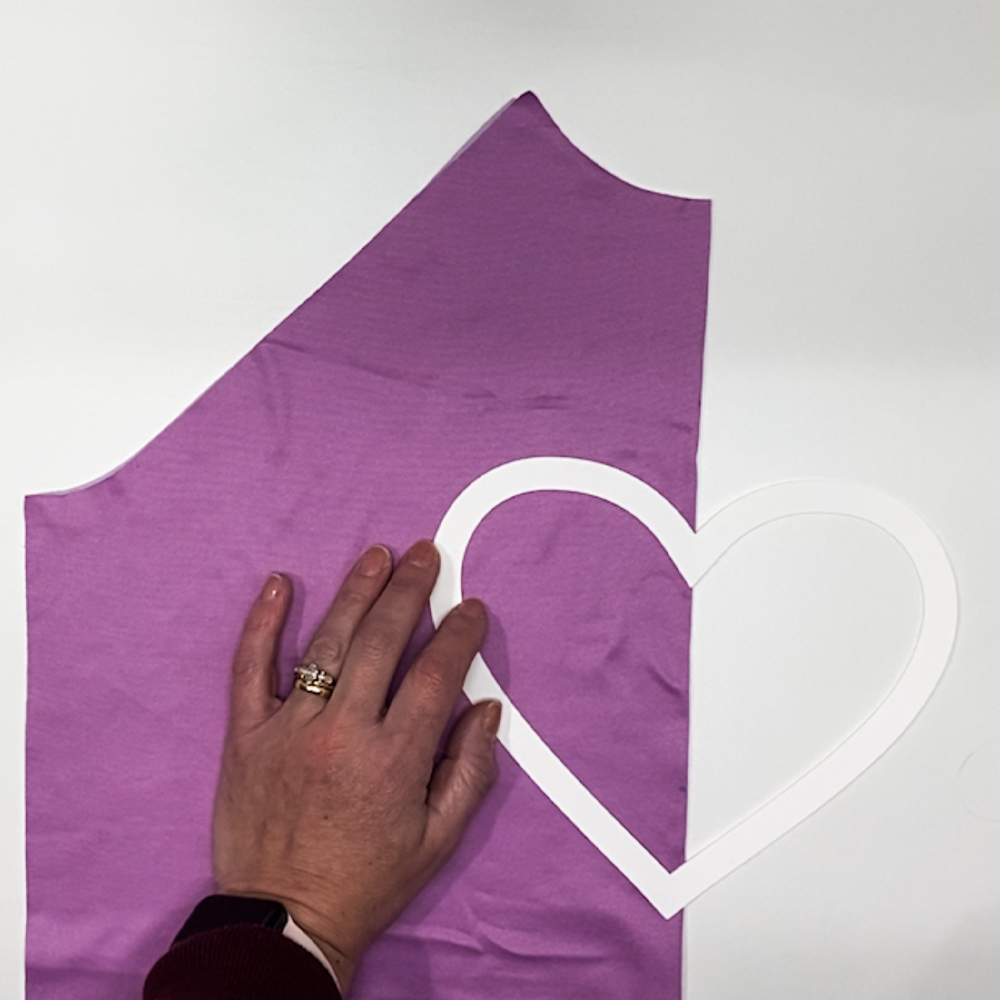
With RIGHT side facing up, lay the front bodice flat and align the heart to your markings from the previous step. Make sure the heart is centered horizontally on the front of the shirt as well.
Helpful Tip: Pin the template to the shirt and hold it up to your body to check the placement and make sure it’s not too low or high.
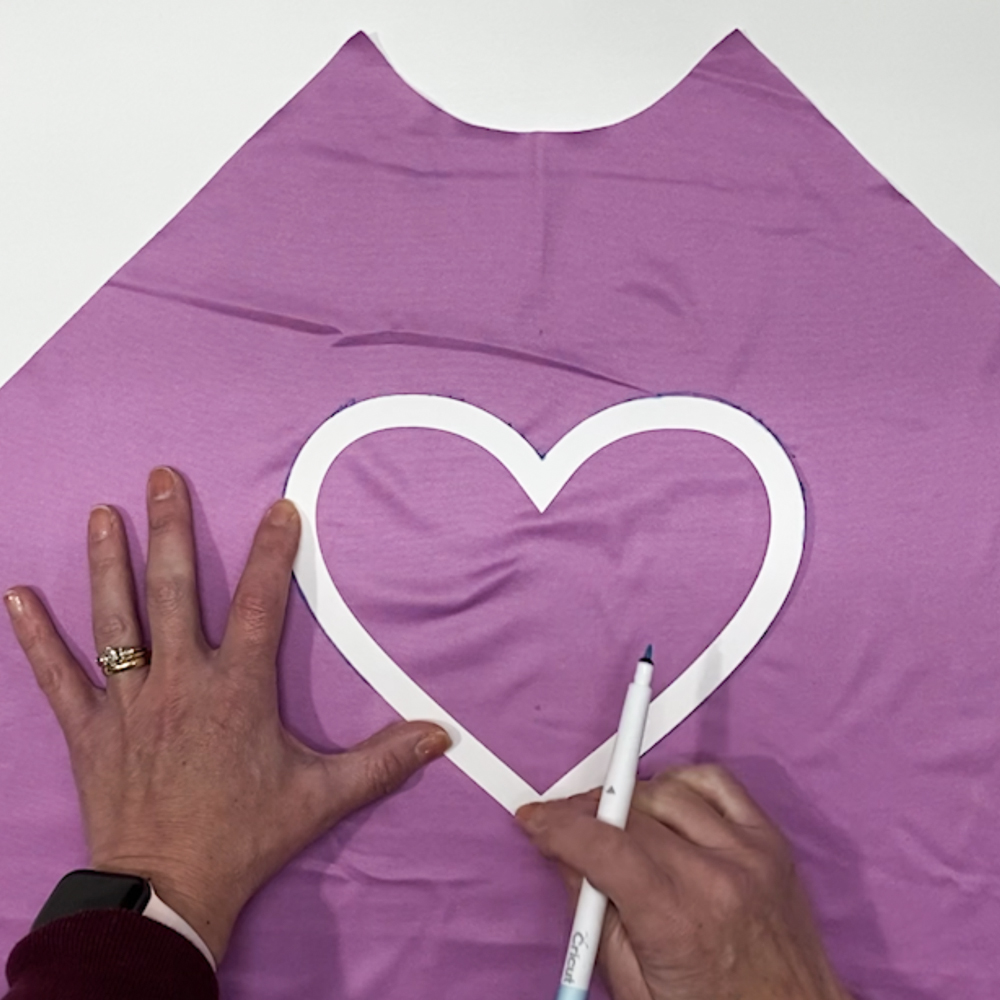
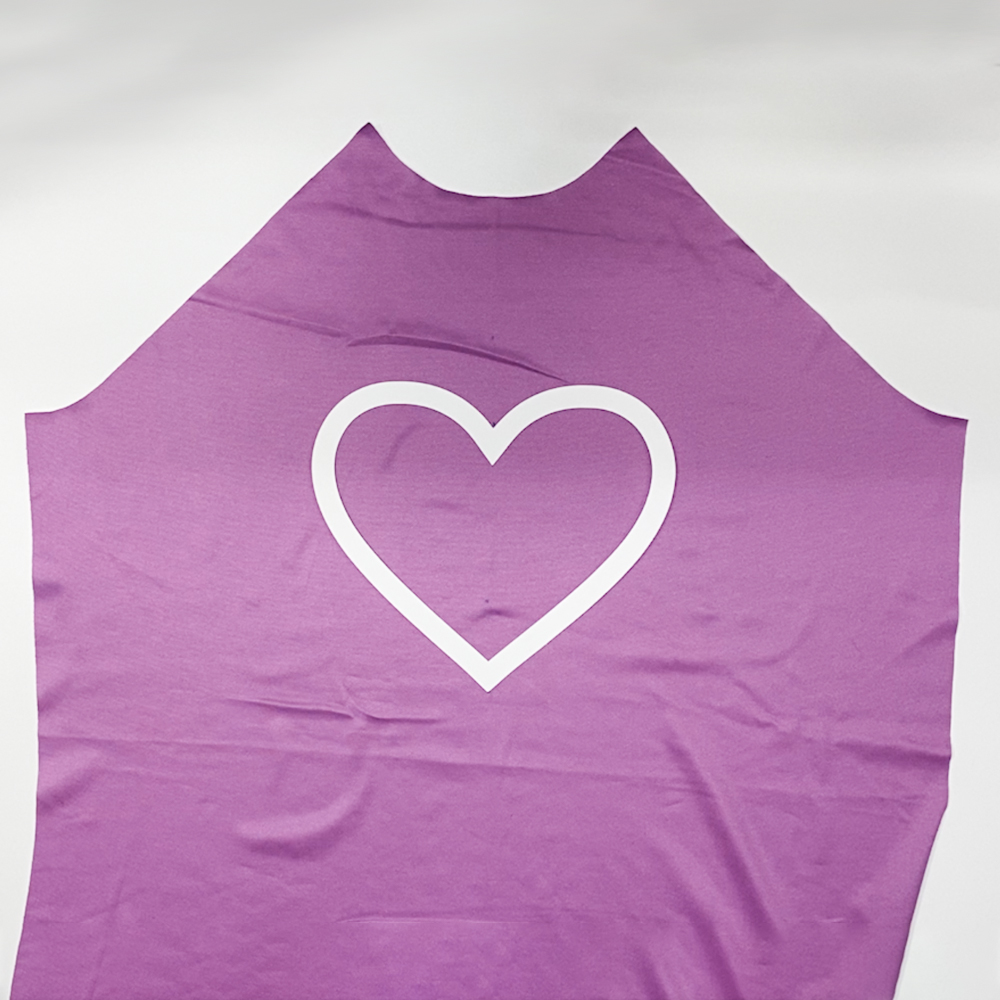
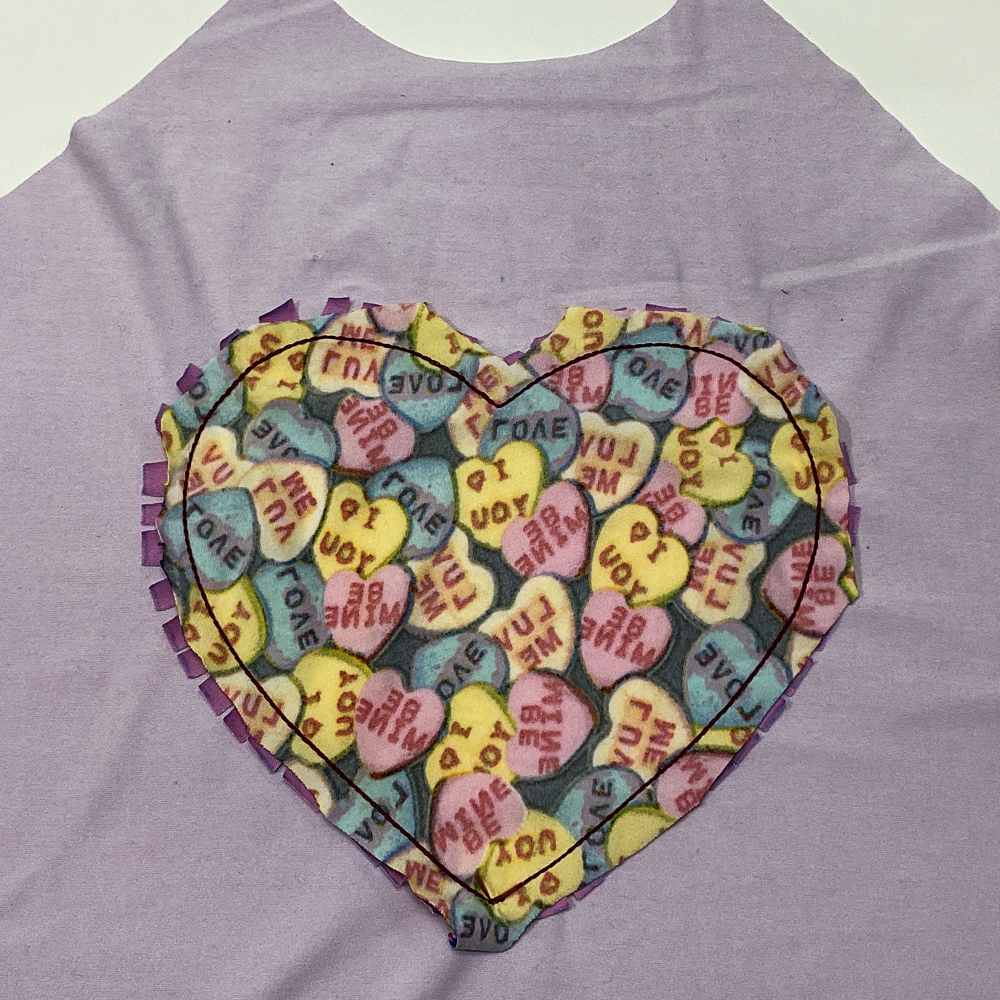
Once you have the template where you would like it on the shirt, trace the inner and outer heart shapes on the right side of your fabric.
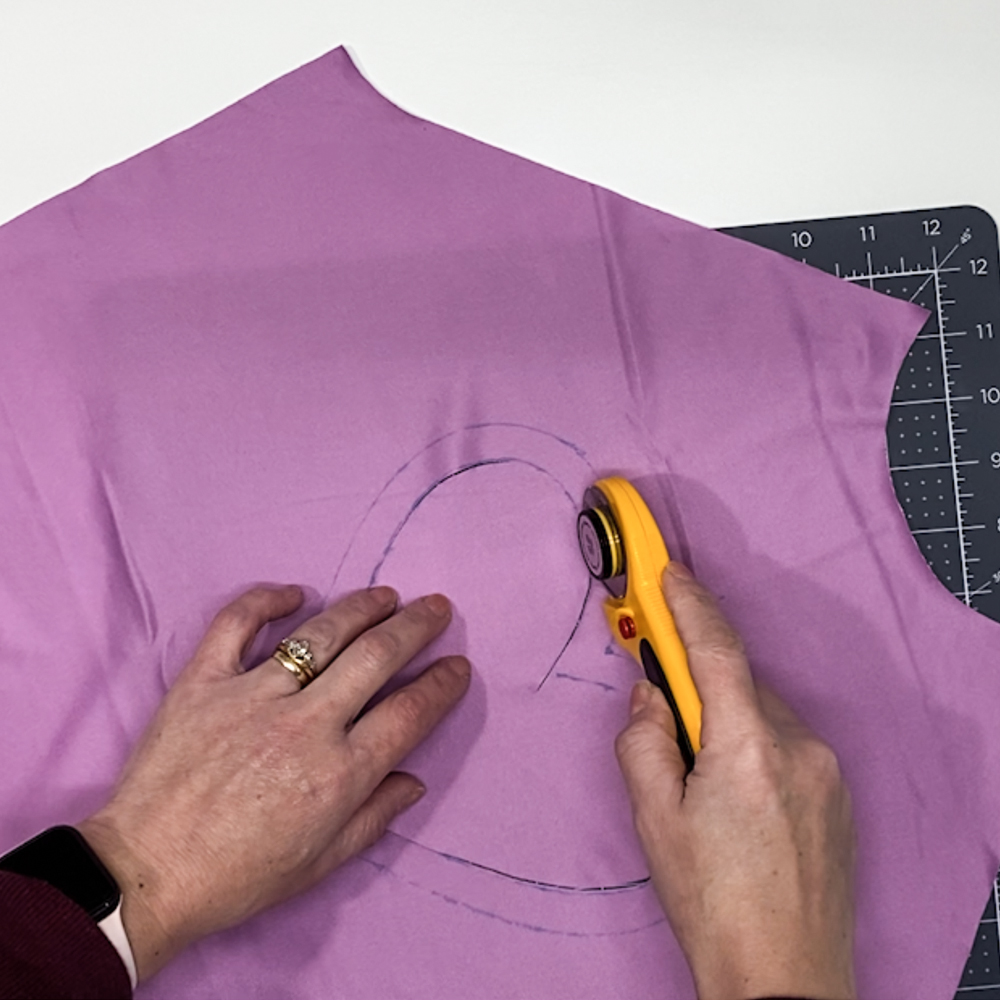
Use a rotary cutter or scissors to cut away the inner heart shape only.
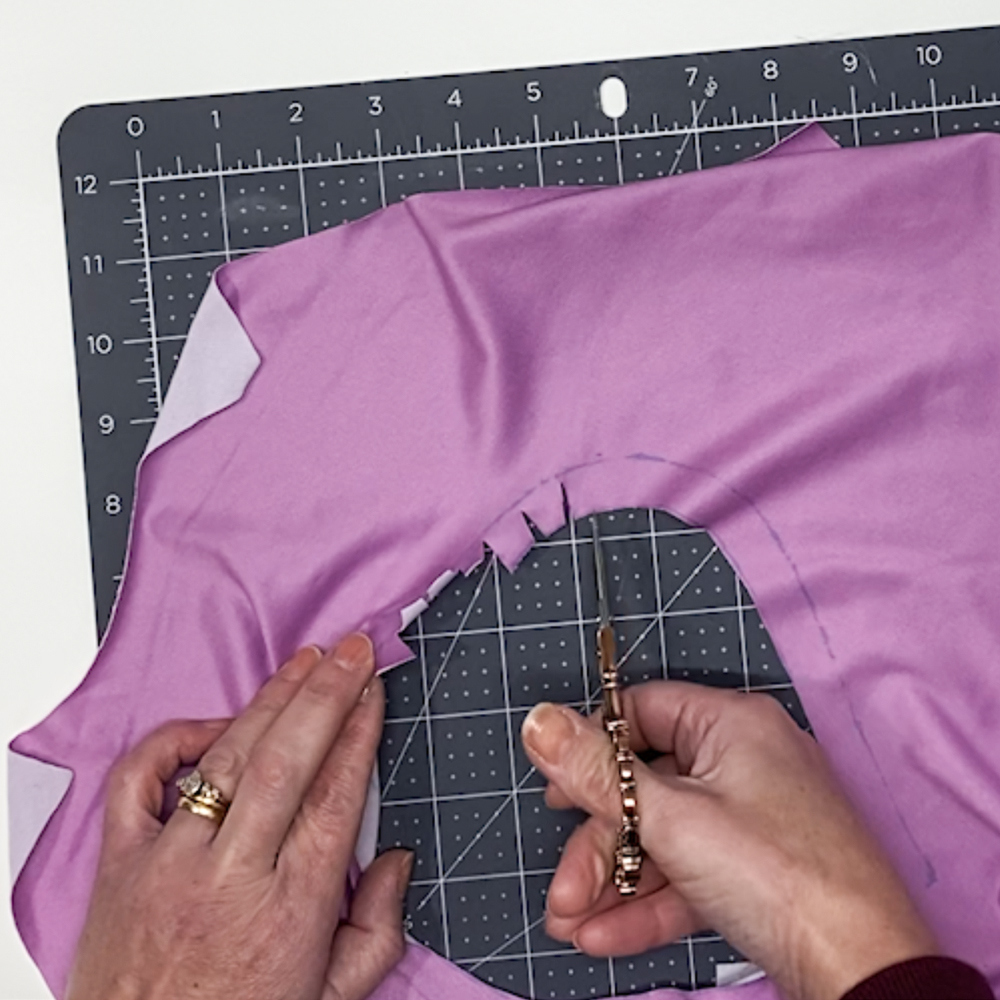
Cut little snips just up to the outer guideline. Do this around the entire shape.
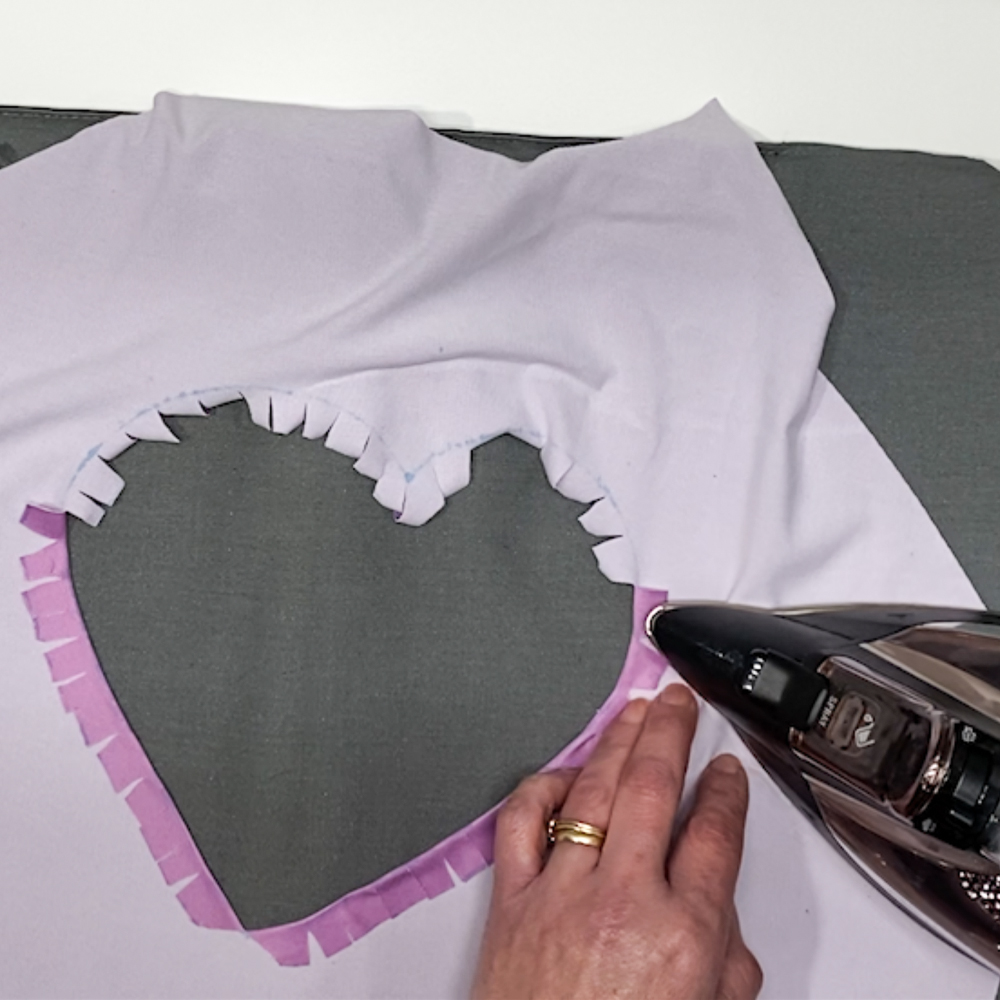
Turn the shirt over so the wrong side is facing up. Press the seam allowance toward the wrong side of the bodice, just up to the guideline.
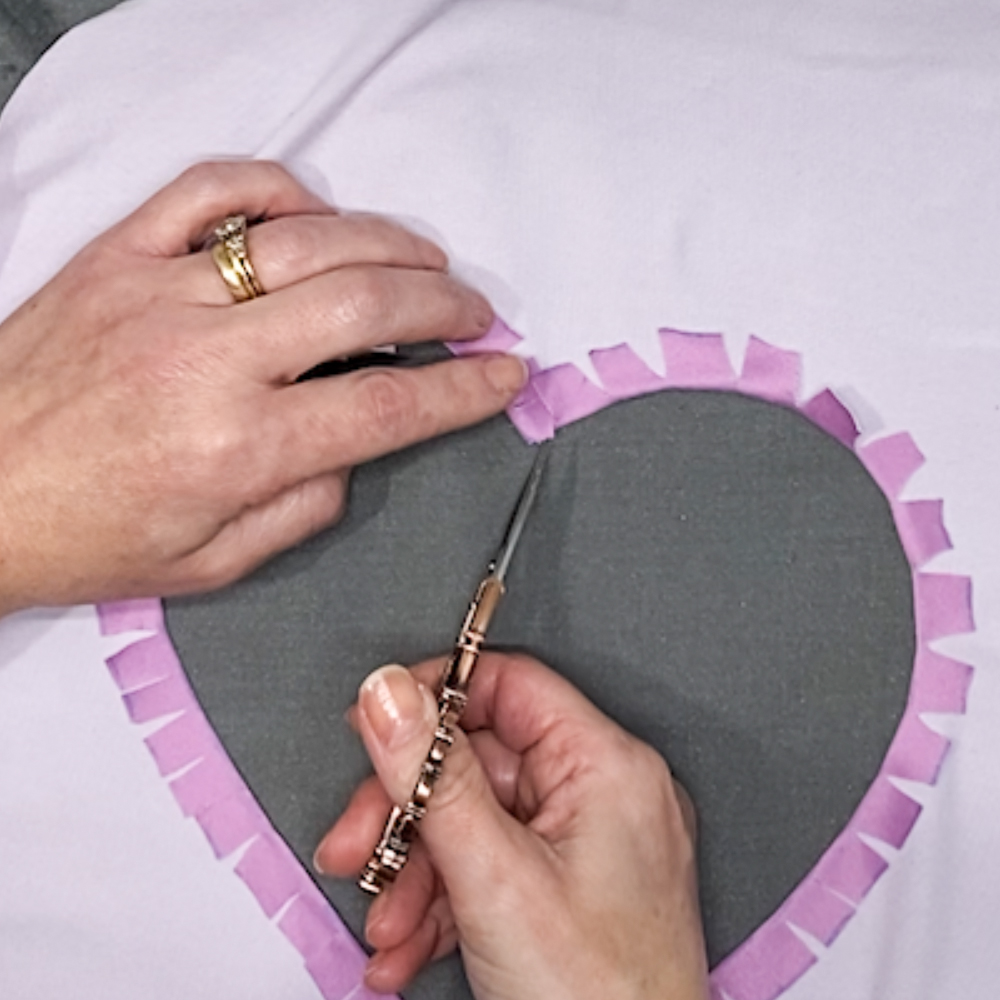
Snip any extra fabric that is sticking out at the center point of the heart so that it lays nicely.
Turn the shirt over and make sure that your curves are smooth.
Set the shirt aside and grab the fabric that will go behind the heart shape. Cut the back fabric about 1″ larger than your applique design on all 4 sides. The heart in the template is about 8″ x 7″ so I cut a 10″ x 9″ piece of fabric.
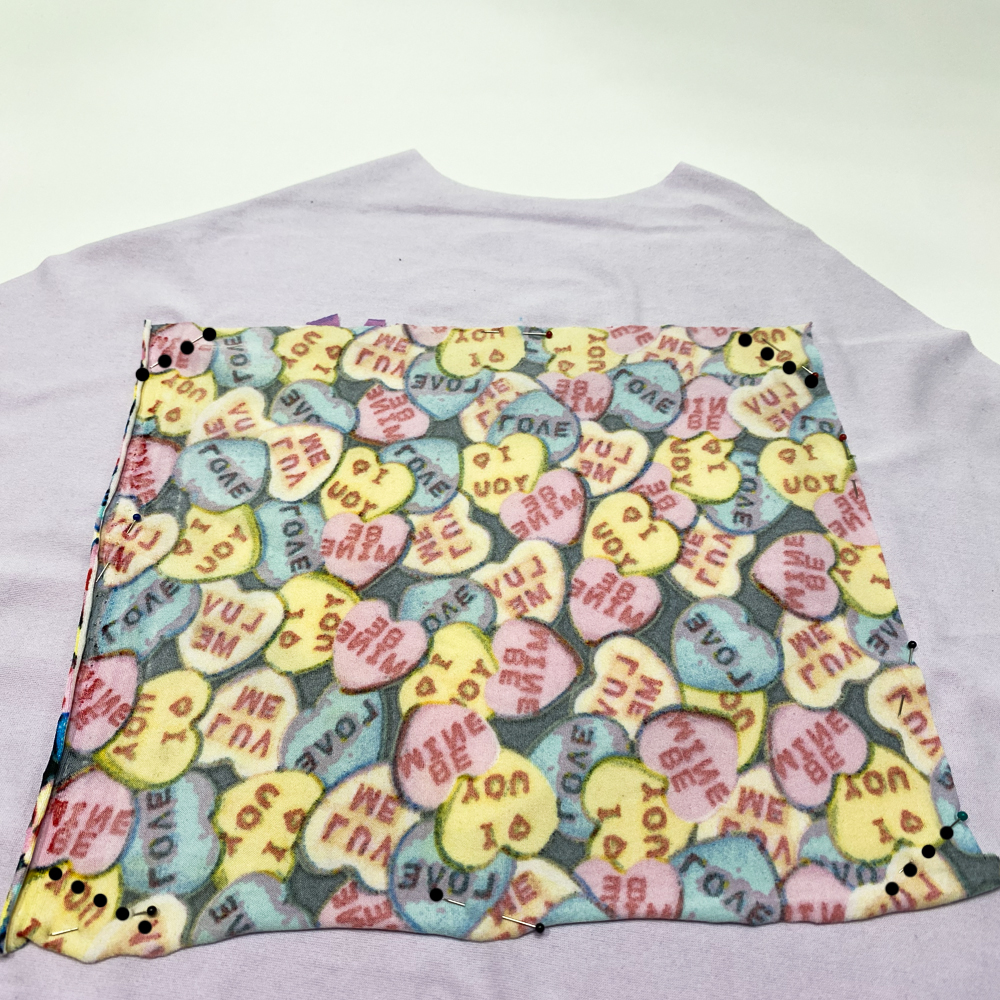
Place your shirt wrong side facing. Place the back fabric right side down onto the wrong side of the shirt. Place pins in each corner and along the sides to hold the fabric in place when you turn it over.
Turn the shirt over and pin together very well.
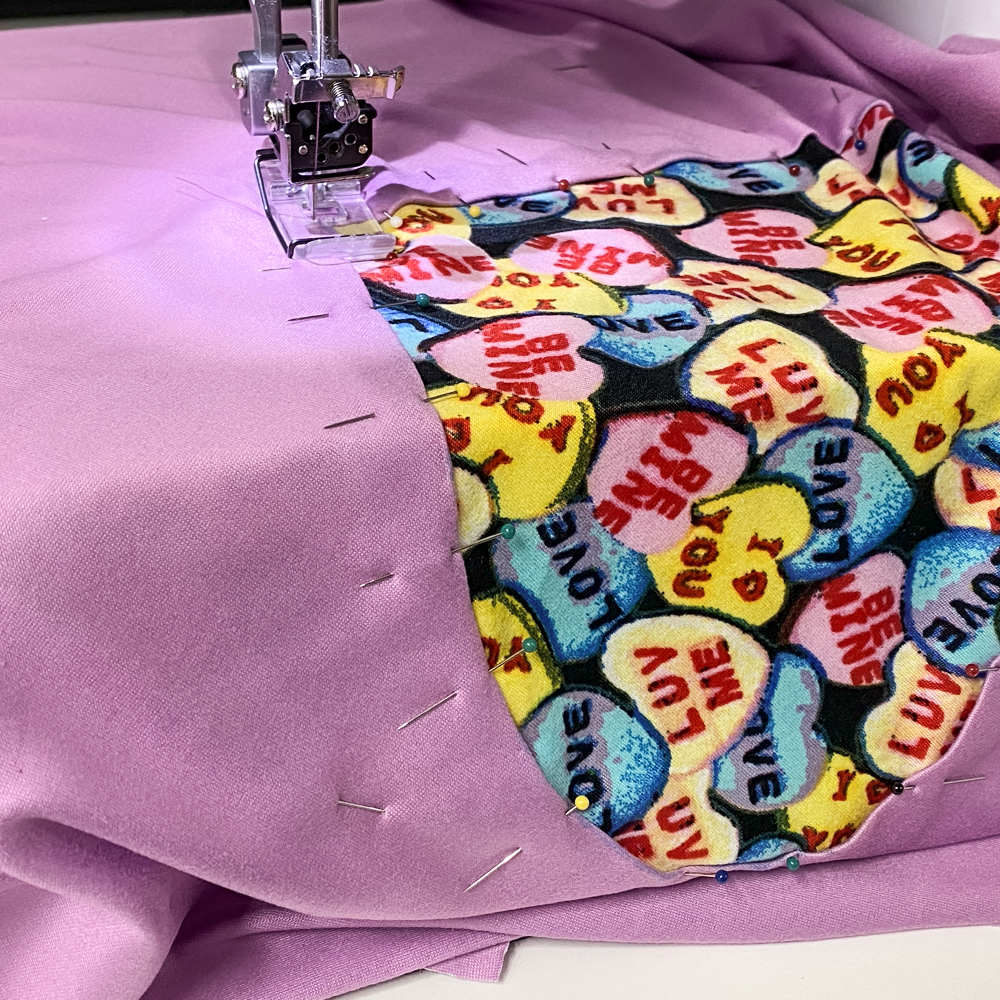
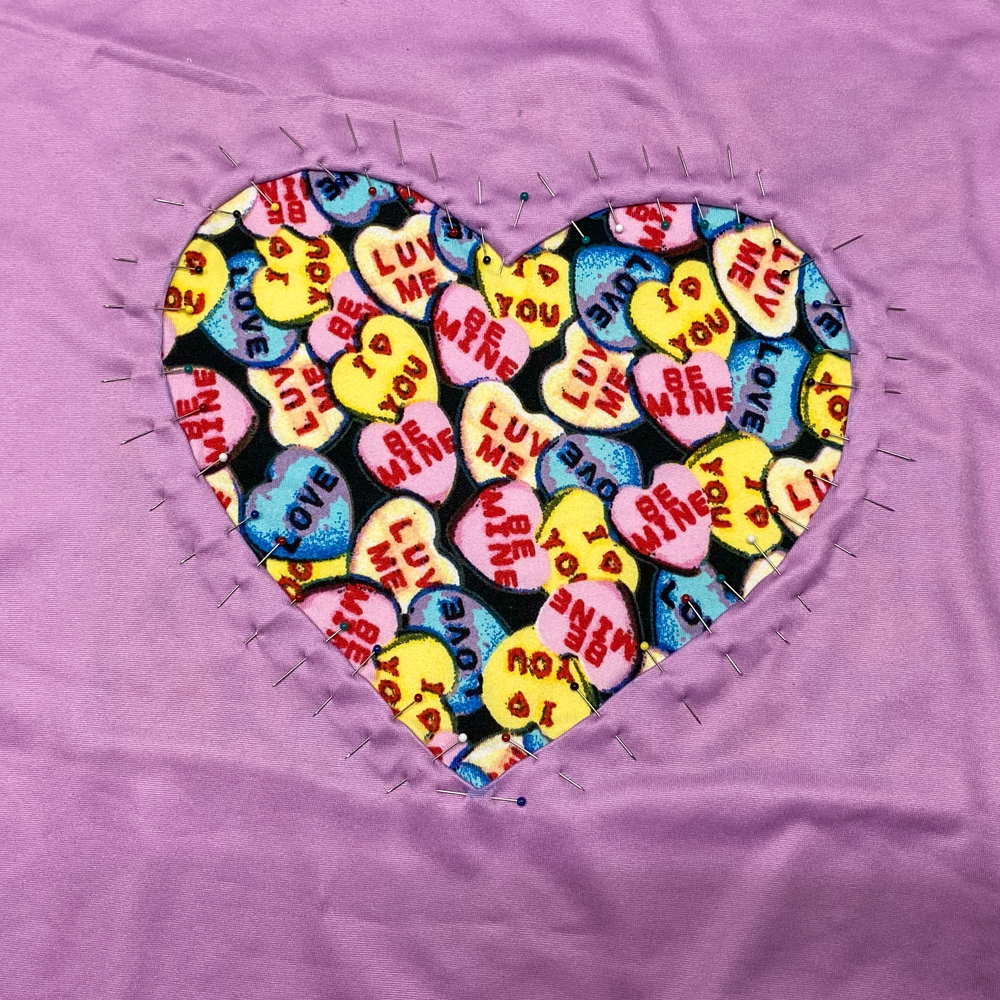
Topstitch as close as you can to the folded edge on the right side of the shirt.
Once the appliqué is topstitched down, turn the shirt to the wrong side and trim the extra back fabric. If you are using a knit fabric like I did here, you do not have to worry about finishing the edges. If you used a woven fabric you can use pinking shears or carefully finish the raw edges. Be very careful that you do not cut through your stitches or your shirt fabric.
That’s it…finish off your shirt per the pattern directions and show it off!
Show off your Reverse Appliqué and share it with our community of sewists. Make sure to tag us on Facebook and Instagram using @mammacandoit so we can see you in them!
Don’t forget to join us on Facebook, Instagram, Twitter, Youtube, and Pinterest to stay up to date on all things Mamma Can Do It!


