
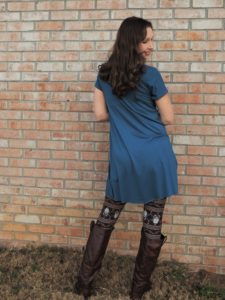
Mamma Can Do It just released the Adalynn for women, a new swing style A-line dress that now comes in sizes 00 to plus size 40W. It really is an amazing and versatile pattern. The Adalynn dress makes a perfect base pattern for any number of hacks. The designer Elizabeth Singler is the creative inspiration behind these hacks, because she wanted this pattern, in her words, ” (to be) the very best pattern ever!”. I especially love testing for designers who are open to the collaboration of all their testers. The neat thing about these hacks that you are about to see this week is that each one of the hacks can be applied not only to the women’s sizes, but also to the baby Adalynn and the girl Adalynn as well. It opens these patterns up to so many new possibilities. The hack that I’m going to help you with today is for a straight hem slit style tunic. When choosing my dress fit from the really neat fit worksheet located in the tutorial to this pattern, I decided to do a semi-fitted dress. I printed and taped my pattern out exactly as I would to make a dress.
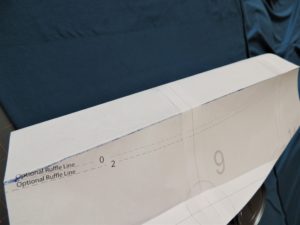
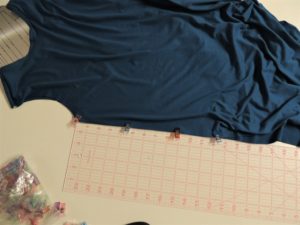
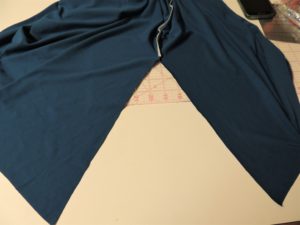
I then located the Optional Ruffle Line.
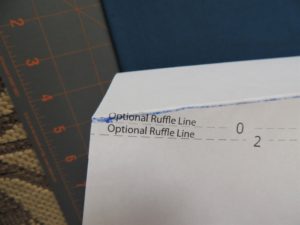
I used a ruler to draw a straight line from where the ruffle line hits the seams along the sides.
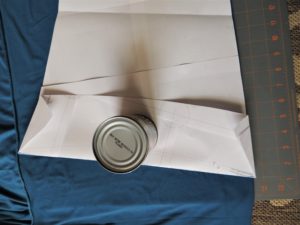
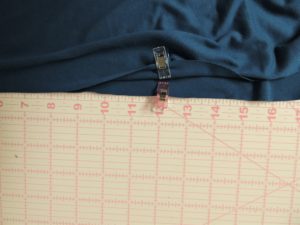
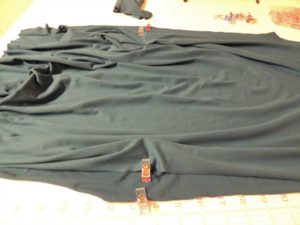
I then folded the bottom of my dress up towards the bodice like so.
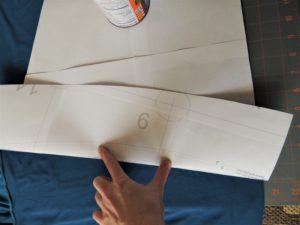
I also folded in the sides to make it easier to cut my pattern out. I opted to hack the pattern this way so that I could still use this pattern to make another dress if I wanted to.
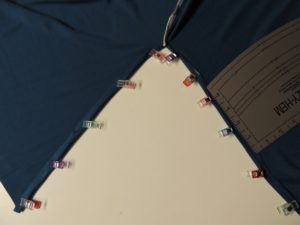
After cutting out my pattern I followed the tutorial for sewing the shoulder seams and creating the neckline. I then tried it on so that I could figure out where I wanted my tunic slits to fall. Pin or clip your side seams to figure out where you want your slit to be. This is a more conservative side slit.
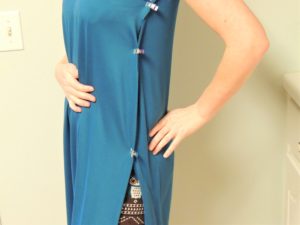
You can also sew the side slit a little higher. I can see this version being a very nice and cool beach cover up for summer!
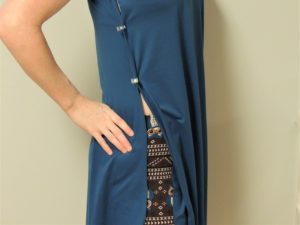
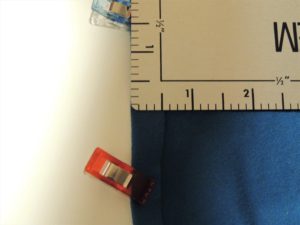
After you have figured out where you want your side slit to fall, measure one of the sides so that you can make sure both sides are even. Mine measured 12 inches from the underarm.
I then clipped the back and front individually so that the sides were easier to manipulate for sewing on the sleeves.
Measure the other side and mark that side as well.
Sew on your sleeves by following the steps in the tutorial. Starting at the sleeve hem, sew your sleeve seam and your side seam by serging or using a stretch stitch. I chose to serge mine. Each of your sides should look like this.
Using a half inch hem fold in each side slit to the wrong side.
It should look like this.
The fabric I’m working with is double brushed polyester which is a very slippery fabric. I like to use washable kid’s glue to hold my seams down while I sew. I know others swear by wash away tape. This is also useful for fabrics that tend to curl when cut.

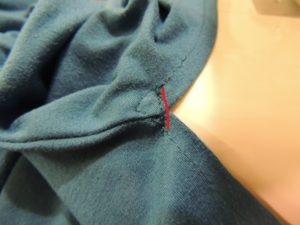
At the top of your slit push your seam to one side and be sure to angle your stitches in since your hem seam will be less than a half inch here.

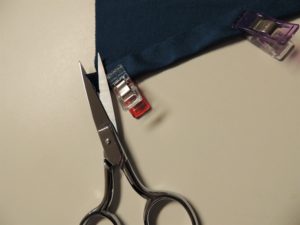
I clipped the little triangle pieces off that overlapped the bottom of the tunic.
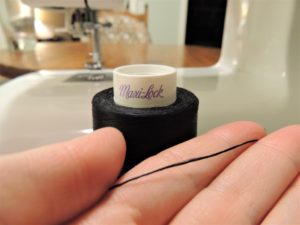
When sewing your slit seams, make sure you use a stretch stitch or stretch thread in your bobbin. I love Maxi Lock stretch thread. It is suggested that you hand wind your bobbin with this so that it allows it to stretch. This thread allows you to sew a straight stitch that stretches on your regular sewing machine. It is still not as strong as a stretch stitch like a zig zag, but on something like this I think the stretch will be just enough. I might try using my coverstitch machine next time since my regular sewing machine hates working with slippery fabrics like double brushed polyester and ITY.
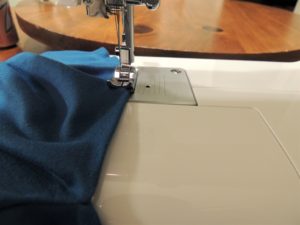
Sew starting from your bottom hem and follow your seam line up towards the top of the side slit. Remember to angle your stitch inward to catch your upper shirt seam. This helps reinforce this area. If you have trouble working with a slippery fabric like double brushed poly, try using tissue paper to stabilize your stitches.
Once you get to the top, bring your needle down and pause your sewing so that you can lift the presser foot and turn your fabric in order to finish sewing the other side of the side slit.
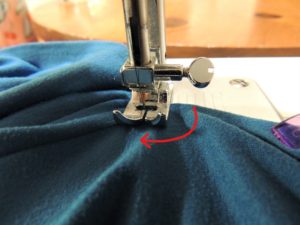
Don’t forget to bring your presser foot back down before continuing to finish sewing along your side slit hem line.
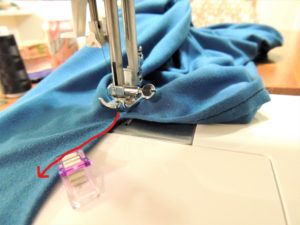
After finishing the hem of the side slit, come back up to the top of the slit. Sew using either a narrow zig zag or straight stitch at the very top. This will help reinforce this section of your side slit and help it lay better.
Finish your other side slit and hem the bottom of your tunic. I’ll tell you a secret though. I didn’t hem this. I hardly ever hem double brushed poly. I love it! I can’t wait to see what you make with this versatile pattern!


Disclaimer: This post does contain affiliate links.


2 thoughts on “Adalynn Dress Hack: Slit Sides Tunic”
I love the freedom that comes with the slit, gives a great combination with tights. Good all weather combination also.
Pingback: Adalynn Hack Roundup | Mamma Can Do It Sewing Blog