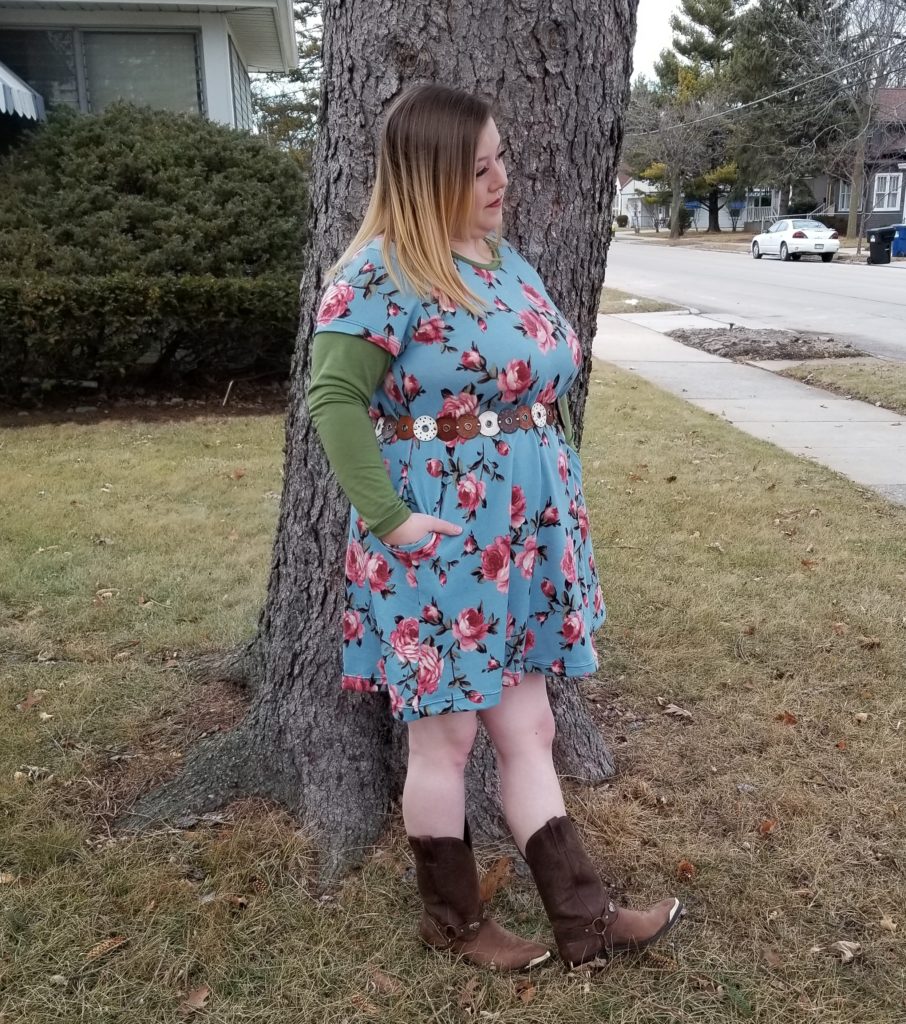
Hi guys I’m Natalie owner of Hunny Bunny Boutique and I have a question for you.
Do you love the layered look but hate the extra bulk of 2 layers?
I’m going to walk you through hacking the sleeves on the Adalynn Dress to have the layered look without the bulk. You can also do this with most of the MCDI patterns as they all have the same sleeve layout.
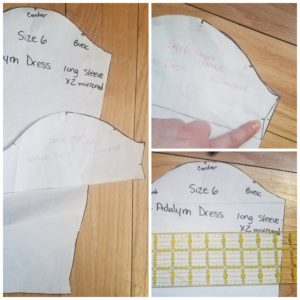
The first step will be cutting out both the short and long sleeve pattern pieces. You will need both pieces as we want to keep the hem on the short sleeve to give the true effect of a layered look.
Once cut out, layer the two pieces on top of each other and mark the long sleeve piece where the fold for the hemline on the short sleeve piece is. Next remove the short sleeve piece and measure one inch above the marks you made and draw a straight line across. That will be your cut line for the long sleeve piece.
Use these patterns to cut out your fabric pieces (make sure to mark the front and back sides on your lower piece). I like to run the edges through the serger before I start, but it is not necessary. You will need to press the hem up on your short sleeve piece, but do not sew it yet.

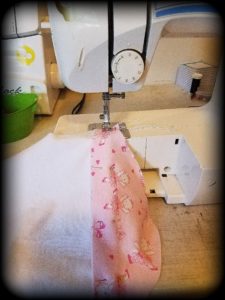
Next you will line up the top of your long sleeve piece on top of your short sleeve hem line where you just pressed. I do this with right sides facing down to more accurately line up the pieces. Clip the two outer sides and pin the center, then flip it over. Place another pin next to the underneath pin, and then remove the underneath pin. Place additional pins halfway from the center pin to the clips. I prefer to use a double needle but a single needle will work as well. Feeling your hemline, line it up to your sewing machine and stitch straight across. This attaches both pieces in one hem stitch and creates your Faux layered look.
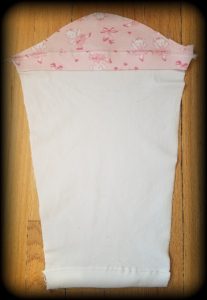
Now you can attach your sleeves and finish your dress per the directions and have an amazing layered look without all the bulk.


