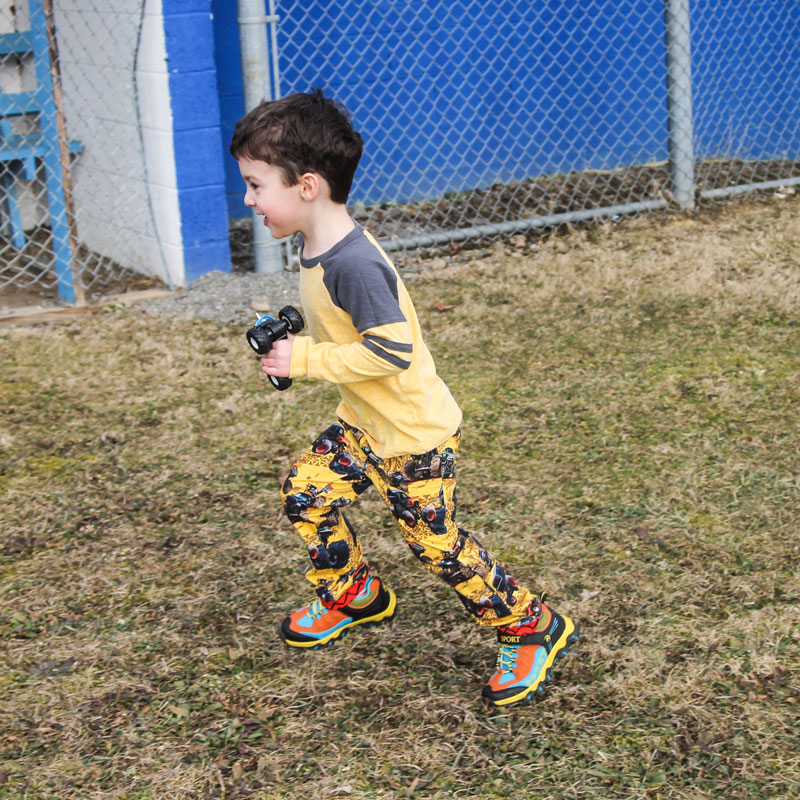
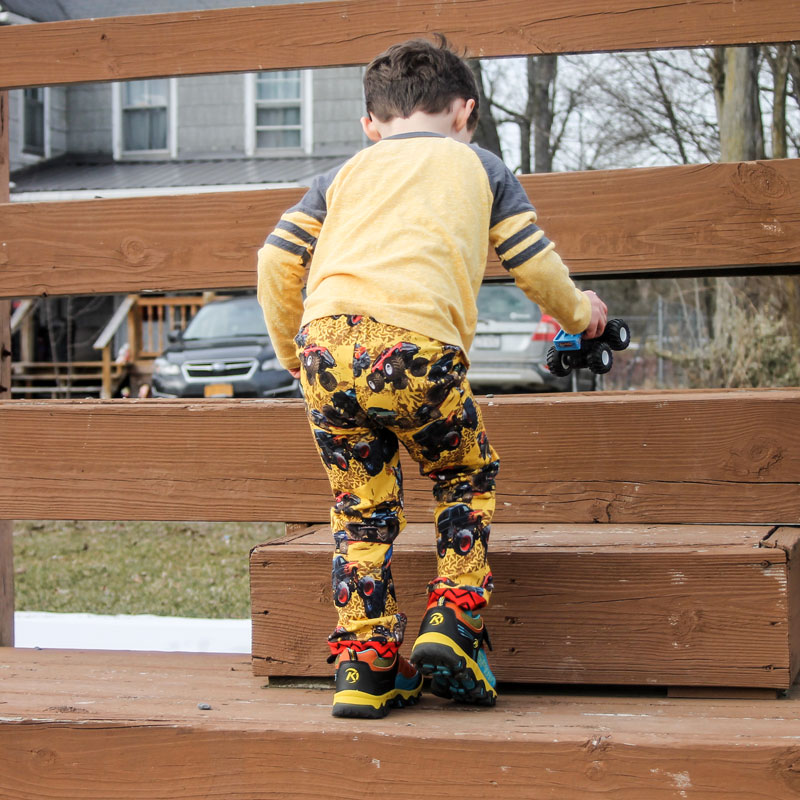
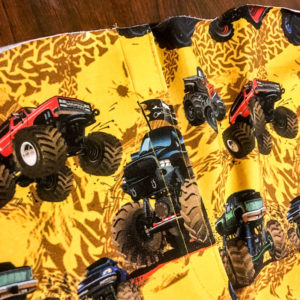
The Fit Pants Pattern is my comfy go-to pattern for my active boy. They are great for all day or all night! To get the perfect fit for my little man, I added some height to the rise and an elastic band. Read through this hack for tips on how you can do the same! As with any pattern, please read through the tutorial all the way before you cut! Note: this works for shorts too!
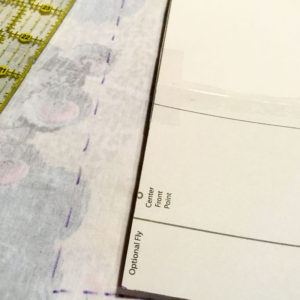
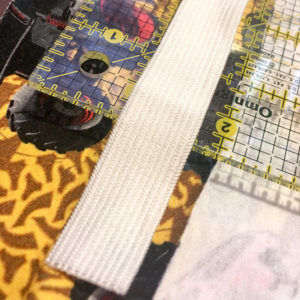
Step 1: Measure and cut your fabric. Using 3/4″ elastic, I added 1″ to the rise of my pattern. If using 1″ elastic, I would recommend adding 1.25-1.5″ to your rise.Do this for both the front and back pattern pieces.
Step 2: Sew the two front pants pieces together. If constructing the faux fly, follow the pattern instructions. Give your fabric a good press (with steam; be sure to follow ironing instructions for the fabric you are using!). Continue to construct your pants adding optional pockets if you choose, and sew the back of the pants to the front. Note: if you are adding pockets, make sure to add the same amount of height to the top of the pattern pieces as you did to the rest (1″ or more). Your pants should now be complete except for the bottom hem and waist band.
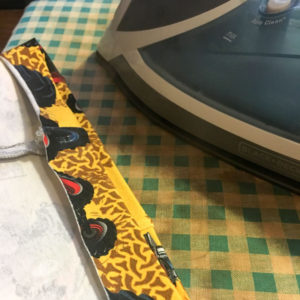
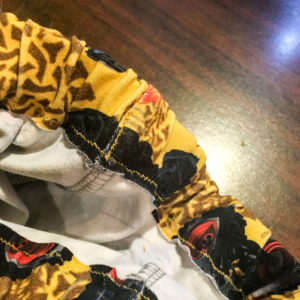
Step 3: Fold over the waist band by 1″ (or 1.25-1.5″ for 1″ elastic). You should have room for your elastic plus a small seam allowance. Give this a good press on both sides (if your fabric allows steam, use it!).
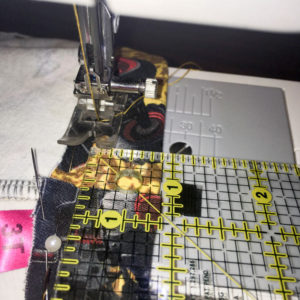
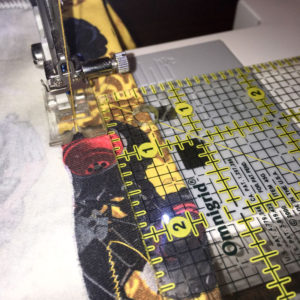
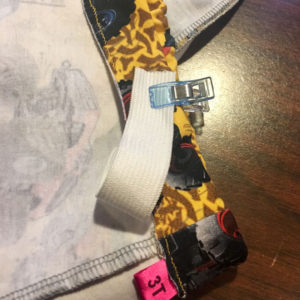
Step 4: Pins are your friend! Pin or clip your band in place; do not stretch your fabric! This is a perfect time to add a size tag as well! Using a stretch stitch, sew 1/8″ wider than your elastic. Tip: want to use a double needle for a clean finish? Make sure you sew with the front side of your pants facing up and that your right needle catches the folded over band. Your right needle will be the seam allowance. Be sure to stop sewing approximately 2″ inches from your starting point. I recommend starting sewing just before the back seam line of your pants for a cleaner finish on the front.
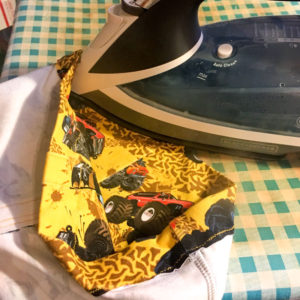
Step 5: Press, press baby! Press it real good! (Again, using heat and steam appropriate for your fabric.)
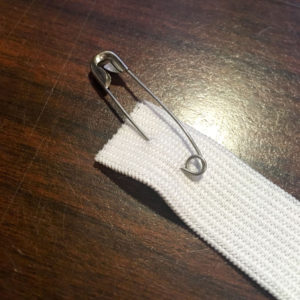
Step 6: Measure your elastic to fit your child’s waist. No child? I used 17.5″ elastic for a size 3T pants (i.e. a few inches shorter than his actual waist measurement). Use a large safety pin in one end of your elastic. Now we will insert the elastic into our new band!
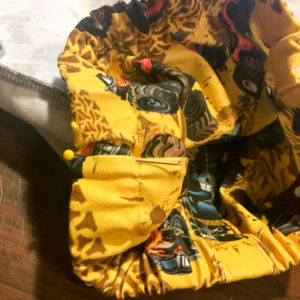
Step 7: Feed the elastic through your newly sewn band. Tip: go slow so your safely pin doesn’t pop open; if it does, wrap it in a piece of clear tape. Another tip: feed the elastic in the direction of your seams. If you pressed/sewed your seams to lay to the right, feed the elastic to the right to lessen the chance of getting ‘stuck’ in the ditch of a seam. Also, go slow to make sure your elastic does not get twisted. You want it to lay flat through the band.
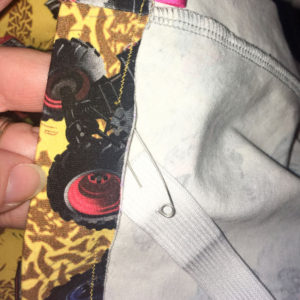
Step 8: Before your elastic is completely threaded through the band, clip or pin the other tail in place to not get ‘sucked’ into the band. If it does, you’ll have to pull it out and restart!
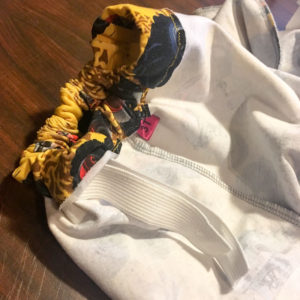
Step 9: Once you’ve threaded your elastic through, pull both ends as far as they will go. Your pants will be bunched on one side and have two tails. Making sure not to twist them, sew these together as directed in the pattern for elastic.
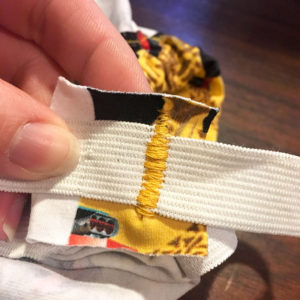
Step 10: Once your elastic is sewn together and trimmed, push it back into your band. Make sure it is flat and straight all the way around! Now we will sew the opening closed. Use your finger to push the elastic to the top of the band so you don’t catch it in your seam.

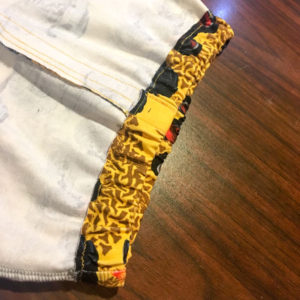
Step 11: After sewing your seam shut, press once more! Press both sides to ensure a clean finish.

Step 12: ALMOST done! Evenly spread out your elastic across your band. Make sure it doesn’t bunch in any one area.

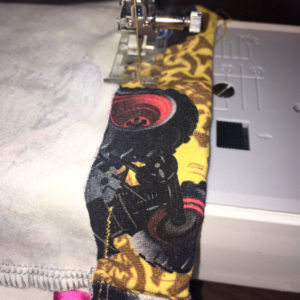
Step 13: Identify the sides of your pants (using the side seam). Add pins or clips to hold the elastic in place. We are now going to tack down the elastic to avoid twisting during wear and wash. (In the second photo I switched to pink pins!) Tip: Pin on the front side of your fabric. I feel my top stitching always looks slightly better on the front. You will not want to use a double needle here. A stretch stitch or small zig zag works well.
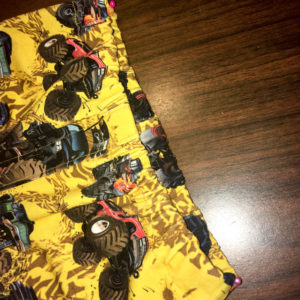
Step 14: Stitch your sides in place with your stretch stitch. You can go the entire 1″ height or only half way up. I like the look of stitching half way down to the band seam.

Congrats! You did it! Your encased elastic band is complete! Hem the pants or shorts in the manner of your choosing, and you are ready to go! Hooray for Fit Pants!