I am so excited to share this hack with you all today. I used the Baby Boy Leggings (aff link) pattern from Mamma Can Do It to make my son some super cute leggings with knee patches. I have two reasons for doing this:
- I love the look of knee patches! I mean, come on, it’s just super cute.
- My son is constantly getting little pin holes in his pants on his right knee. Why? Because he’s two, and he likes to jump and crawl and run and a lot of those things are just a little too tough on his clothes, even the ones I lovingly make with super expensive custom fabrics!!
So!
Here we go.
Print off your Baby Boy Leggings in whatever size is appropriate. This pattern goes from NB up to 36 months. I printed off 24 months for my son. When you cut your pattern out, go ahead and use some of that scrap leftover paper to draw and cut out an oval that you think will work as a patch on the knee. If you’ve already sewn a pair of the leggings before, you can pull a pair out and use that to help you size it up correctly.
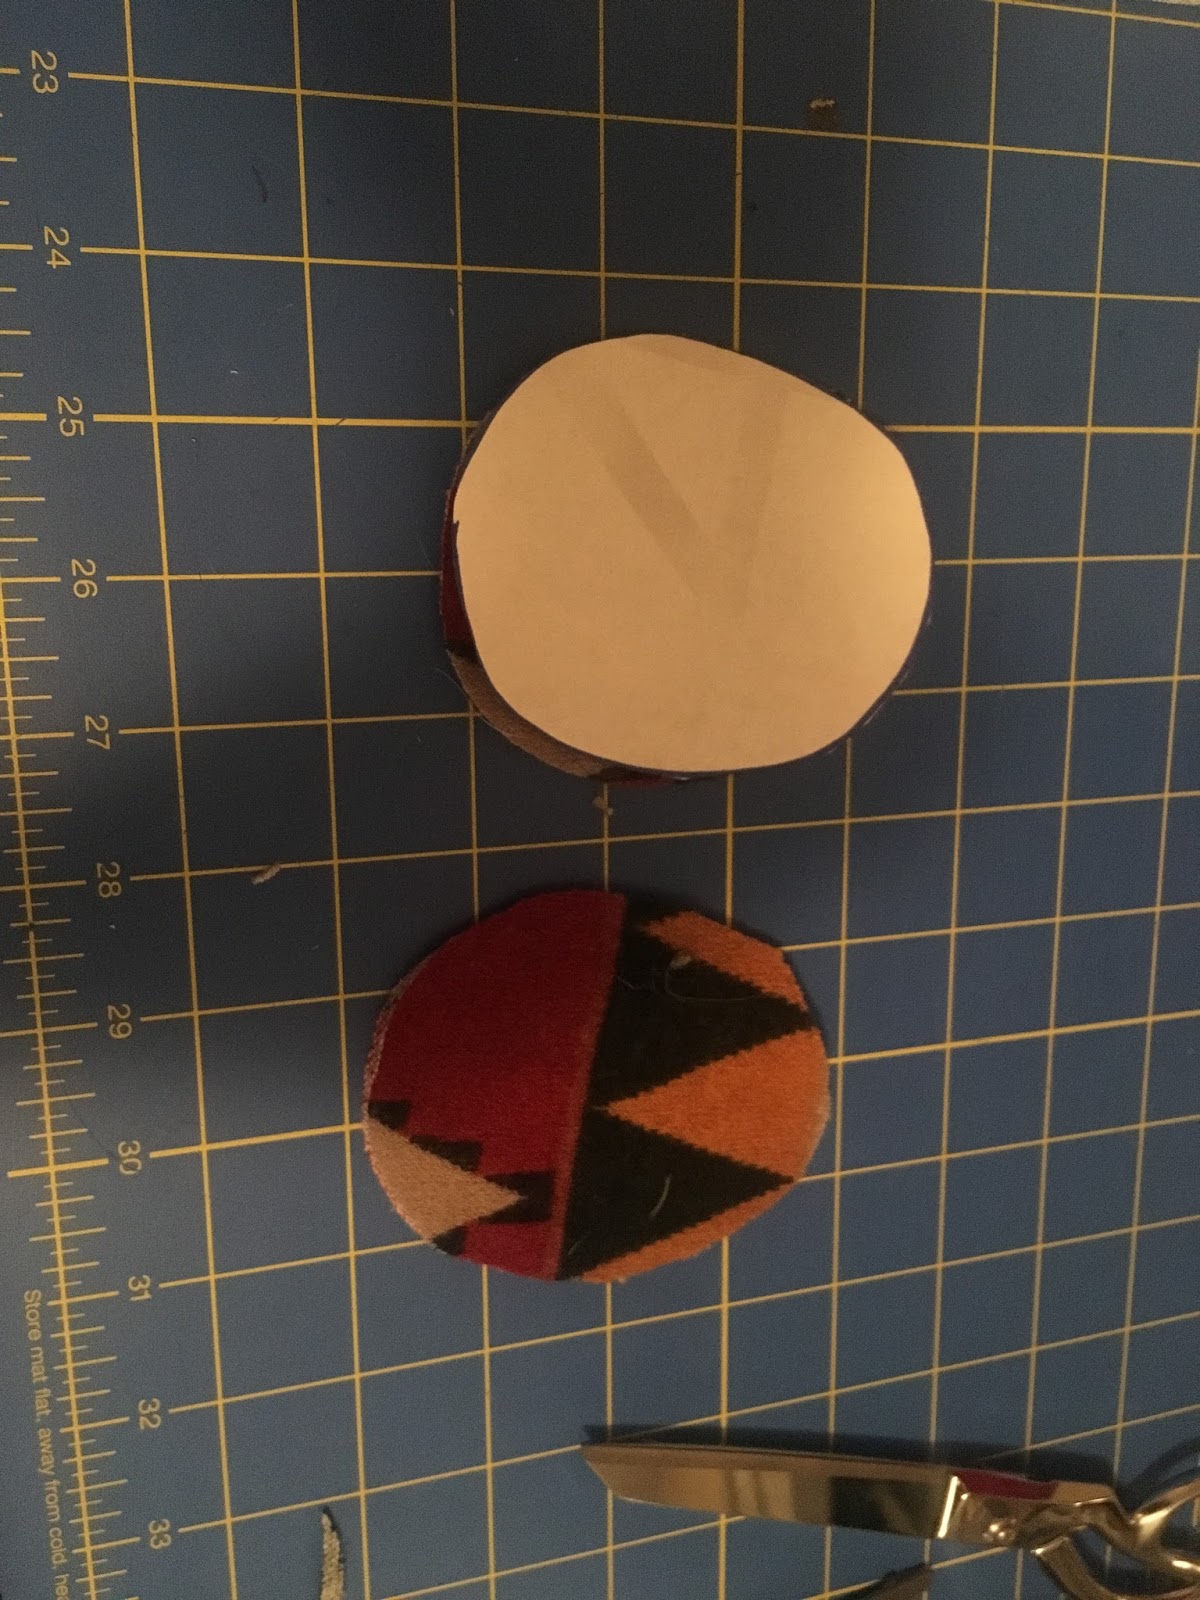 |
| 1. Patch “pattern” piece and fabric cut out. |
1. So here is a picture of my oval cut out, and you can see I’ve used it to cut some fabric. You will want to cut two pairs of these ovals, mirrored, for a total of four ovals.
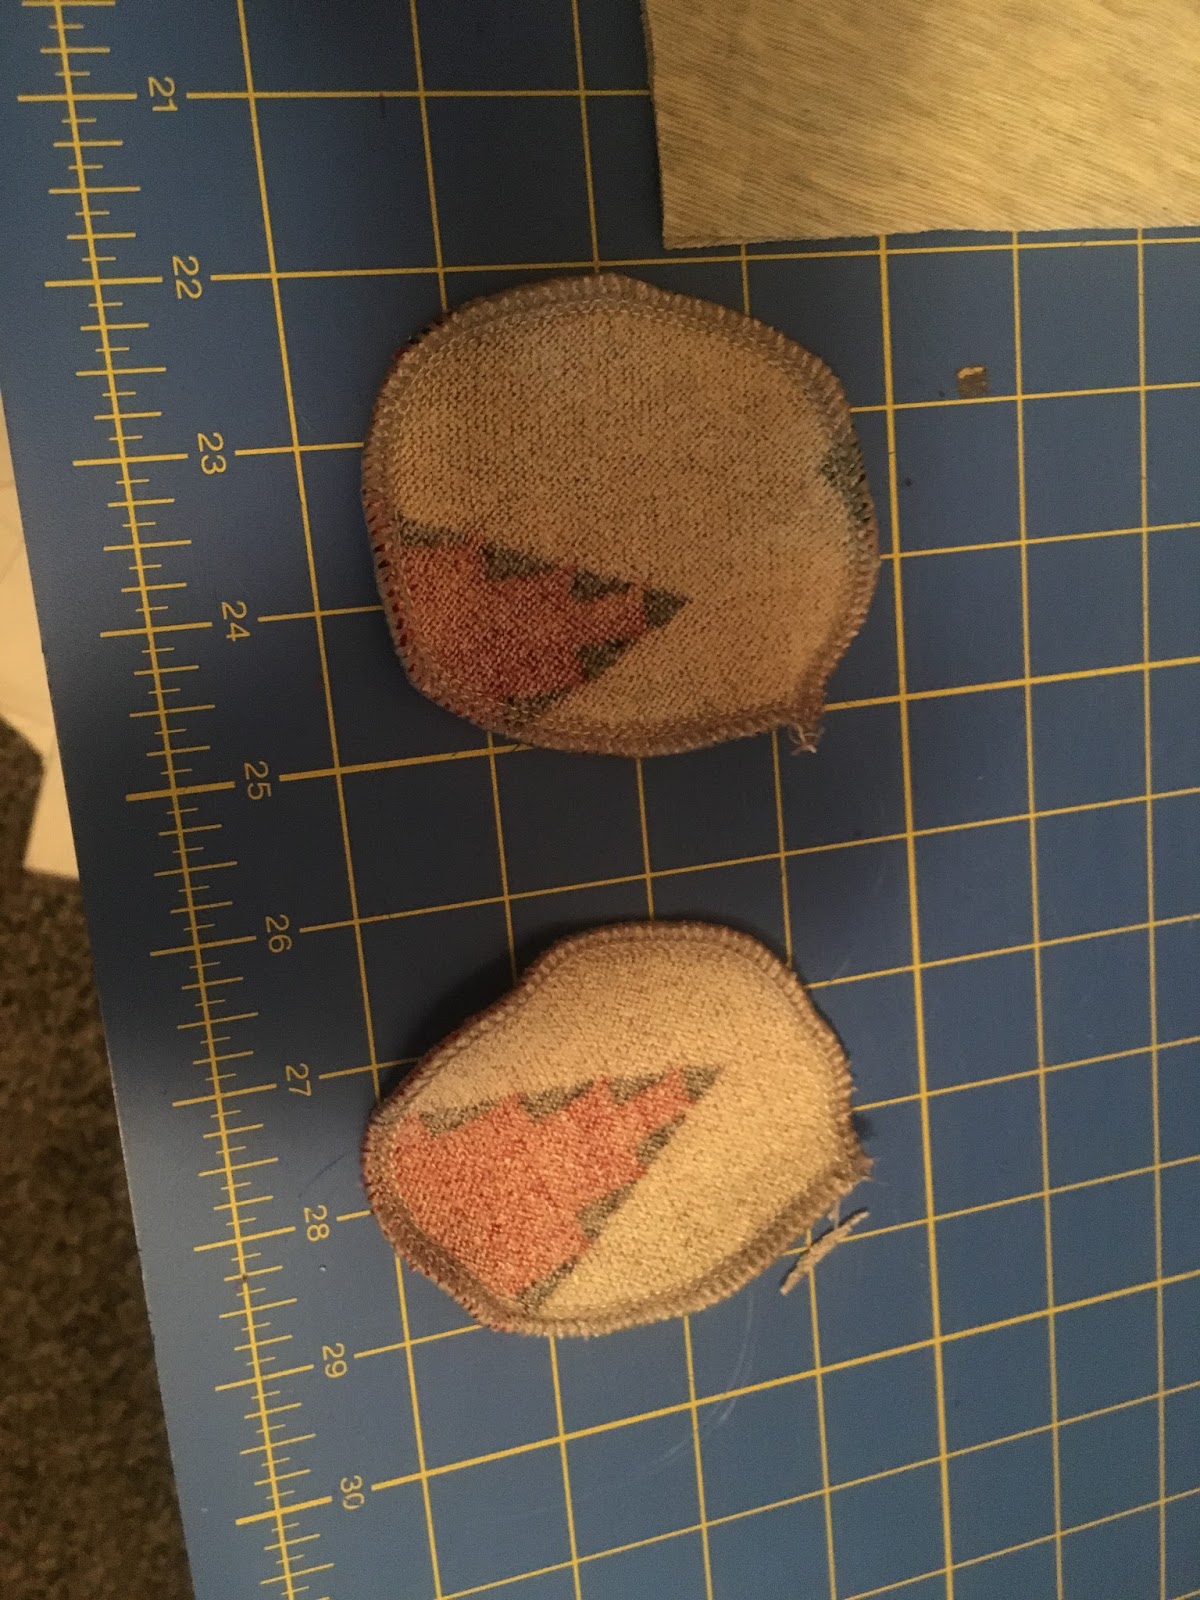 |
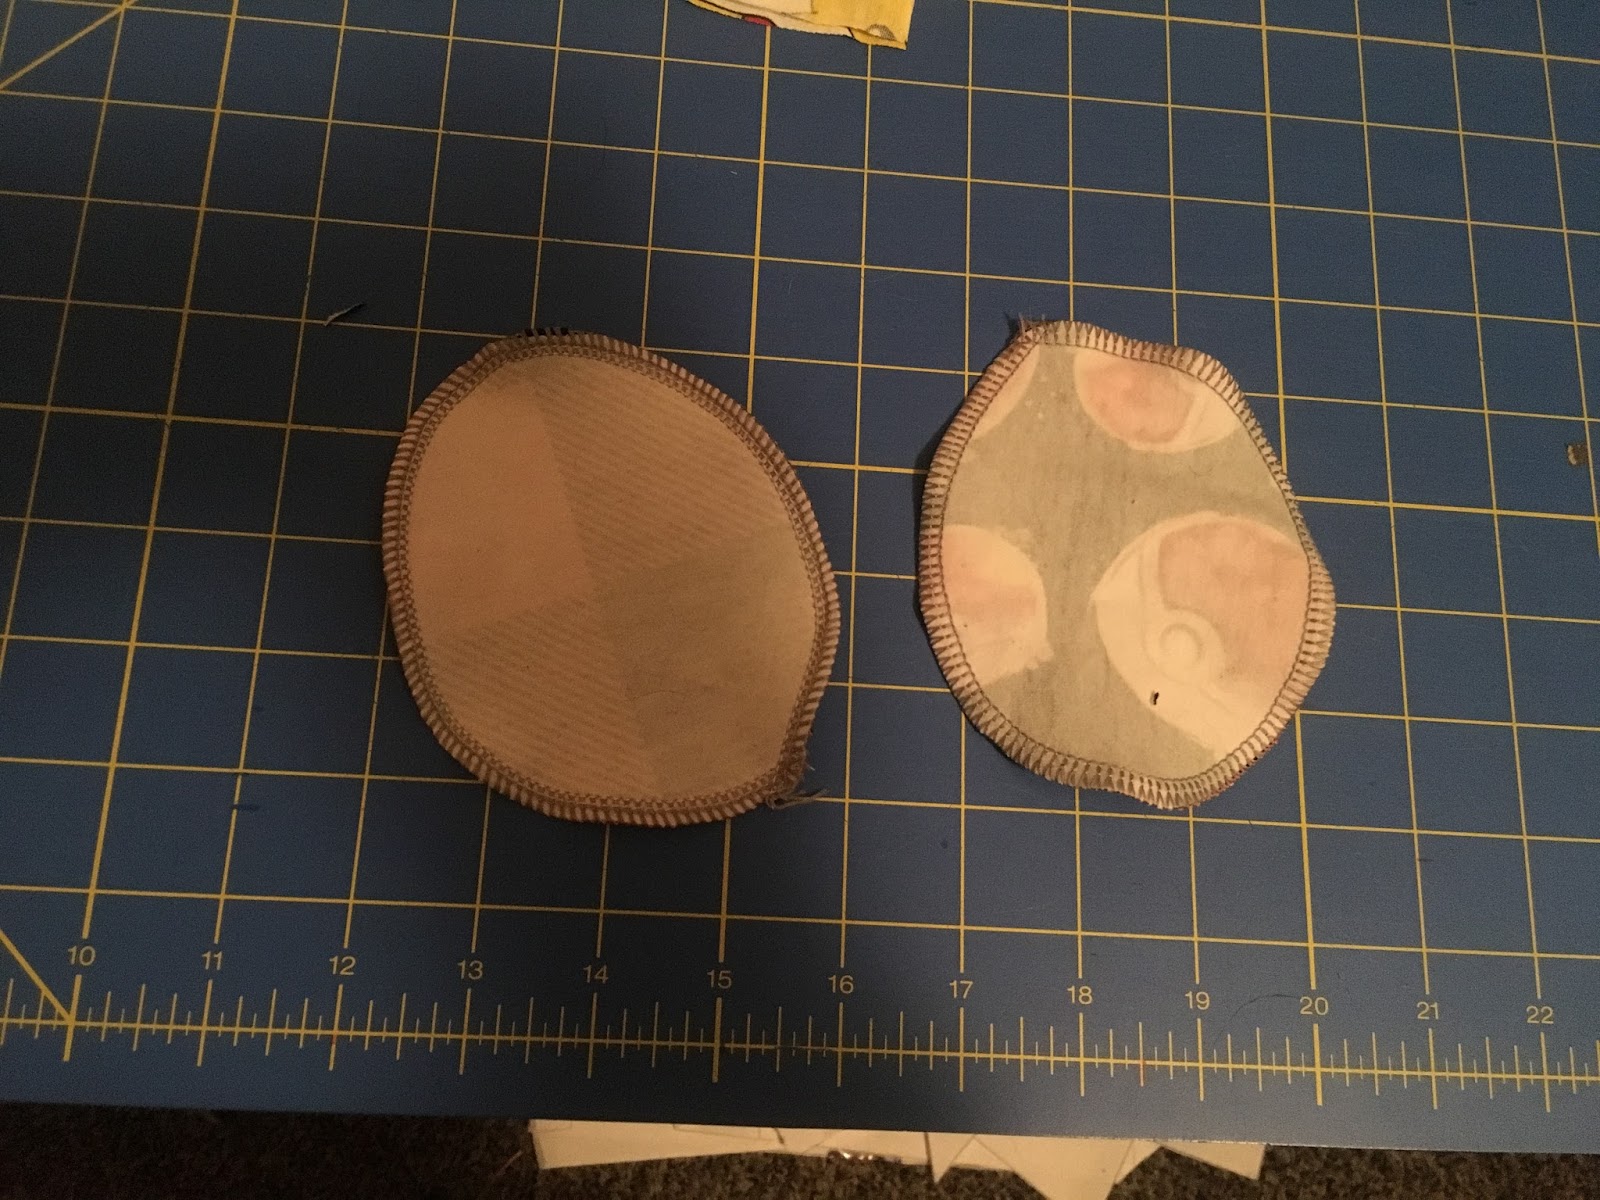
| 2. Sew/Serge the patches completely shut. |
2. Next, you will serge or sew two of the ovals together, right sides together (RST), and then do the same for the other pair of ovals. You can go ahead and close them up completely–trust me, it will be okay!
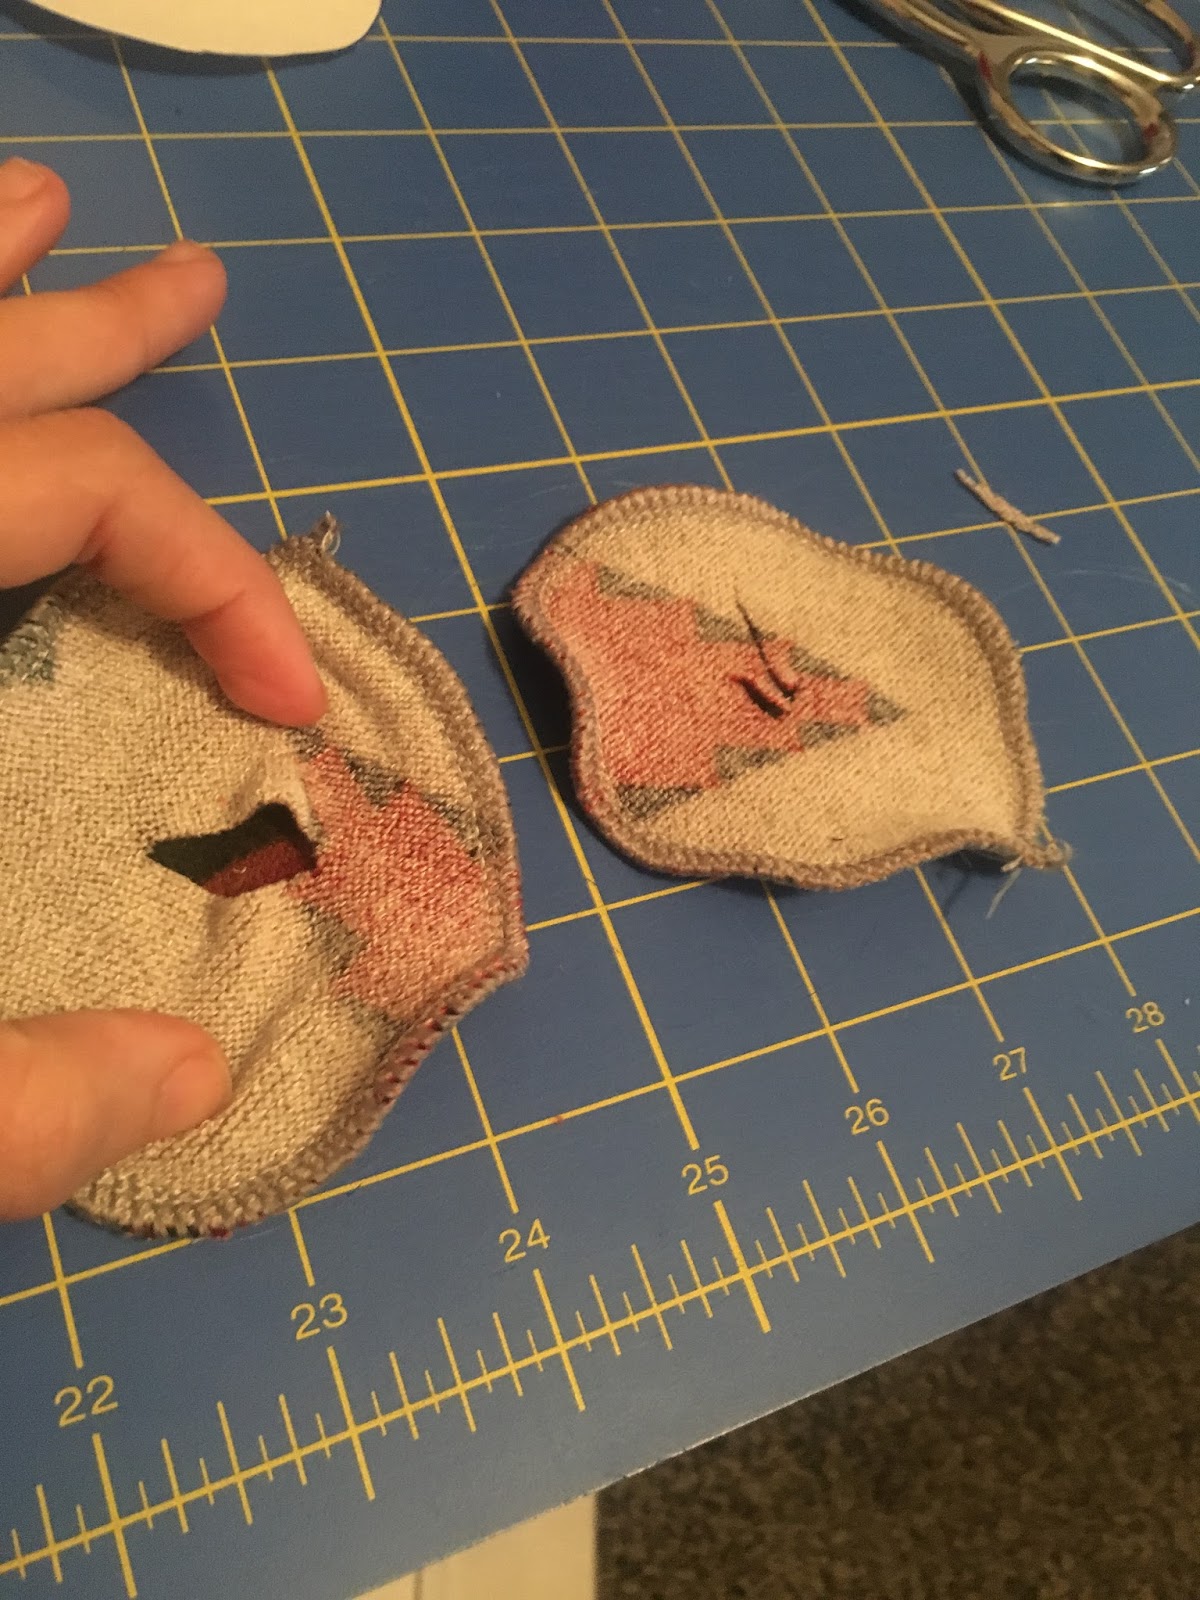 |
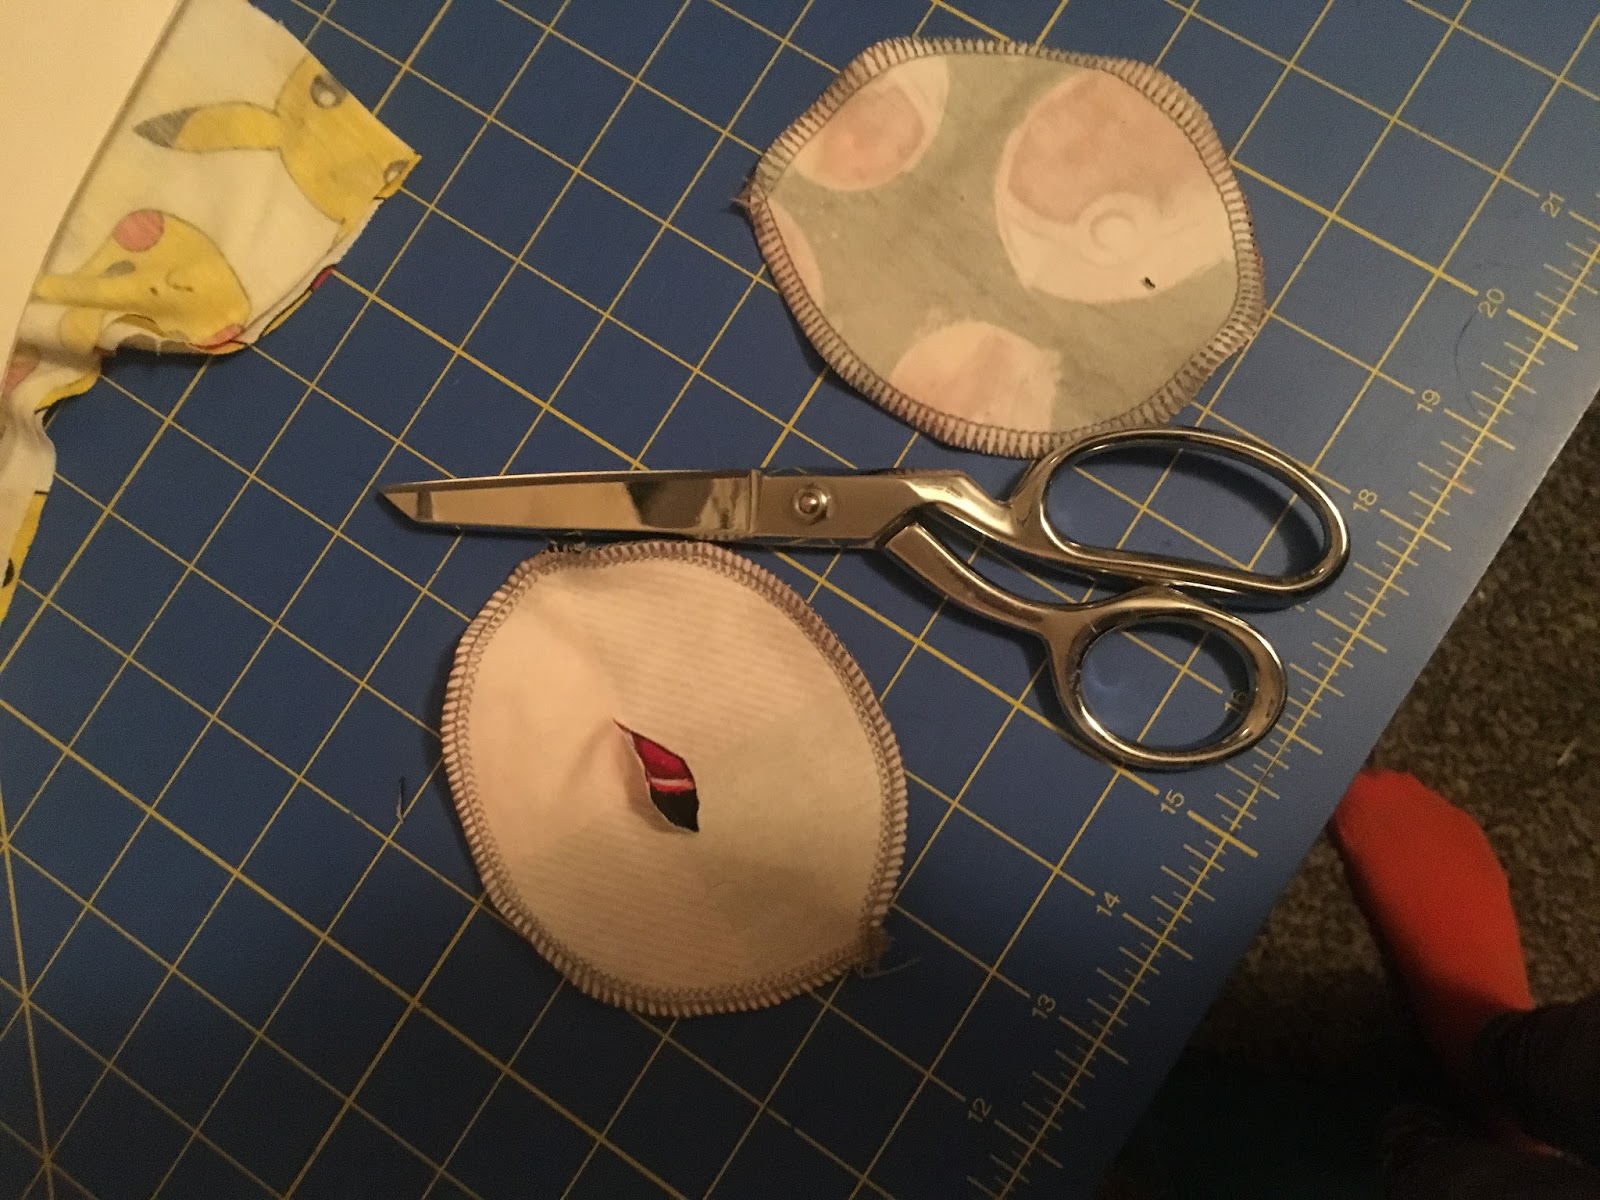
| 3. Cut a small notch in the non-visible side. |
3. Take the side of the patch that will be attached to the leggings, the side that is not going to be visible, and cut a little notch into the center. You will be pulling the patch right side out through the notch. This will allow you to have a pretty patch without any jagged bits.
 |
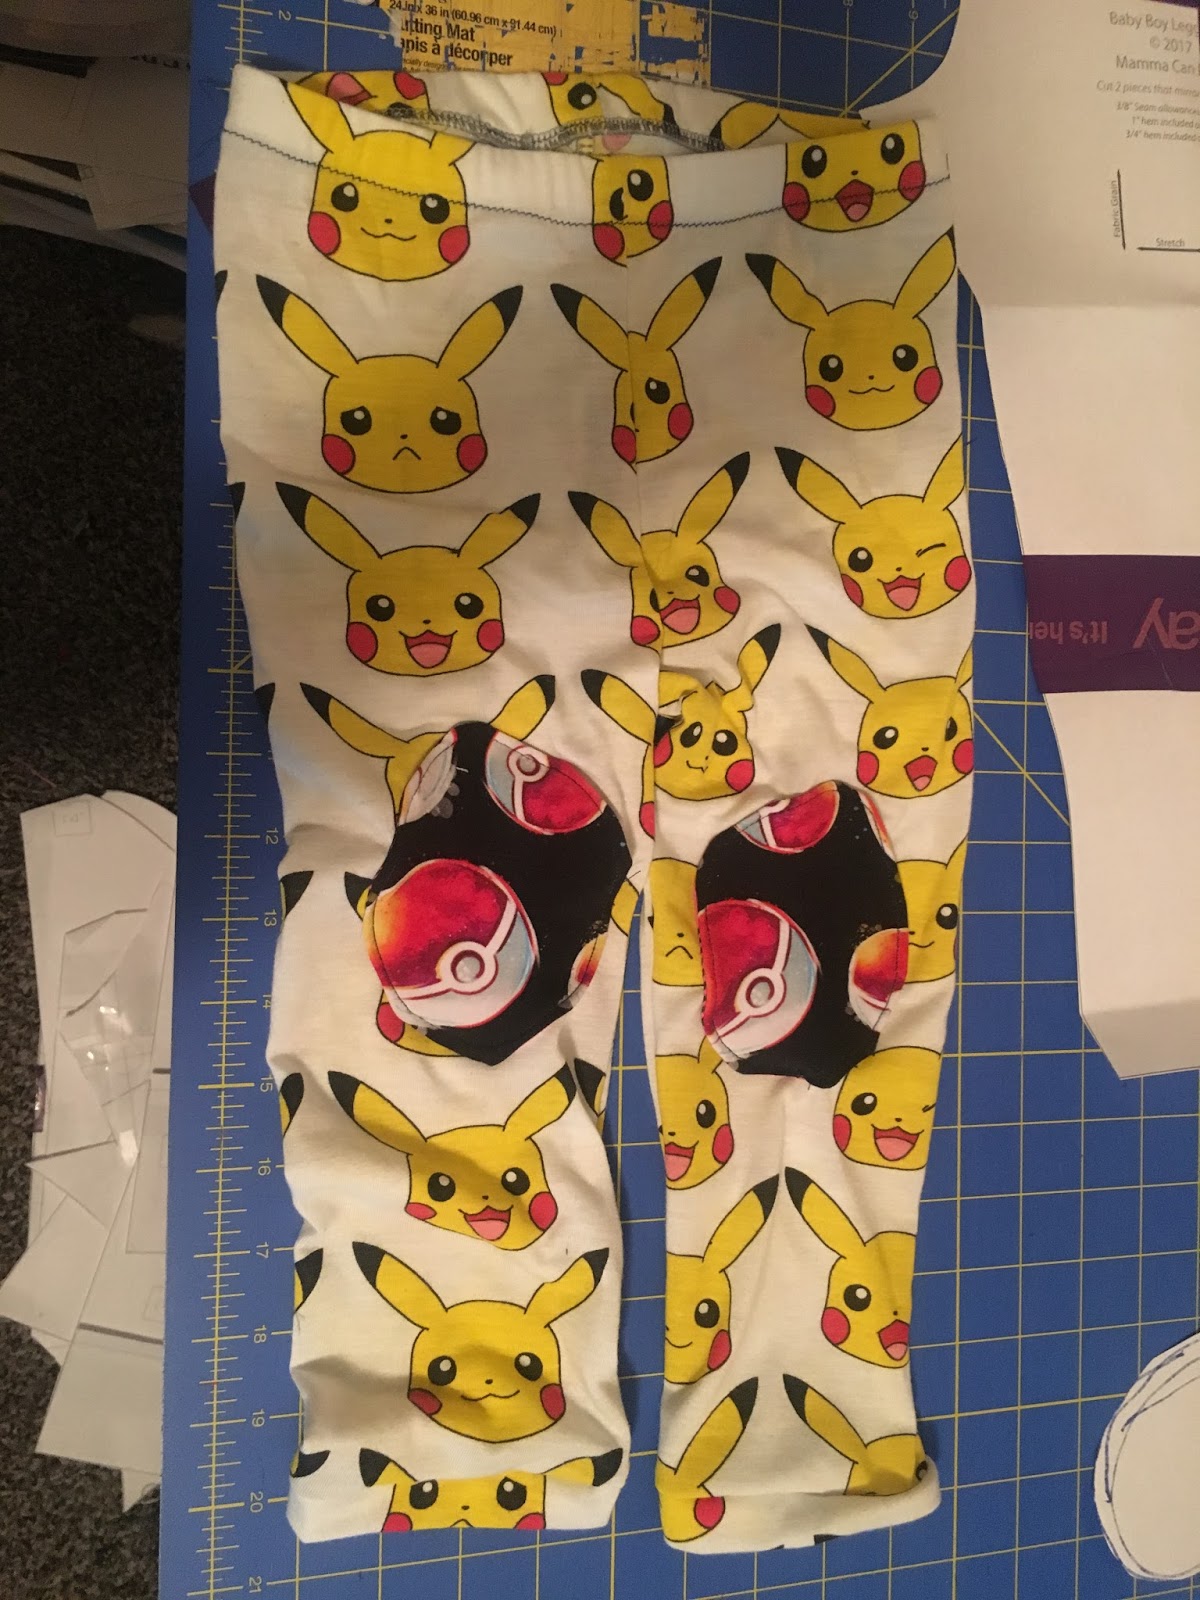
| 4. Attach under the front seam where you think that the knee should be. |
4. Place the patch under the front crotch seam on the main leggings fabric piece. You will mostly have to guesstimate. Don’t be like me–I attached my patches on the inside of the leggings…make sure you attach the patches to the outside of the leggings where they belong.
5. Finish the leggings using the pattern tutorial.
I went ahead and finished my muslin pair of patch leggings, even though the patches were on the wrong side. I wanted to see if they were correctly lined up to my son’s knees, and I figured, the kid is two. He won’t care if the patch is on the inside or outside, and when he falls down, they’ll still protect his knees a little bit, and when those pinholes show up, some other fabric will peek out!
I found that the knee patches were a bit too low, so I used that as a reference to make my second pair. I also realized that the patches were too small to be as cute as I had hoped, so I also made another patch pattern piece that was larger, and tried again.
The pictures above are the main steps of pair #2. As you can see, I followed the same steps I went over previously, just using my first muslin to give me a better idea of how big to make the patches, and where to place them. I’m showing you all these pictures of these non-perfect leggings, because the process of hacking isn’t always pretty. Often, we see these gorgeous final photos of hacks, and then get discouraged when it doesn’t go well the first time we try a hack. The pattern isn’t set up with the hack, and our hack hasn’t been tested by a whole bunch of people, so of course it’s rough! Don’t be discouraged!
So, anyway… The second pair I made was much better. The knee patches were in the right place, they were a much more reasonable size, and my son was able to wear them to daycare and play in them all day with no issue. So, I felt reasonably ready to try another pair. One thing I did realize when I finished pair #2 was that the main fabric should not be too thin. The patches were a thicker fabric than the main, and that caused the leggings to droop a little. Sounds obvious, but it’s a good thing to keep in mind…
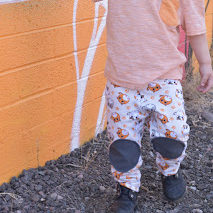
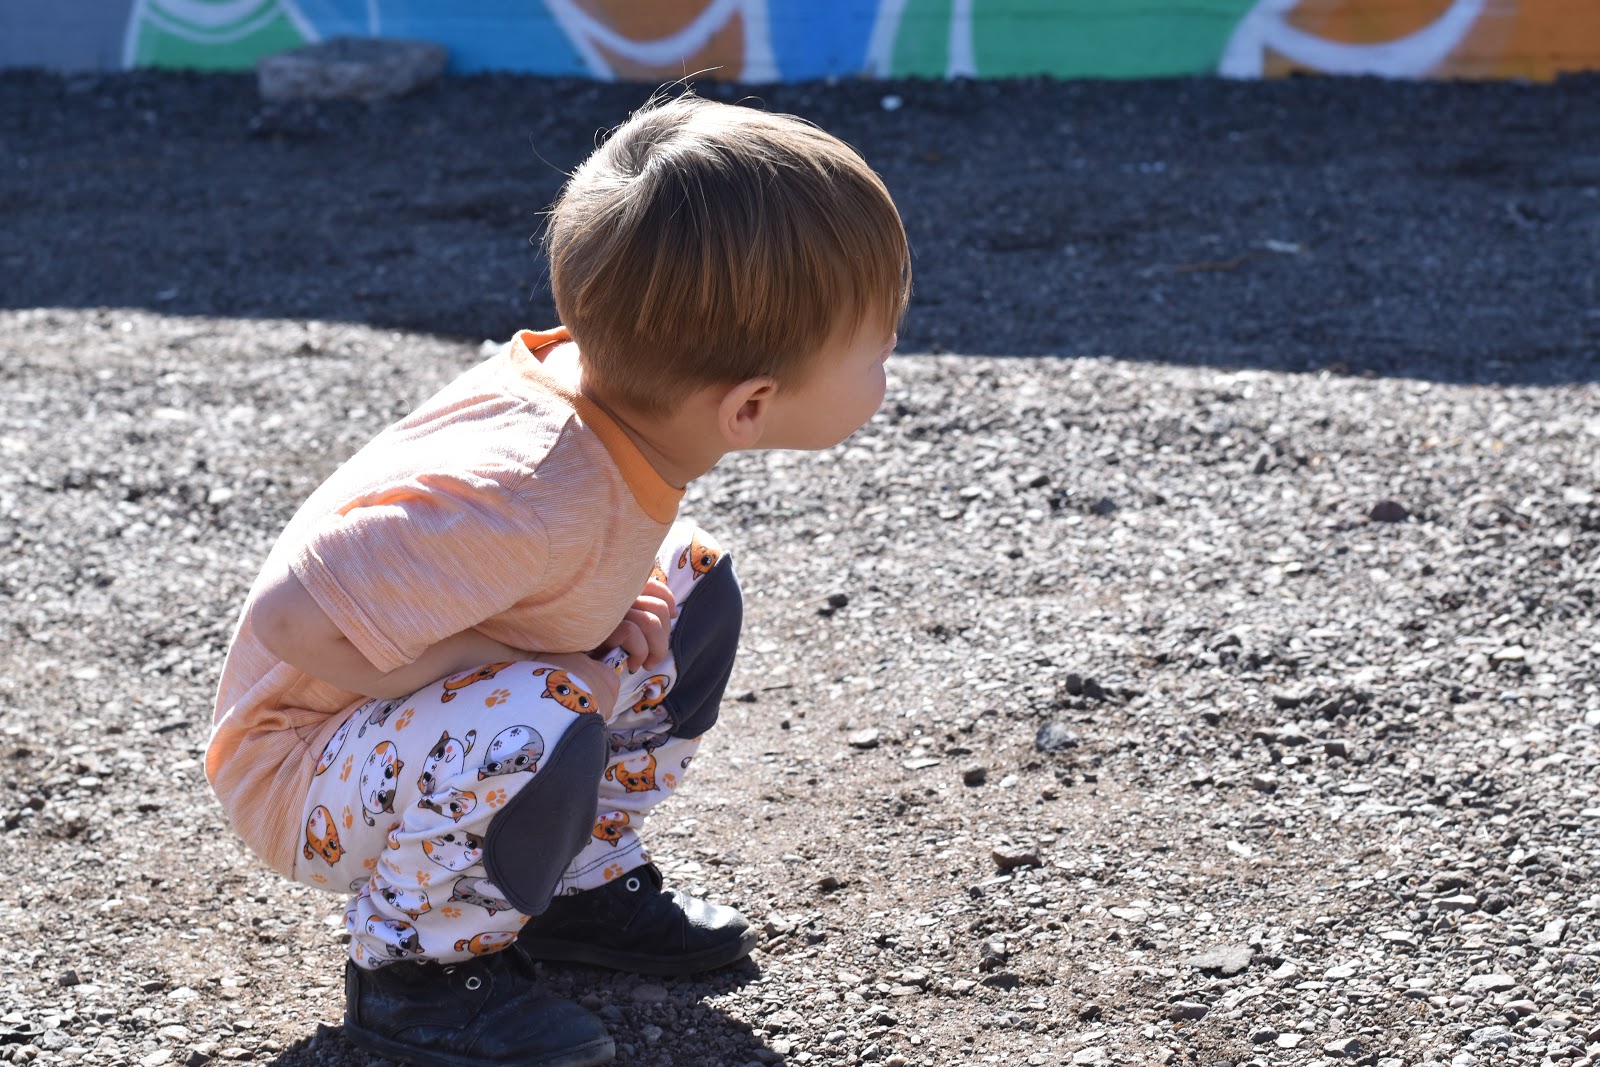
Finally, here’s my “final” pair. I’ll be making more of these, but I just wanted to show you how I got all the way from wrong-side-patches to this awesome pair that I absolutely adore.

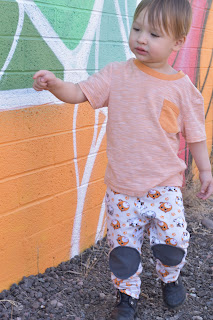

I hope you all enjoyed this version of the Baby Boy Leggings!! Let me know how making your own pair goes, and if you’d like any more tips/tricks!


