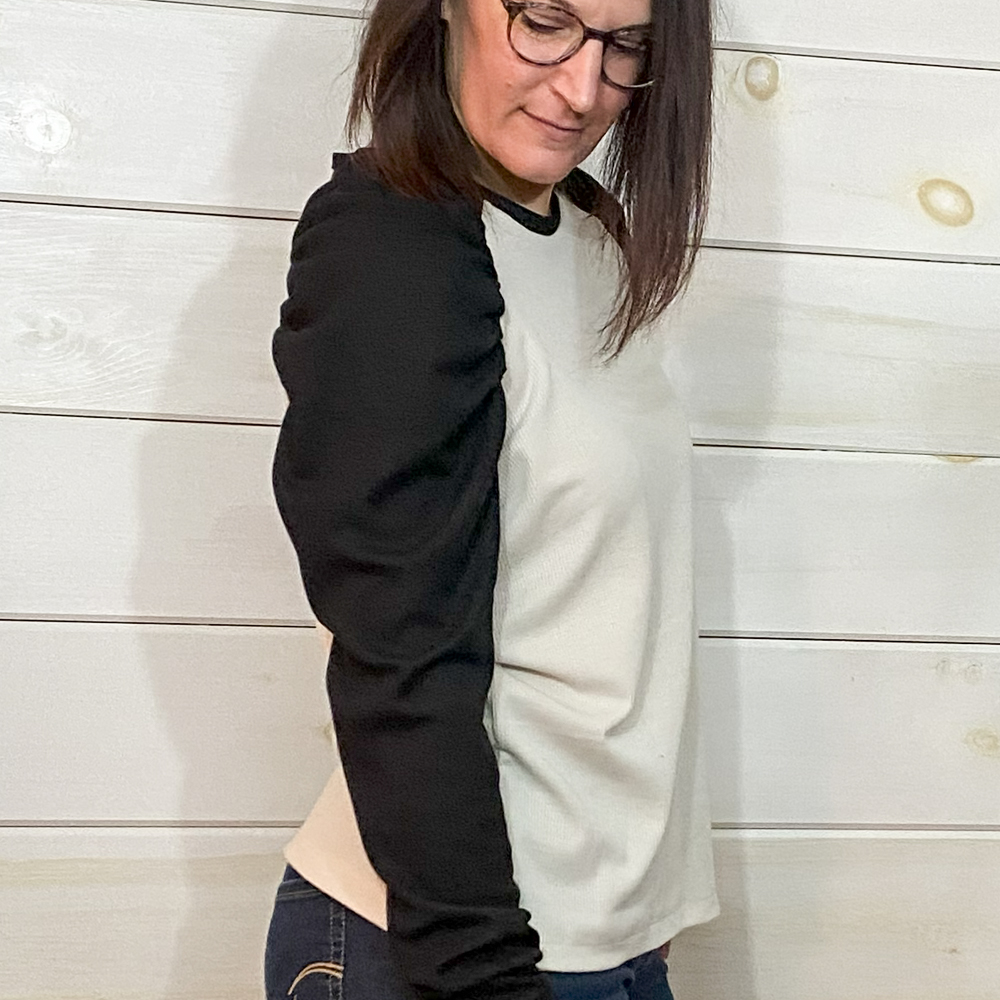
This gathered sleeve hack is an easy way to change up your shirt and add a cute little detail. You can use this pattern modification on any raglan sewing pattern you own.
Don’t have a Raglan pattern? Grab the Homerun Raglan here.
Here’s what you’ll need
- Raglan Sewing Pattern
- Extra paper
- Ruler
- Pencil
- Scissors
Video Tutorial
Sewing Tutorial
Begin by measuring the sleeve armcye. Mine measured about 10 inches. I used 3/4 of this measurement to determine how much height to add to the top of the sleeve. If you would like more gathering, you can add the full 10″ measurement or if you’d like less use half. My sleeve measurement is 10″. 3/4 of this measurement is 7.5″. For ease I rounded this down to 7″. We will add 7″ total throughout the armscye
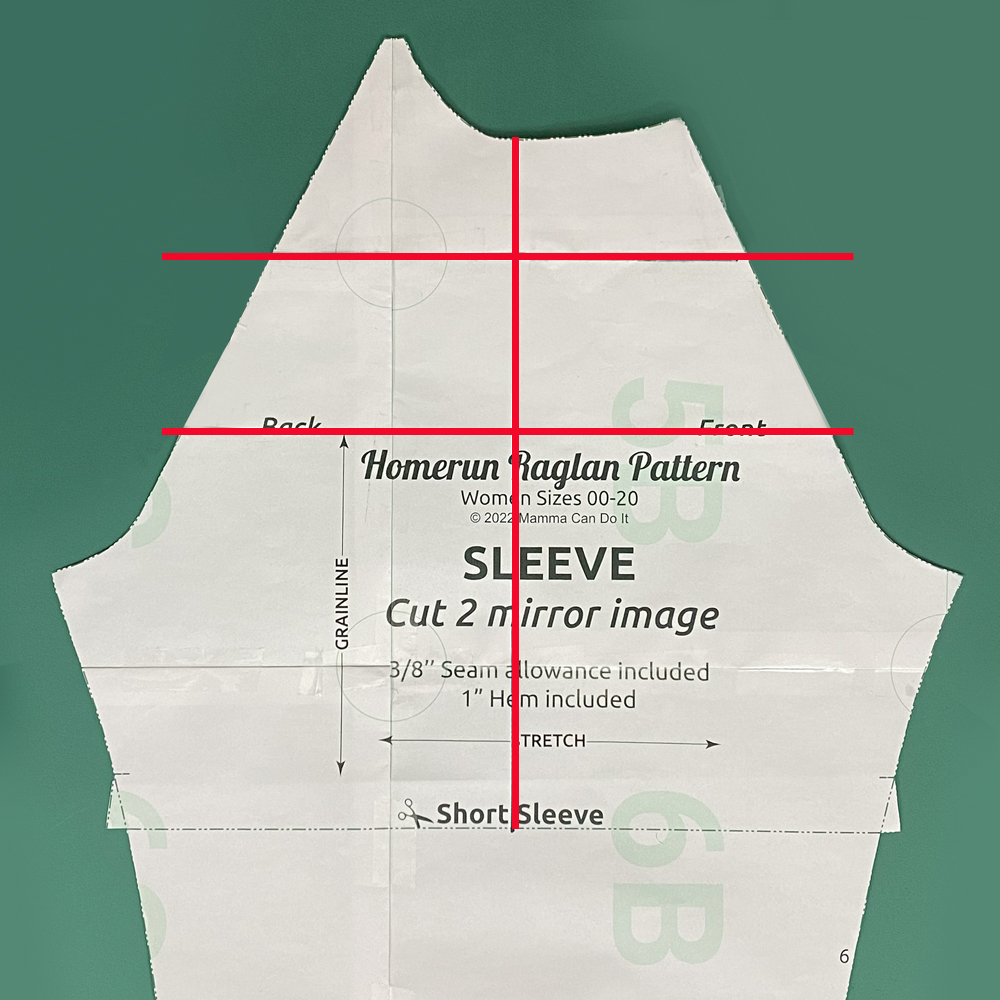
Nex, draw a verticle line down the center of your sleeve pattern piece. This is to help with alignment when we cut the pattern piece apart. Divide the sleeve from the armcye to the top into thirds. Draw two evenly spaced lines horizontally.
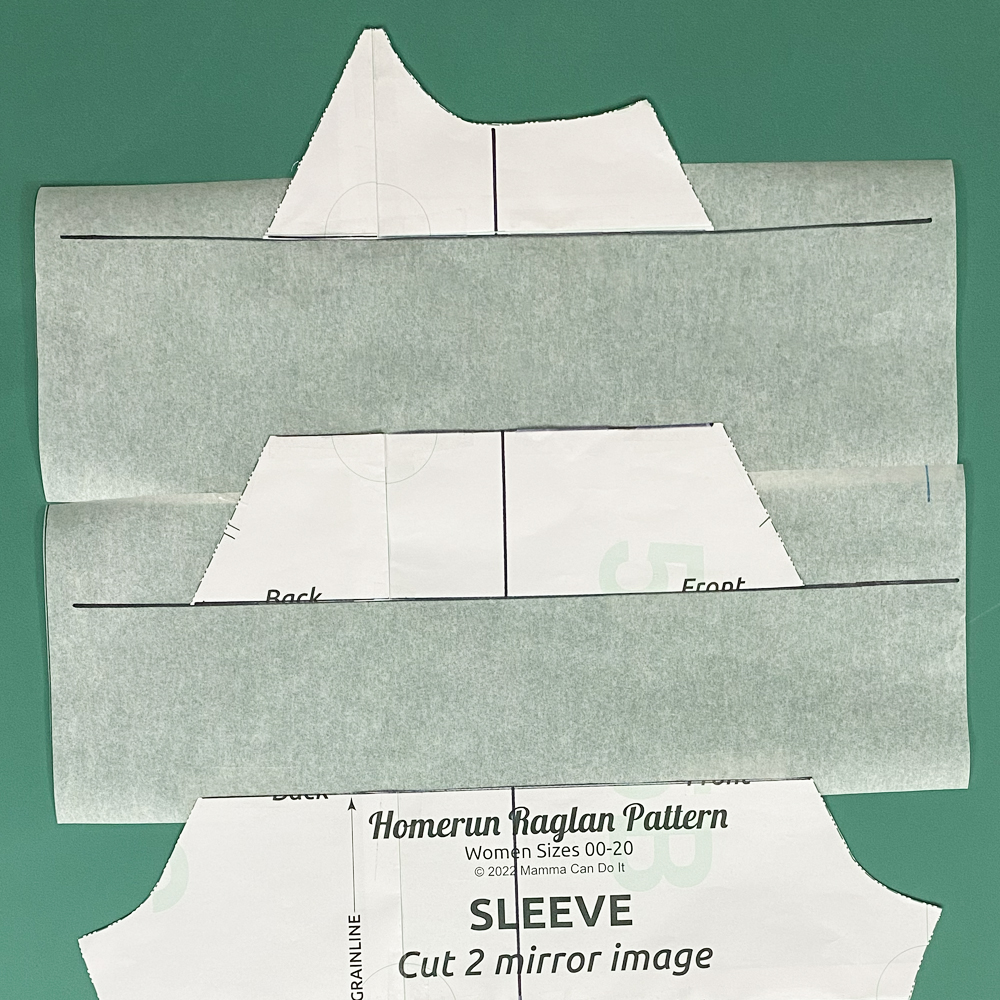
Cut your pattern piece along the two horizontal lines. You will add extra height to both spots. I am adding 7″ total so I will add 3.5″ to each cut area. Use the horizontal and verticle lines to evenly space out the pattern piece 3.5″ inches in both spots. Place another sheet of paper behind your pattern pieces and tape down in the new.
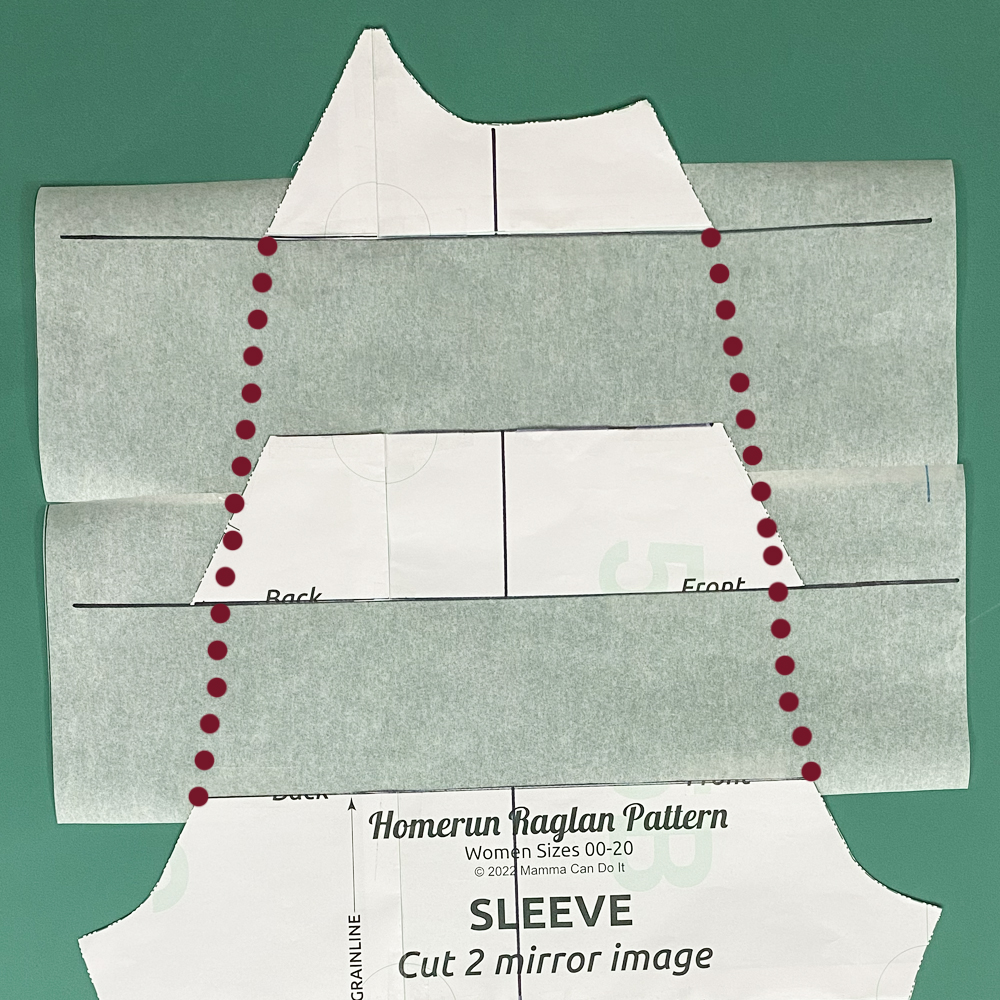
Redraw the sleeve lines to connect together.
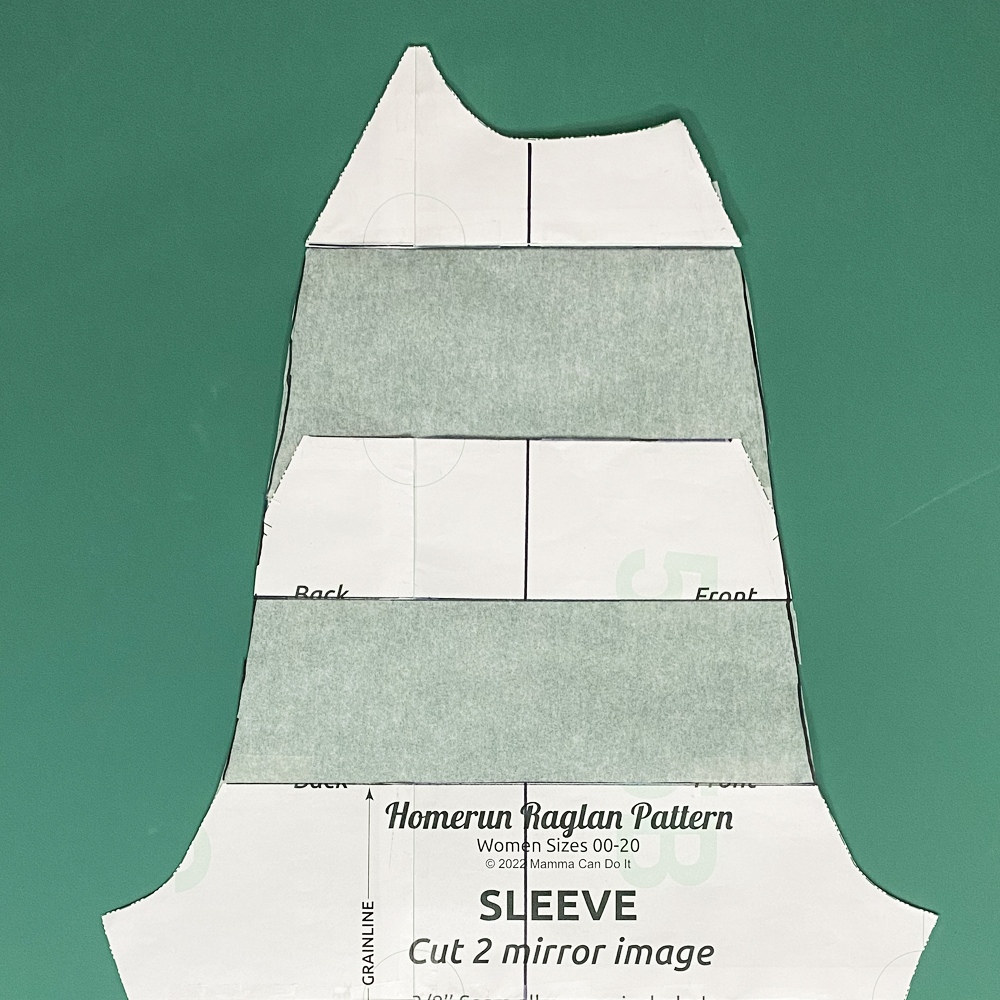
Cut out your new pattern piece.
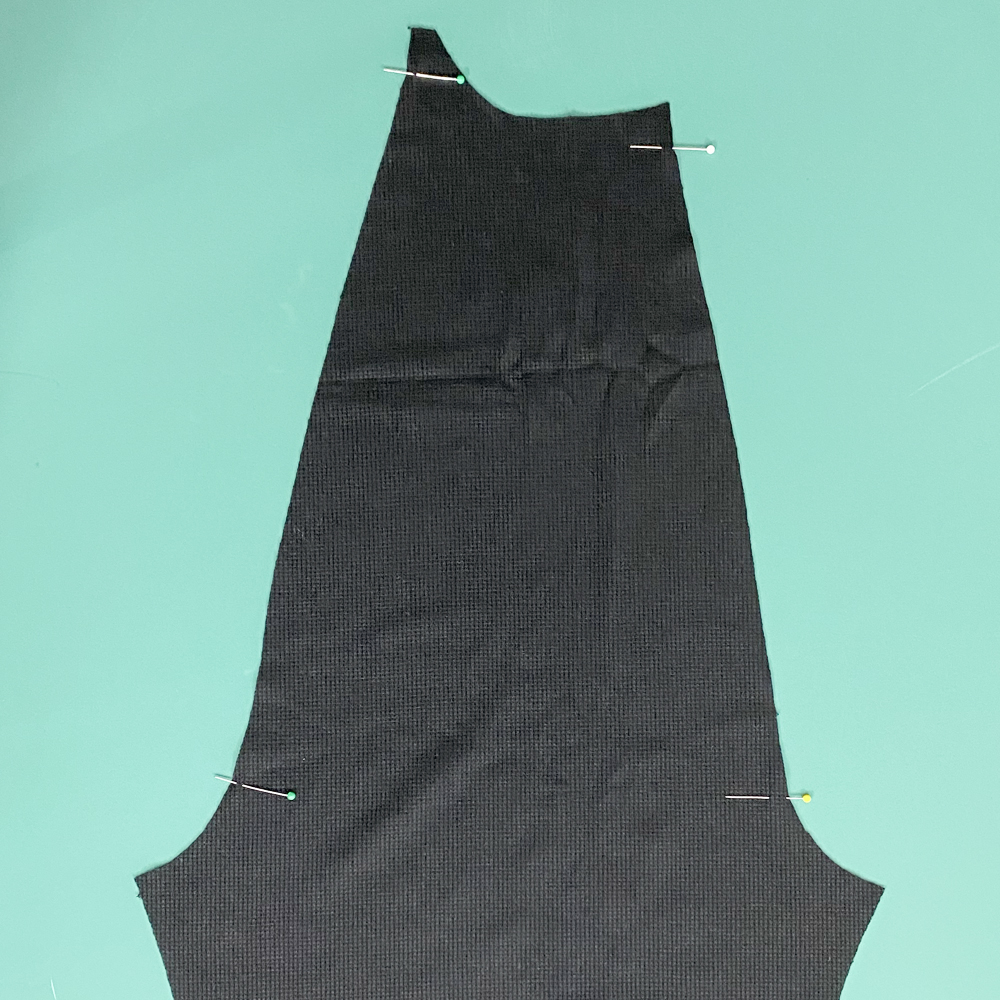
With a pin or a fabric marking pen measure down 1″ from the top of the sleeve on both sides. Also measure from the bottom of the armscye up 3″ and mark that as well.
Mark the other sleeve.
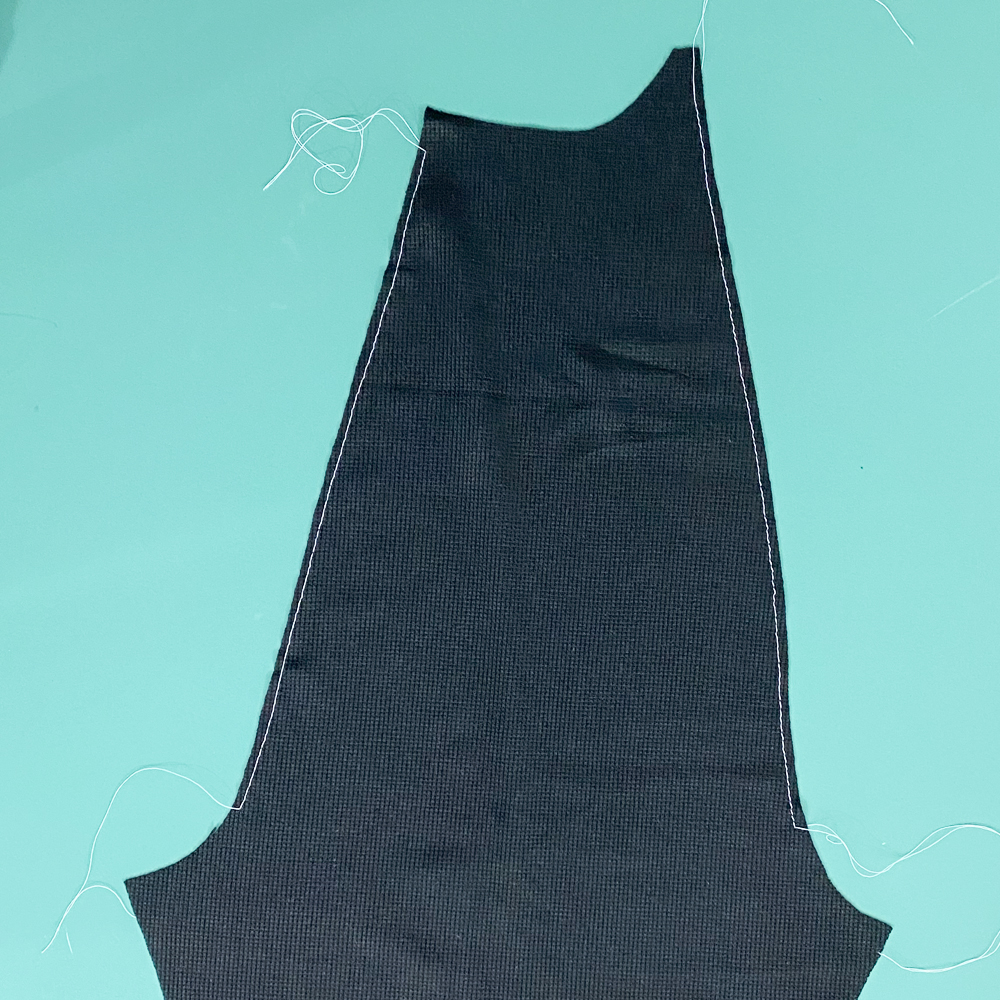
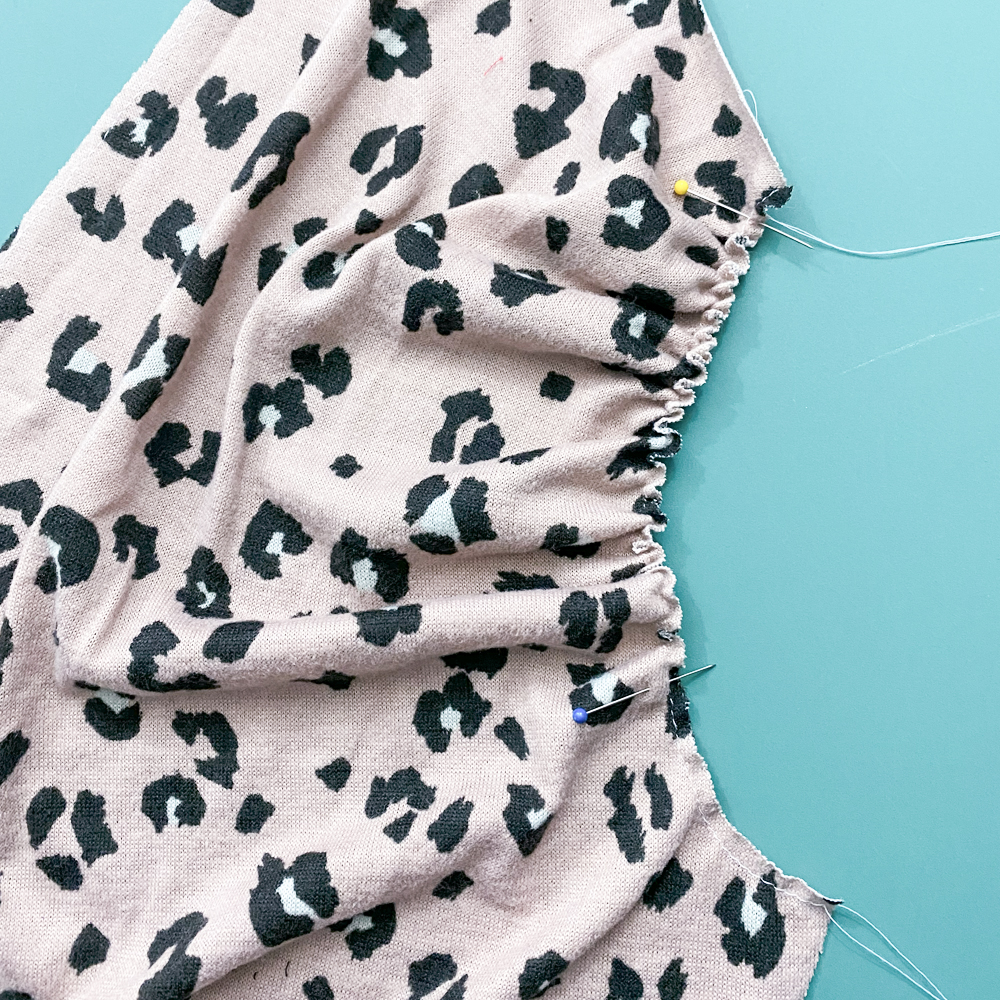
Sew a basting stitch between the 2 points you marked on both sides of the sleeve.
Repeat with the other sleeve.
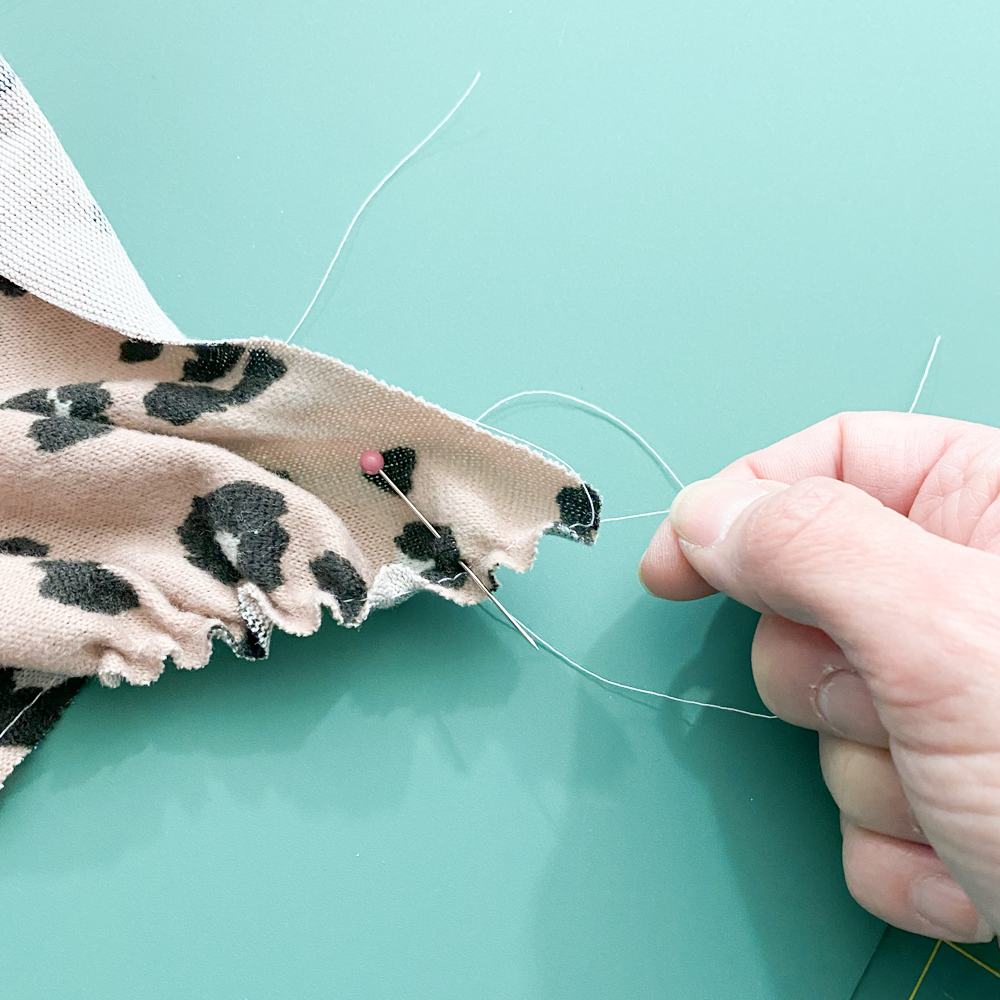
Pull the bobbin thread to gather the sleeve. You will gather until it is the same length as your shirt armscye. Repeat on the other side of the sleeve.
The bottom 3″ and top 1″ of the sleeve will be left ungathered.
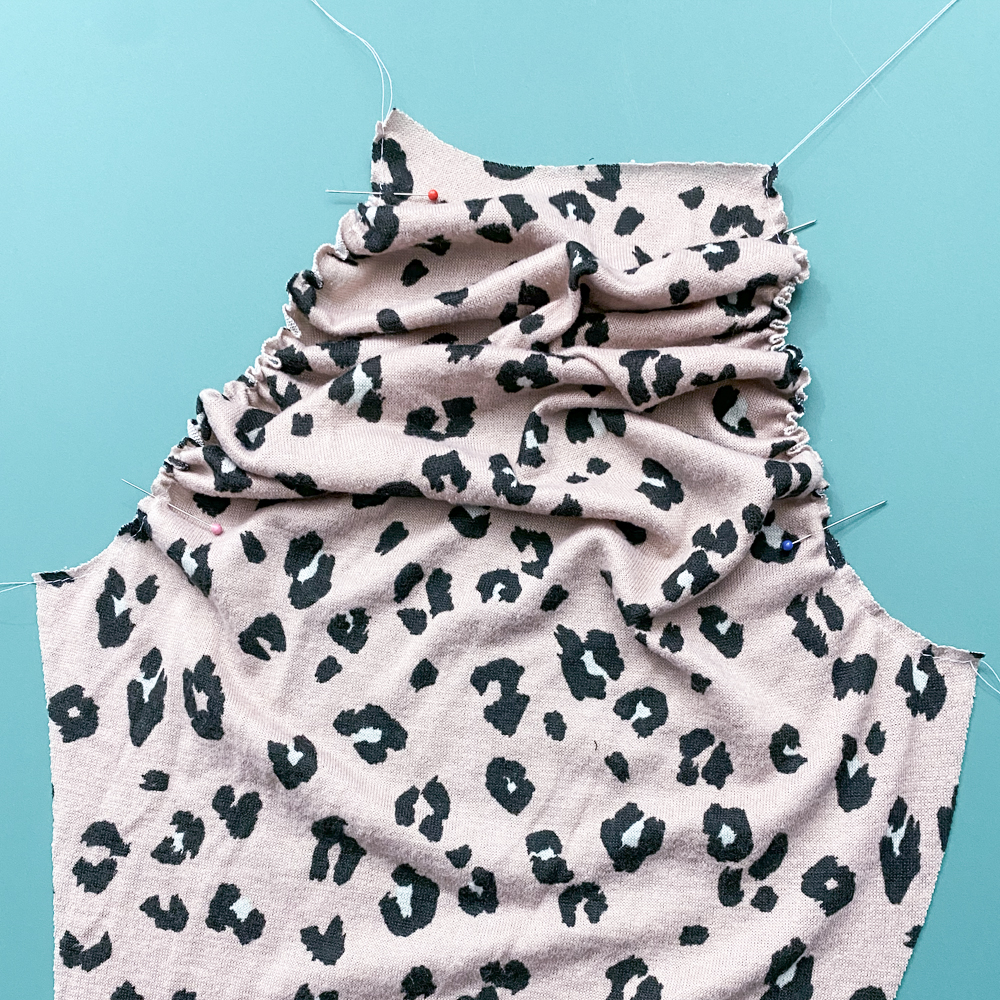
Repeat on the other side of the sleeve. Make sure your gathers are evenly distributed.
Repeat the gathering on the other sleeve.

Finish constructing the shirt using the directions in the tutorial.


Show off your new Raglan and share it with our community of sewists. Make sure to tag us on Facebook and Instagram using @mammacandoit so we can see you in them!
Don’t forget to join us on Facebook, Instagram, Twitter, Youtube, and Pinterest to stay up to date on all things Mamma Can Do It!


