Hi! It’s Sonia owner of Sew on and Sow Forth. Have you seen the Adalynn dress? If not what are you waiting for? Hop on over to grab your patterns now!
Adalynn Dress Size Nb – 24 months
Adalynn Dress Pattern Size 00-20
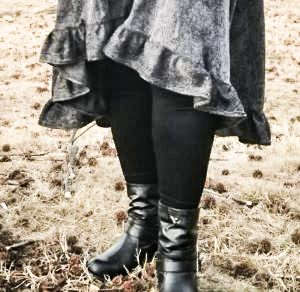
The Adalynn dress is so versatile and there are so many ways to style this pattern. I would like to show you how I created a hi-low hem with a ruffle.
When you cut your pattern pieces out if you want to add length go ahead and add at this time. You’ll want to add the same amount of length to both front and back (you can always cut later if it ends up to long for you). For my dress I wanted it to be longer in general so I added about four inches to the over all length.
When creating this hi-lo hem with ruffle you will NOT add the ruffle part as stated in the pattern so you can skip steps 11-12. Continue on with the pattern and follow this hack to create your hi-lo hem with the ruffle.
Creating the ruffle:
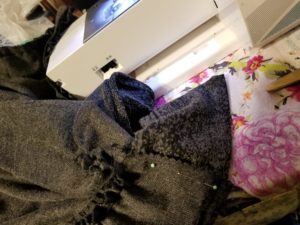
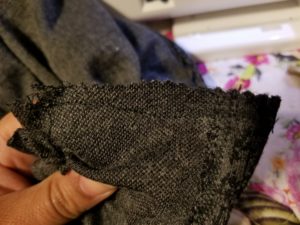
When I make my ruffles I prefer to hem first. But whatever your preference you will want to get your ruffle ready. For this style I pieced four lengths of material together until I came up with the desired amount the pattern calls for (and a bit extra). My dress is cut out in a size 20W.

After your material is pieced (and hemmed if desired) go ahead and gather to make the ruffle. Set aside.
At this point you will want to try on your dress to make sure the length is where you want it to be. (the front and back will be the same length). Make any adjustments to length as desired, keeping the front and back the same for now. Just keep in mind you will be adding a ruffle which adds length.
Once you have your desired length you will want to fold the front piece in half and draw a curve line from the middle point and taper to the side (where the front and back meet). The deeper the curve the higher your front hem will be. You can eyeball your curve or use a French Curve ruler for more accuracy.
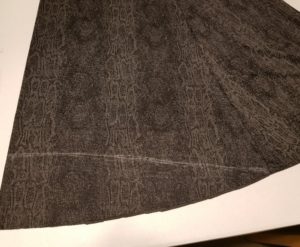
Once you have your curve exactly how you like it. Cut the curve making sure you only cut to the seam (other wise you’ll start cutting into the back which is the “lo” part of your hem)
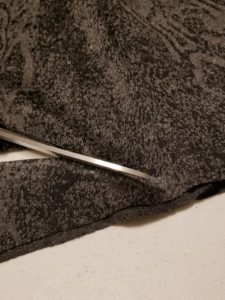
Your hi-lo is starting to come together!
At this point we will add the ruffle. Get your pins or clips out you will need a bunch! The two ends of your ruffle should be open at this point. This will allow you to adjust the gathers to your liking. Also if you have a bit extra at the end (which I highly recommend) you won’t be worried about how to connect it all.
Attach the ruffle in such a way that the two ends meet in the center back of your dress. The ruffle will be facing hem side up and right sides together with your dress.

When you have gathered your ruffle and pinned it to your hem and double check that you like how the gathers of your ruffle look, sew the ruffle to your hem starting and stopping at about 1/4 inch before you reach the point of where the two ends of the ruffle will meet. At this point you will need to connect the ruffle to itself. Do this by matching the two ends together, pin and cut off any remaining fabric.
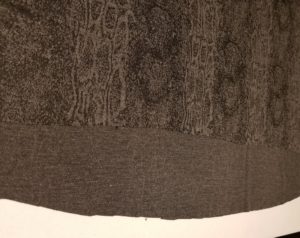
Sew the two ends of the ruffle together and finish attaching to the hem making sure the ruffle is not puckering.
If you find the ruffle is puckering there is probably to much fabric and you will need to remove some of the fabric where the two ends meet and resew until you have a perfect finish ruffle high low hem. If you have hemmed your ruffle you are done! If not, hem your ruffle. I would recommend a light steam or pressing of the seams so the ruffle falls nicely.

I hope you try this style and I cannot wait to see your creations!
Happy Sewing!
-Sonia


