
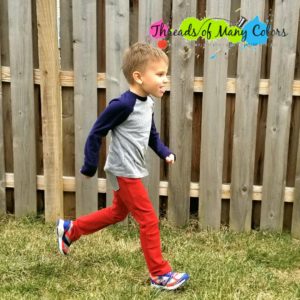
My son’s pants are always riding low, so when Mamma Can Do It advertised the Boy Fit Pants that were higher rise in the back, I knew it would be a great fit for him. He’s a rough and tumble kind of kid, so I decided he needed to have some reinforced knees so that the pants will last.
Adding the reinforced knees is a thing that is easy to do. Here’s how I added them to a size 6 pant:
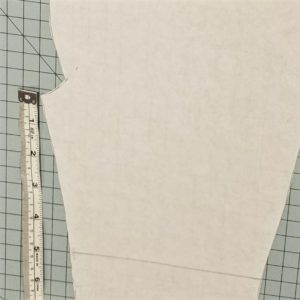
On your pattern piece of the front leg, make a mark 5 inches down from the crotch and draw a horizontal line across. Then make a mark 8 inches up from the bottom of the leg, and draw a horizontal line across.
Trace the outside of the pattern piece on both sides between those two lines. 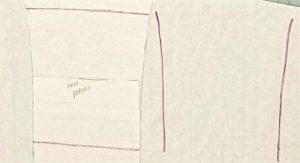
Add 1/2 inch on the top and bottom for hemming the reinforced knee patch. Connect your vertical lines together to create your pattern piece.
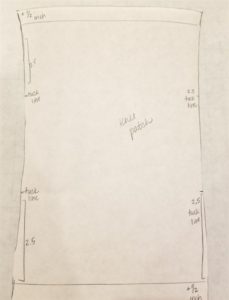 Mark 2.5 inches up from the bottom seam line and 2.5 inches down from the top seam line on both sides of the patch. These are your tack marks. Cut out your pattern piece.
Cut out two knee patches. Make sure that you mirror your cuts!
Mark the tack points on the wrong side of your patches. Measure 1/2 inch from the vertical edge of the patch and draw a vertical line down. This is the mark where you will finish sewing.

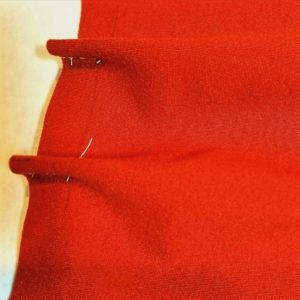
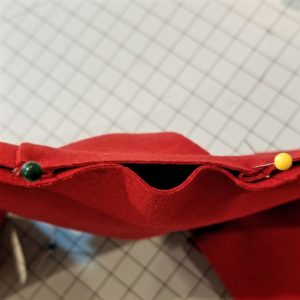
With right sides together, fold your patch on the tack mark. Sew until the 1/2 inch line that you drew. I lined the edge of the fabric up with my presser foot. I also suggest using the same color thread as your patches. Make sure to backstitch at the beginning and ending of the tack marks.
Press your 1/2 inch seam down on the top. Fold the bottom of the patch seam up, and press. Measure on your pant leg down 5 inches and pin the wrong side of the patch to right side of the pant leg. Then measure up the 8 inches and pin in place. I did need to stretch mine a little bit. Measure across the leg to make sure the patches are pinned evenly across.
I found it worked best when the top tack mark is pressed down towards the cuff when pinning in place, and the bottom tack mark fold is pressed upward toward the crotch of the pants.
Zigzag the edges of the knee patches to the pants.
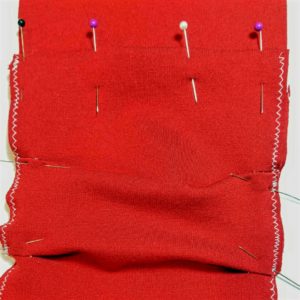
Sew the top and bottom of the patches to the leg with a straight stitch. I sewed a straight stitch a 1/8 inch from the edges. I did sew this seam in a contrasting color, as I like the way it looks.

After the reinforced knees are sewn onto the individual pant legs, continue the pattern as described in the tutorial. I’m happy to say that my guy has fallen down a few times and the pants are still looking great! Not only that but when he sits at school, his backside is completely covered. These pants are amazing!
Get your pattern here: Mamma Can Do it Fit Pants


