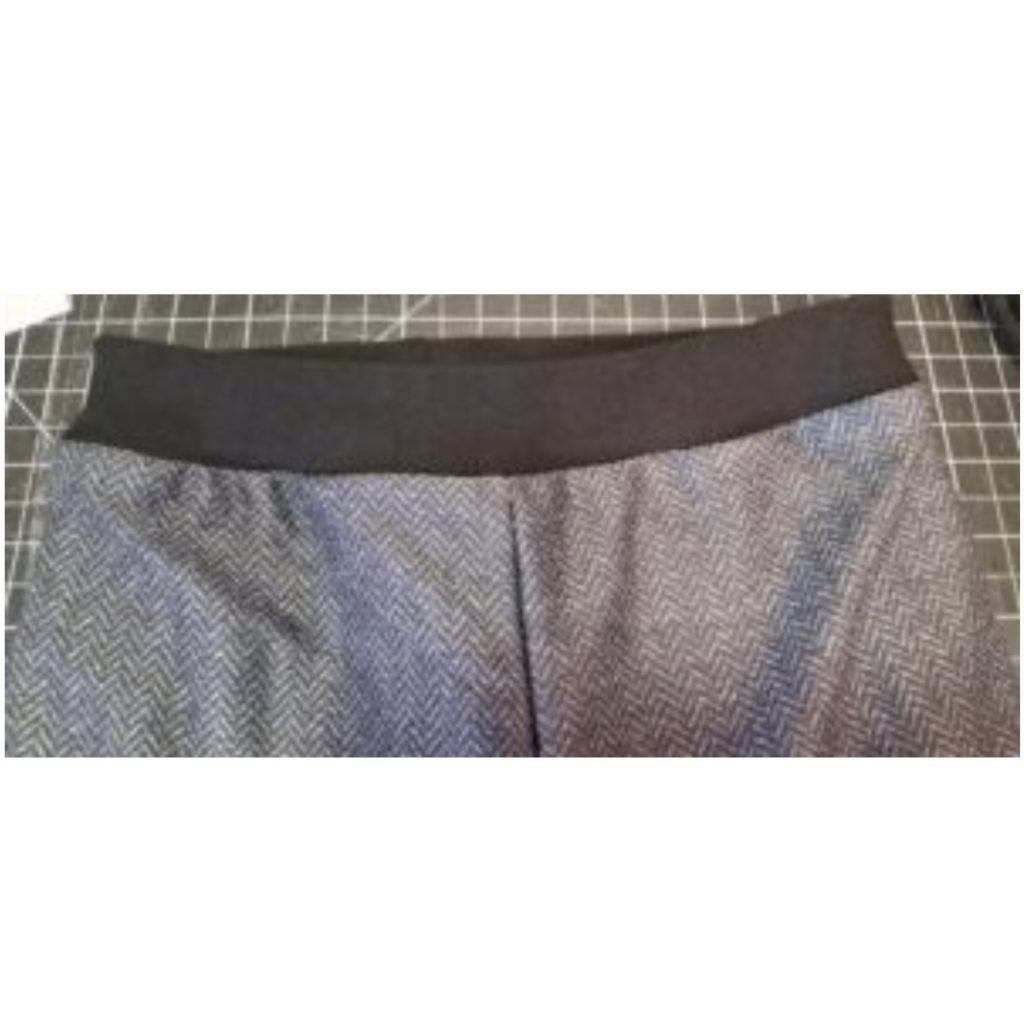
Mama Can Do It will be releasing their boys’ Fit pants soon. This pattern uses elastic for the waistband, but you can also make a short and simple yoga waistband instead! Here’s how!
- Remove one inch from the top of your pants. (Alternatively, measure the crotch-to-waist length on your child, mark the measurement on your pants, and remove the excess).
- Measure the waist of your pants. Multiply by two. In this example, my waist measurement is 12 inches.
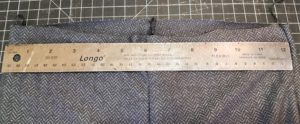 12 x 2 = 24 inches. I then use Google to figure out 85% of 24 (20.4). My width measurement is 20.5 (I rounded up for simplicity).
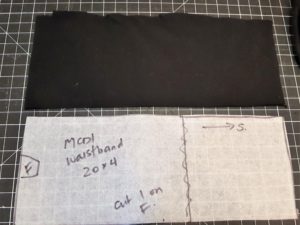
 - The height of your waistband is entirely up to you and your preferences! To make a low yoga waistband, I usually go with 4 inches. This creates a low waistband which is two inches tall. Once you have your measurements, you can make a pattern piece and cut out your waistband. Be sure to use 95/5 Cotton Lycra fa
 bric so that you have good recovery and so that your pants don’t fall down!
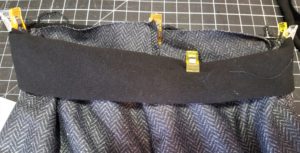
 - Sew or serge your waistband down the short side. Fold over (right sides together) so that your raw edges meet. Pin or clip at the quarter points on your waistband and on your pants (so that you can match them up when assembling).
- Pin or clip your waistband to the outside (right side) of your pants. I like to match the seam of my waistband with the back center of my pants. It helps my kids (and me!) to tell the front from the back.
- Sew or serge your waistband to your pants, and you’re done!
 bric so that you have good recovery and so that your pants don’t fall down!
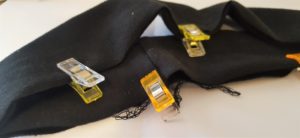
 tell the front from the back.
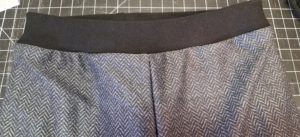 nts, and you’re done!


1 thought on “How to add a short yoga waistband to pants”
I’ve got some pants that the elastic is shot, so I may be giving this a try. I am all for comfort!