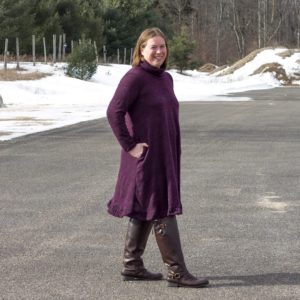
A couple months ago I had picked up this beautiful purple sweater knit that I knew was going to turn into something for myself. But I wasn’t sure what until I seen the Adalynn dress. While testing, I mentioned to Elizabeth that I really wanted to hack a cowl neck onto it. I love cowl neck things. She said sure, but you have to write a tutorial on my blog. So, while I am not much of a writer I will type out what I did along with a few photos of what I did. If you haven’t picked up this amazing versatile pattern do so today. This is my affiliate link, so if you use this to purchase patterns from Mamma Can Do It, I do get a percentage of the sale (no cost to you), it helps my fabric habit. https://mammacandoit.com/products/the-adalynn-dress-women-00-20?aff=83
It was really simple. Promise.
I cut the Adalynn dress pattern as per directions with one adjustment. The neckband I made 18 inches wide instead of the two inch pattern piece. 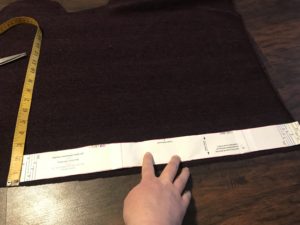
As you can see I used the actual neckband and my fabric measure to get the rectangle that I desired.
I continued the pattern as normal, adding the pockets (cause pockets on dresses are amazing right?), hemming the arms, and attaching the shoulder pieces.
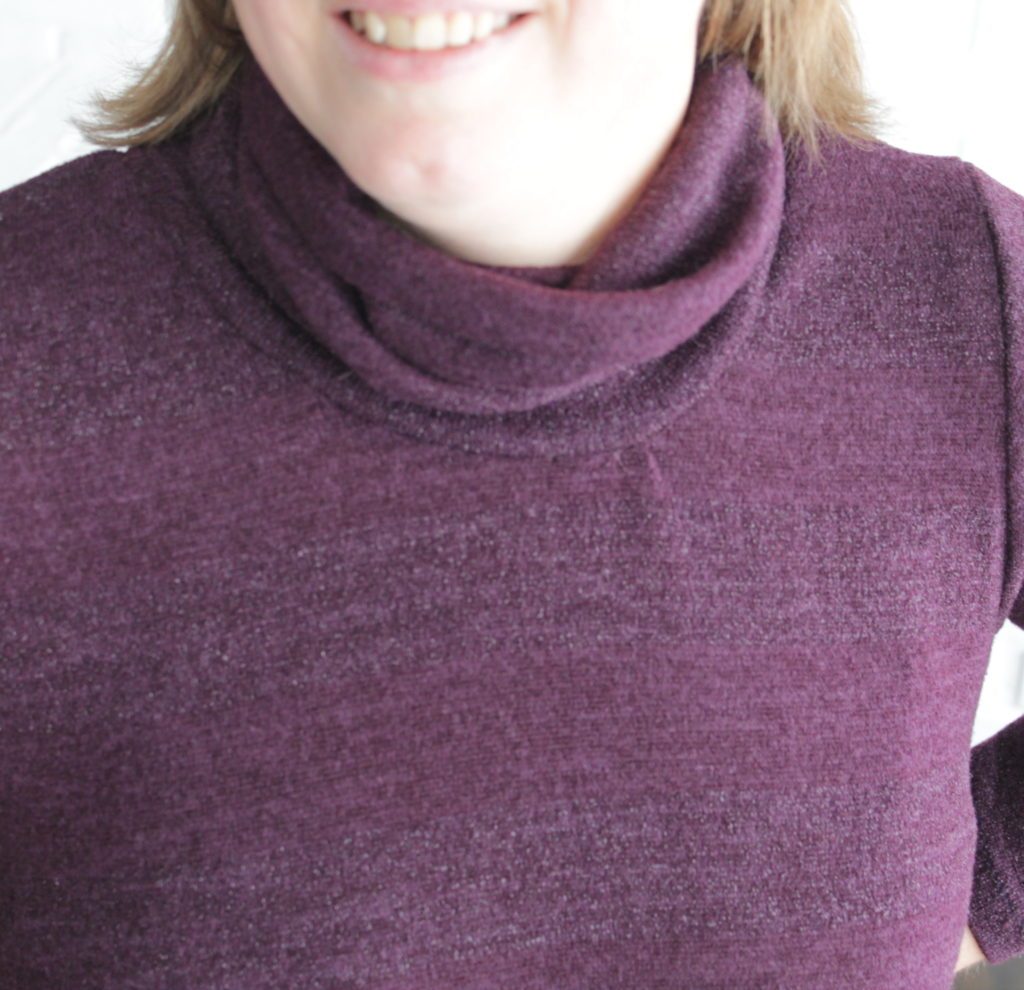
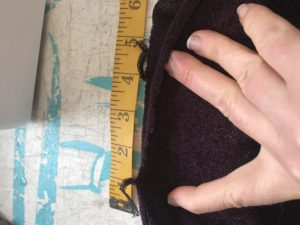
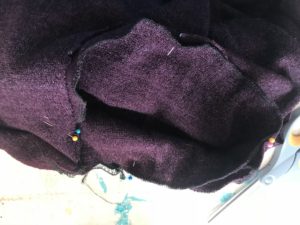
When I came to the neckband; First I connected the ends to make a giant neckband. Then I folded the neckband lengthwise right sides our and I set the two seams off by about inches and ran it through my serger (you could also do thing on a regular matching using a stretch stitch) and made a giant closed tube.
Then I refigured my back middle and marked it with a pin.
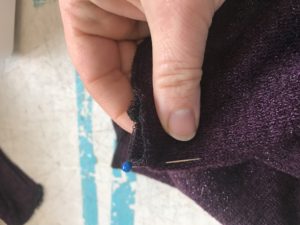
And folded the cowl in half to find my other quarter marks. I marked everything with pins and then attached to the dress with my serger. (You could also use a stretch stitch on a regular machine.)
Remember that the cowl will be smaller than the neck hole so you will need to stretch the cowl as your going around.
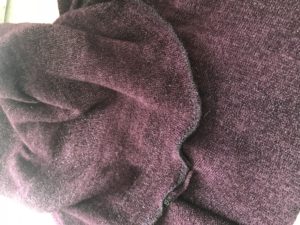
Finish off your dress as directed adding your arms and closing it up and hemming the bottom. Enjoy your finished dress! I am loving mine!