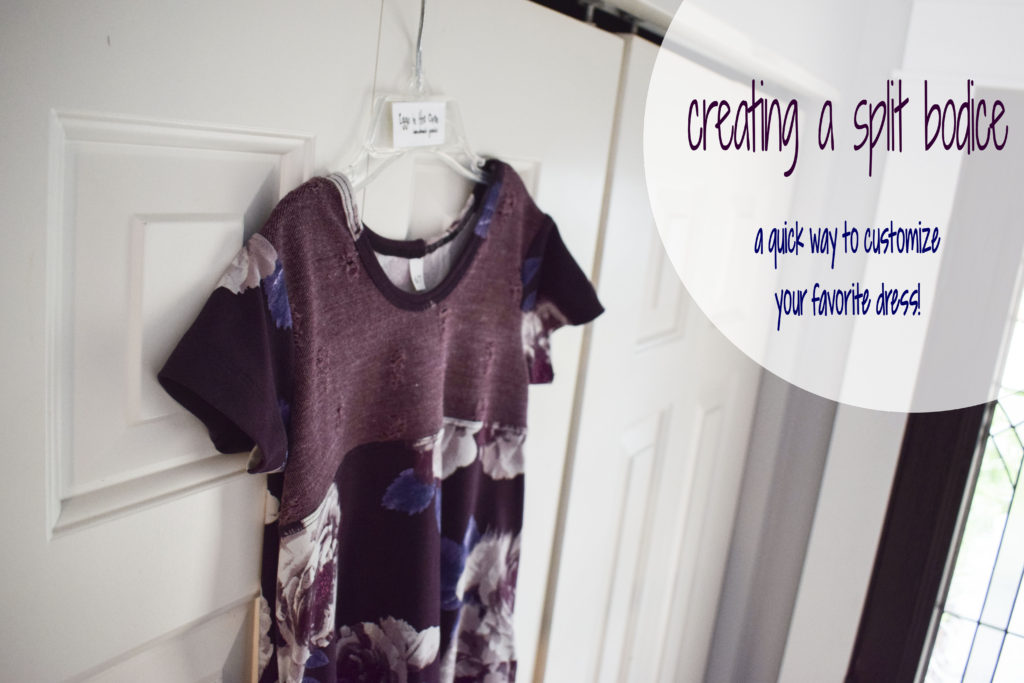
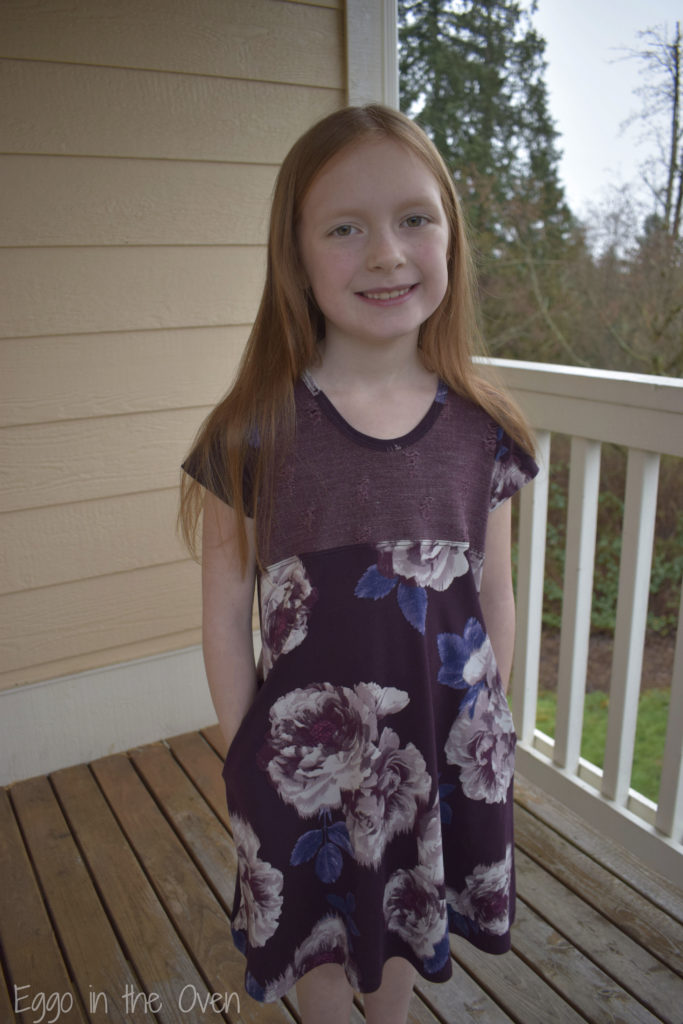
Hi all! I’m excited to share a quick little how-to that will help you create yet another fun look with your Adalynn Dress – a split bodice!

I’m hoping by now you’re already in love with the options included in the pattern – the classic swing dress shape, the optional ruffle hemline, and the “little extras” like markings on the neckband and sleeves that make it a nearly guaranteed successful sew. I know I am – it’s my go-to naptime sew… I have already made at least six – a few for our baby, a couple for a friend’s daughter, and one for me (shhhhh! An AWESOME women’s size range is coming soon!).
If you don’t already have the pattern – click on the size range you’re interested in here:
After you fall in love with this pattern and are trying to come up with ways to make it less obvious that you / your little one has a dozen of the same dresses in the closet…… try this super simple “mini hack” to create a split bodice!
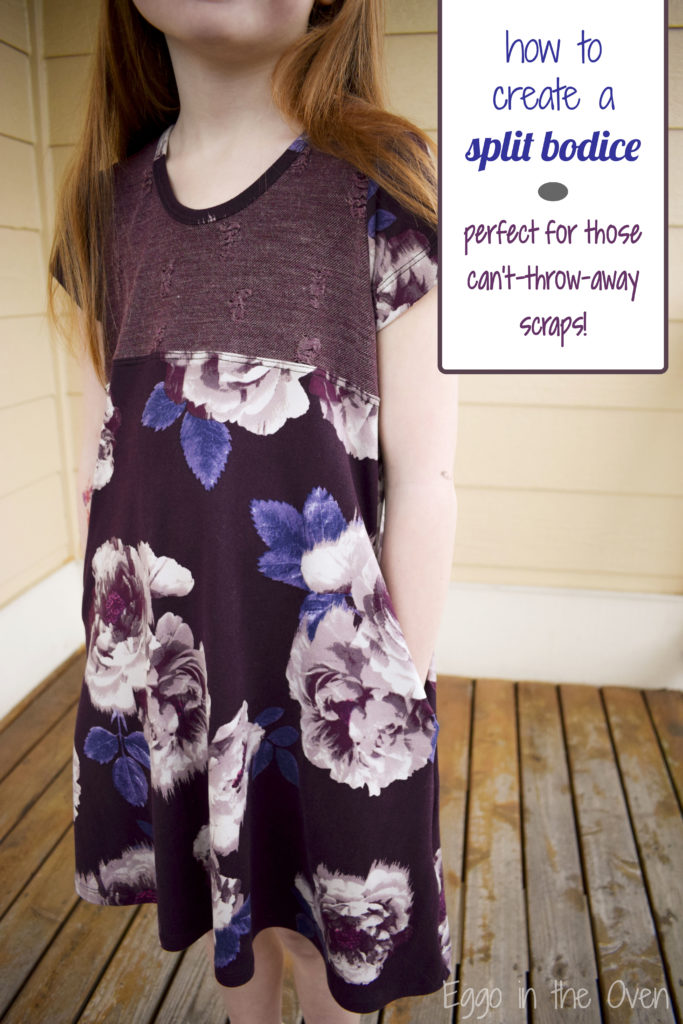
Or maybe you have scraps laying around of your favorite fabrics that you just couldn’t get rid of? Perfect! Dig those out – they’ll work great! The two I used were a scrap of distressed knit and a piece of double brushed poly from a mystery box – both from Mily Mae Fabrics.
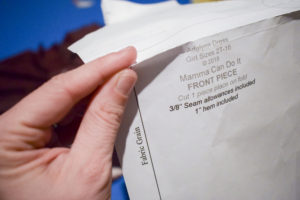
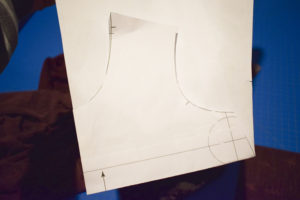
To start – tape together your pattern pieces as instructed in the tutorial. Next, you need to decide where you want your “split” to be positioned. I opted for a point that fell below where the sleeve attaches – mostly because I had a gorgeous scrap of distressed knit that was just the right size (I can’t be the only one who refuses to throw out scraps…. right?!). Depending on your plans for your pattern piece, you can draw the “split” line straight onto your pattern piece, cut it at the split, or just fold the piece. I opted to fold mine as I plan on making a bunch of these and I didn’t want to chance losing pieces (this happens all too often with four kids and a messy sewing room!!!). For reference: I am sewing a size 7 dress and my fold line is about 2.5″ below the middle front neckline, or about 1.5″ below the lowest underarm point.
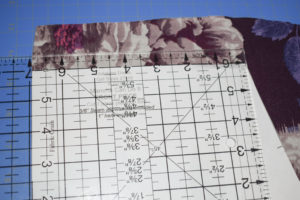

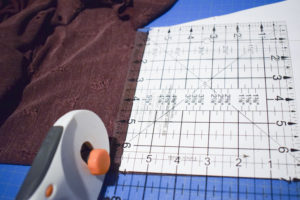
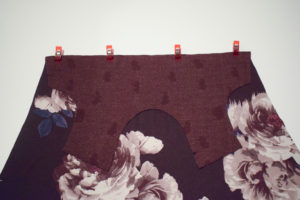
Keep your pattern piece folded back on itself and line it up on your fabric, along the fold. You can see my “split” line is at the top. Don’t cut on that line!!!! We need to add in seam allowance so that you aren’t losing any length when you sew your top accent piece to the bottom dress piece! I picked 1/2″ seam allowance because it’s super simple with my ruler. Line up the 1/2″ mark on the ruler with the top (folded) edge of your dress piece and with the outside edge of the dress piece (not the fold edge). Cut out your front lower piece including this 1/2″ rectangle at the top.

Here is my lower piece, cut and ready. See how the fabric extends 1/2″ further than the pattern piece – yay!
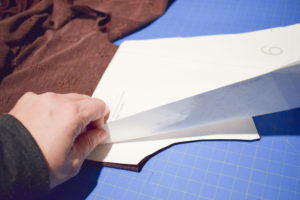
Next we will do pretty much the same thing for the top of the front bodice piece. This can be a little trickier – my tip is to lay your pattern piece out on the fold of the fabric as if you were doing a normal dress – cutting around the armscye, shoulder, neckline, and down a little ways on the side seam. Then fold your pattern piece back up on itself at your fold line and we will add in seam allowance. You can use pins or pattern weights to keep your pattern piece in place – I just like to live life on the edge and go for it without!!! Use the same seam allowance (I used 1/2″), lining up your ruler with the edge of your pattern piece, and continuing to cut the top bodice piece out with this little bit extra.
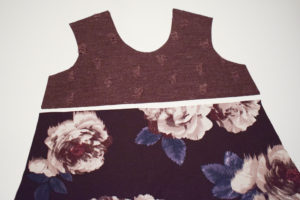
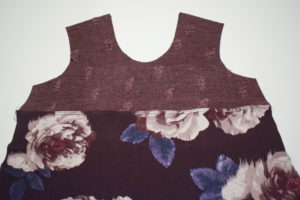
Woohoo! You should now have two pieces – the top and bottom of the front dress piece. You’ll get a sneak peek of what it’s going to look like!
Now take your top accent piece and lay it on your bottom dress piece, right sides together, lining up along your “split” line. Pin or clip in place. Sew that seam using the seam allowance you added (1/2″ for mine) with a stretch stitch or serger.
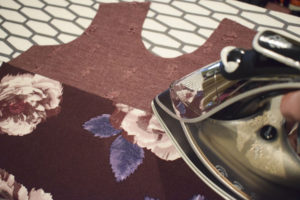

You can leave your front piece as it is now – sewn together along the split. Or you can choose to topstitch. This is a matter of preference, comfort, and if you have the 30 seconds to spare (sometimes that’s a BIG “if” because you’re sewing at naptime!). Either way, I recommend pressing this seam. I prefer to press down (toward the bottom of the dress, not the bodice accent) but either direction will work. If you are topstitching, press this seam to the side of the split that you will be topstitching. Again, topstitch with a stretch stitch, double needle, zig zag, or coverstitch.
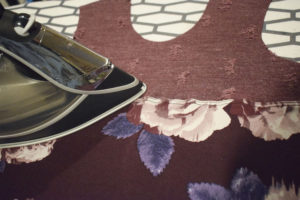
After topstitching you might have a slightly wavy seam – this happens pretty easily with knits because they have a tendency to STRETCH (which makes them gloriously comfortable!). Simple – just press that seam with lots of steam (as long as your fabric allows for that treatment!). You now have one piece for the front of your dress – made from two gorgeous fabrics! Continue to construct your dress per the pattern instructions.
Wasn’t that fun?! Now you have a new and different version of that awesome Adalynn Dress you love so much!
Oh… and I dare you to play with fabric combinations – get bold, have fun, use those scraps you just couldn’t throw in the trash!!! If you do the split higher up, you can use up even smaller scraps!
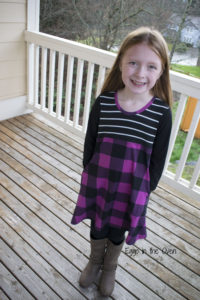
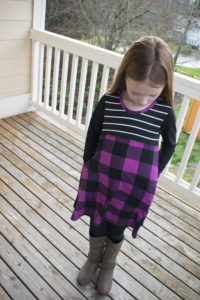
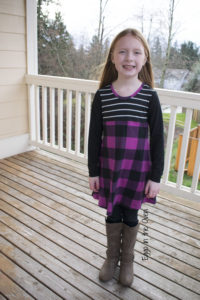
This one – made from Double Brushed Poly stripes, solid, and plaid from So Sew English Fabrics was a fun way to combine a couple prints without it getting WAY too busy. I used solid black for the back – both to keep it a bit more calm and because I didn’t want to stripe / plaid match (remember…. I’m all about the QUICK naptime sews!).
Time to try this mini “hack” on a dress for myself….. stay tuned!!!!


