I know it’s difficult to even think about shorts, when most of us in the country are dreaming about spring and warmer temperatures. If you haven’t noticed, Mamma Can Do It has been doing some spring cleaning! Out with the old and in with the new is the saying, right! But what if the OLD still works???
MCDI has already been pretty busy this year! There have been a couple retired patterns that will be making or have made a comeback in the new year. We have all loved the new patterns like the Adalynn Dress, Baby Boy Leggings, Cowl Neck Pullover, Rosie’s Ruffled Leggings, and the awesome Easy Onesie. The new year started with a bang with the Winter Legacy Tour and sale. In nine years, these patterns have gotten a lot of love, and they have a lot left to give. I’m so glad that I get to take part in revisiting these great patterns. O.K. so back to the shorts!
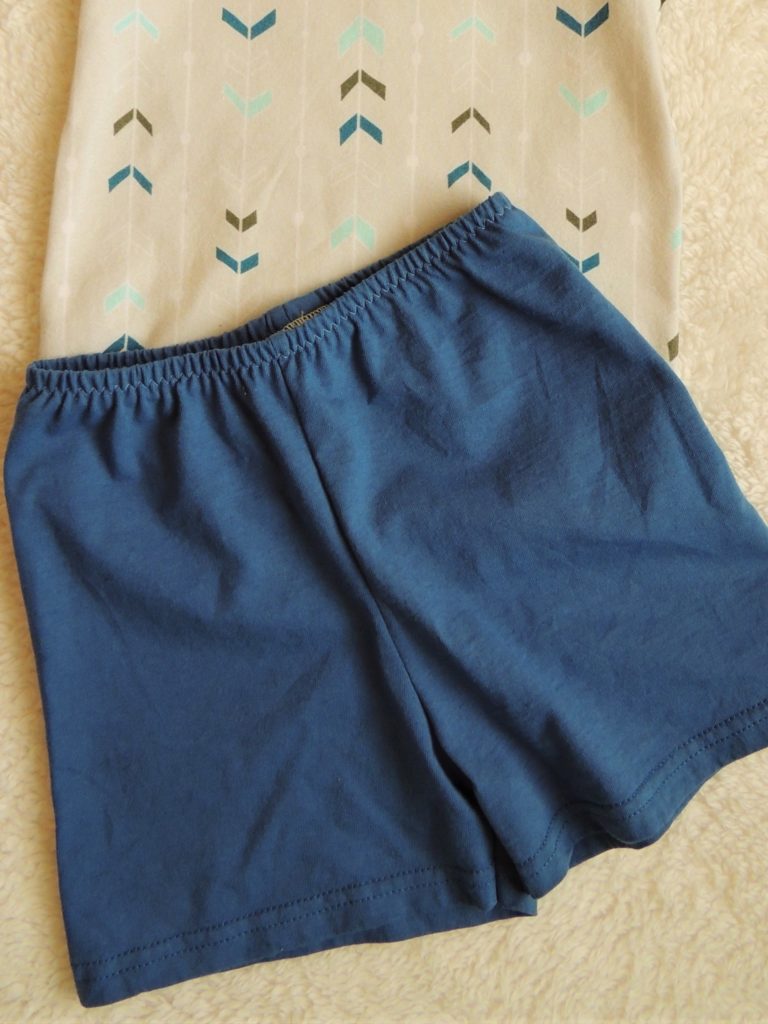
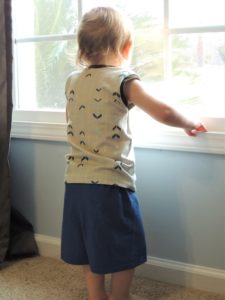
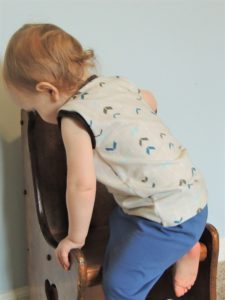
These Simple Baby Shorts are so quick that you can make your little one a whole summer play shorts wardrobe in a day! Bonus: It’s a two for one pattern! We are a cloth diaper family and it is very difficult to find good shorts or pants that cover the extra padding of the cloth diaper. I love that I can make the comfy fit version of this pattern and know I will never have to worry about droopy drawers or my kids running out of their shorts (hey it happens). The slim fit version of the pattern is perfect for non cloth diaper days too and still covers cloth diapers pretty well.
Pros:
- Easy!
- Fast!
- Can be made with woven or knit
- Versatile Fit (cloth or disposable diapers)!
- Unisex!
Cons:
- Elastic Casings (Uggg)
Now my con might be your positive to this pattern, but I’ve always hated elastic casings. I very much dislike fishing the elastic through the casing or when you accidentally let the other side slip into the casing and you have to start all over again. Yuck! Don’t worry though, because I’m about to show you a new way to sew these little shorts if you are like me and despise elastic casings.
I was a part of Mamma Can Do It’s tester boy leggings group and in that pattern we used a method that I really love where you sew the elastic directly onto the shorts. Love! It makes it an even faster sew if that’s even possible!
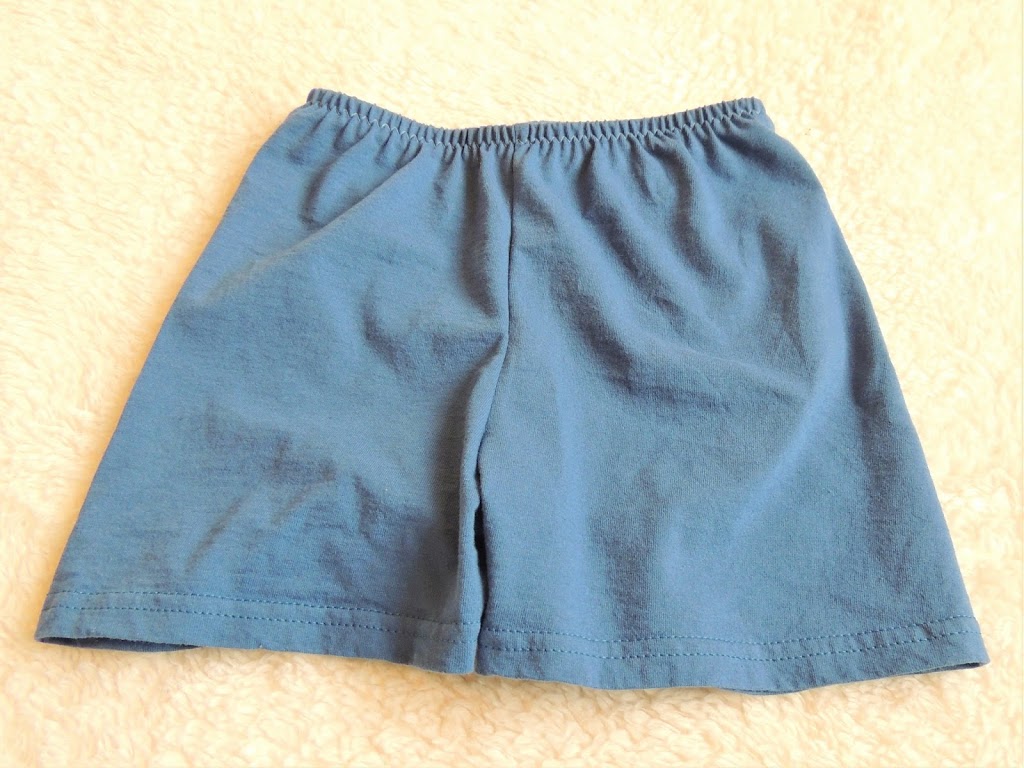
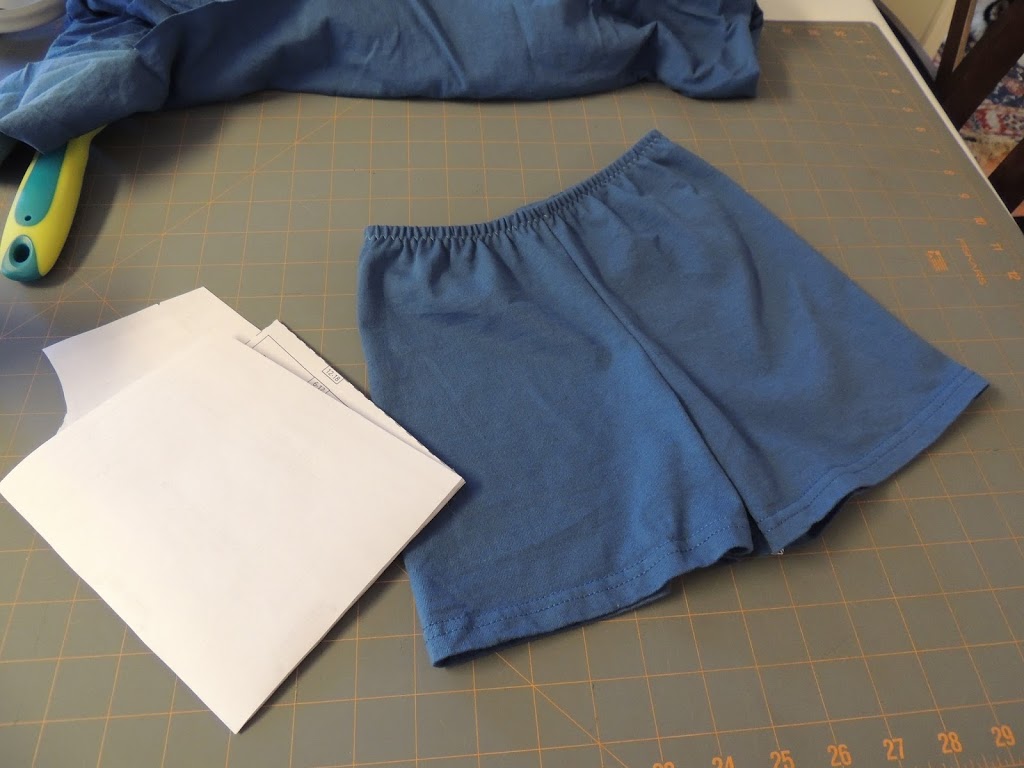
I used an old recycled t-shirt from my husband and placed the pattern along the bottom of the shirt so that I used the bottom hem of the shirt. To account for this I placed the pattern hem notches below the shirt hem since I would not be hemming.
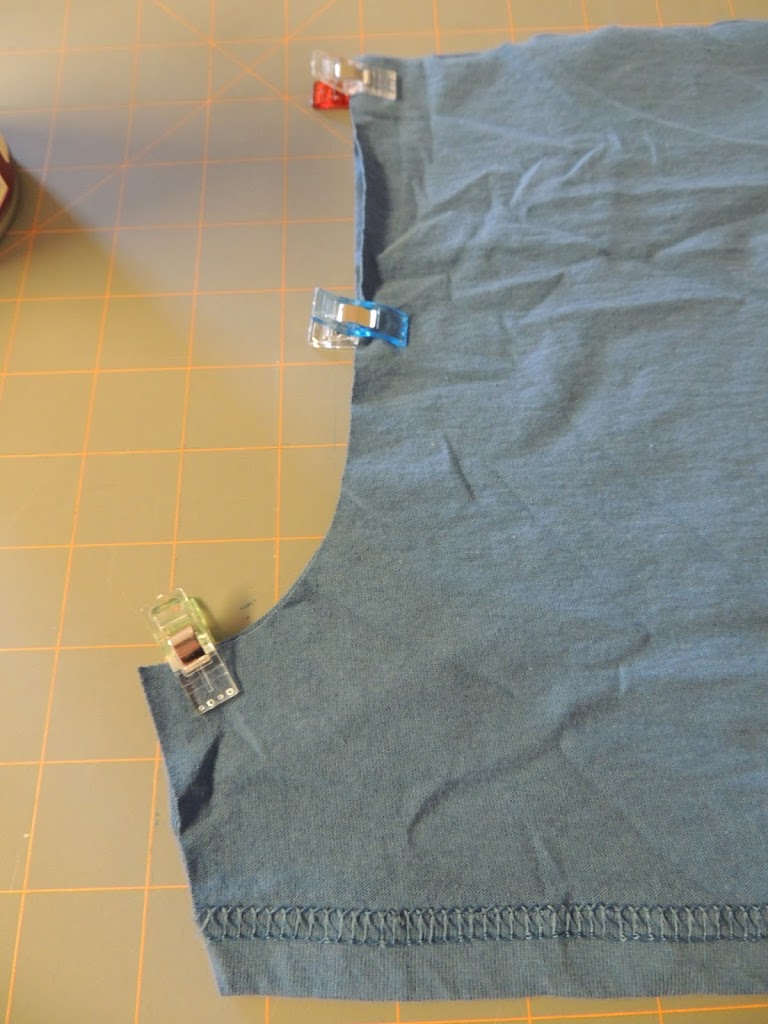
Another time saver is to place the shirt inside out or fold your fabric with right sides together before cutting. Then simply pin or clip your front and back seams like the pattern tutorial tells you.
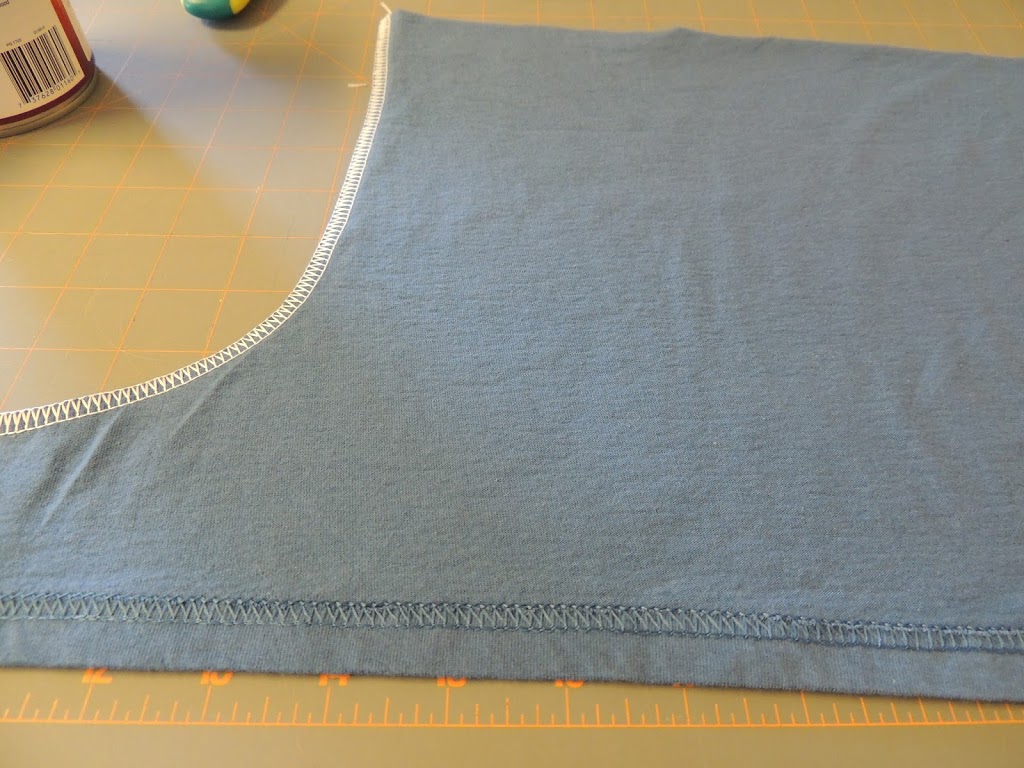
Here are the shorts with both front and back seams serged. Another great part about Mamma Can Do It patterns is that directions for using a simple sewing machine or a serger are often included. This pattern is just as easy with a simple sewing machine. I quickly finished sewing the inseams of the shorts by using the great picture tutorial included in the pattern. Cut your elastic length a half inch less than the pattern states since you will not be overlapping. I used 3/4 inch elastic to match up with the casing seam allowance. I love that Mamma Can Do It patterns have all elastic lengths written on the pattern pieces so I don’t have to go find it in the tutorial.
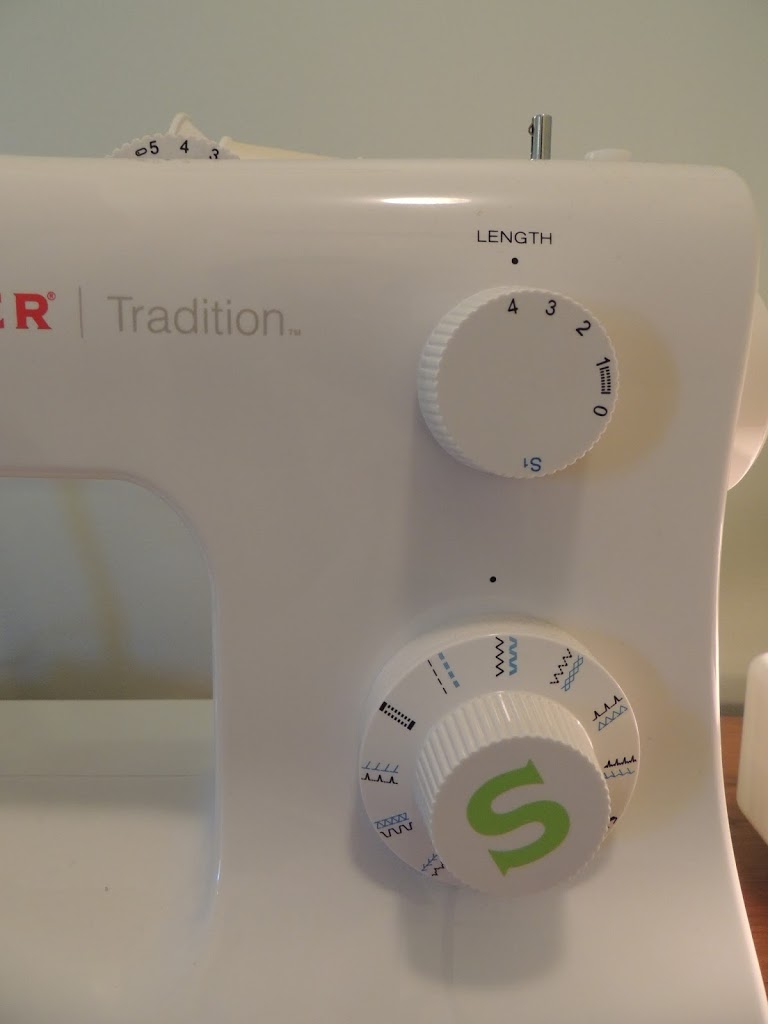
Speaking of simple sewing machines…here is mine. I am in need of a sewing machine upgrade! I set my machine to zigzag with a higher width and length setting. You can play around with this to your liking. You want your zigzag to be able to connect the butted ends of the elastic (see below). Make sure your elastic is not twisted before sewing.
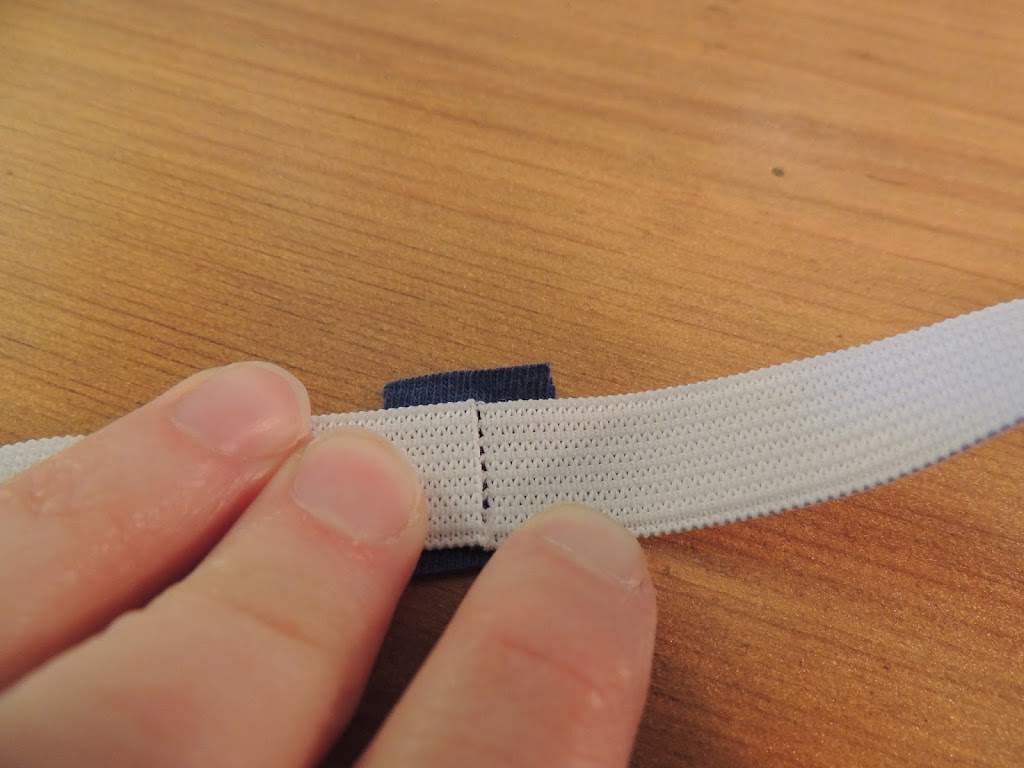
It will help the sewing machine if you have a small scrap of fabric behind your elastic like so.
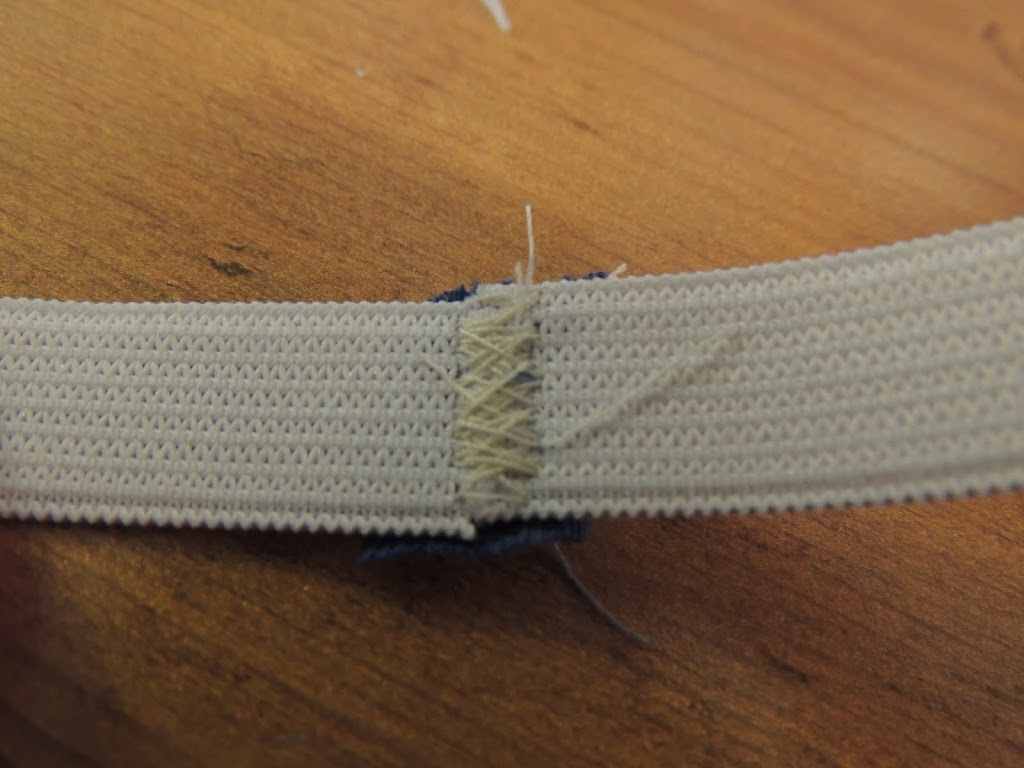
This is what your elastic will look like once you have zigzag stitched it together.
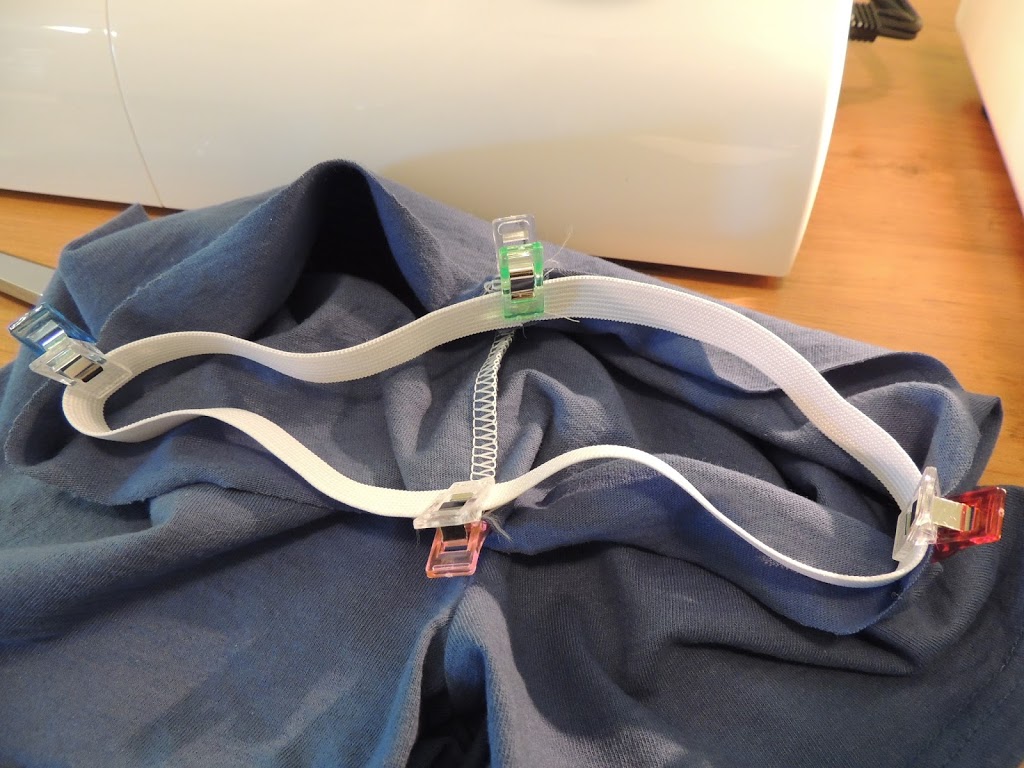

I’m using a serger here, but a sewing machine with a stretch stitch (zigzag) will work just as well. Here the elastic is on the bottom and my knife is disengaged. I find it much easier to guide the shorts and elastic through by holding in front and behind to pull it gently through. This is the same for your sewing machine as well. Make sure the elastic is stretching while the shorts fabric should not.
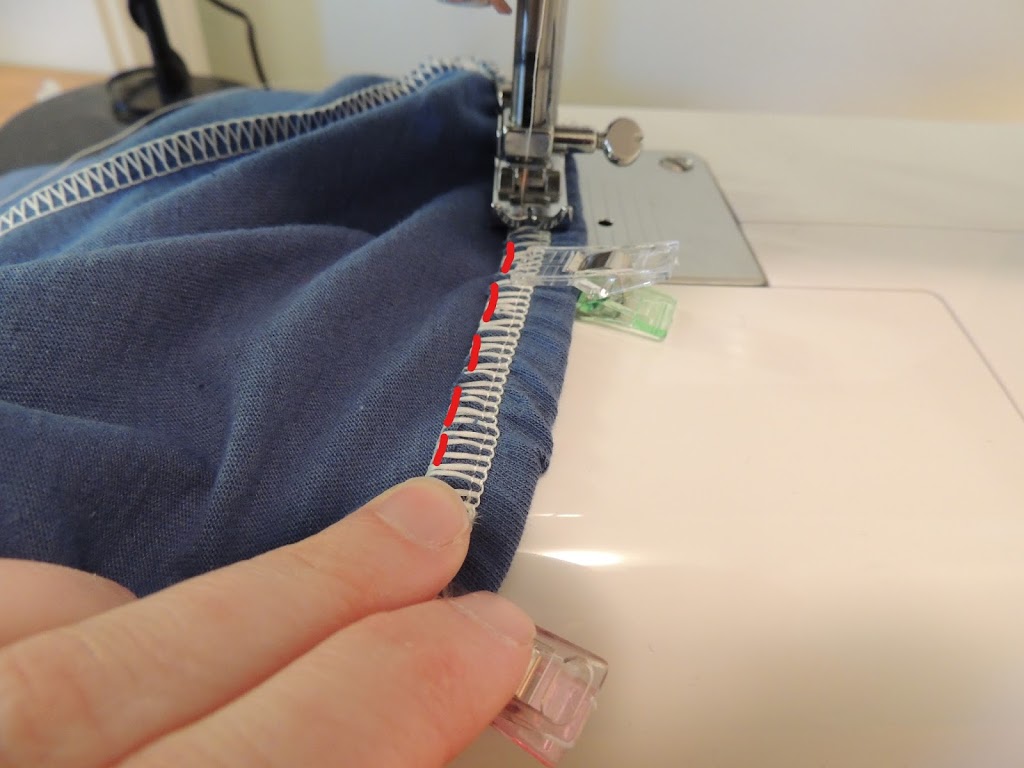
Turn your shorts inside out again for the next part. Turn the top waist of your shorts down like you are creating a casing, except now your elastic is already encased! I pin/clip along the top to make sure that the fabric is taut against the elastic. I use a zigzag or a similar stretch stitch to go around the serged edge of the elastic.

Disclaimer: This post contains affiliate links.


