I love that Mamma Can Do It patterns are such staples in my kid’s wardrobe especially the Baby Boy Leggings. The baby boy leggings are designed for knit fabrics and range from size NB-36 months. I love the added rise for cloth diapers and the more relaxed fit is perfect for little boy legs. This pattern uses elastic for the waist which I love, but sometimes I want to add a little pop of color or I want to use a little bit of my more expensive custom fabric for a special touch.
This is what I’m here to share with you today: How to take an elastic waist pants pattern and add a yoga waistband. There is an added bonus tutorial on how to add a faux drawstring to your pants as well. This tutorial should work for any elastic waist pants pattern including Mamma Can Do It’s Rosie’s Ruffled Baby Leggings and the Simple Baby Shorts patterns! I love this new variation on one of our favorite boy’s patterns.
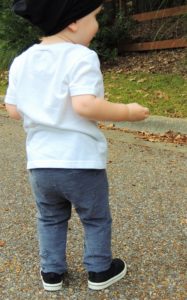
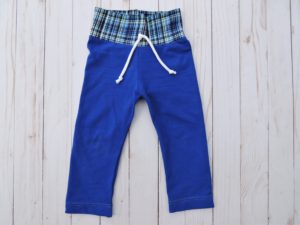
Baby Boy Leggings
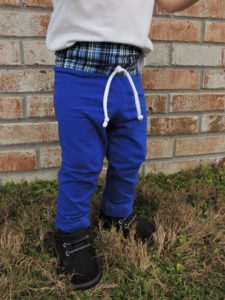
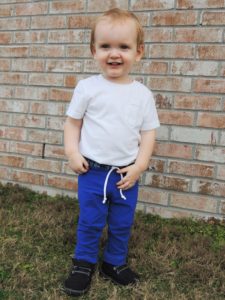
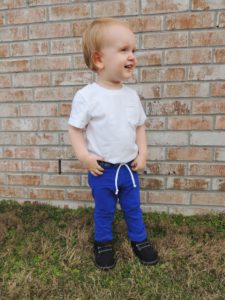
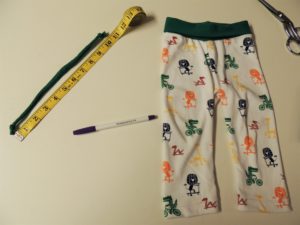
Baby Boy Leggings with Yoga Waistband
Let’s get started!
You will have to adjust the rise (top part) of your pants pattern piece before cutting your fabric. I used the following measurements to decrease the rise for each size of these pants. If you are using a different pattern, the rise will roughly decrease by about half of the finished waistband height. For example if your waistband height is 6 inches then your finished waistband height will be 3 inches. This is just a rough estimate since you still need to take into account the waistband casing or amount that the waistband originally folded down when adding elastic (1 inch in the Baby Boys Leggings). Since Mamma Can Do It’s patterns normally account for cloth diapered babies, you won’t really have to worry too much about the rise being too short. If anything, your rise might be a little long after adding the yoga waistband. These are measurements that I have found to work, but if you you find the fit to be a little baggier in the front than you prefer, then subtract a little more from your rise (top) next time.
Measurement Chart for Subtracting Rise (Top Part of Pattern Pants)
- NB Subtract 2.5 inches (6.35cm) from rise (top)
- 0-3m Subtract 2.5 inches (6.35cm) from rise (top)
- 3-6m Subtract 2.5 inches (6.35cm) from rise (top)
- 6-9m Subtract 2.5 inches (6.35cm) from rise (top)
- 9-12m Subtract 3 inches (7.62cm) from rise (top)
- 12-18m Subtract 3 inches (7.62cm) from rise (top)
- 18-24m Subtract 3 inches (7.62cm) from rise (top)
- 24-36m Subtract 3.5 inches (8.89cm) from rise (top)
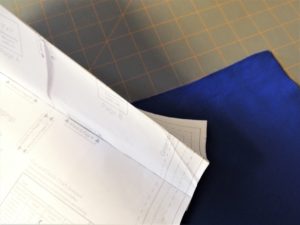
3 inches have been subtracted from the rise here on the 12-18m size.

Here I have folded my pattern piece down at the top 3 inches for the 12-18 month size of the baby boy leggings. It is not a completely strait line since I attempted to model the top line of the original rise. This way if I want to make another elastic waist boy legging I can still use this paper pattern for that. Cut your two mirrored pants pieces like the pattern tutorial says.
Next we will figure out what your yoga waistband width will be. I made quite a few of these to figure out what the exact best percentage of your baby’s waist measurement this yoga waistband should be. To get your yoga waistband width measurement use the following formula.
(Child’s Waist Measurement) X 0.84 = Yoga Waistband Width
My little guy’s waist measurement was 18.75 inches X 0.84 = 15.75 inch width for my yoga waistband.
A note on fabric stretch and recovery.
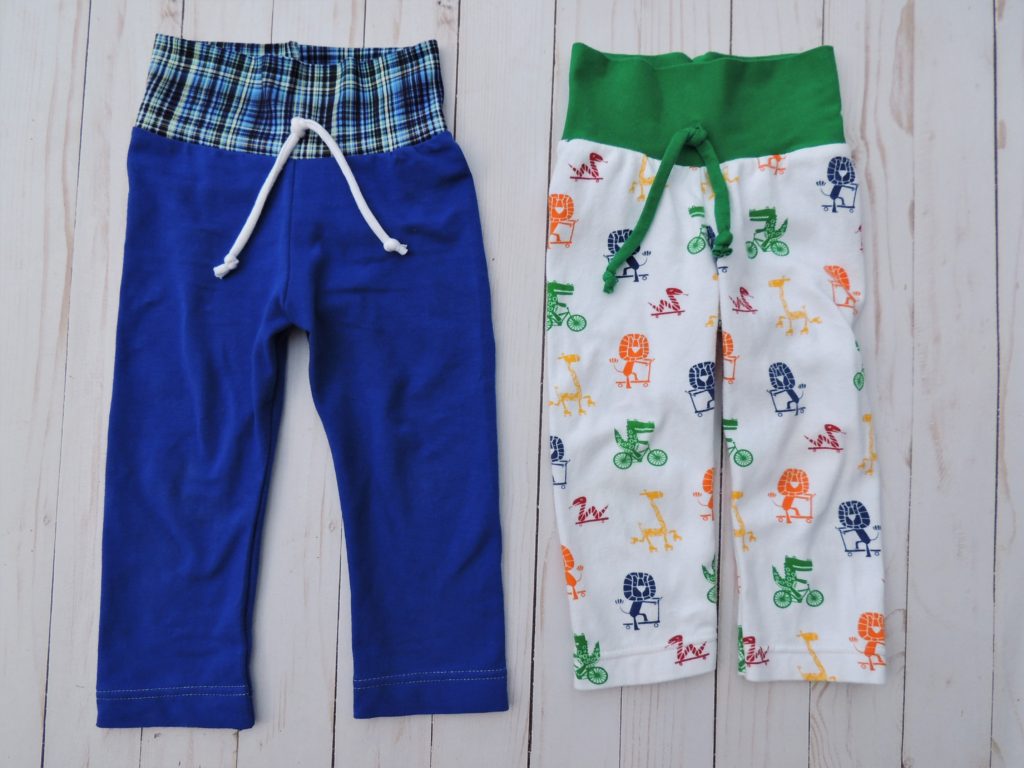
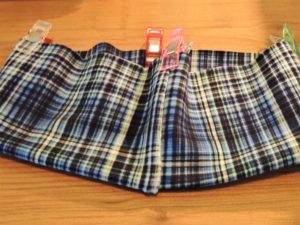
You will want to choose a knit fabric with at least 50% stretch and good recovery like cotton lycra (spandex). This will make sure that the band stays up on your active little one. A better quality fabric like my custom blue plaid here from Dicarpo Designs will seem tighter because it has a better quality recovery. If you want your pants to fit a little less tightly around the middle, increase your 0.84 to something like 0.85 or if you want them to fit a little tighter, then decrease it to 0.83. I noticed a big difference between the blue pants (tighter waistband and better fabric quality) than my green cotton lycra waistband. However, the blue pants are not tight on my little guy at all, and I am very happy with the fit. If you also notice the little colored animal fabric (Doodle’s brand from Joann’s) shrank an inch or more at the bottom even though these pants are both the same size and I prewashed the doodles fabric twice (this fabric is infamous for shrinkage). Fabric choice definitely affects your fit.
Yoga Waistband Height Cut Chart for the Baby Boys Leggings
- NB 5 inches (12.7cm)
- 0-3m 5 inches (12.7cm)
- 3-6m 5 inches (12.7cm)
- 6-9m 5 inches (12.7cm)
- 9-12m 5.5 inches (13.97cm)
- 12-18m 6 inches (15.24cm)
- 18-24m 6 inches (15.24cm)
- 24-36m 6.5 inches (16.51cm)
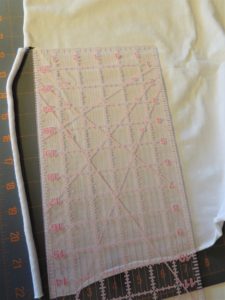
For my pants I cut a 15.75 inch (width) by 6 inch (height). You want your width to have the largest amount of stretch because you want your waistband to stretch across the body of the child. If you want to add a faux drawstring, cut a strip along the grainline (you will see the edge of your fabric curling the best along here). Here is a closeup of the grain where I cut my drawstring.

Cut drawstring along the grain of fabric.
My drawstring for the 12-18 month size was about 10 inches.
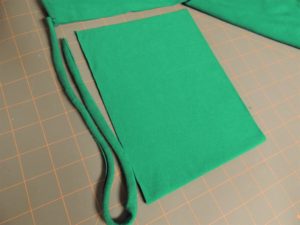
You can cut your waistband along the edge of your fabric to cut your drawstring at the same time. I had to trim this one a bit to get the right length.
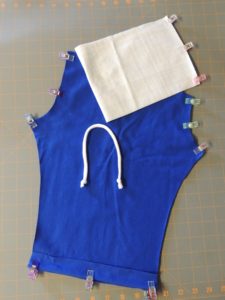
Everything is cut out and ready to go! I like to cut my fabric with right sides together so that you can simply pin or clip directly after cutting. Go ahead and sew your pants seams and hems according to the tutorial.
Hamburger Hotdog Band Method Construction Video
Here is a video where I demonstrate the “hamburger hotdog method” for constructing a waistband. I used a serger here but you can use your regular sewing machine. Be sure to use a stretch stitch like a zigzag or lightening bolt stitch. You can also view Elizabeth’s video here for good tricks and tips for sewing with knits.
I will show you a new way to construct your waistband. You can also use this method to construct cuffs. It’s called the hamburger hot dog method. I love it because it makes aligning your folded waistband much quicker. The only downside to this method is that it leaves a tiny lip at the top of the seam. If I were going for a professional finish, I would probably not use this method. However, it is perfect for quick and easy kid’s clothes construction. When your kid’s seem to outgrow clothes overnight, you will thank me for this method!
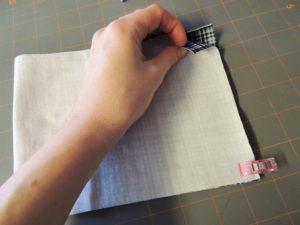
Fold your waistband in half to form the “hamburger”.
Fold your band down to form your “hotdog”.
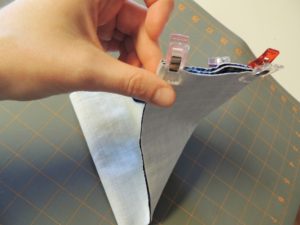
Your band should look like this along the raw edge.

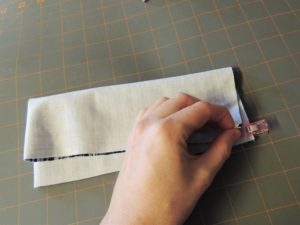
It should look like this on the other side.
Mark quarter points of waistband.
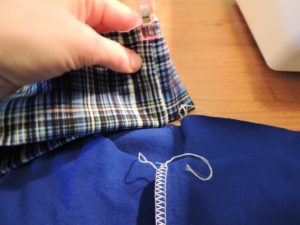
Make sure the back seam of your waistband matches with the higher rise of the pants back.
You will want to quarter your waistband and pants now by marking them with a pen or clip. Your pants will be inside out. Slip your waistband into your pants, matching up quarter points.
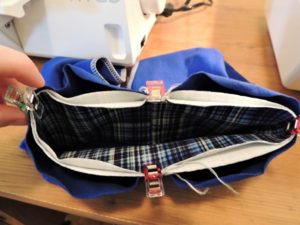
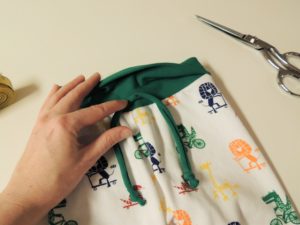
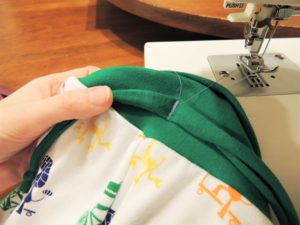
Your waistband will look like this. The first couple times I constructed a yoga waistband I had a lot more clips/pens. You will want to sew by stretching the inside band to match the pants. You do not want to stretch the outer pants fabric as you sew (blue fabric in the picture). This is very similar to sewing the elastic onto your pants in the tutorial of this pattern. If you only wanted a yoga waistband, then you are done! If you want to add a cute faux drawstring, then only a couple more easy steps.
This is what your pants will look like. Some people like to fold down their yoga waistbands like this so I always place my drawstrings at the center front a little below the center of the waistband (see picture below). It’s sometimes good to even make the height of your waistband even taller in order to be able to fold it down more. This higher fold over grow-with-me-waistband can make your kid’s pants last a little longer which is always great in my book!
Mark where you want your drawstring.
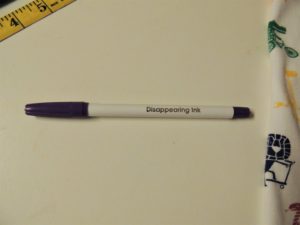
I use disappearing ink to mark my pants.
These are the sewing machine settings I use to sew my drawstring onto my pants. I like to sew it on last because having the two layers of waistband stabilizes your stitches a little better. I zigzag in the direct center with a length of 2 and a width of about 3. I zigzag a few times back and forth to be sure it is on tightly.
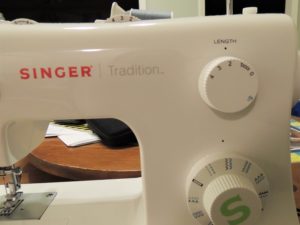
My zigzag sewing machine settings.
Narrow zigzag stitch connecting the drawstring to the waistband.

Tie a knot in the end of each piece to keep it from unrolling. I also tie a knot in the center to hide my stitching. I tie it like you see in the picture to help the drawstrings lay better. Do not pull tight unless you are absolutely sure you have your knot placement how you want it. It is very difficult to untie!
And so you have it! Now go have fun and create!