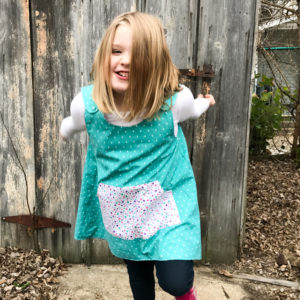
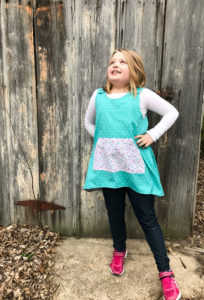
 The Joyful Jumper was so awesome to sew up that we’ve already got two made and have more coming. With it being reversible, the two is really more like having four! We made one side with the pockets included in the pattern. Then we changed things up a bit. One is a kangaroo pocket because what kid doesn’t love a big pouch for storing all those found things? The other is super simple and perfect for my budding artist.

For the kangaroo pocket, you can draw up a pattern yourself and adjust it accordingly for whatever size jumper you’re making. Or if you’d feel better with a bit more guidance, a quick google search turns up a few options for a free downloadable kangaroo pocket patterns. Once you’ve got your pattern ready, cut your fabric with the fold down the center. Turn and press all the edges under. Clip the curves of needed, then topstitch. You’ll only topstitch the curved edges right now. Now take your pocket piece and line it up on the jumper. Pin in place. Now straight stitch along the top, then down the sides and across the bottom. Don’t forget to backstitch where you start and stop to lock in place. You’re done!

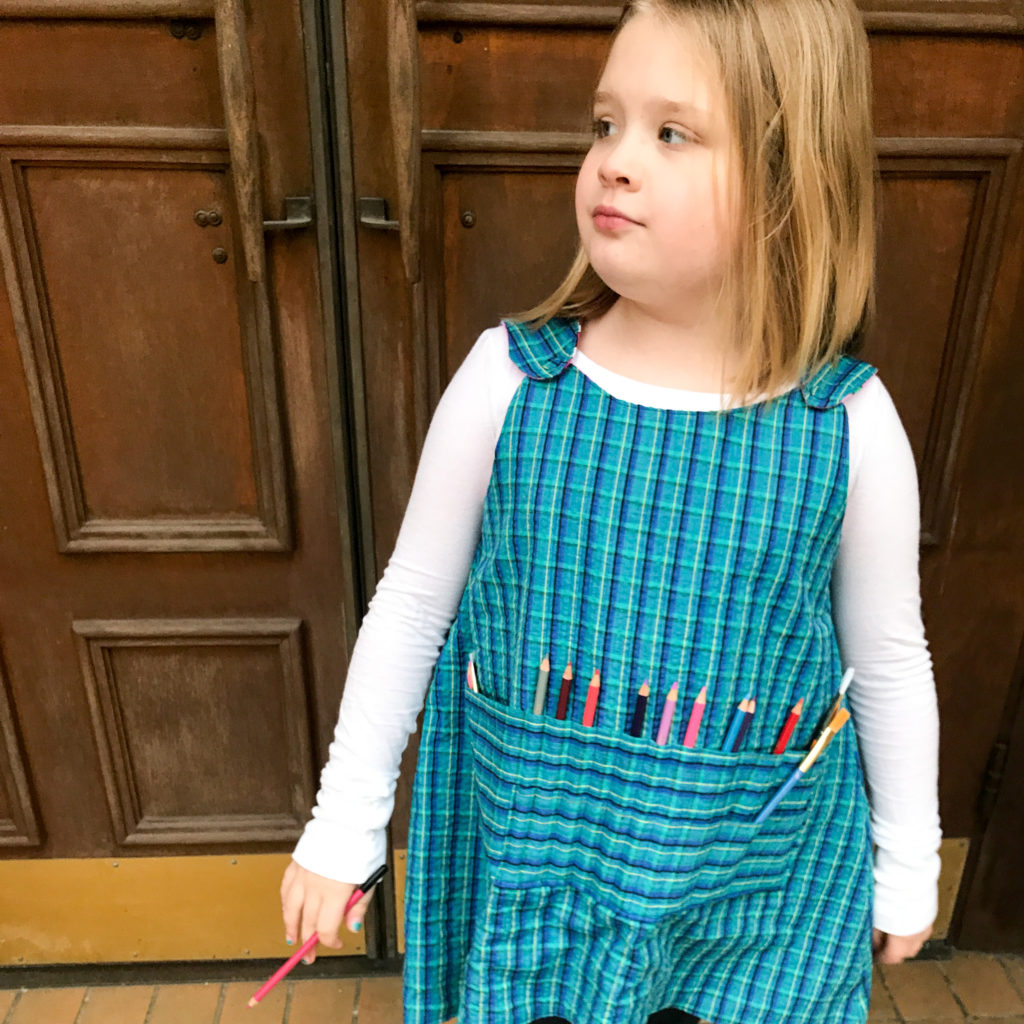
 Now for the oh-so-handy artist’s pockets. Measure out a rectangle about 4-5 inches high by a couple inches shy of the width of the jumper where you’ll position it. If you’d like two heights of pockets like I’ve done here, then make your second rectangle 1.5 inches shorter by either the same width or shorter. Turn and press all edges of both pieces. Topstitch across the top of each piece. Line the larger piece up on the jumper. Pin in place. Arrange the smaller pocket on top if using. Pin. Starting on one side, use a straight stitch and sew down the side, across bottom and up the other side, backstitching where you start and stop and at the corners to reinforce.
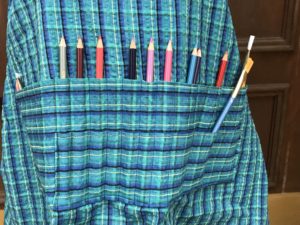
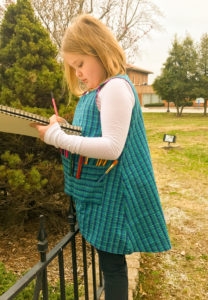
Now you’ll need to decide how wide you want each slot to be. I left either end wider to accommodate multiple brushes, markers, etc. The center sections are wide enough for one colored pencil or crayon each. Mark intervals between each slot where you’ll sew down. Stitch at each place you’ve marked from bottom to top, again backstitch at either end to keep in place. You’re done! Now youre ready to proceed with the next step in the jumper.
Be sure and pick up your copy of the Girl’s Joyful Jumper here
Now go make all the jumpers!