Classic T-Shirt Hack: Attached Belt


For this hack, I tried to create a different silhouette by adding an attached belt to the Classic T-Shirt. The Classic T-Shirt is fitted around the bust but then flares towards the bottom. If you are well-endowed, this can somewhat distort your figure depending on the fabric you choose.
FIRST, I started with the short sleeve version of the Classic T-Shirt.
SECOND, I cut a piece of fabric to make the “belt” portion. It was between 4 inches, I believe. I made it long enough to tie in the back of the shirt.
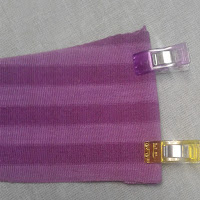
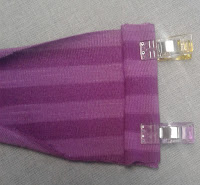
THIRD, I folded in the ends, so I wouldn’t have any raw edges on the finished belt, and I sewed the edges down using a straight stitch.
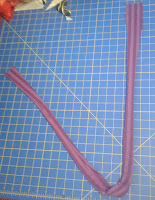
FIFTH, I sewed the long edge shut with a straight stitch.
SIXTH, Once the fabric was a tube, it was time to turn it right side out. I used a fabric turner to make life easier. 

SEVENTH, After turning the fabric. I sewed the short ends shut to make it look more finished.
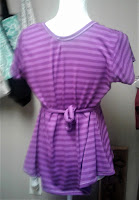
EIGHTH, I pinned the belt to the front of the shirt in a location that would be right under the bust. I sewed this from side seam to side seam, using a straight stitch.
NINTH, I sewed the belt down “in the groove” of the side seams, so things wouldn’t move around too much.
LAST, I just had to tie the shirt in the back. (My belt length got a little wonky on one side, so things aren’t even. Oops!)


If you want to add a belt to the Classic T-Shirt, head over to MammaCanDoIt and grab the pattern. This awesome pattern is available for children, women, and plus sizes. Happy sewing!


