Hey y’all,
I’ve been trying to make a comeback with something really cool and creative and I think I finally hit the jackpot….. OVERALLS (all of the heart eyes!!)
But not just any old overalls…
think BOHO.
think 70’s.
think….
flower child.
think 70’s.
think….
flower child.
Swing by my personal blog and give it a lookie 🙂
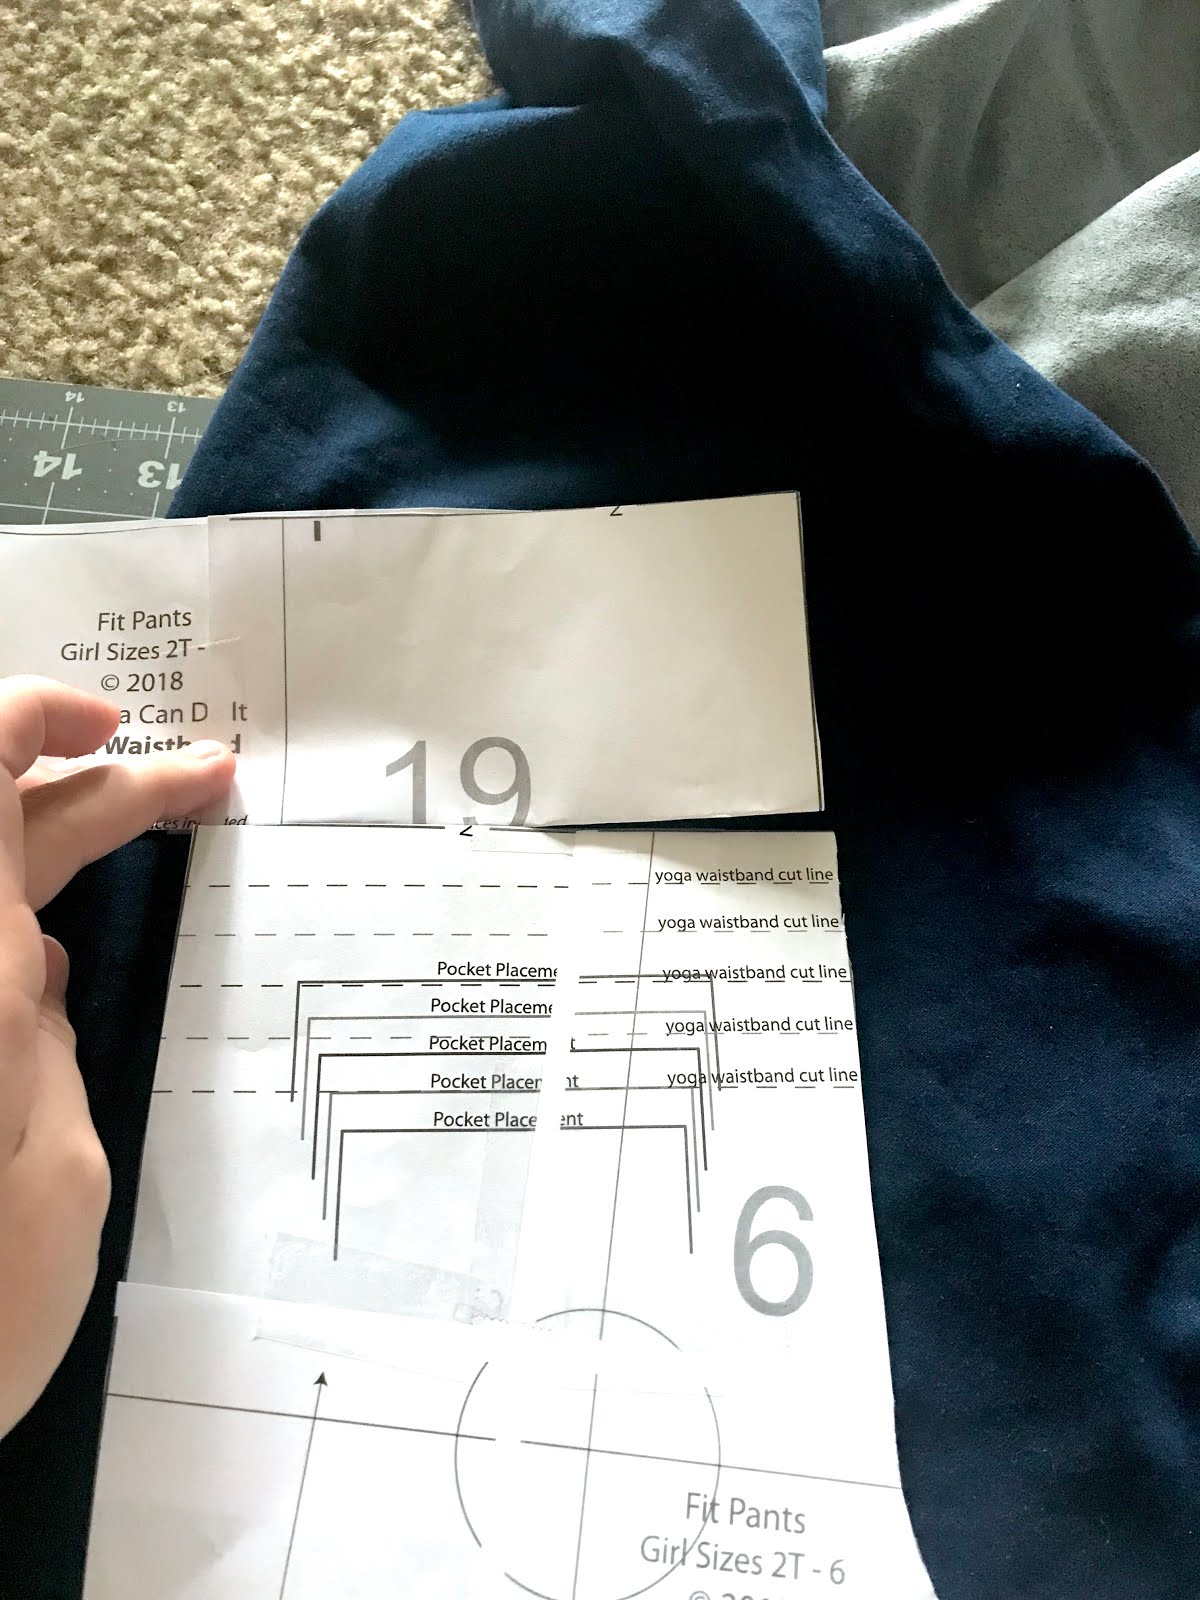
First off, go grab your Fit Pants pattern from Mamma Can Do It (MCDI)
#afflink
—————————————————————————-

—————————————————————————-
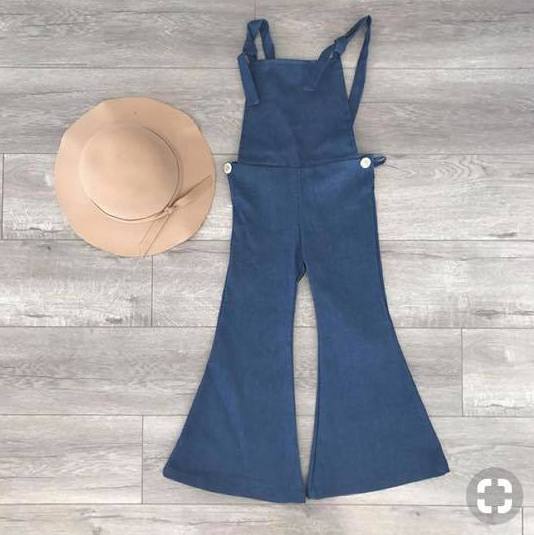
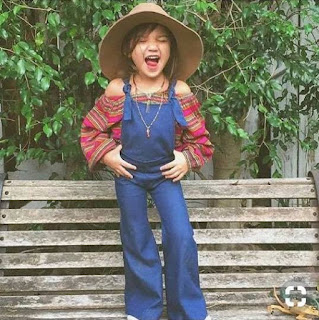
**The photos listed above were found on Pinterest from Mon Amie Harlow.
They are just the cutest thing and served as the perfect inspiration.**
FIT PANTS OVERALL HACK
*The following directions are directed towards size 2T*
1. Altering your Fit Pants pattern: Before you make any cuts, you’re going to have to add some length to the top of your pants. Use the yoga waistband in the size pants that you are making, and fold it in half longways. This should give you several extra inches of length to the top.
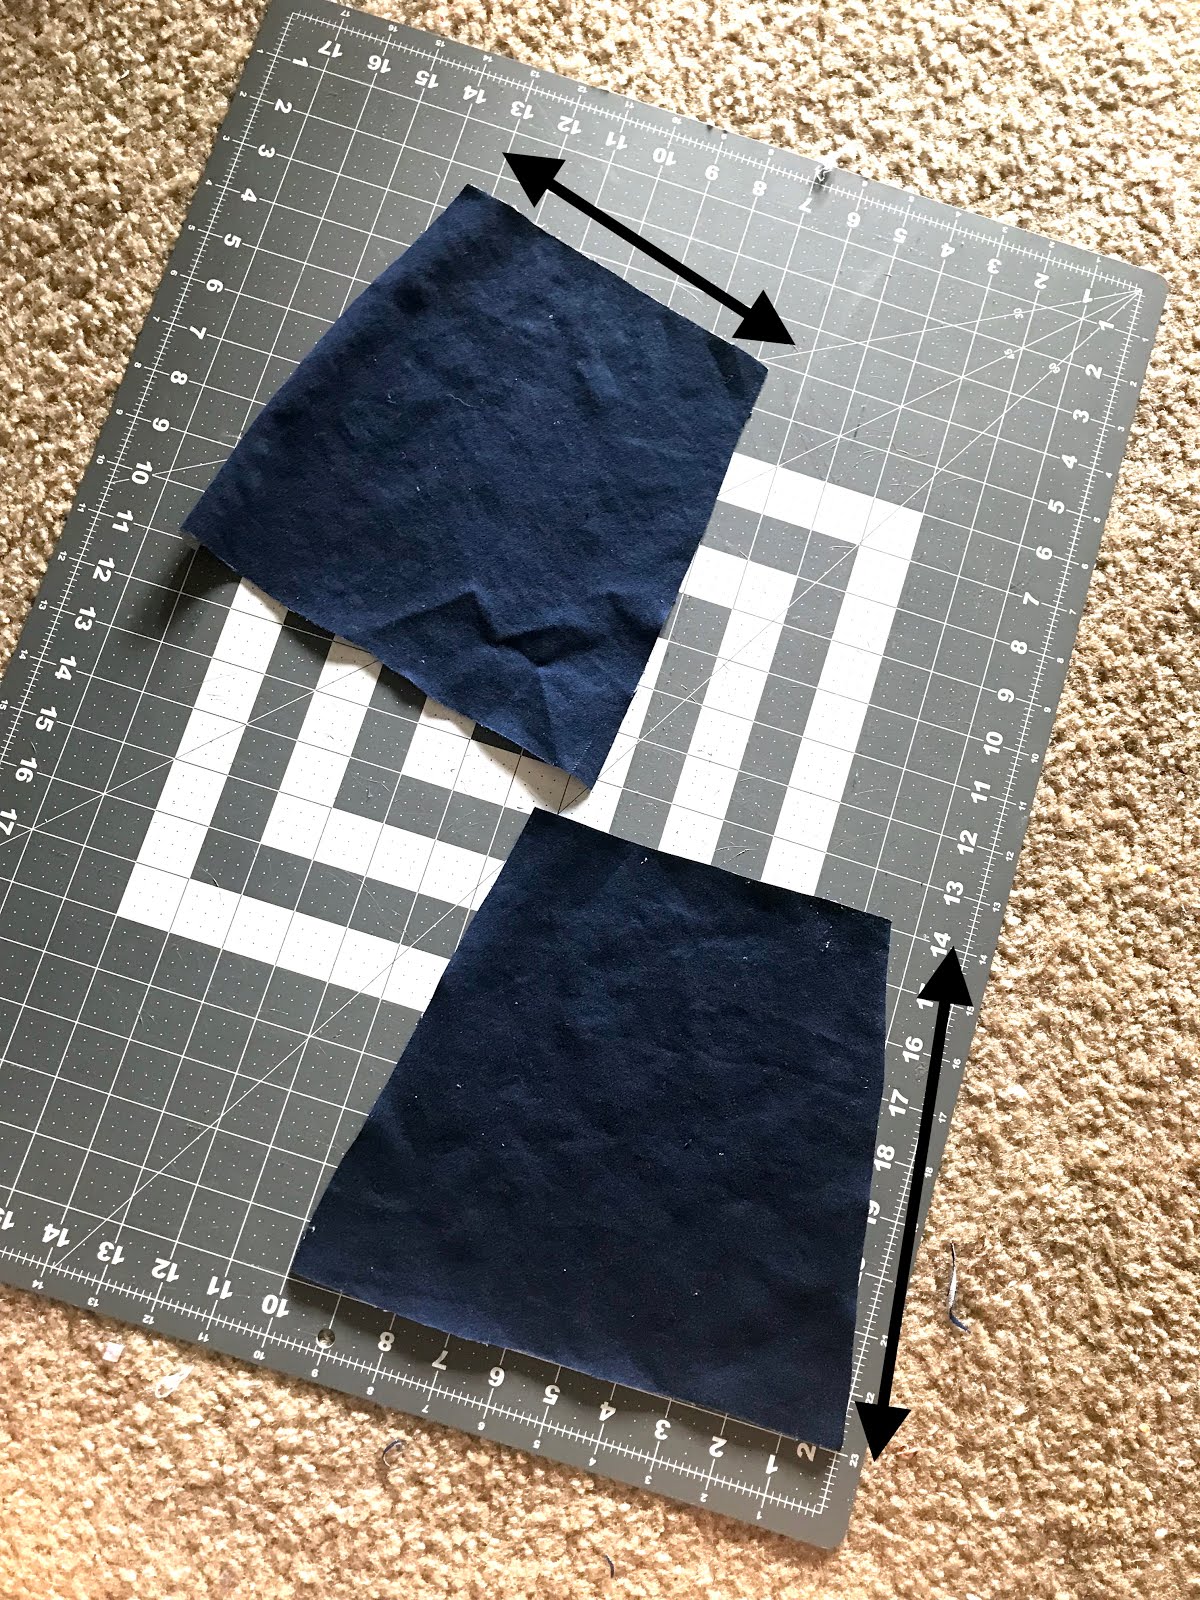
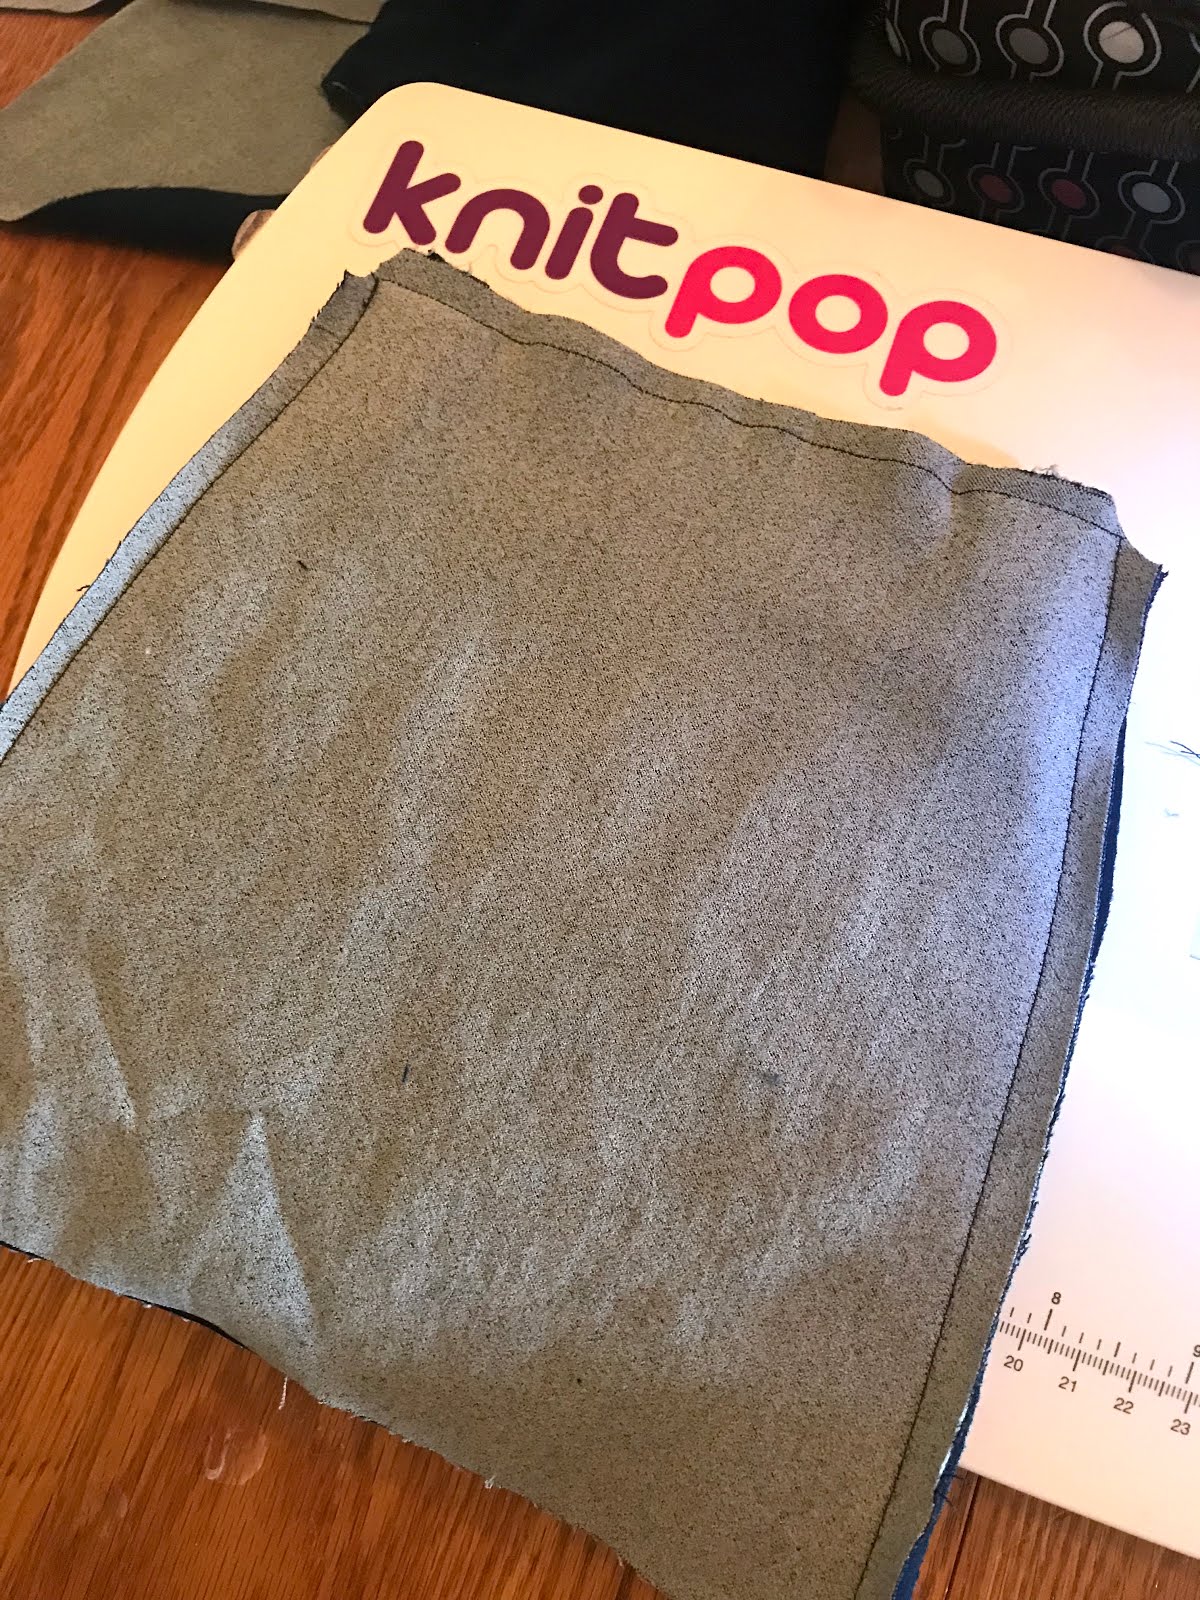
2. Cutting the front panel: In the picture below, you can see I cut two panels, 7 inches on the top, 10 inches on the bottom, and about 9 inches tall. This is all going to depend on how tall your child’s torso is. I ended up chopping almost 2 inches off the height in the end to fit my daughter best.
3. Cut your loops- Your loops will be 5×2 inches. Cut two.
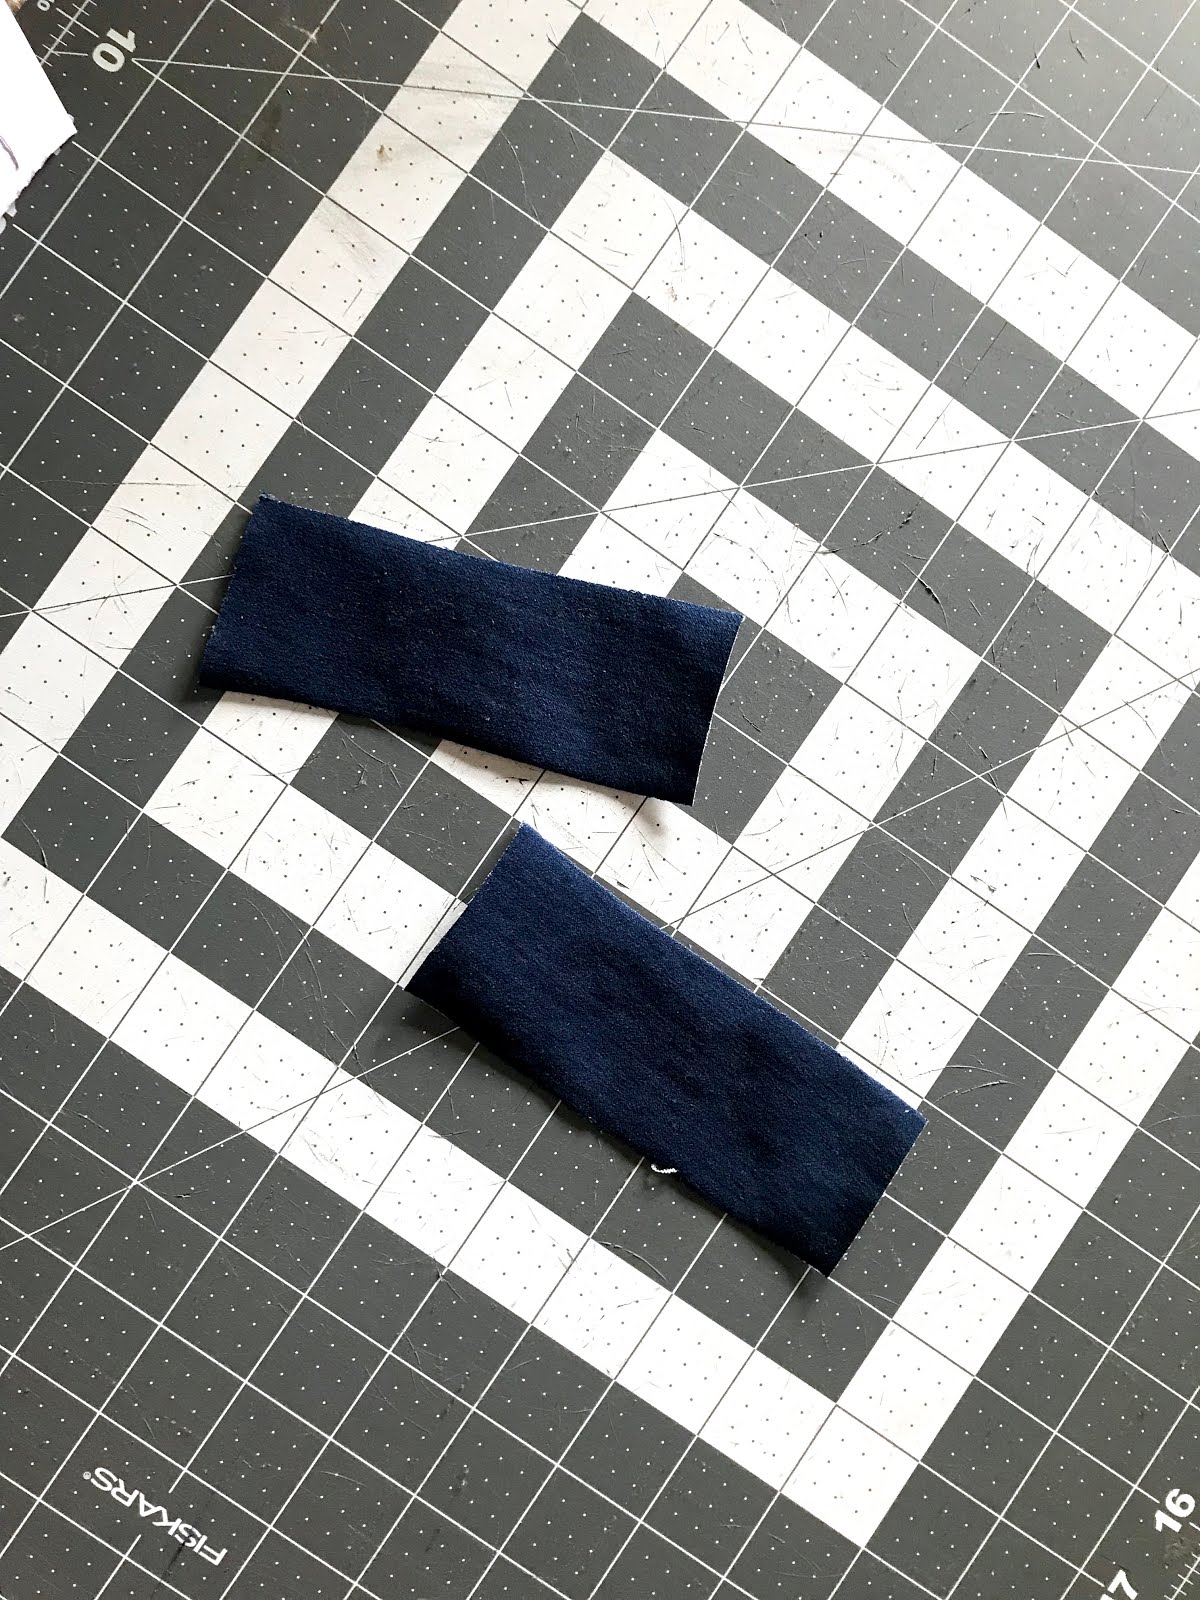
4. Sewing the front panel and loops together- First fold your “loops” together long ways and RST then sew. Do this for both.

Turn right side out for both.
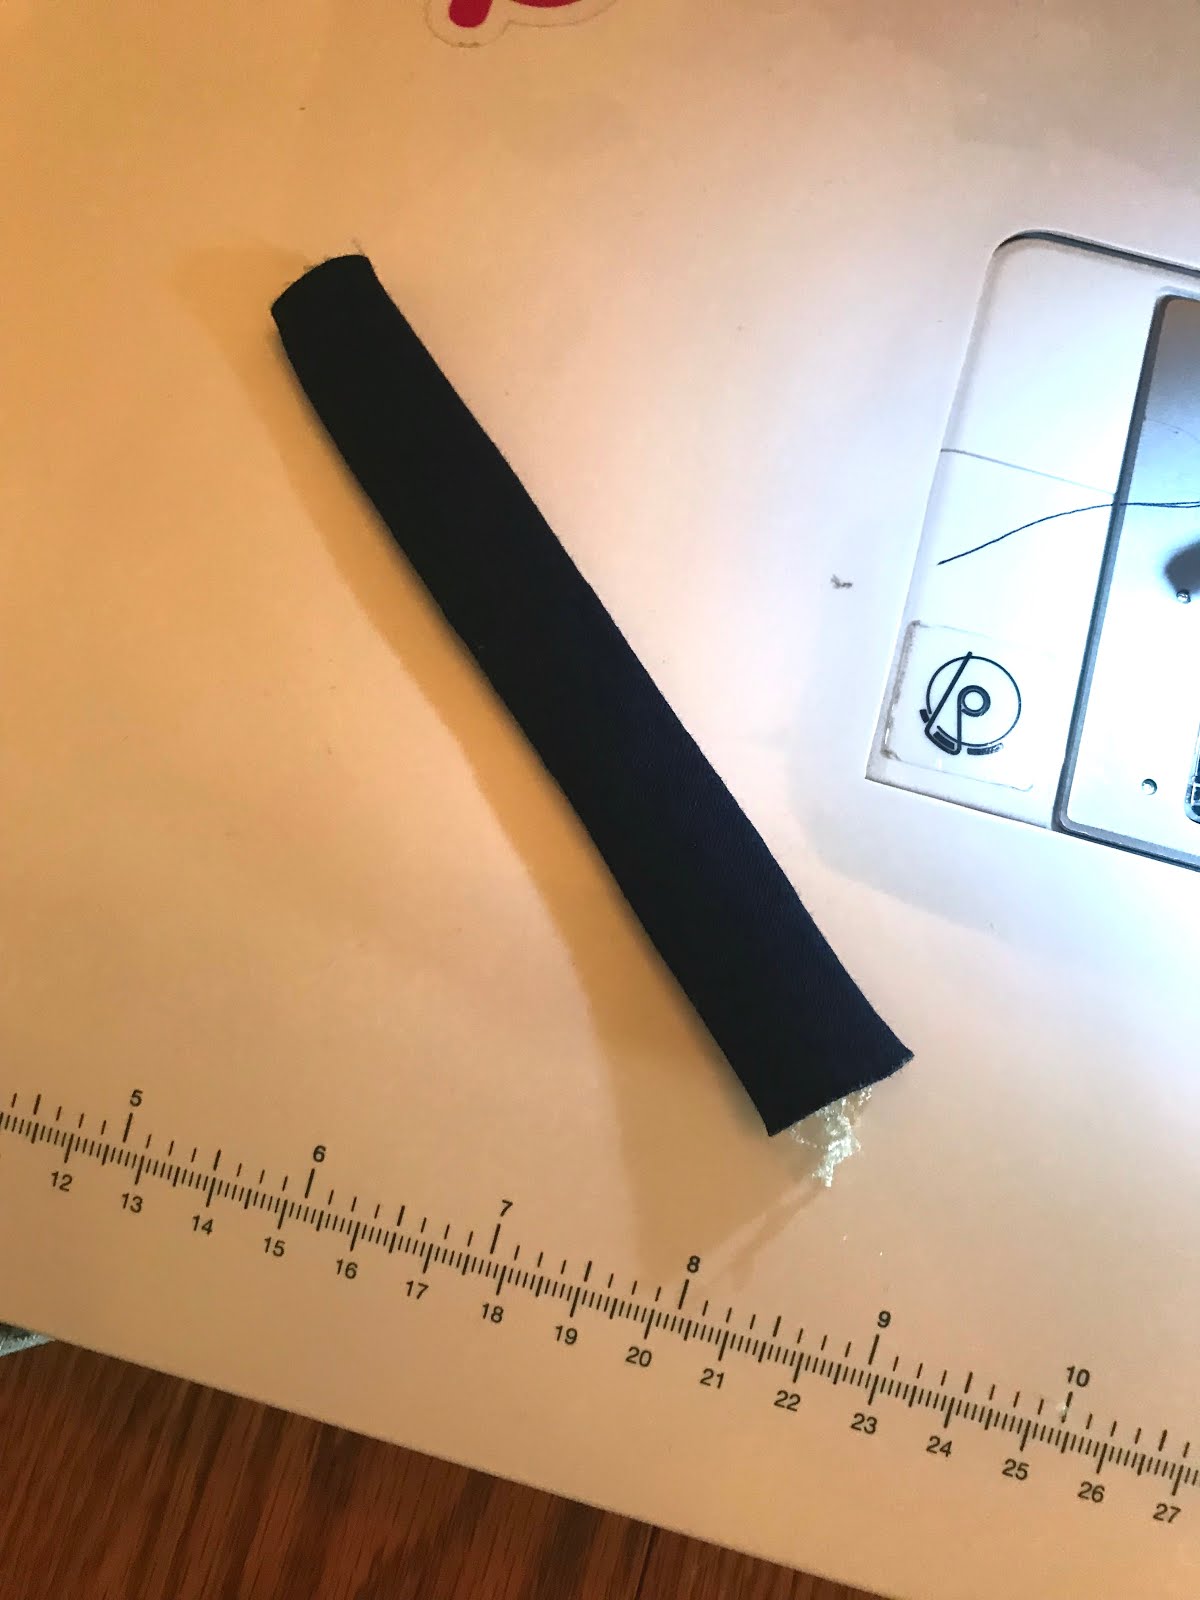
Fold your loops in half with the seam on the inside, then sandwich them together between the front panel pieces as shown. The loop should not be showing, as it should be facing inwards.
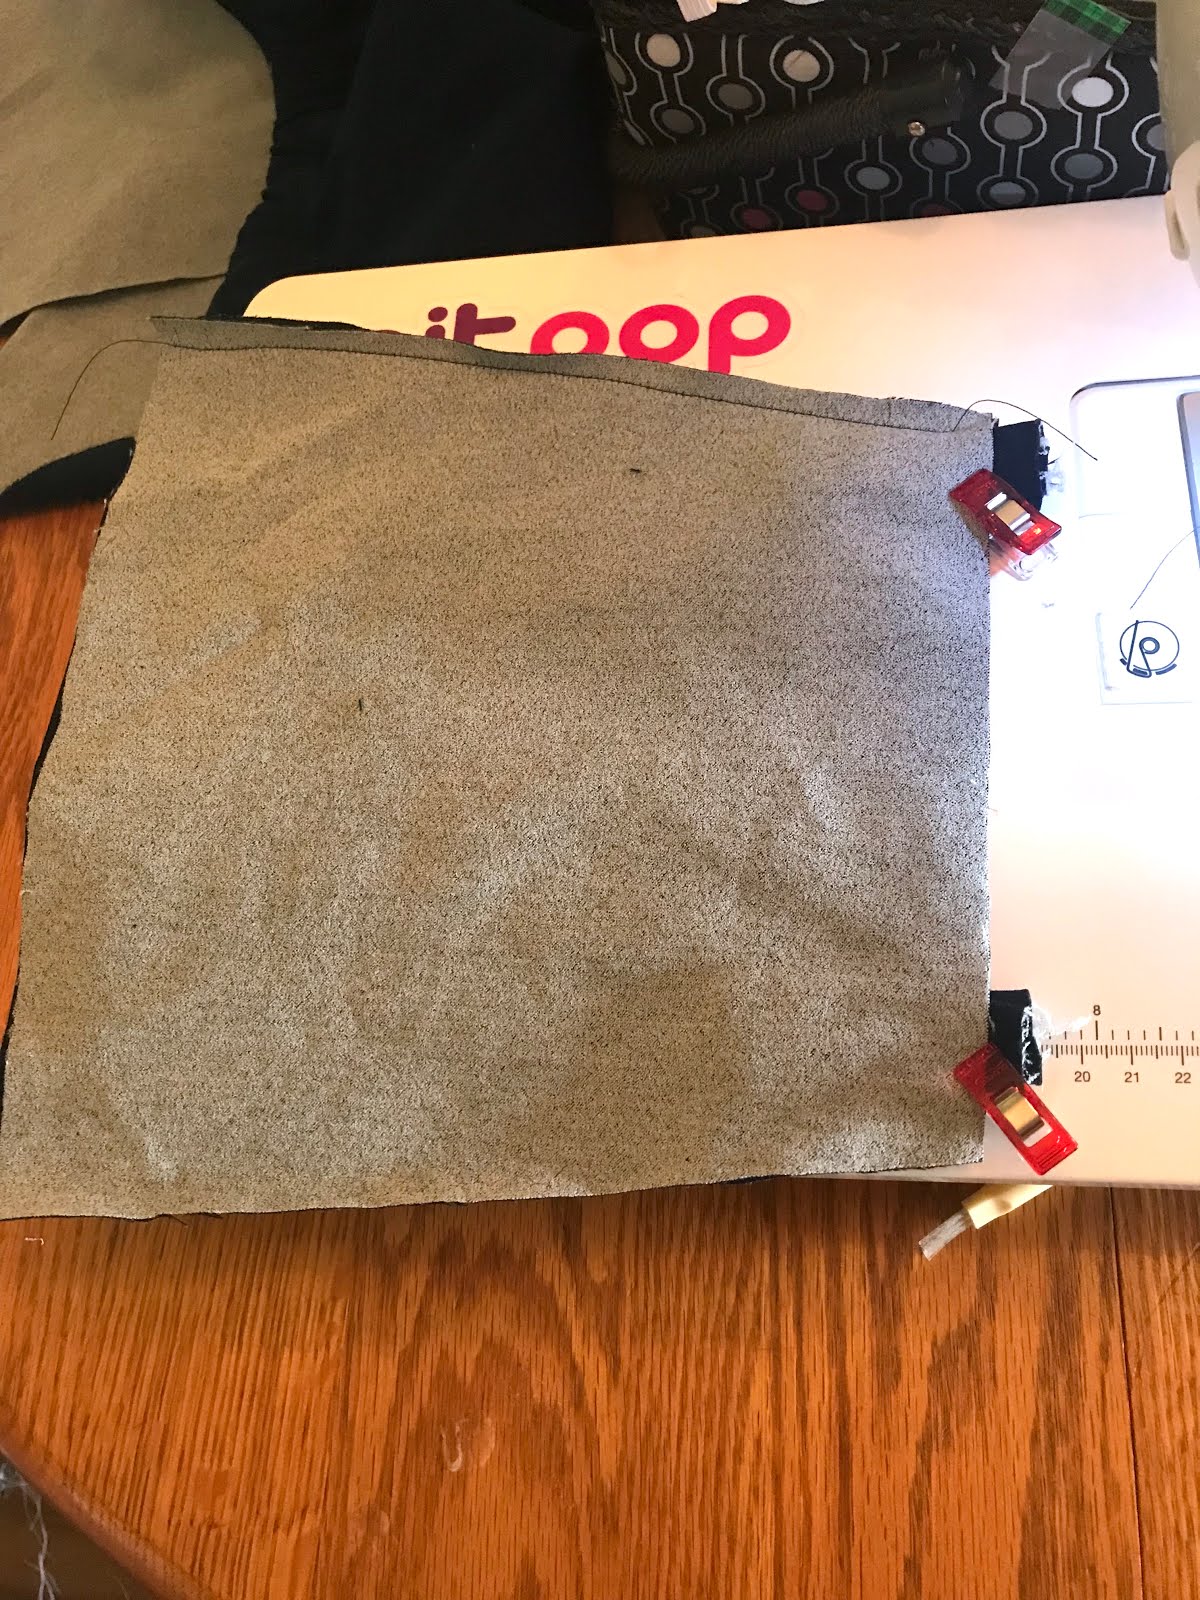
Sew around the edges, then clip the corners for a neater finish.
Turn right side out, and poke your corners out. Press well. *If I could go back, I would have left even less of the loop sticking out, like half an inch.*

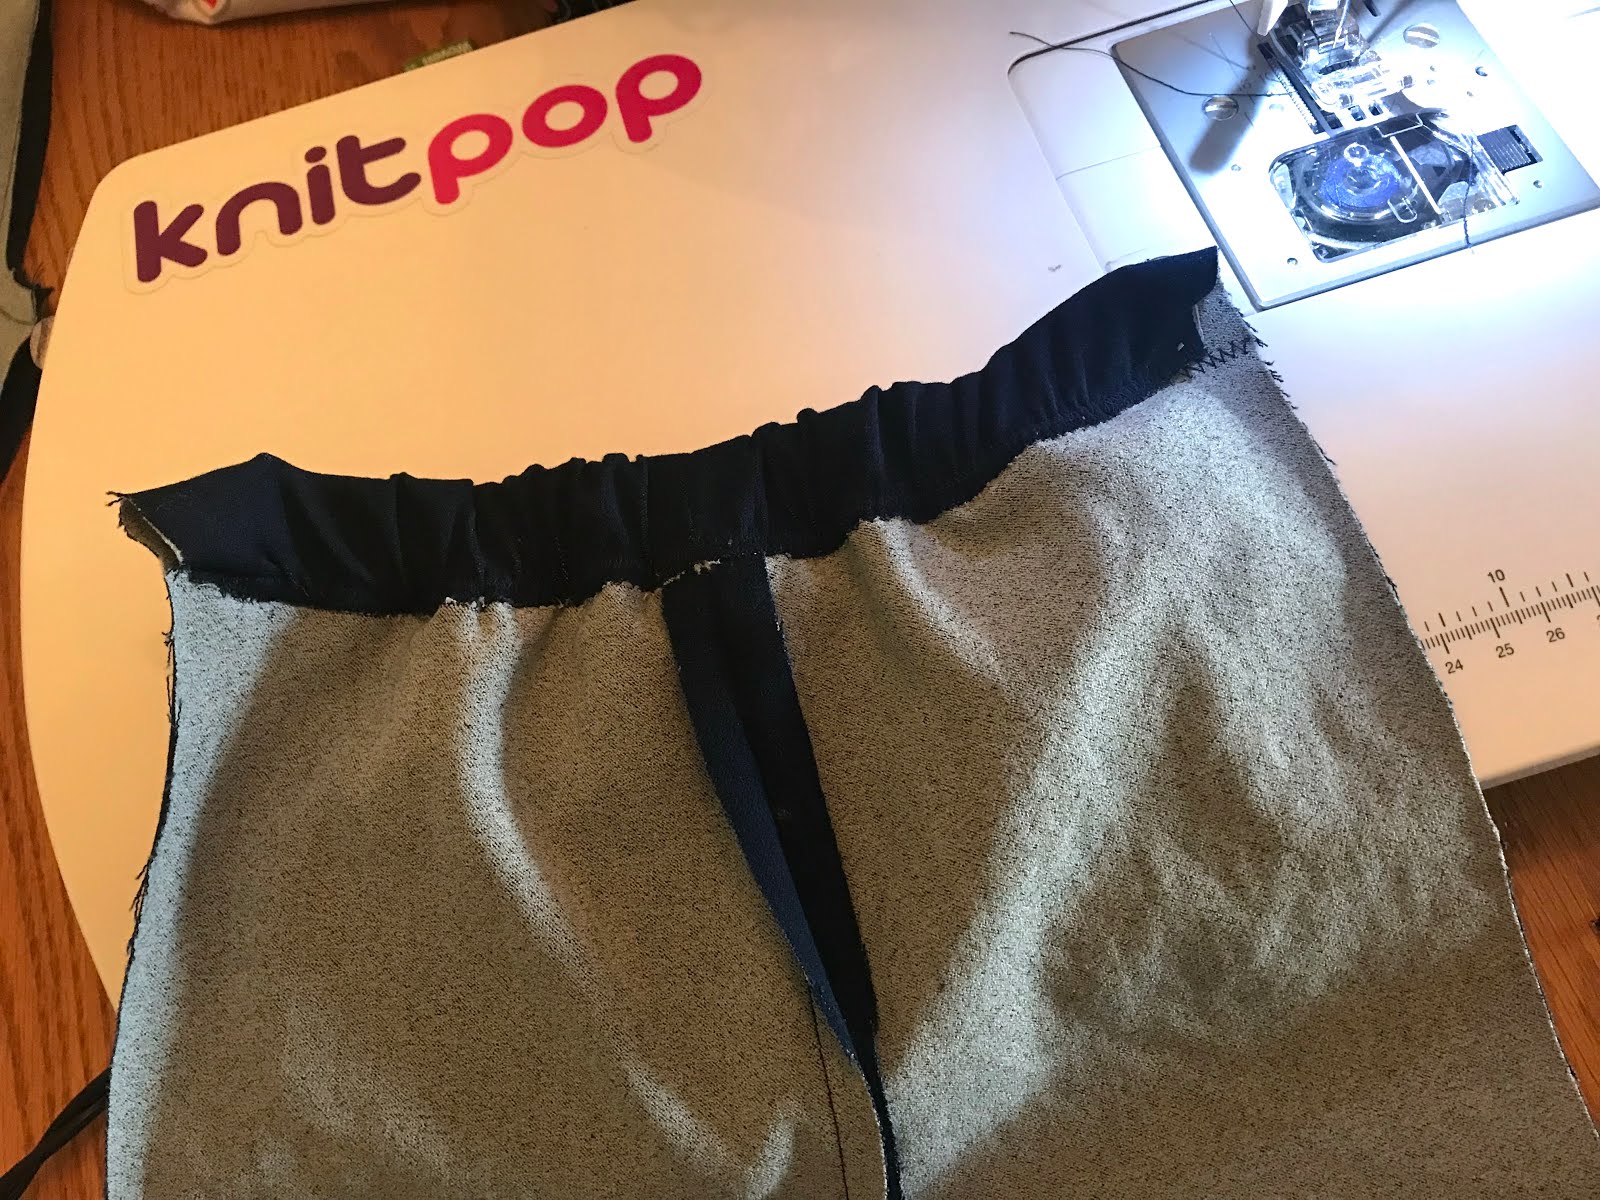
5. Prepping the back side of the pants: Sew your back pant pieces together so they are connecting at the crotch. As you can see below, my 2T pants are just about 10 inches in length. I cut my back elastic to be 7.5 inches long. *This will obviously be a different length if you’re making a different size.*
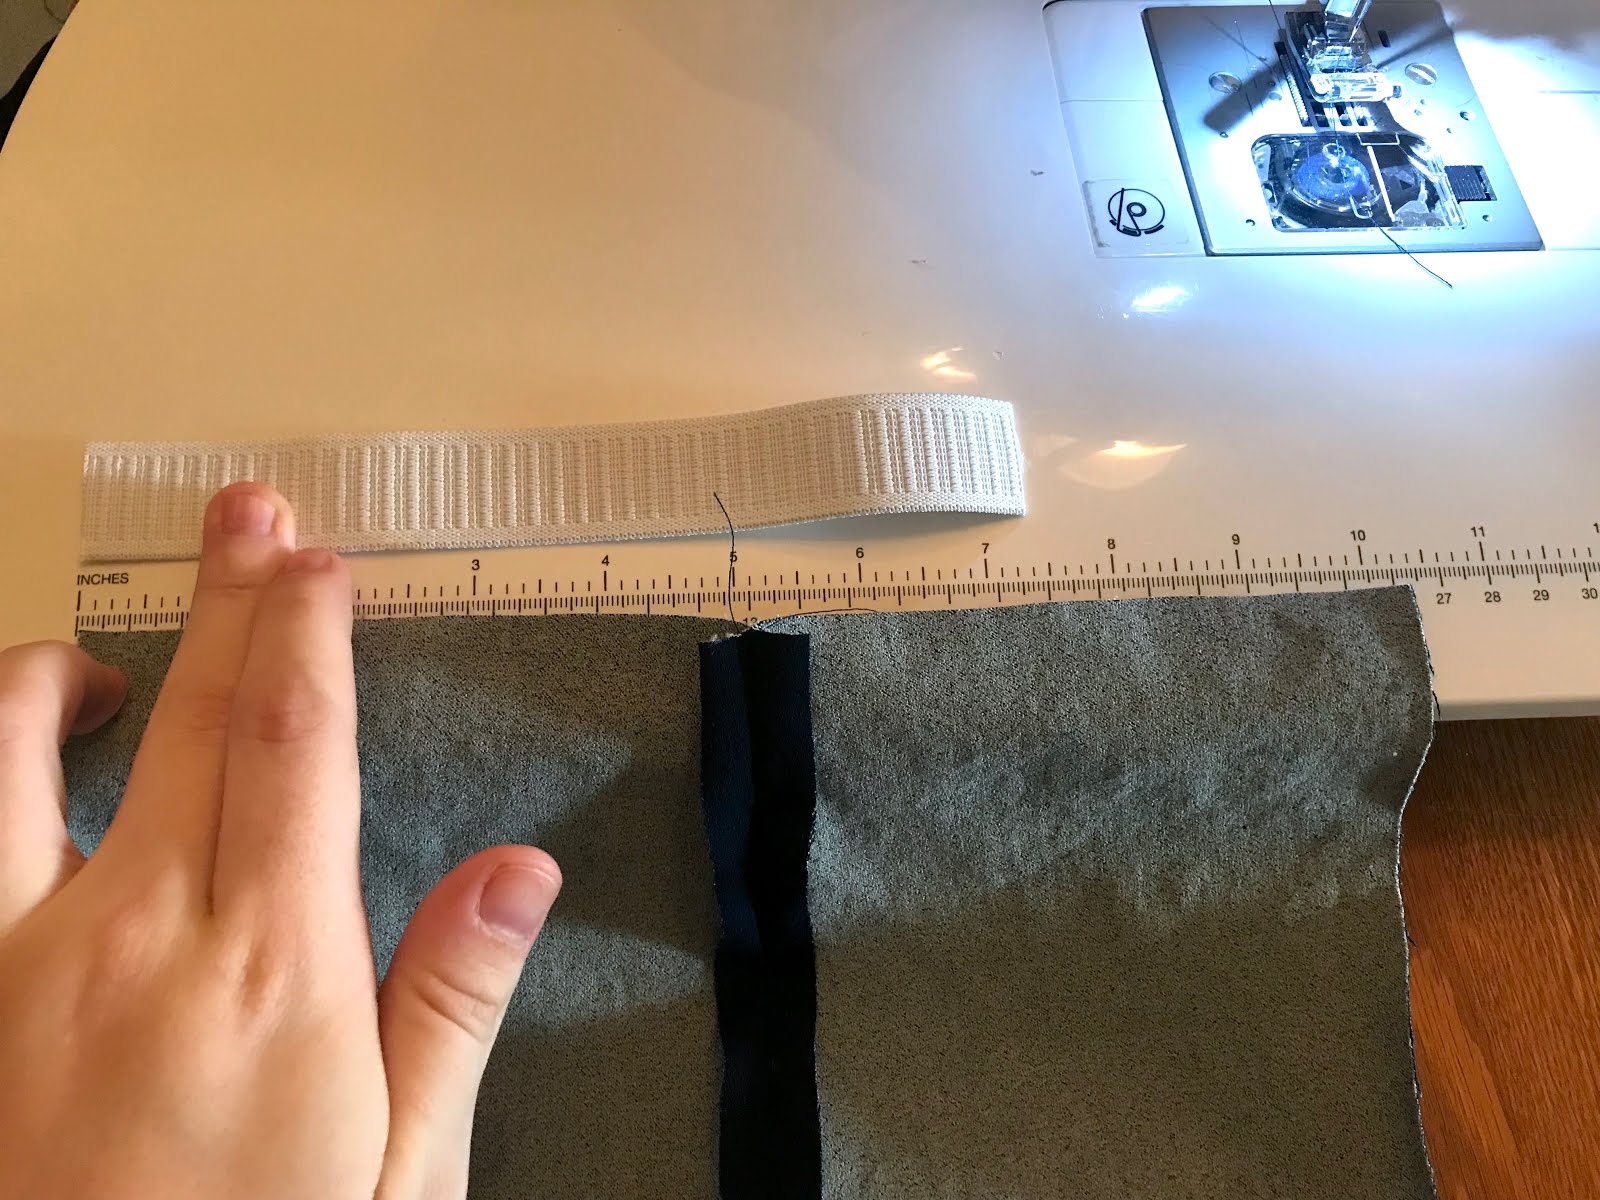
When I do my elastic, I do it the lazy way by stitching it onto the edge, then folding over and stitching on top. You could also make an elastic casing and I’m sure it would look much neater.
6. Finishing the front side of the pants- Sew your front pant pieces together, connecting them at the crotch. Take your panel piece with the loops and attach it by placing right sides together. Sew it together. Press well when finished. And I apologize, I didn’t realize how bad this picture was when I took it lol.
7. Follow the original fit pants direction and connect the front and back sides of the pants together. Make sure you catch the elastic. I forgot to finish taking pictures after this, but you don’t need them, it’s easy enough that I can just explain.
8. Attaching straps- Cut 4 strips, then sew them RST and turn. you should have two long straps now. I don’t have measurements for you because mine were originally wayyyyyy too long so I kept chopping them off as I saw fit. Just measure your babe to see how long they need to be.
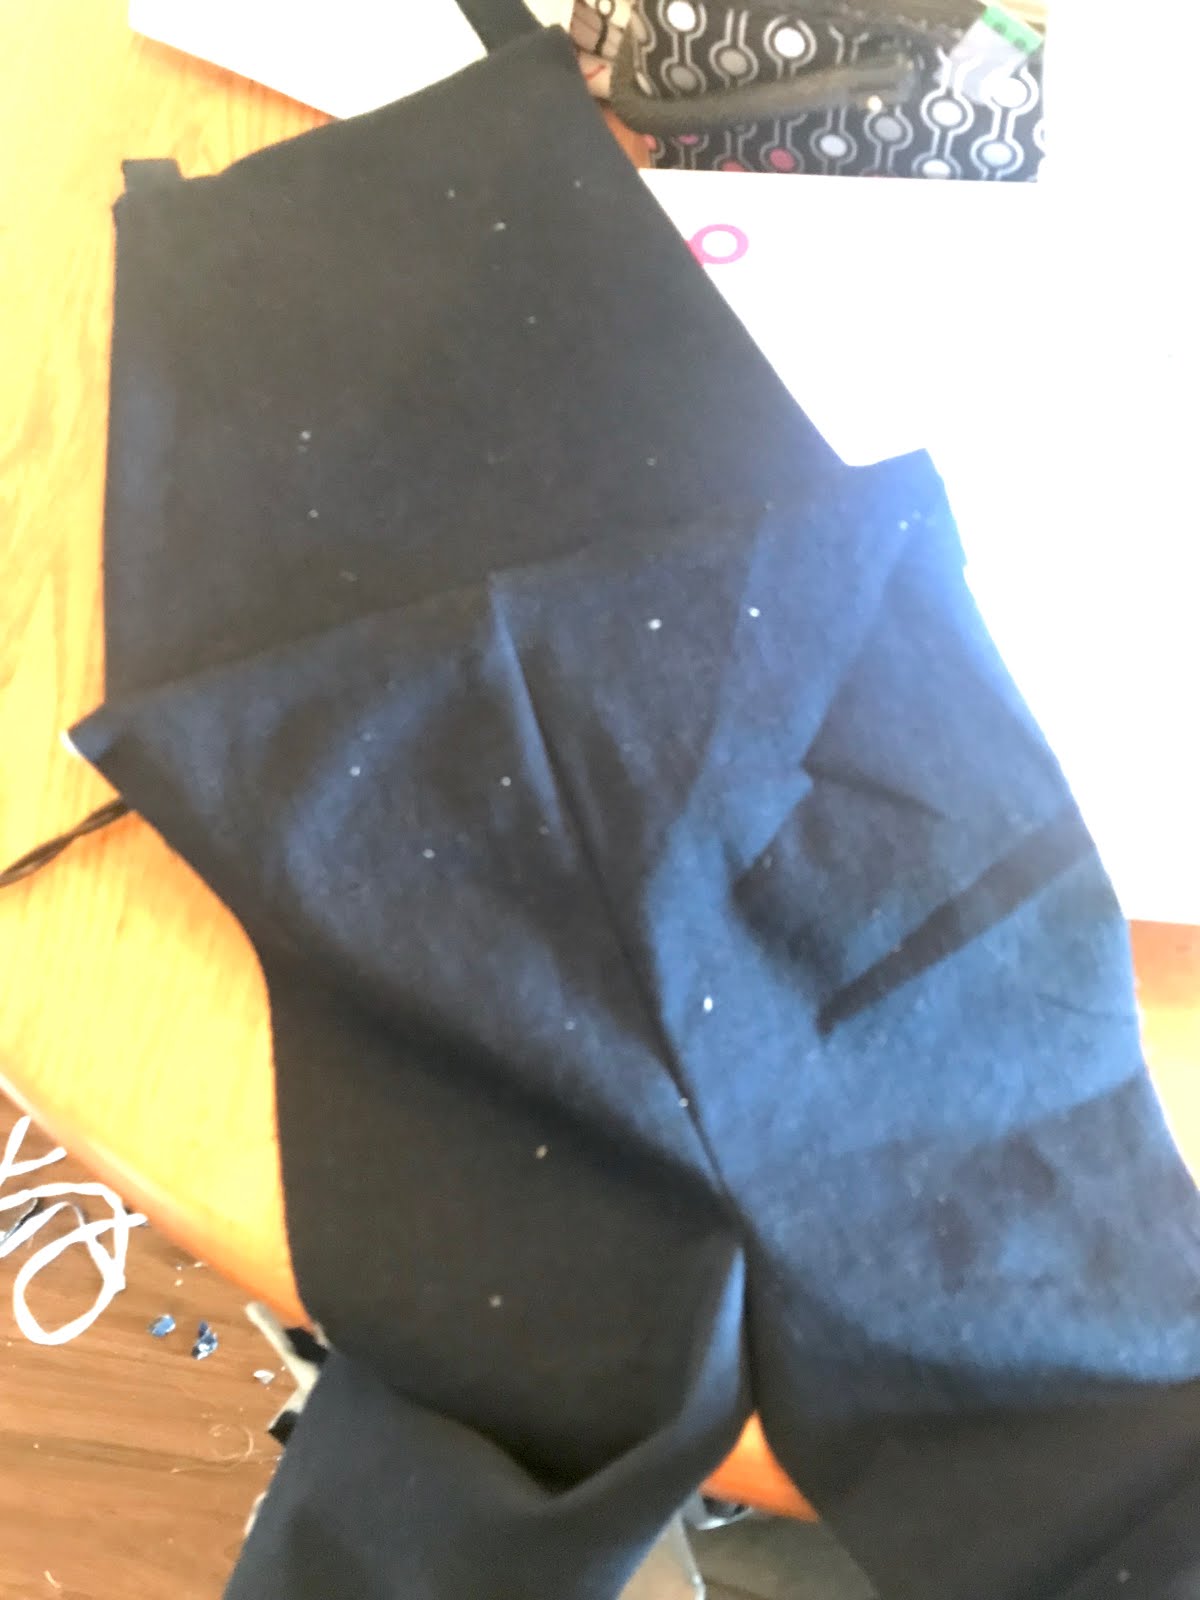
My straps cross in the back (pictured at the bottom), but just stitch them on the inside of the pants on the elastic.
9. Hem your pants– then you’re DONE! 🙂
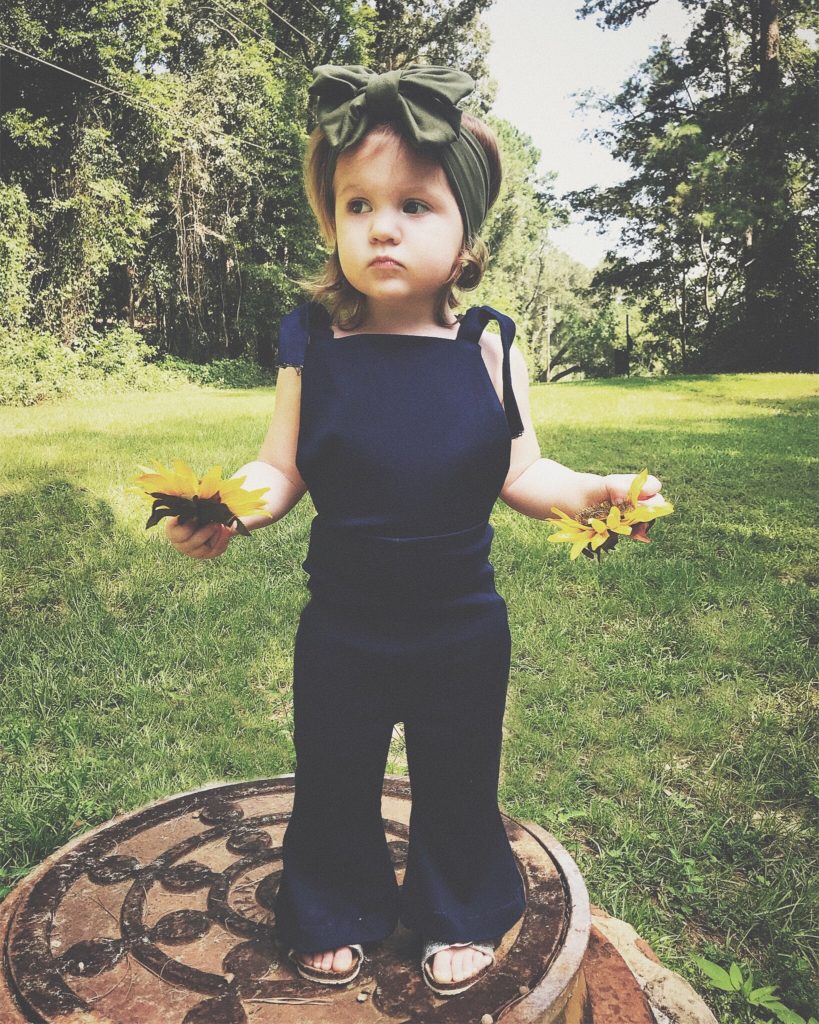
Here’s a collection of photos of my daughter wearing her new overalls!
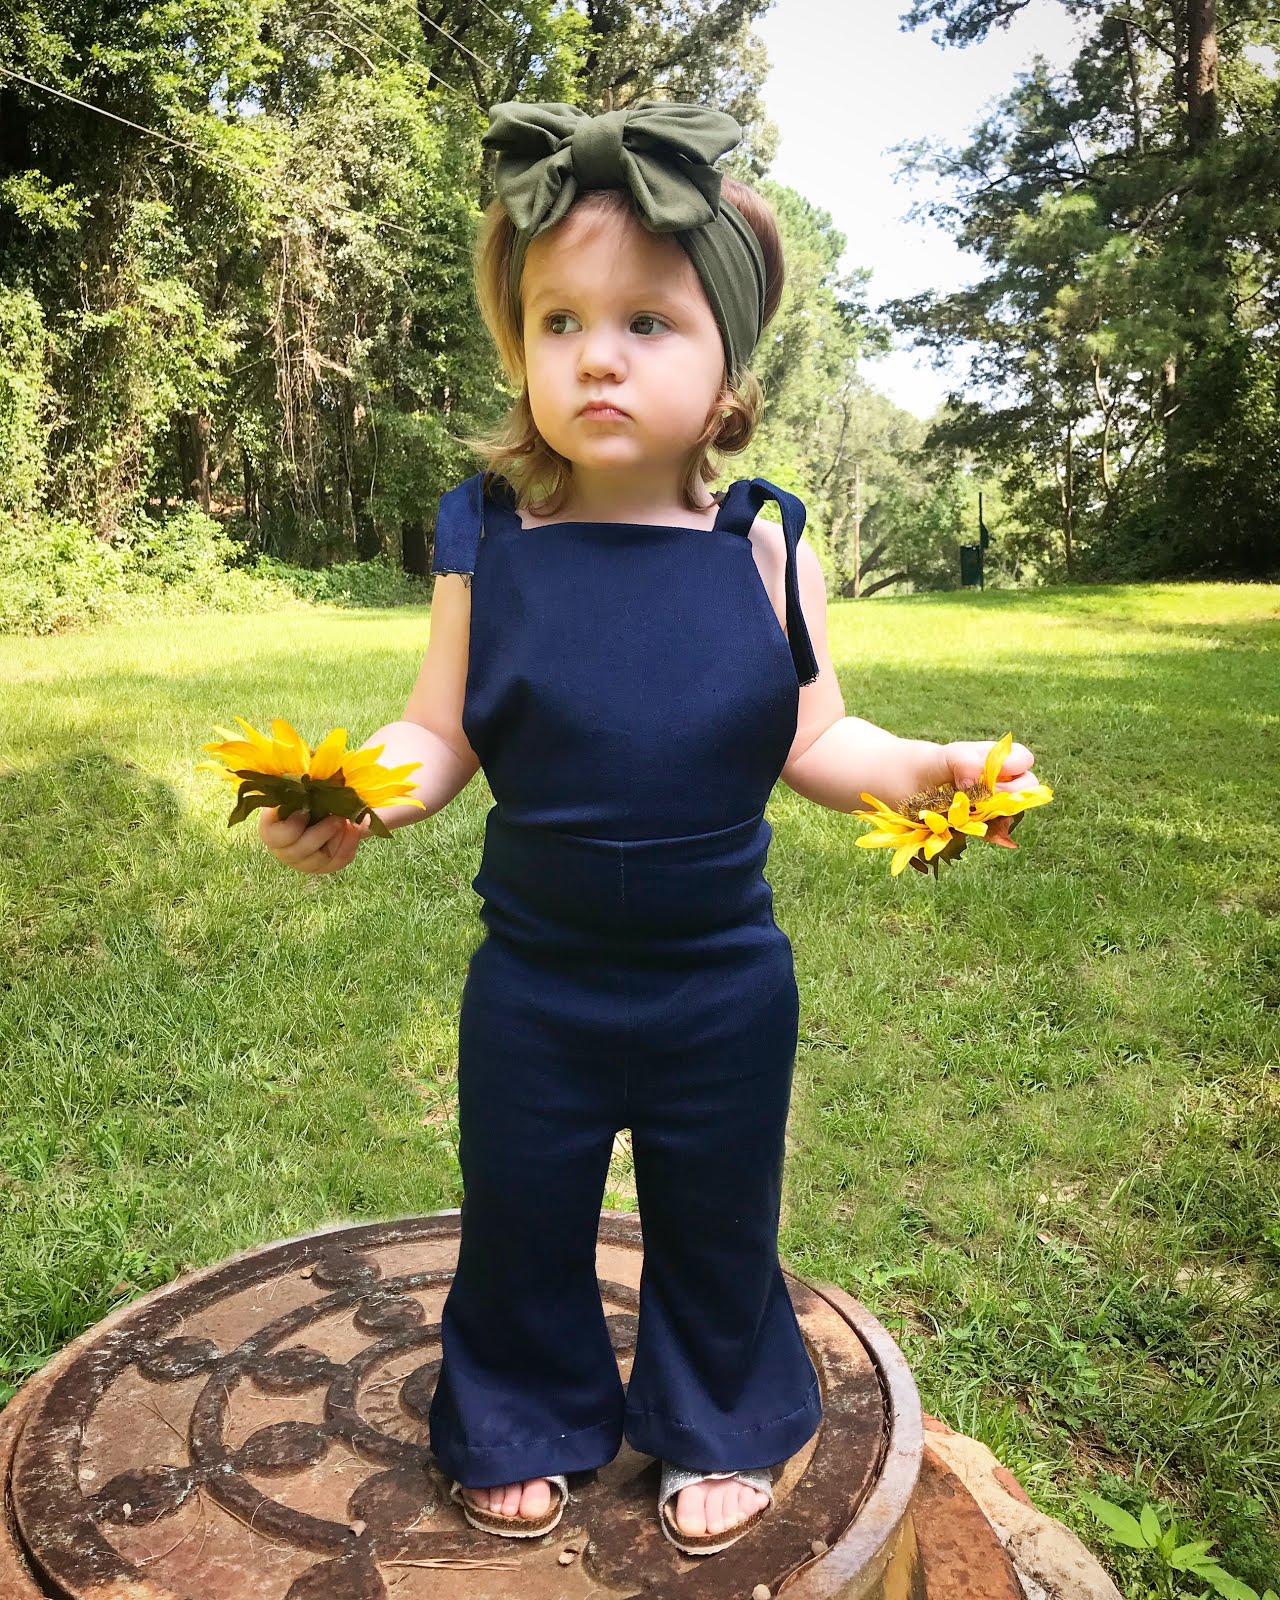
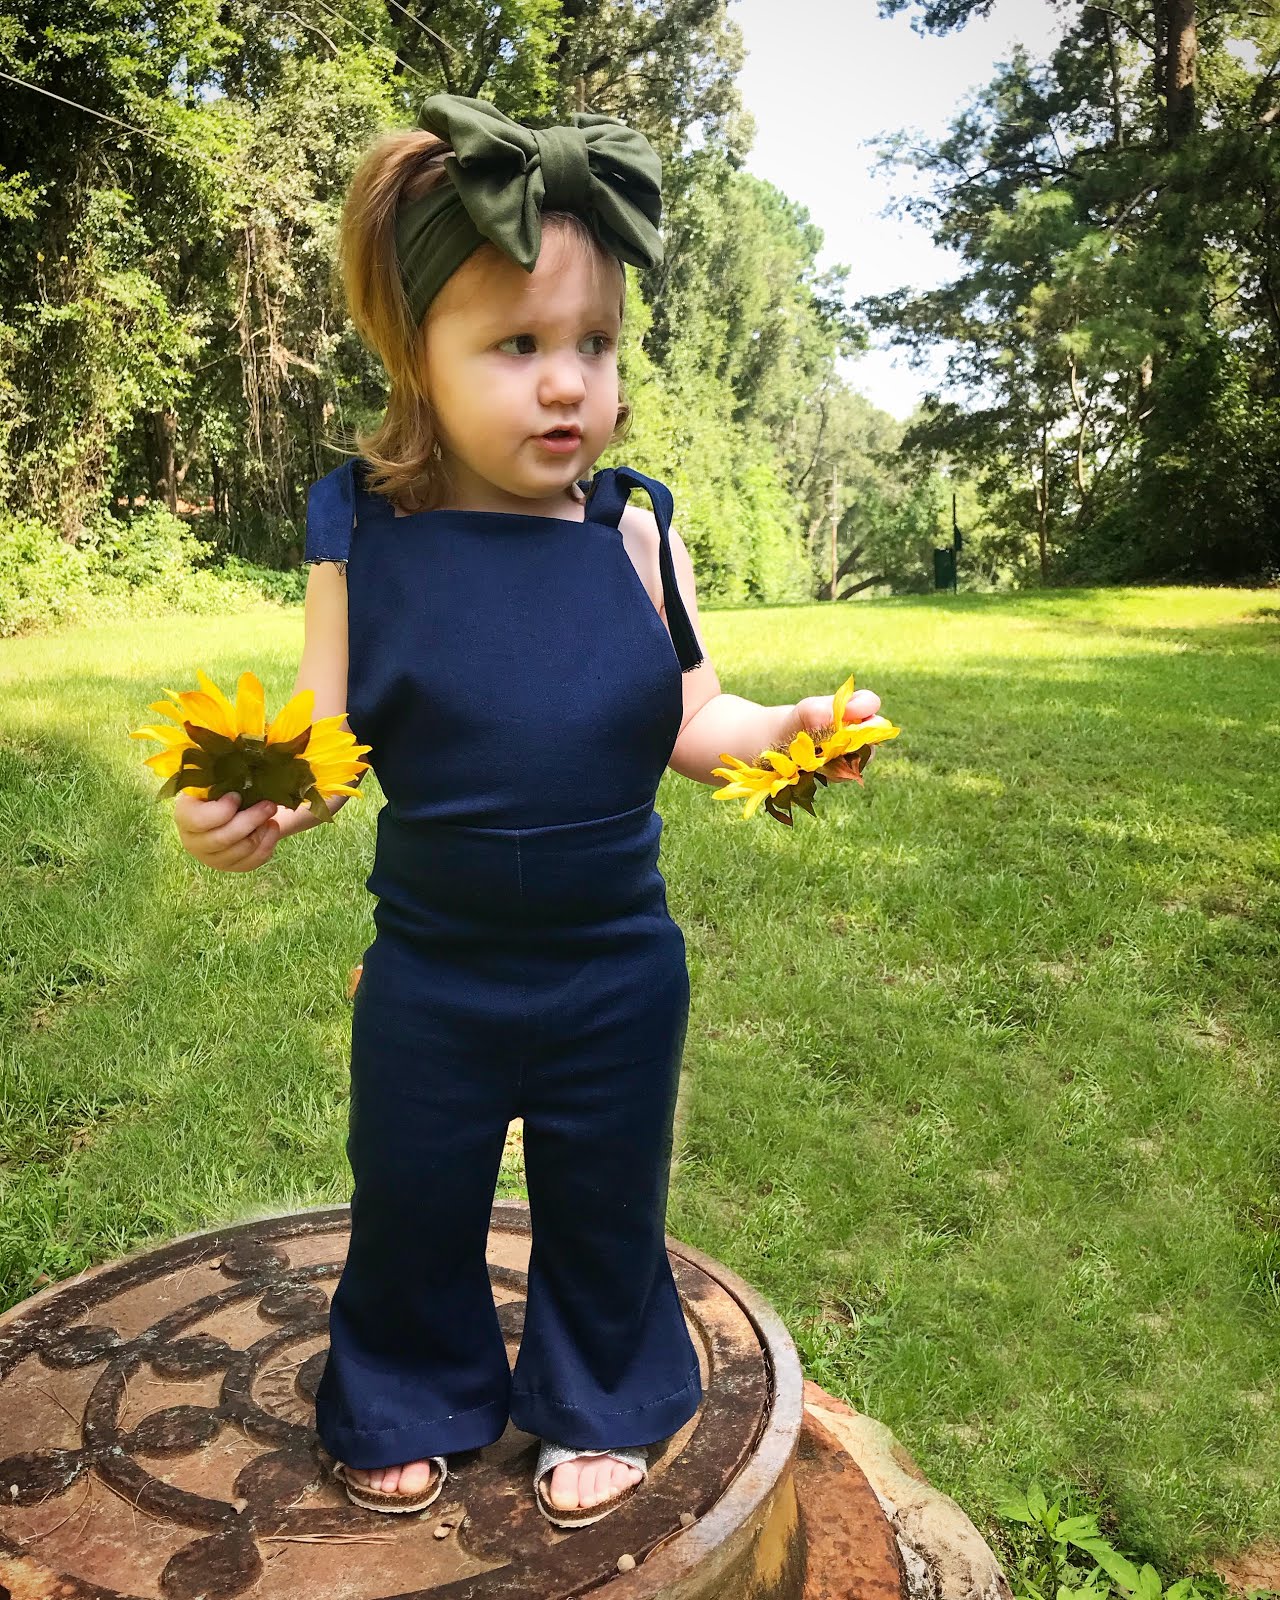


This child hates nothing more than photoshoots… its like pulling teeth.
I hope you liked this tutorial,
xoxo
Annie


