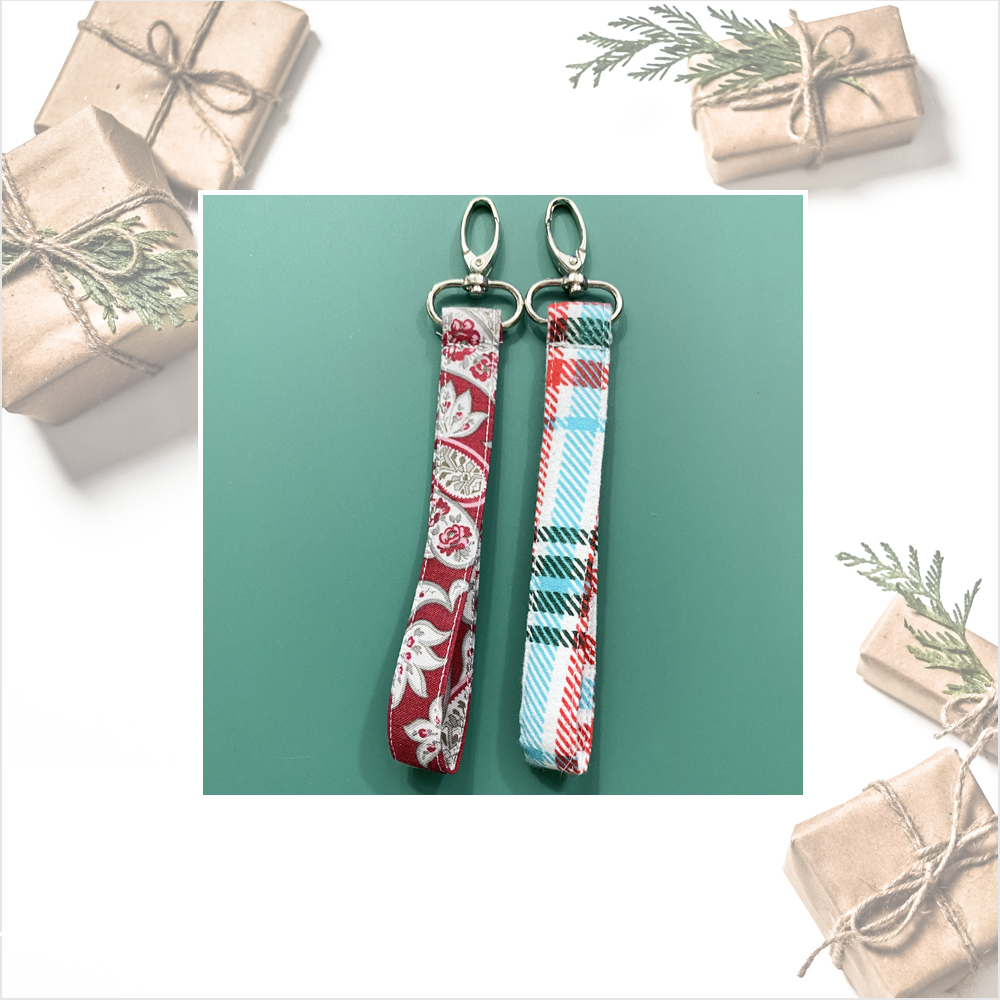
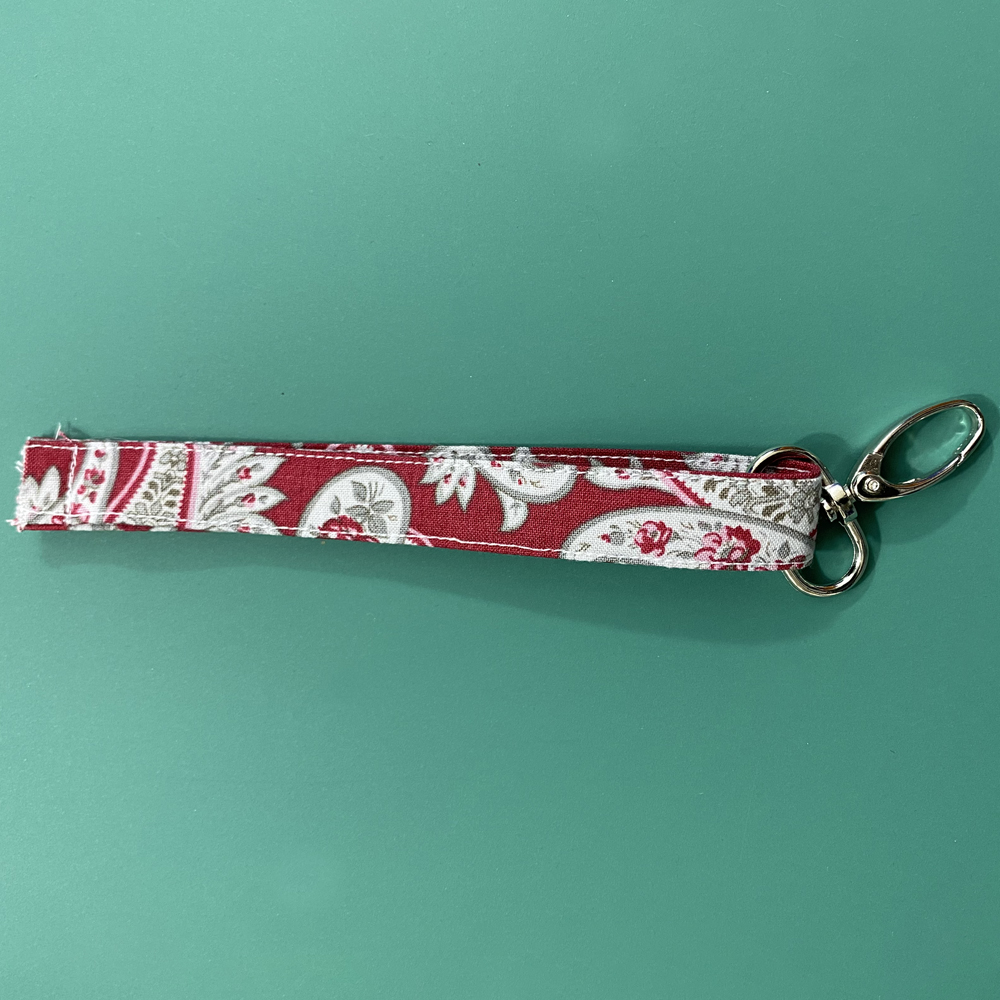
You can sew a whole bunch of these Wristlet Strap fast and use up some of that scrap fabric you don’t know what to do with. This is a great project for a beginner. You can give them away as gifts for teachers or friends or even stick them in your christmas stockings. Happy Holidays from the Mamma Can Do It Team!
Here’s what you need to get started:
If you’re like me and prefer pattern pieces instead of measuring. You can grab the pdf pattern and tutorial here. Included in the download: A0, A4, 8.5×11, projector and sewing tutorial.
MAIN FABRIC (Woven), Cut 1 – 2.5″ X 12″ OR .06 CM X .3 CM
FUSIBLE FLEECE INTERFACING, Cut 1 – .375″ X 11.5″ OR .01 CM X .29 CM – This is the one I used.
CLASP – I used this lobster swivel hook
Let’s put the Wristlet Strap together:
STEP 1
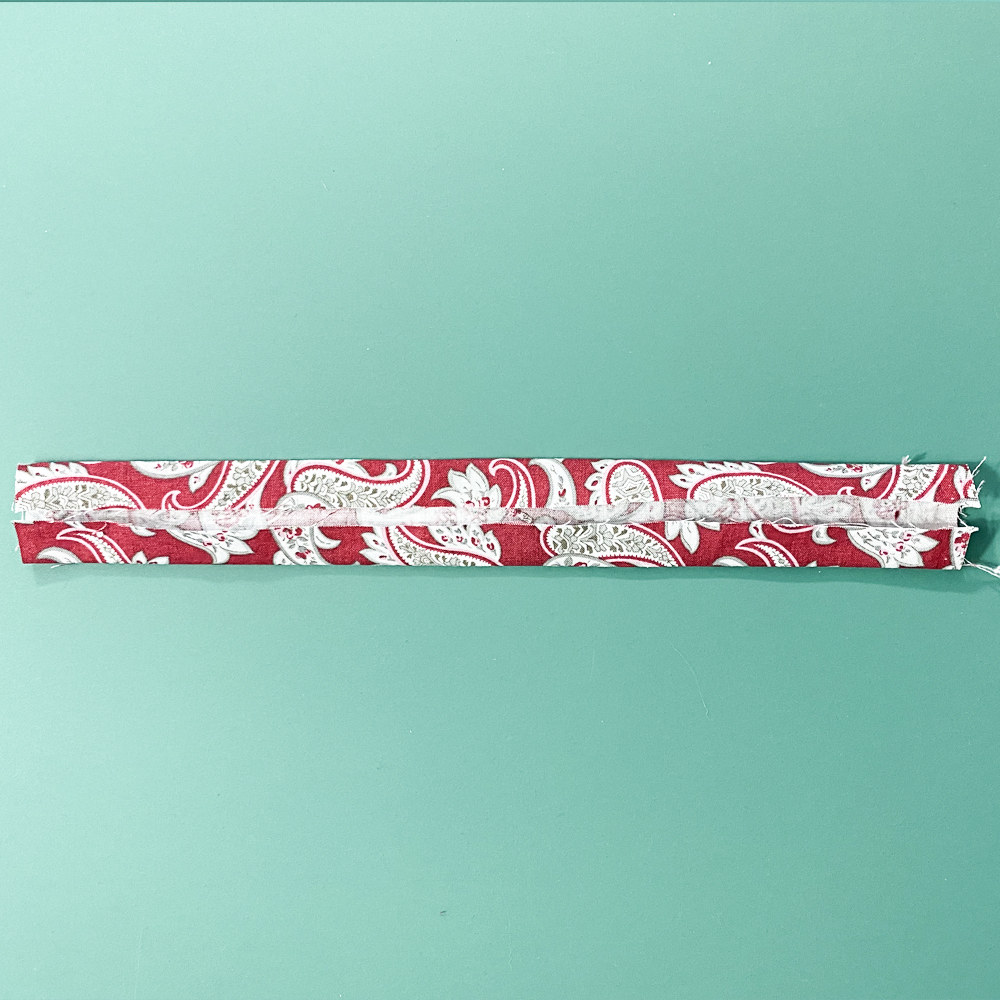
With WRONG sides together, fold the main fabric in half the long way. Press it to create a center press line with your iron. Unfold and use that press line as a guide. Fold each long side toward the center press line and press each side.
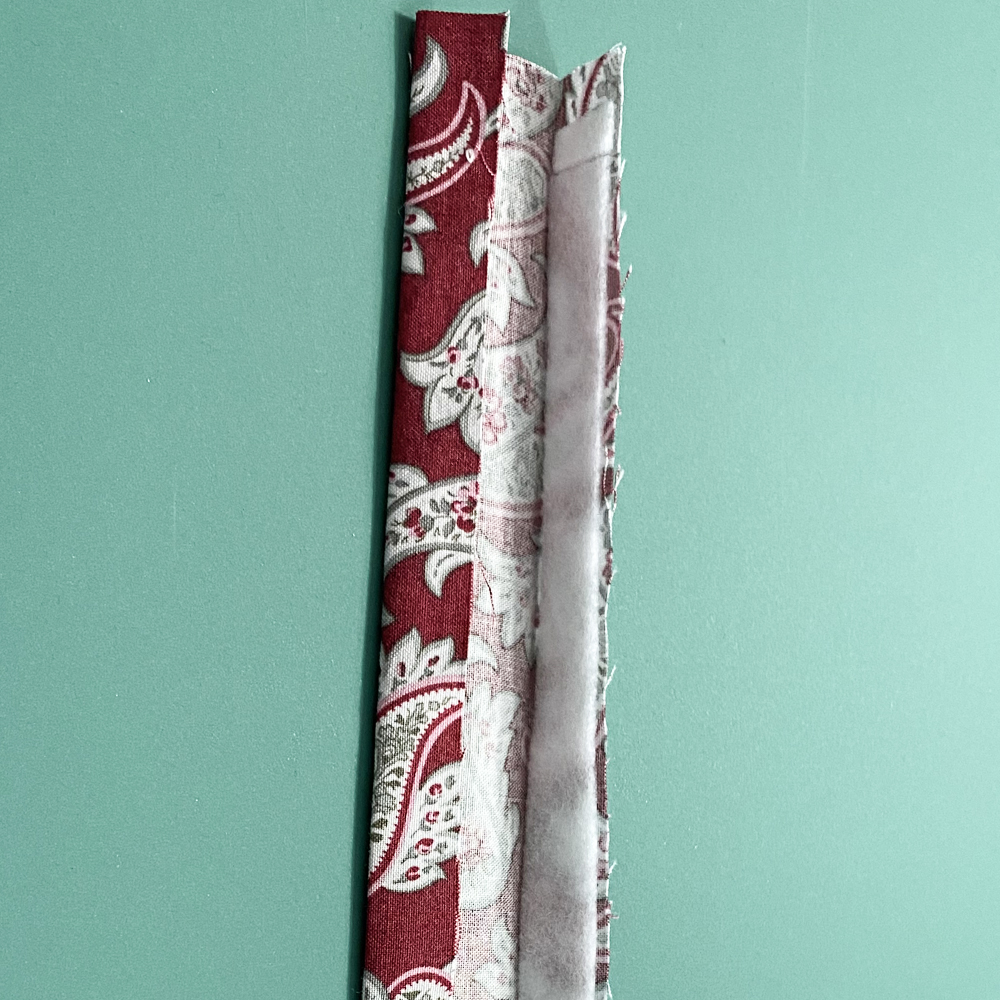
STEP 2
Unfold one of the long sides and place the interfacing inside. Fold down so the interfacing is sandwiched betweeen the fabric. Follow your interfacing directions to adhere it to the main fabric.
Refold the two sides to center and then fold in half so the two long edges meet, press well.
STEP 3
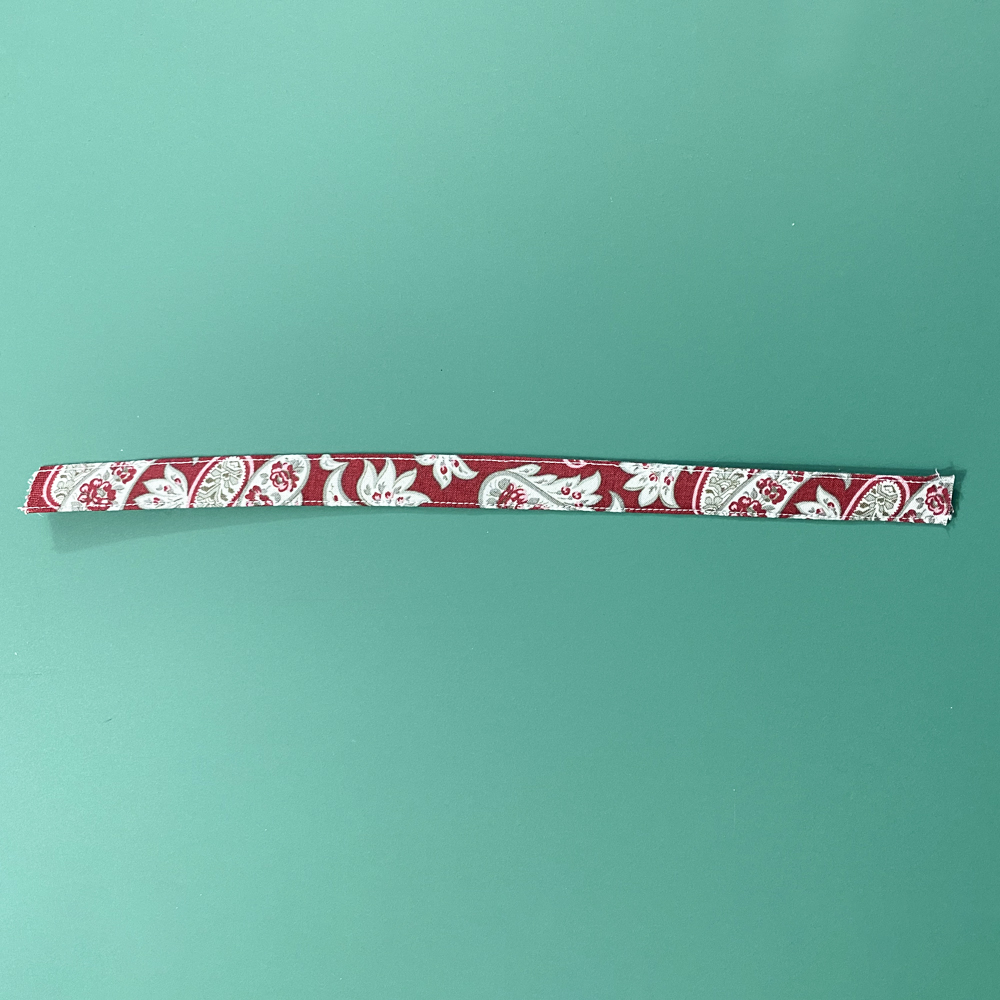
Sew close to the edge of both long sides of the main piece making sure to close the opening.
STEP 4
Slide the loop of the clasp through the fabric and move the clasp out of the way.
With RIGHT sides together, align the raw edges of the two short ends forming a loop. Make sure the fabric is not twisted.
Stitch together with a 3/8″ seam allowance.
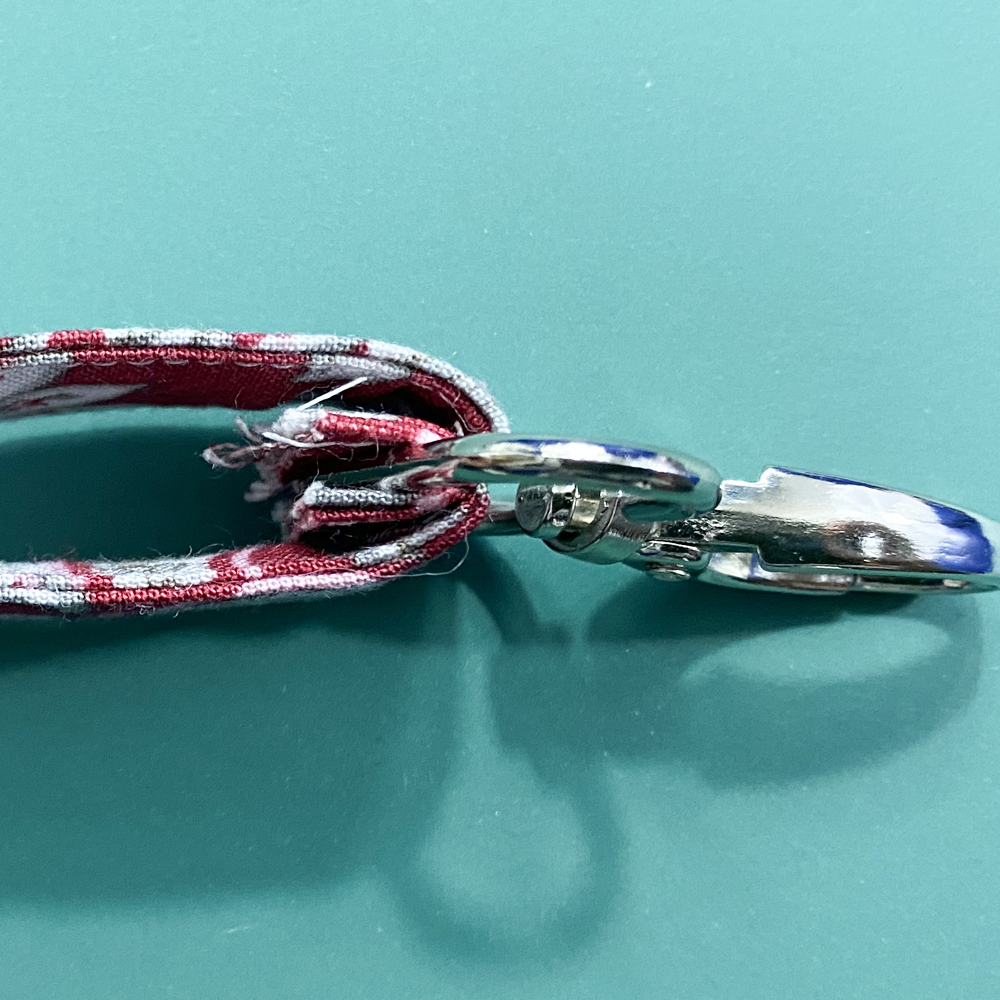
STEP 5
Turn RIGHT side facing out.
Place the loop of the clasp between the seam allowance you just sewed. The clasp will be sandwiched between the seam allowance and the wristlet.
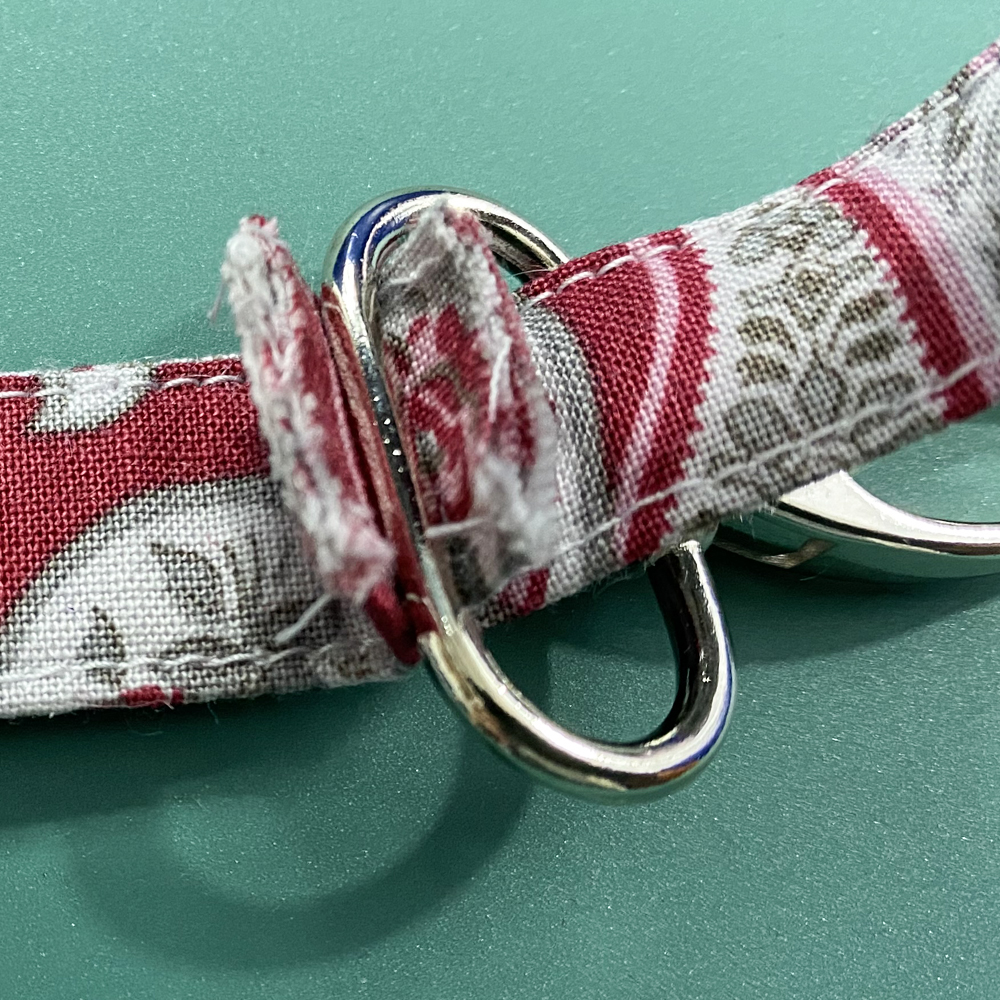
STEP 6
Sew back and forth over the seam allowance to secure the clasp.
I like to switch to a zipper foot to get as close as I can to the clasp.
That’s it, you’re finished!
Don’t forget to share it with us using the tag @mammacandoit so we can see it! As always, we’re here to help if you need it! Join us on Facebook, Instagram, Twitter, Youtube, and Pinterest.
More free patterns:
Christmas Stocking
Chapstick Holder
Re-usable Towels
Affiliate links were used in this post which means that a percentage of sales go to me when you make a purchase. It does not cost you anything to use them and it helps me to keep making new patterns and tutorials for you!


