Do you use a lot of paper towels in your home? I know I do and the cost of them really adds up if you think about it. I use them to clean up spills, wiping counter tops or even drying my hands and before you know it, the roll is gone. It’s not very eco-friendly either. I decided to make some “unpaper”/re-usable towels as an alternative to paper towels. It’s easier than you think and you can whip up a whole set of these re-usable paper towels in about an hour.
If you make the switch, I’d love to hear what you think.
Here’s what you need to get started:
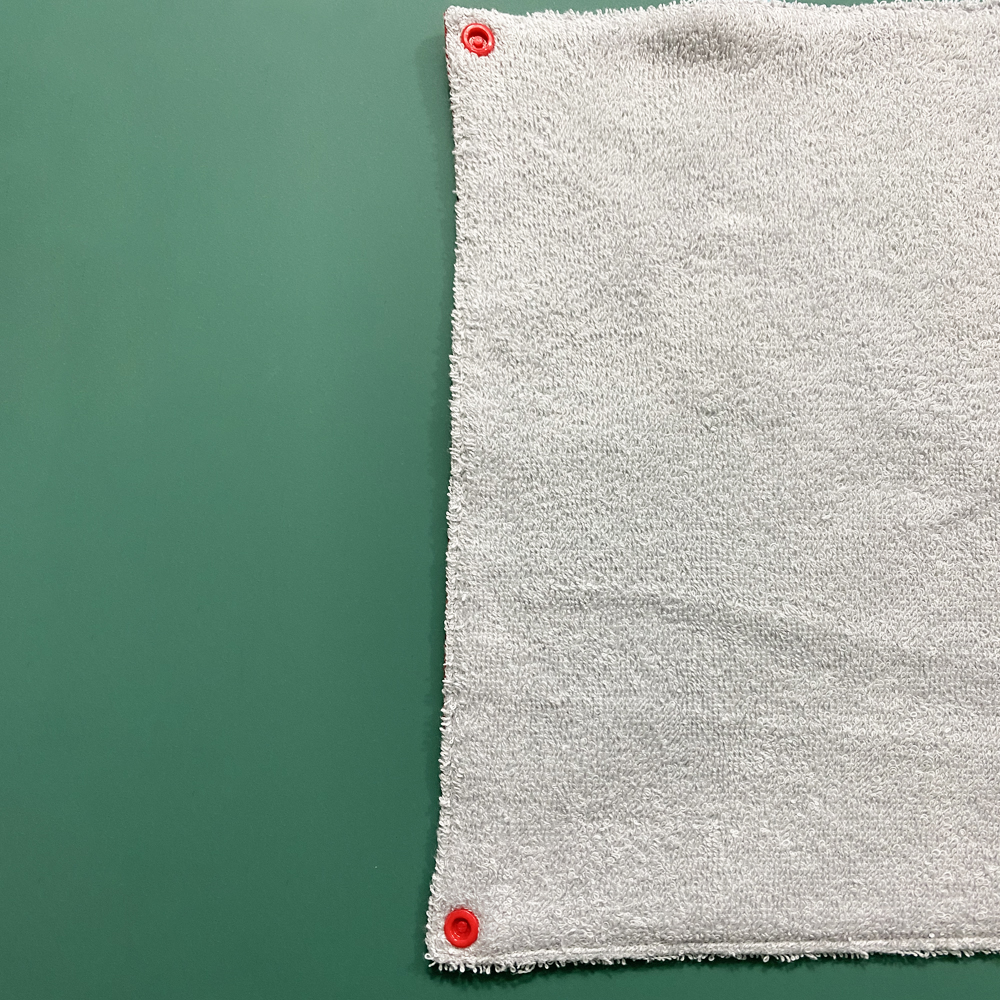
For the towels, I like the combination of flannel for the front and terry cloth for the back. This will make them really absorbent. I used this grey terry cloth because it wouldn’t show stains like white would and it’s a neutral color so it goes with pretty much anything. If you don’t have flannel or terry cloth on hand, another option would be to use old towels or even old flannel shirts. If you want your towels to attach to each other you will also need some snaps. The amount you need will depend on how many towels you decide to make. I made four towels plus the towel roll and I used 18 size 20 snaps. I used these Snaps.
If you’re like me and prefer pattern pieces instead of measuring. You can grab the pdf pattern and tutorial here. Included in the download: A0, A4, 8.5×11, projector and sewing tutorial.
Supplies
RE-USABLE TOWEL
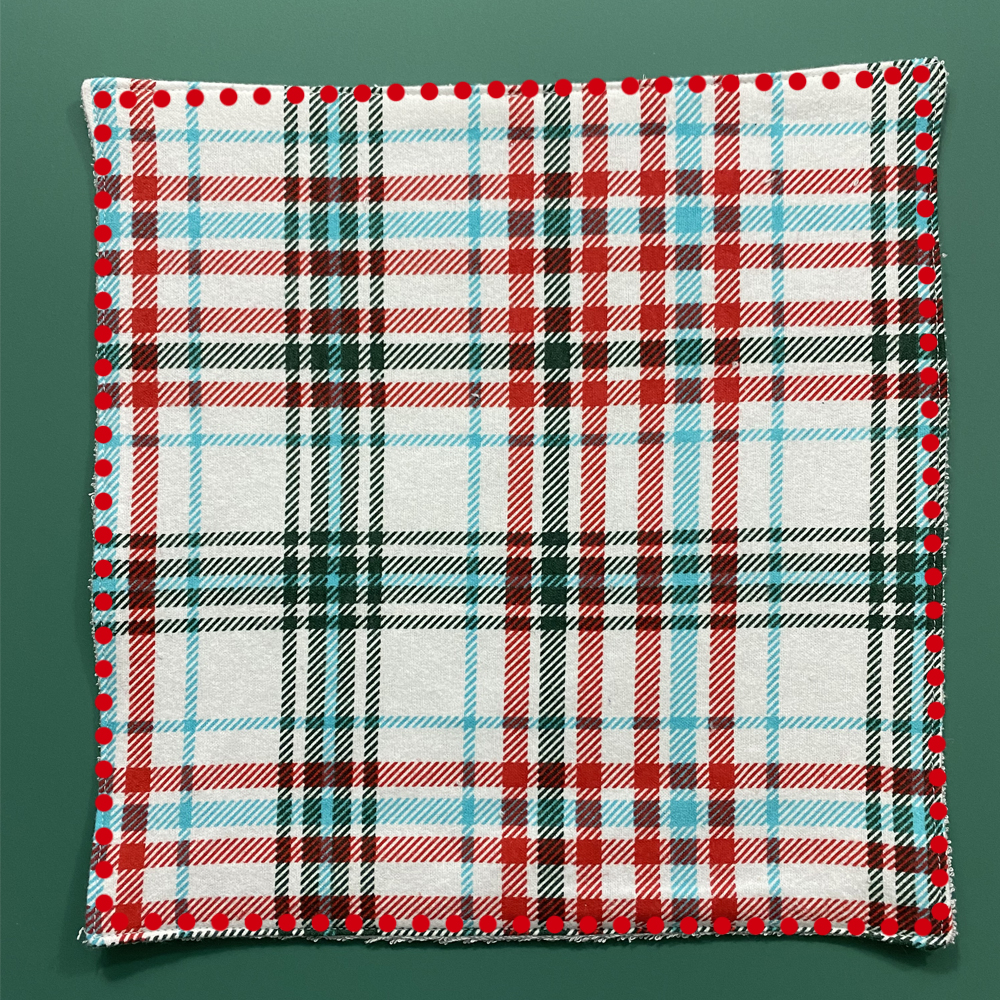
• MAIN FABRIC – Woven, I like flannel because it’s absorbent, Cut 1 or more depending on how many towels you’d like to make. (12.25″ X 12.25″ OR 31.1 CM X 31.1 CM)
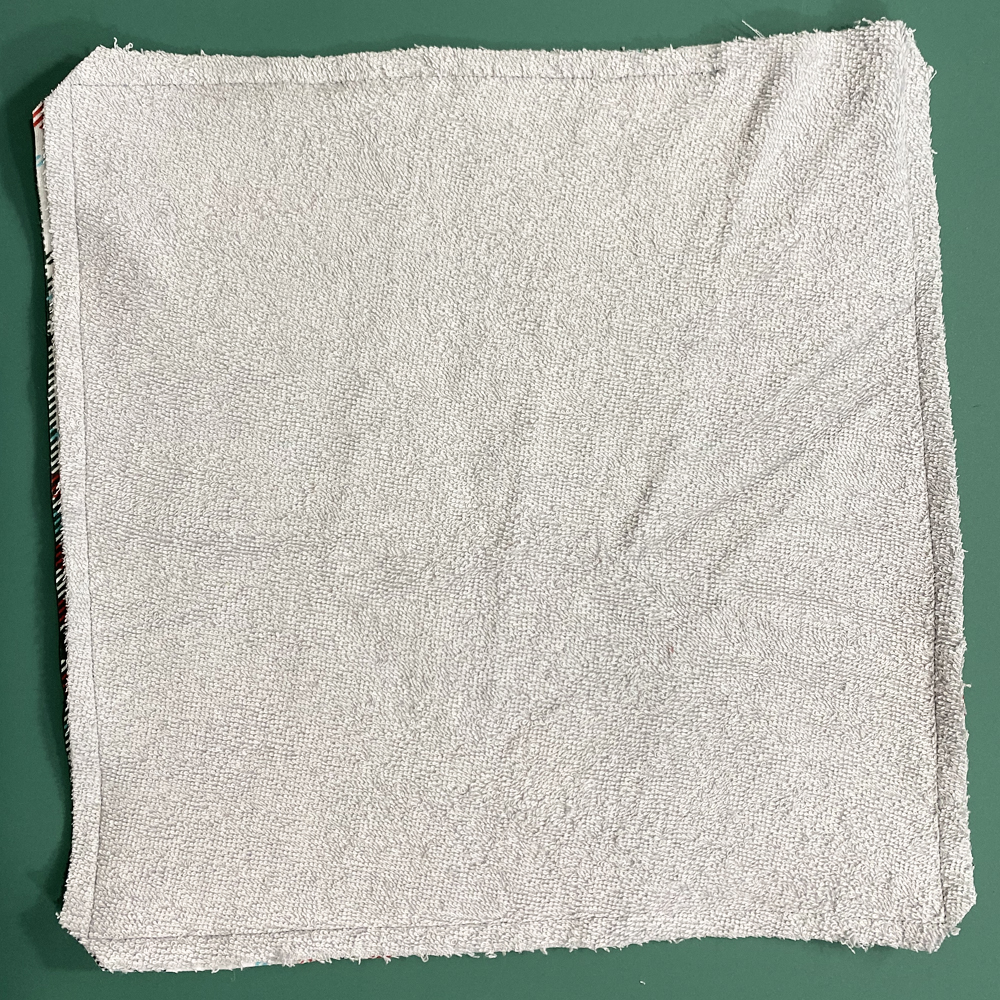
• LINING FABRIC – Terry Cloth or flannel. Cut 1 or more depending on how many towels you’d like to make. (12.25″ X 12.25″ OR 31.1 CM X 31.1 CM)
SNAPS -I used Size 20 KAM Snaps
TOWEL ROLL (optional)
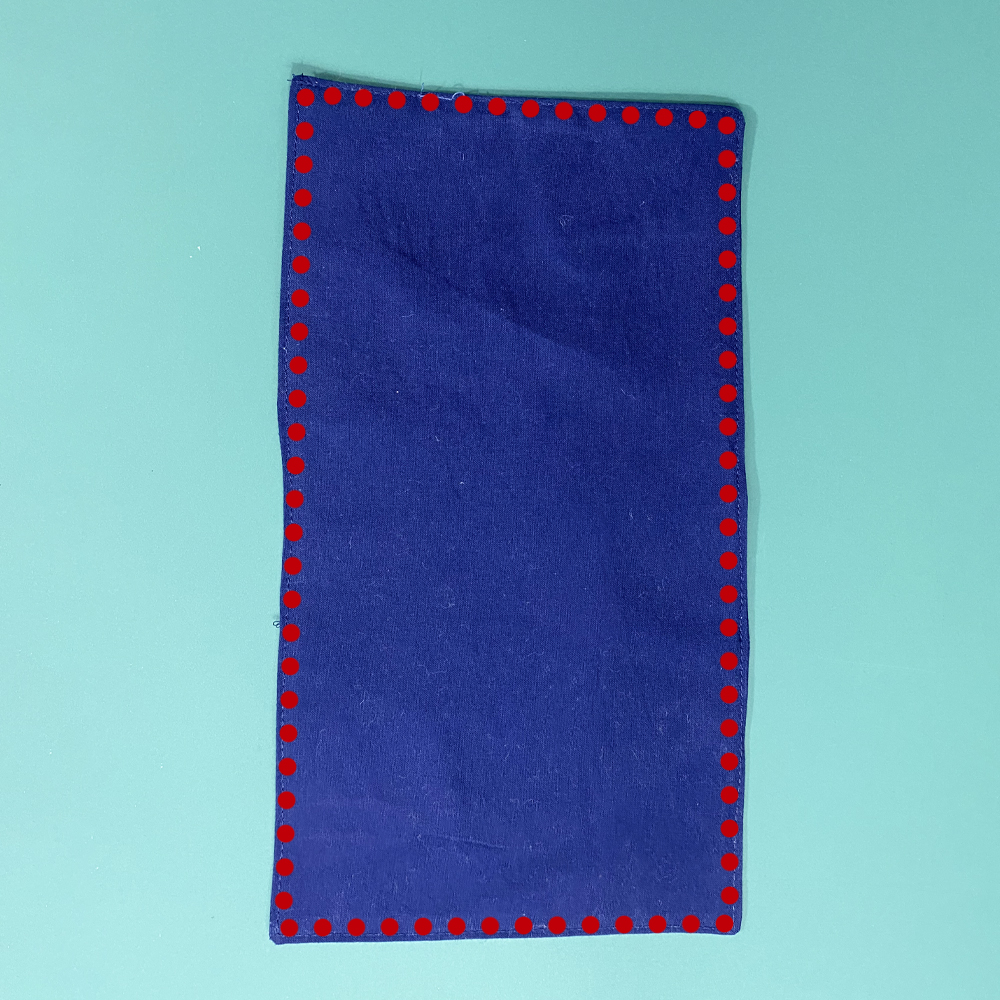
• FUSIBLE INTERFACING (lightweight to medium), Cut 2 – 6.5″ X 11.5″ OR 16.5 CM X 29.2 CM – This is the one I used.
• VELCRO – 3/4″ – 1″ Cut 1 hook & loop, 10.5″ (26.7 cm) long. I used this velcro. It comes in black and white.
• SNAPS -I used Size 20 KAM Snaps
OPTIONAL: An old paper towel roll
Let’s put the Re-usable Towels together:
Please Note: 3/8″ Seam Allowance unless otherwise noted.
STEP 1
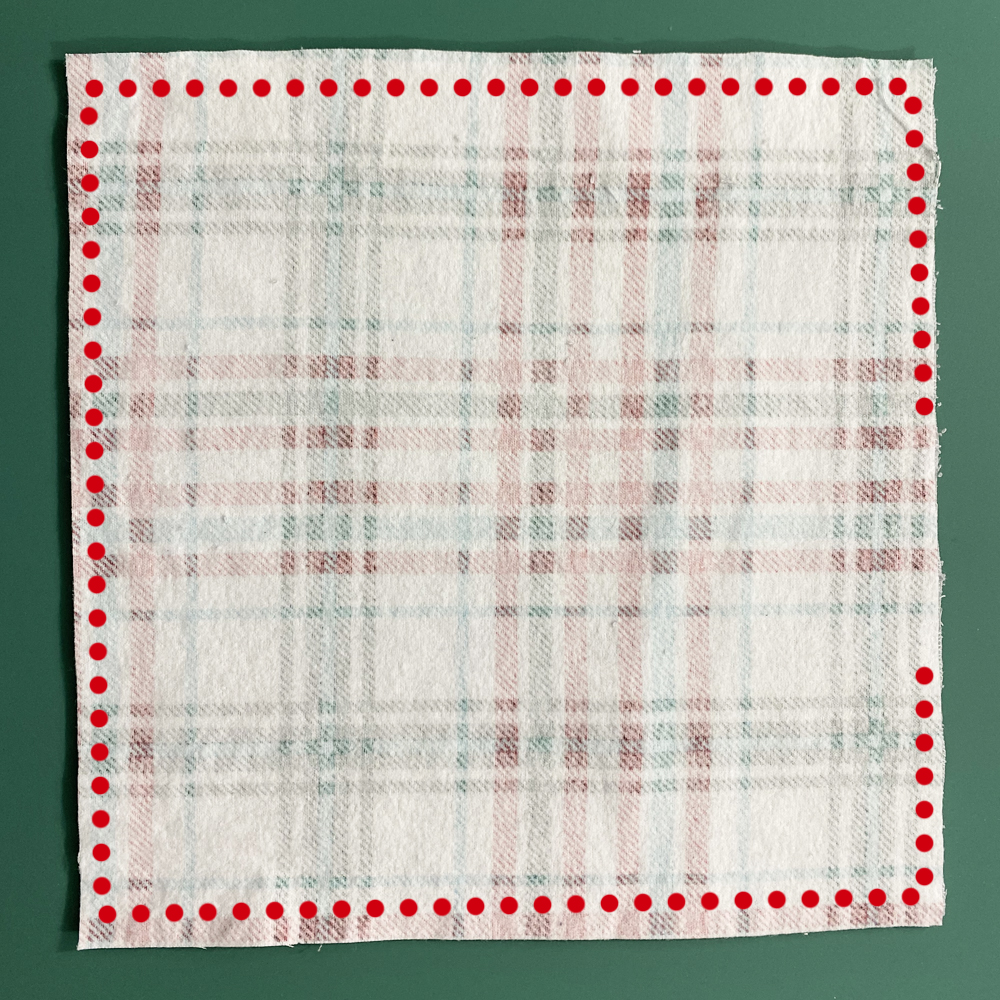
With RIGHT sides together, place the main and lining fabrics together. Pin or clip in place and stitch around the four sides leaving an opening for turning.
REPEAT with the other towels you are making.
HELPFUL TIP
Use a walking foot if you have one. It will help pull the thick layers of fabric through the machine.
Clip the four corners of each towel making sure you do not cut through the stitches. Turn the towel RIGHT side out. Push the corners out and press well.
REPEAT with the other towels.
HELPFUL TIP
You can remove some of the bulk by triming the seam allowance before turning right side out.
Topstitch 1/8” from the edge of the towel along the four sides making sure you close the opening.
REPEAT with the other towels.
HELPFUL TIP
You can also stitch from corner to corner diagonally to keep the towel layers together when you wash them.
STEP 2
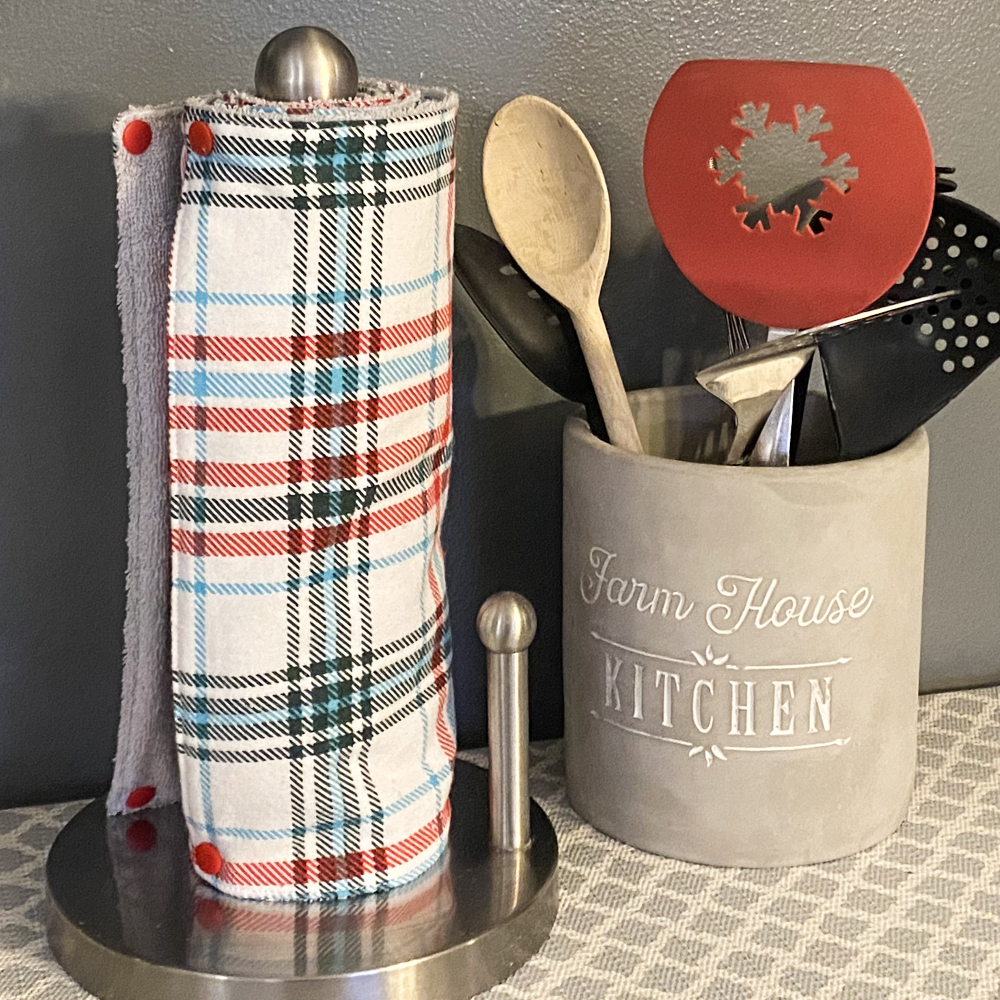
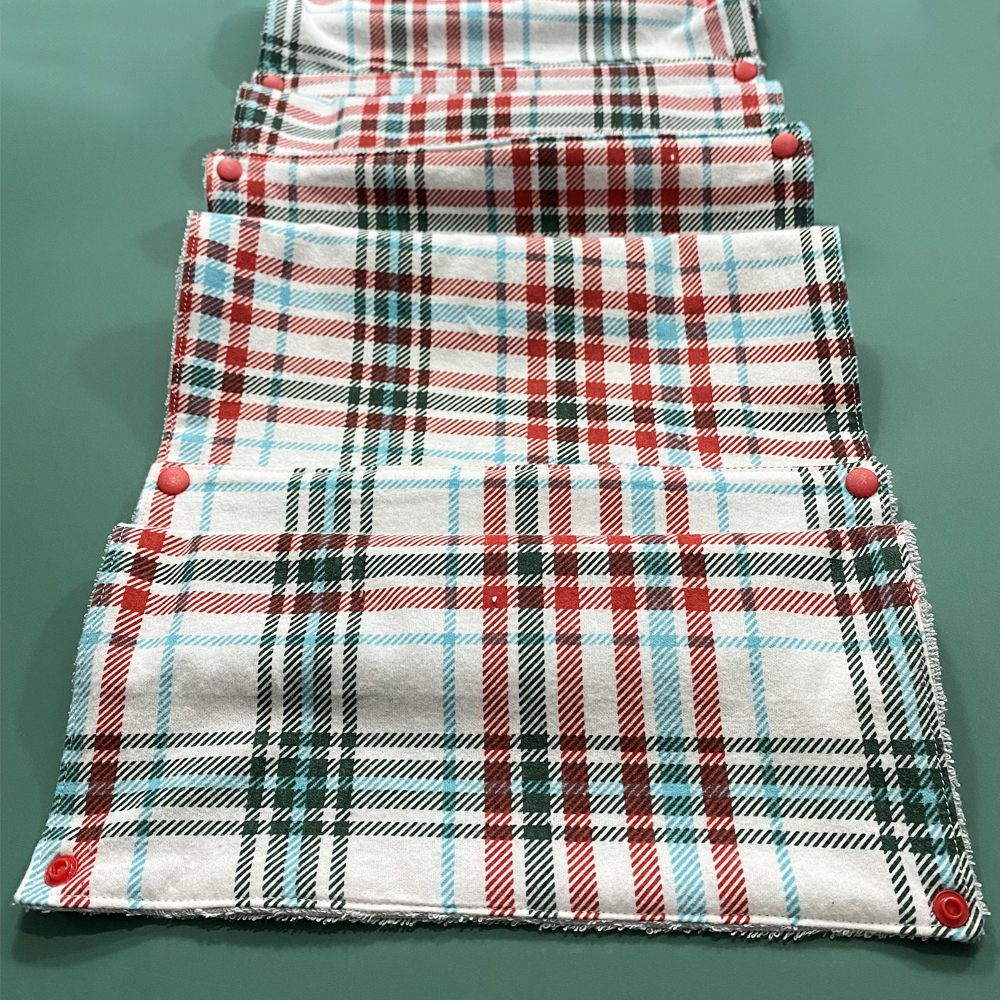
Next we will add the snaps to the corners of each towel so that they can be easily attached to each other. Starting on the back side of the towel, poke a hole where you would like the snap to go. Attach 2 socket snaps in the top and bottom corners. The socket is the snap that goes inward. The flat side of the snap will be on the RIGHT side of the fabric.
HELPFUL TIP
To easily align the snaps I used the topstitching as a guide. I aligned the edge of the snap with the inside edge of the topstitching.
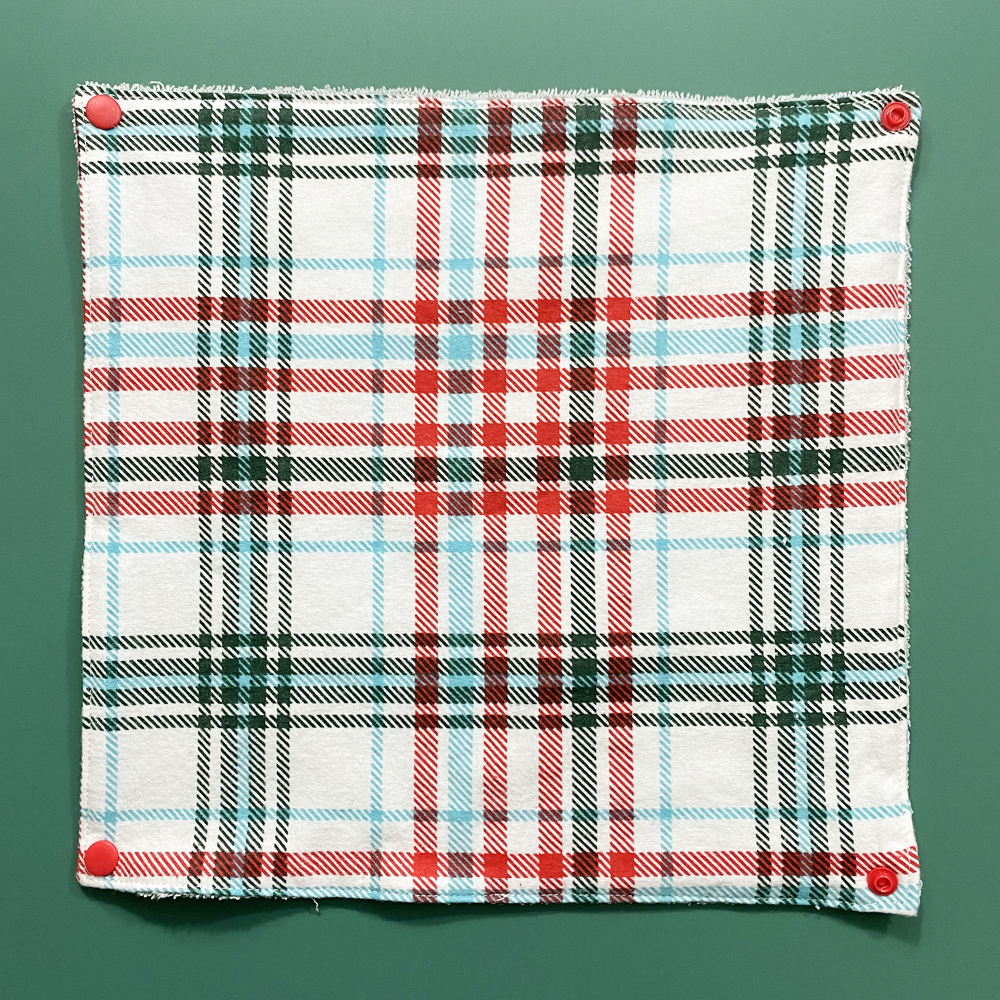
Next, we will add the stud snaps. The stud snap is the one that protrudes outward. It will go on the opposite side of where you placed the socket snaps. The shiny side of the snap will be on the back side of the towel and the stud part of the snap will be on the RIGHT side of the fabic as shown here in the picture.
REPEAT this with all of the other towels.
If you are making a Roll to hold your towels you will continue on below. Otherwise, you are finished so get cleaning 🙂
Towel Roll
Step 1

Adhere the fusible interfacing to the WRONG side of each piece of the towel roll pieces. Follow the instructions of your interfacing.
With RIGHT sides together, place the two roll pieces together. Pin or clip in place.
Stitch along the four sides, leaving an opening for turning right sides out.
Clip the corners and turn RIGHT sides out. Topstitch 1/8” from the edge, making sure to close the opening you left for turning.
Step 2
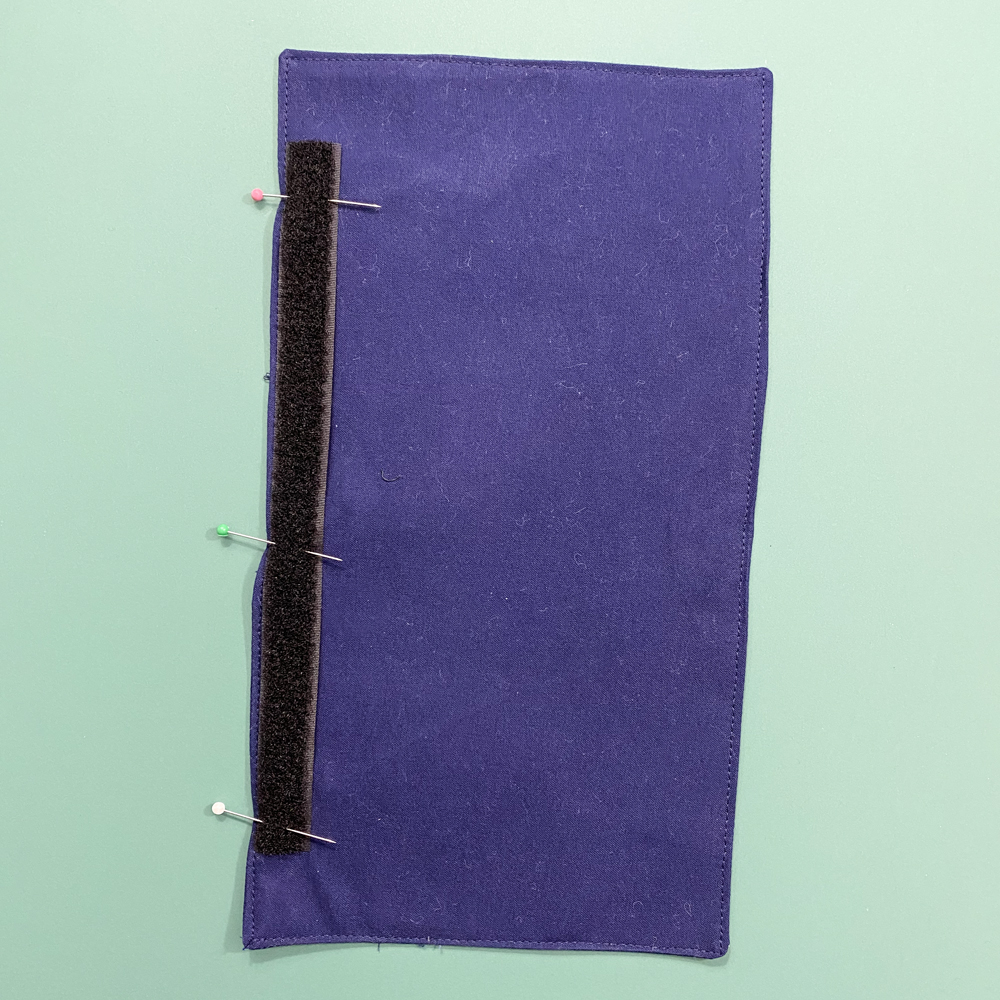
Next, we will attach the velcro to the towel roll. Place the hook piece of the velcro (the soft side) along one long edge of the roll piece. Center the velcro along the long edge and line it up with the previous steps topstitch.
Pin in place and stitch along all four sides to attach.
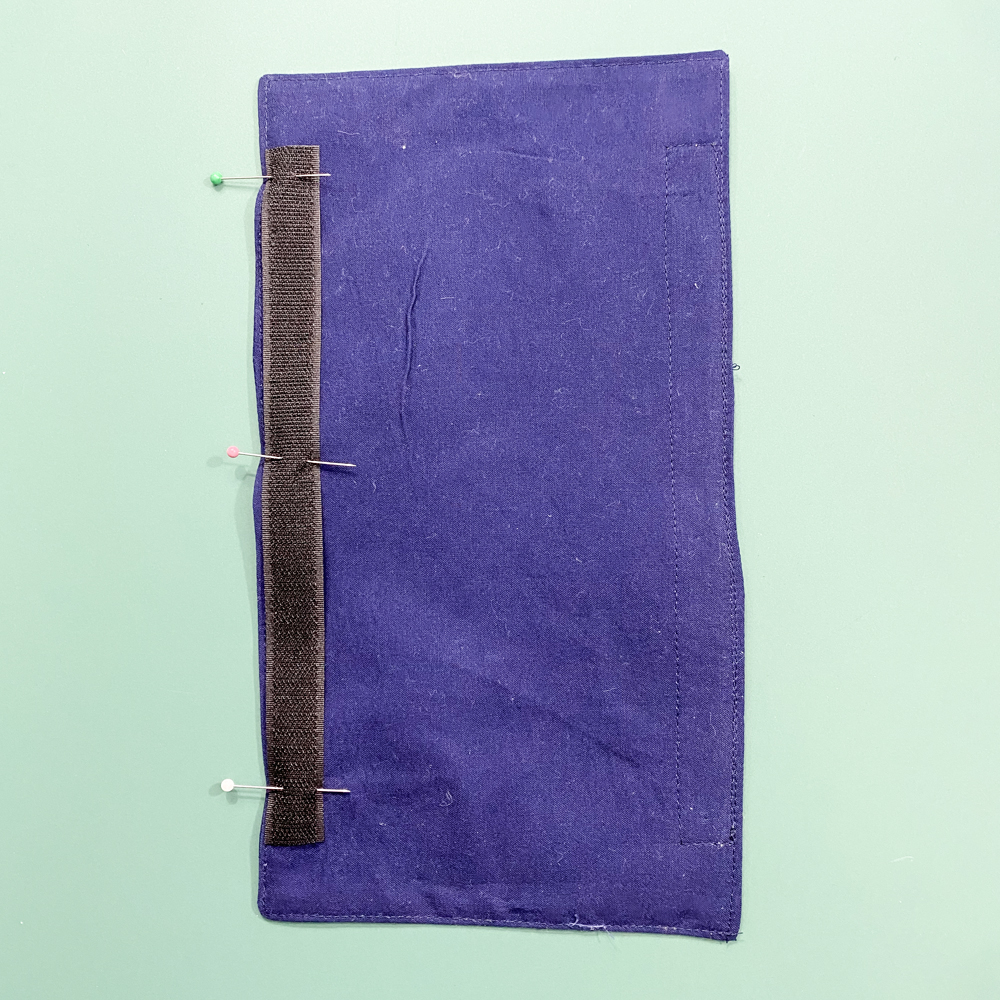
Flip the roll piece over and on the opposite side to where you attached the loop velcro place the hook piece of velcro (the scratchy side). Center it along the long edge and line it up with the topstitching.
Pin the velcro in place and stitch the four sides.
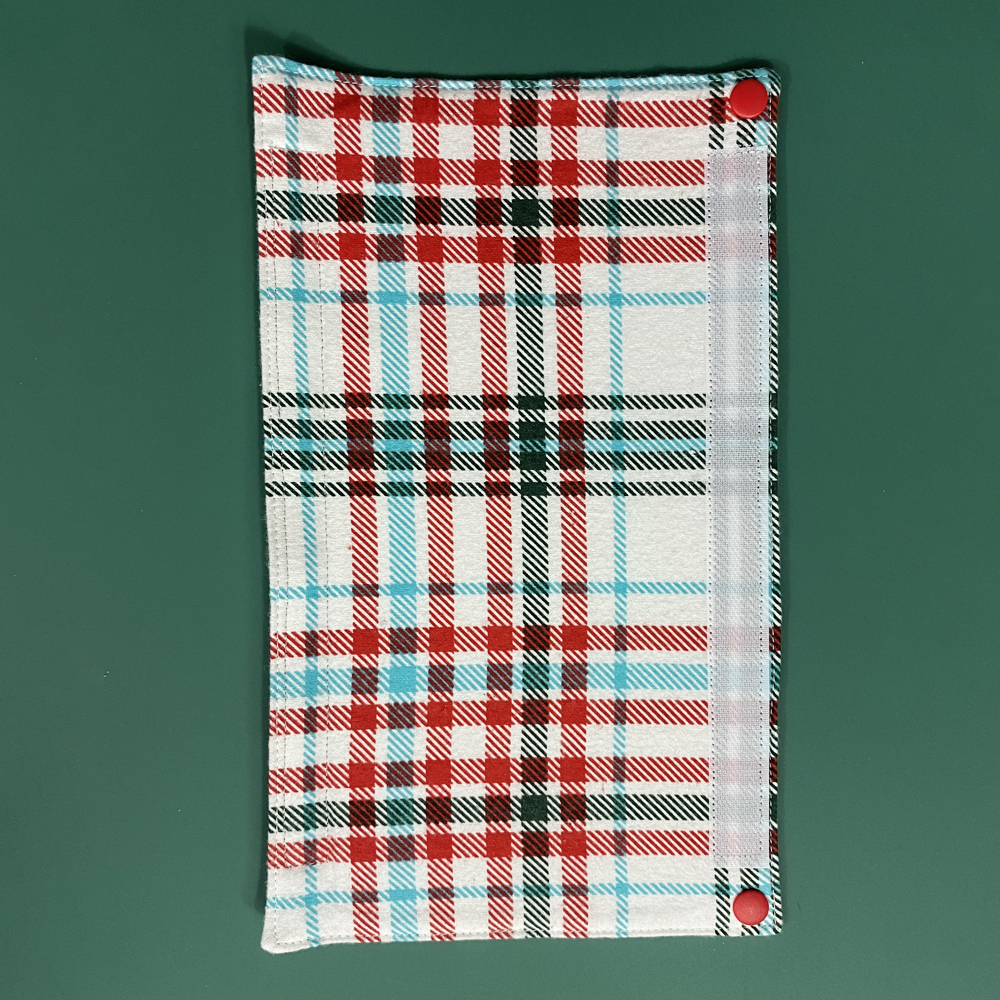
Poke a hole in the corner at each end of the hook velcro for your snaps. Attach a stud snap in the top and bottom corners. The shiny side of the snap will be facing you as shown in the picture. I aligned the edge of the snap with the topstitching so that it would align perfectly with the towels.
Step 3
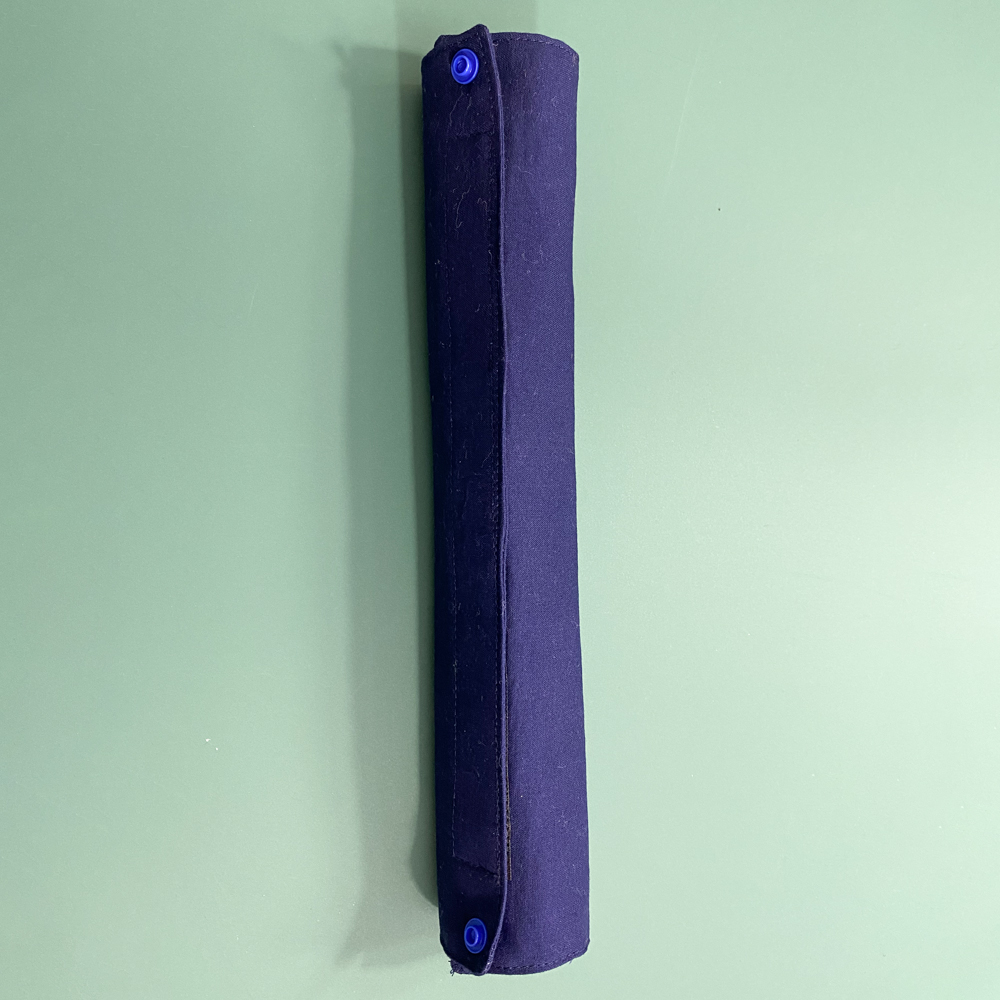
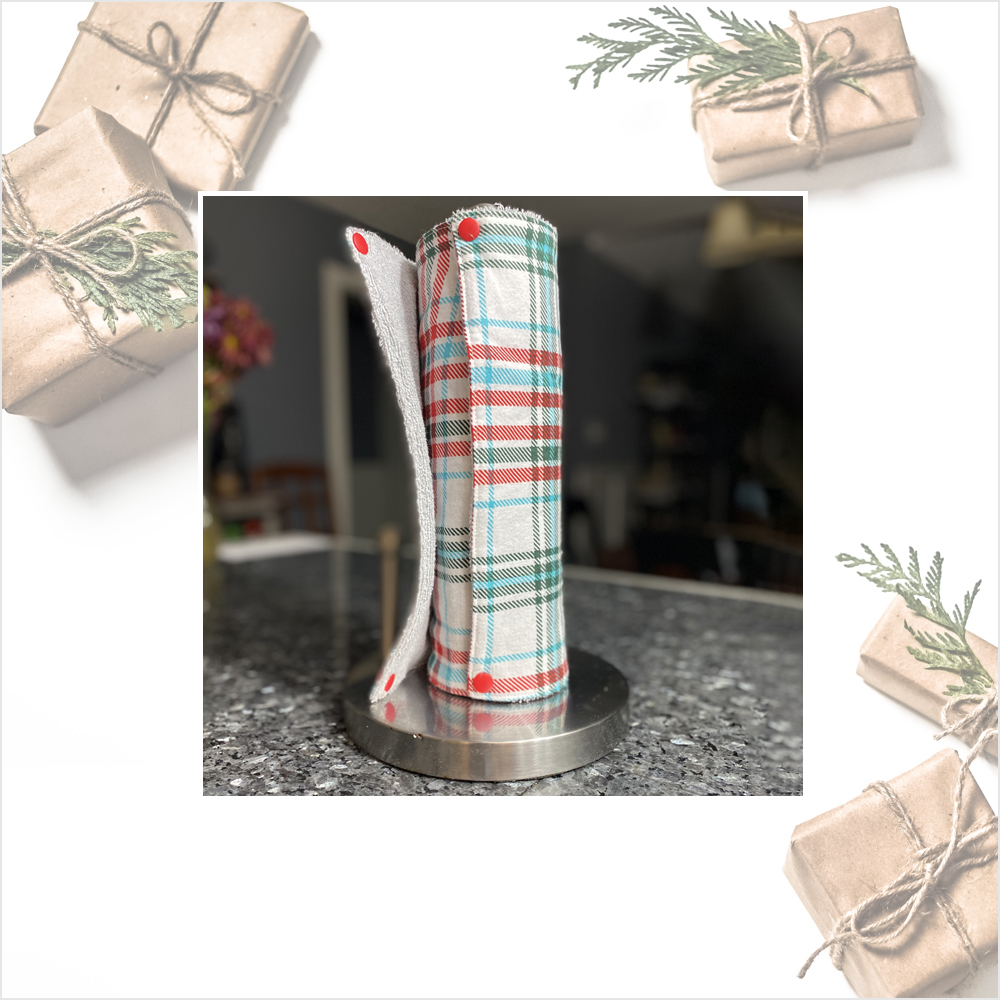
Roll the towel roll up and secure the velcro. The stud part of the snap will be facing out as shown in the picture.
HELPFUL TIP
If you’d like to add more stability, you can wrap the roll around an old paper towel roll.
Starting at one end, snap the towels together.
Attach the end of one of the towels to the roll.
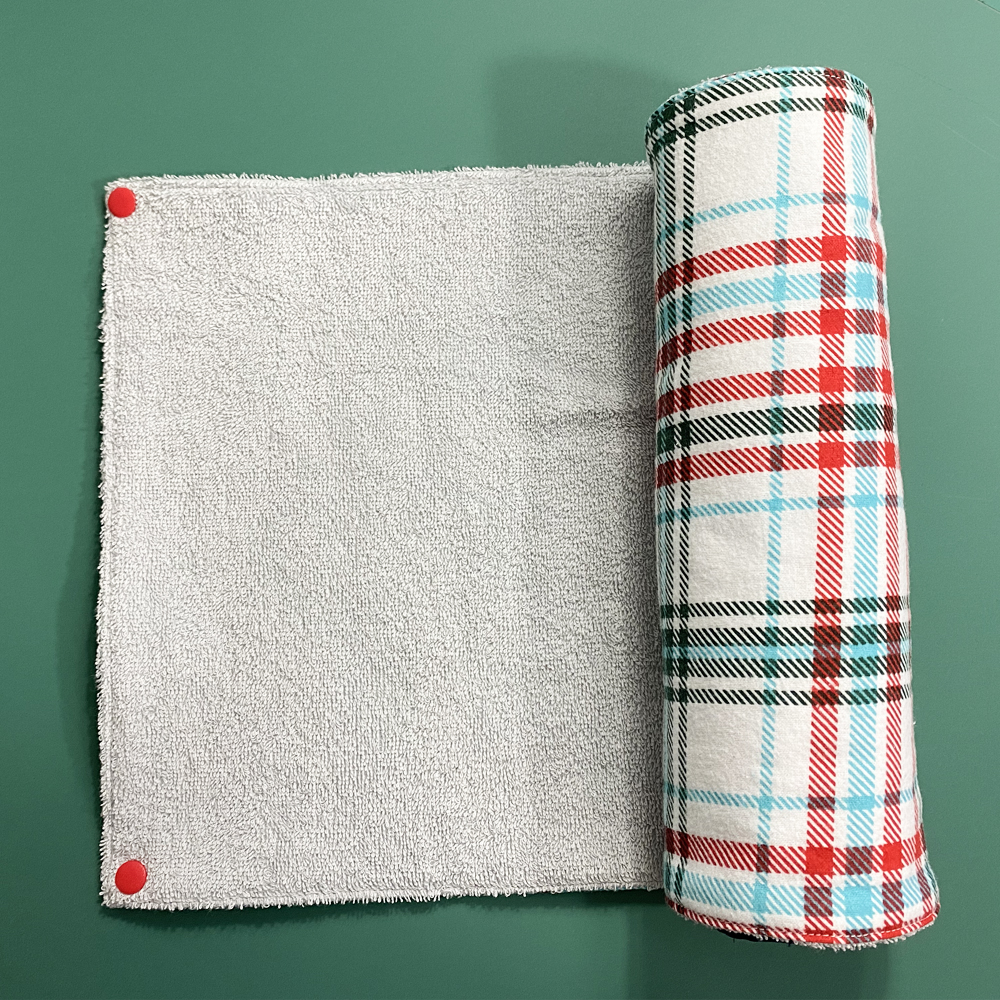
Roll the towels up around the towel roll.
That’s it, you’re finished!
Don’t forget to share it with us using the tag @mammacandoit so we can see it! As always, we’re here to help if you need it! Join us on Facebook, Instagram, Twitter, Youtube, and Pinterest.
More free patterns:
Christmas Stocking
Chapstick Holder
Wristlet Strap
Affiliate links were used in this post which means that a percentage of sales go to me when you make a purchase. It does not cost you anything to use them and it helps me to keep making new patterns and tutorials for you!


