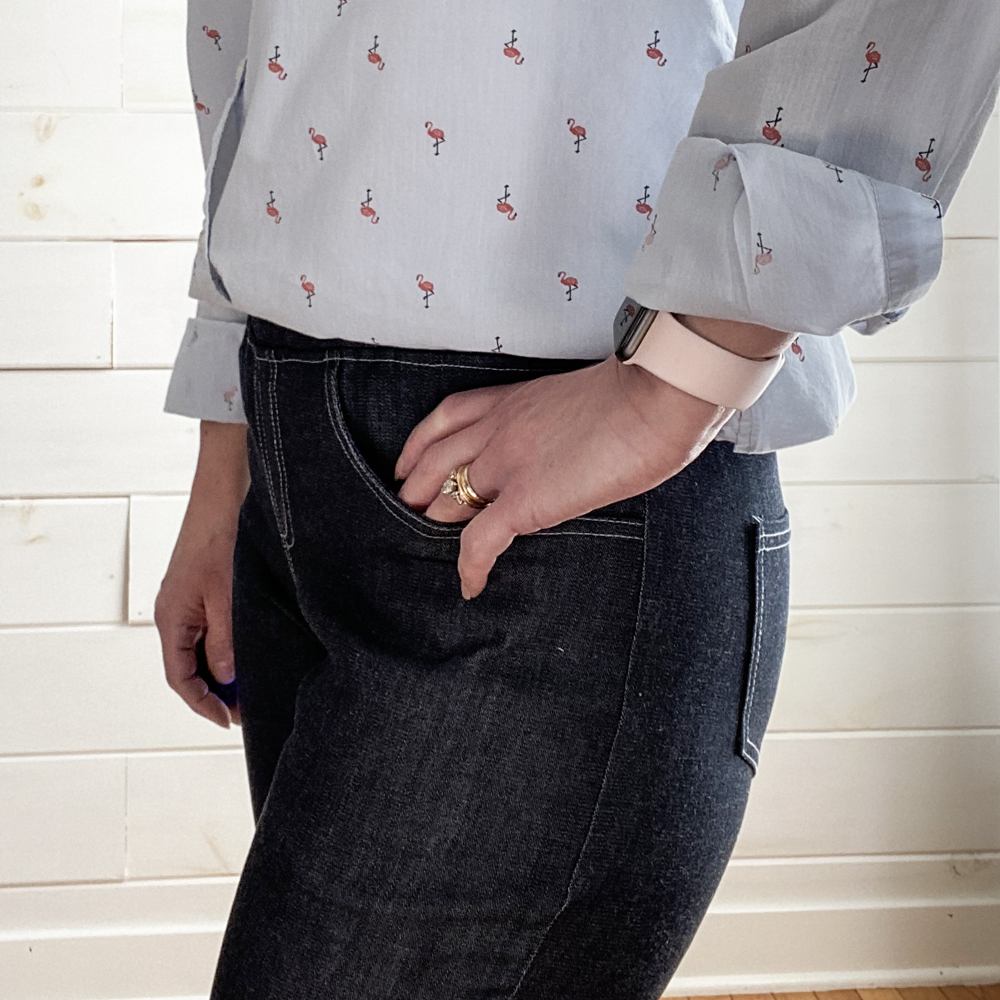
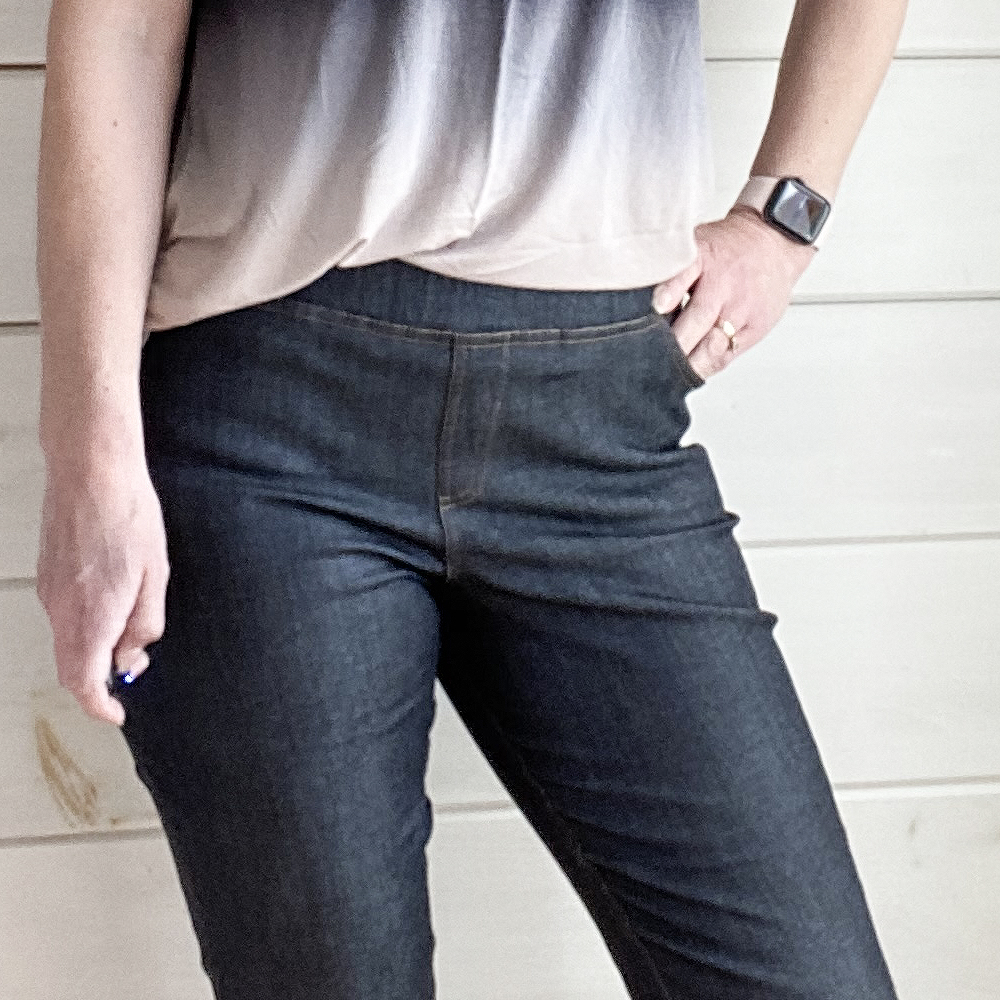
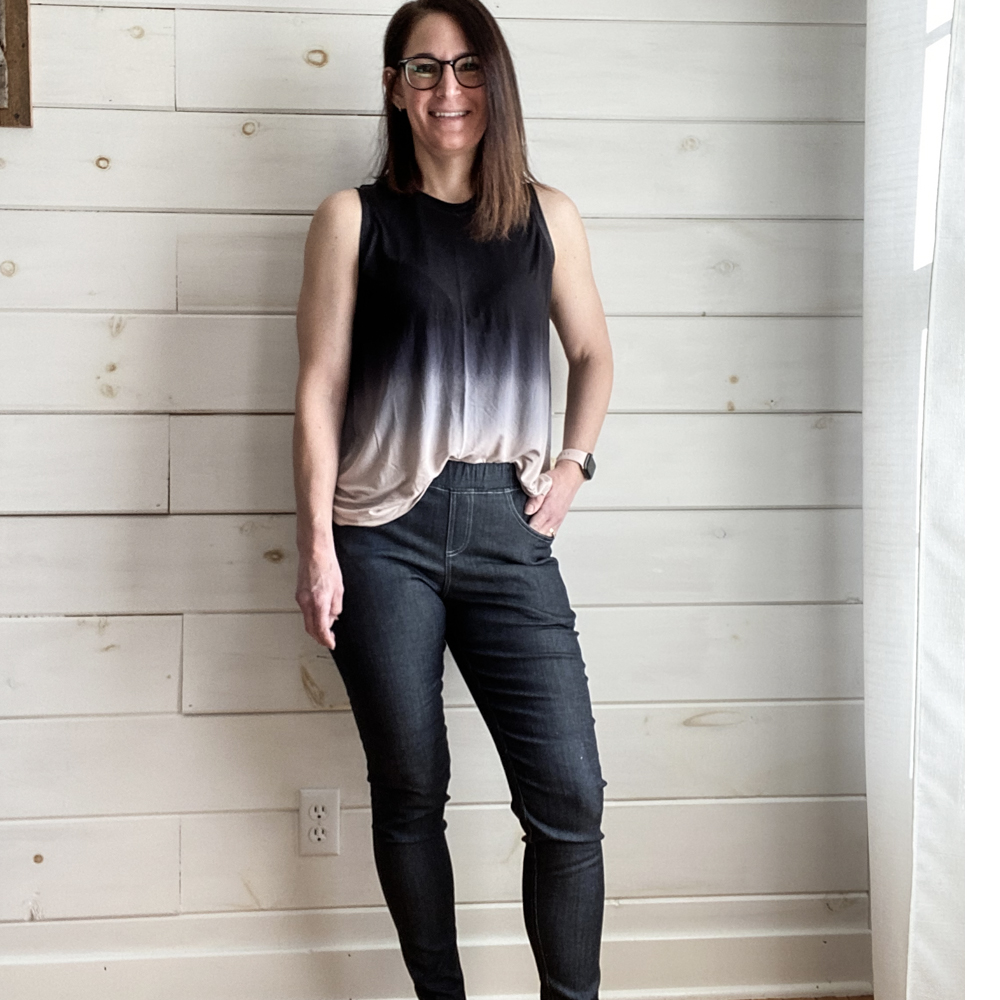
With the release of the Women Plus Size Fit Pants Pattern and the update to all of the patterns in the Fit Pants collection, I thought it would be fun to show you how add a “jeans style” front pocket and a casing waistband to your Fit Pants. I picked this Stretch Tencel Denim for this project which I absolutely love. I loved how the first pair of pants turned out so much that I ended up making a pair of capris too.
I added some topstitching to both pairs I made to make them look like my RTW jeans. I used this Maxi Lock Blue Jeans Gold thread on one pair and Maxi Lock Light Grey thread on the other pair. The color of the tread really changed the look of the fabric. Which do you like better? I can’t make up my mind.
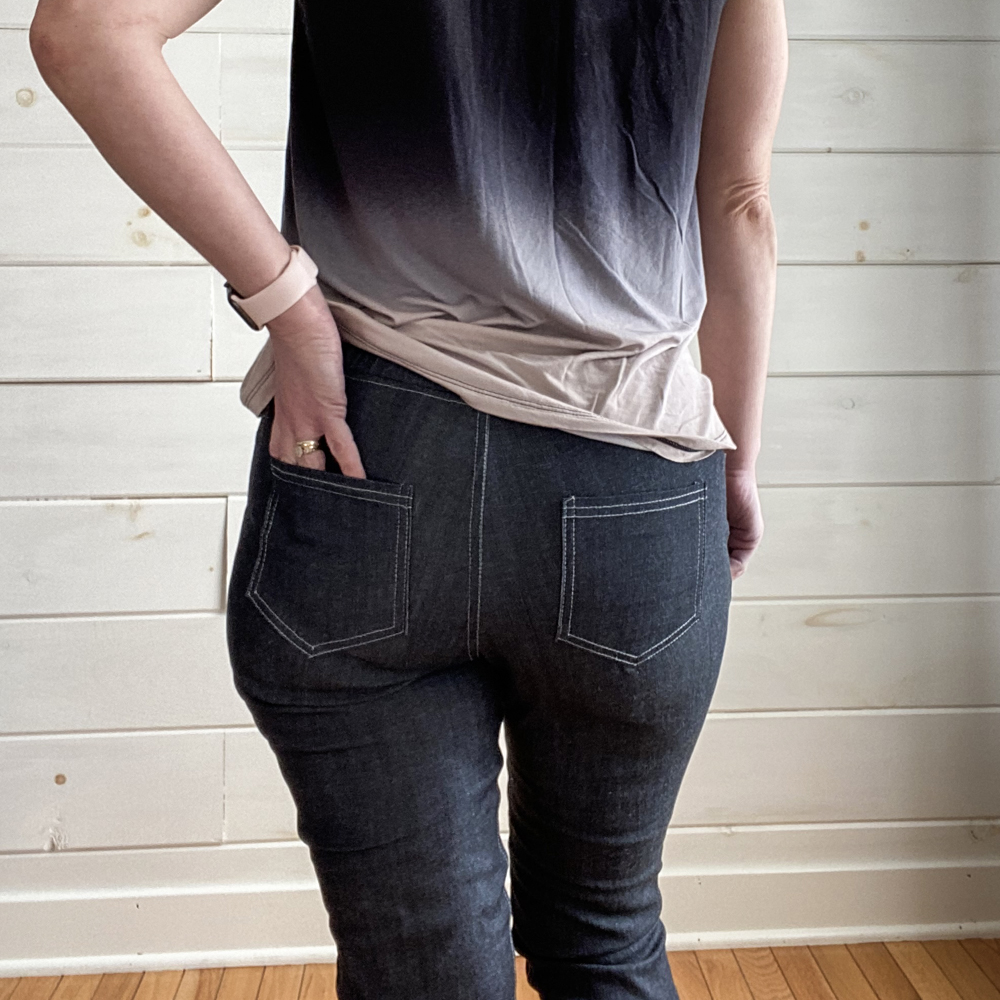
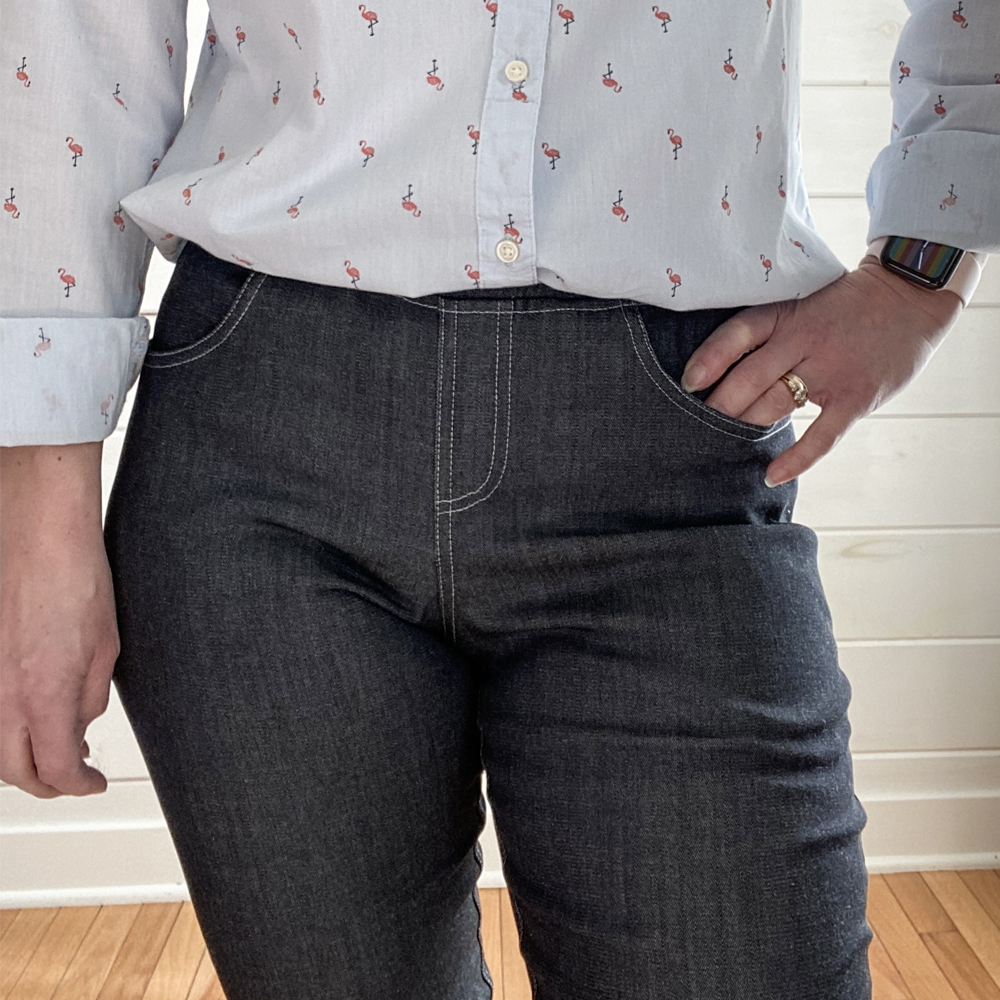
I chose to add front pockets using the hack below, back pockets and a faux fly to both pairs. I topstitched the inner leg seam, back pockets, faux fly and front pockets.
Let’s get started on our Front Pocket
What you will need
• Fit Pants Pattern or another pants pattern
• A pair of jeans or jeggings you already love the front pocket on
• Tracing Paper
• Stretch Denim
• Elastic
• Bodkin or Safety Pin
• Rivets (optional)
• Buttons (optional)
Pocket Tutorial
Please Note: 3/8″ Seam Allowance unless otherwise noted.
STEP 1: Making your new pocket shape.
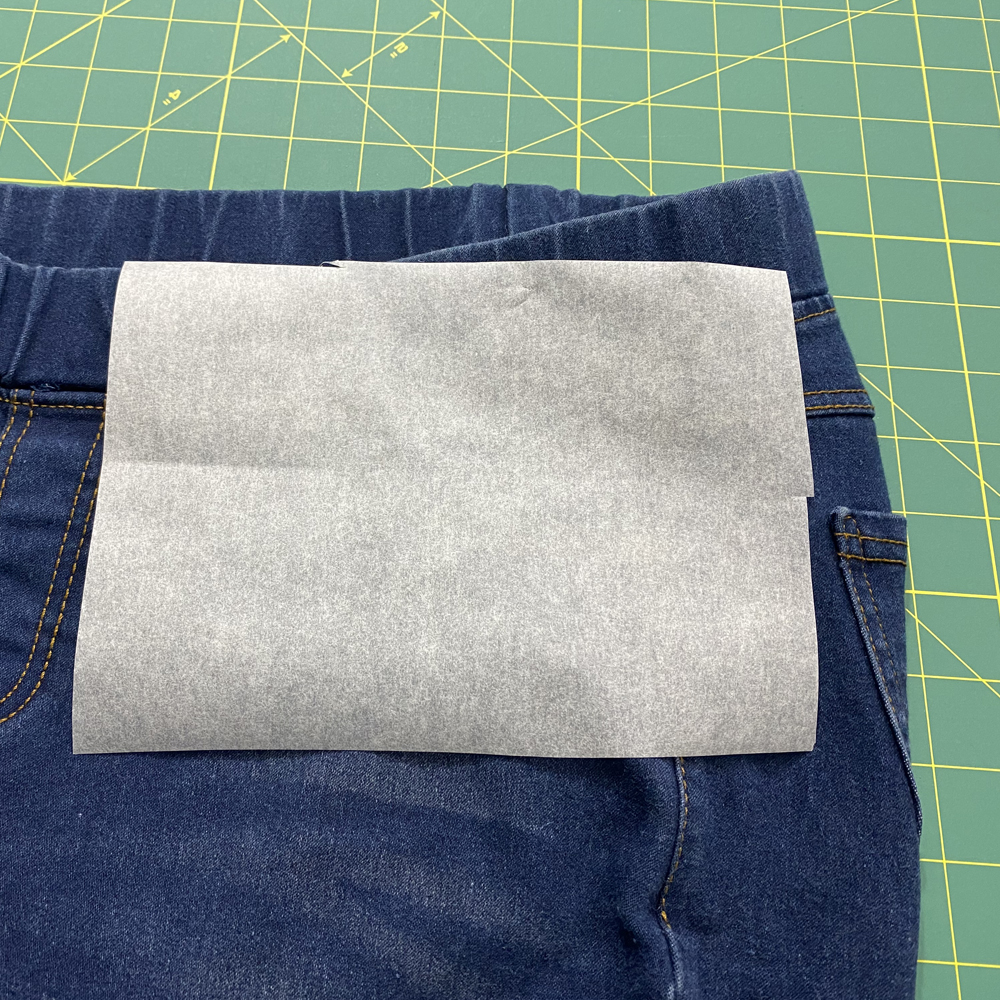
Grab your favorite pair of jeans and some tracing paper. Trace the outline of your jeans pocket. Extend the line at the top of the pocket along the waist and down along the side seam. This will help you line it up on your pattern piece later.
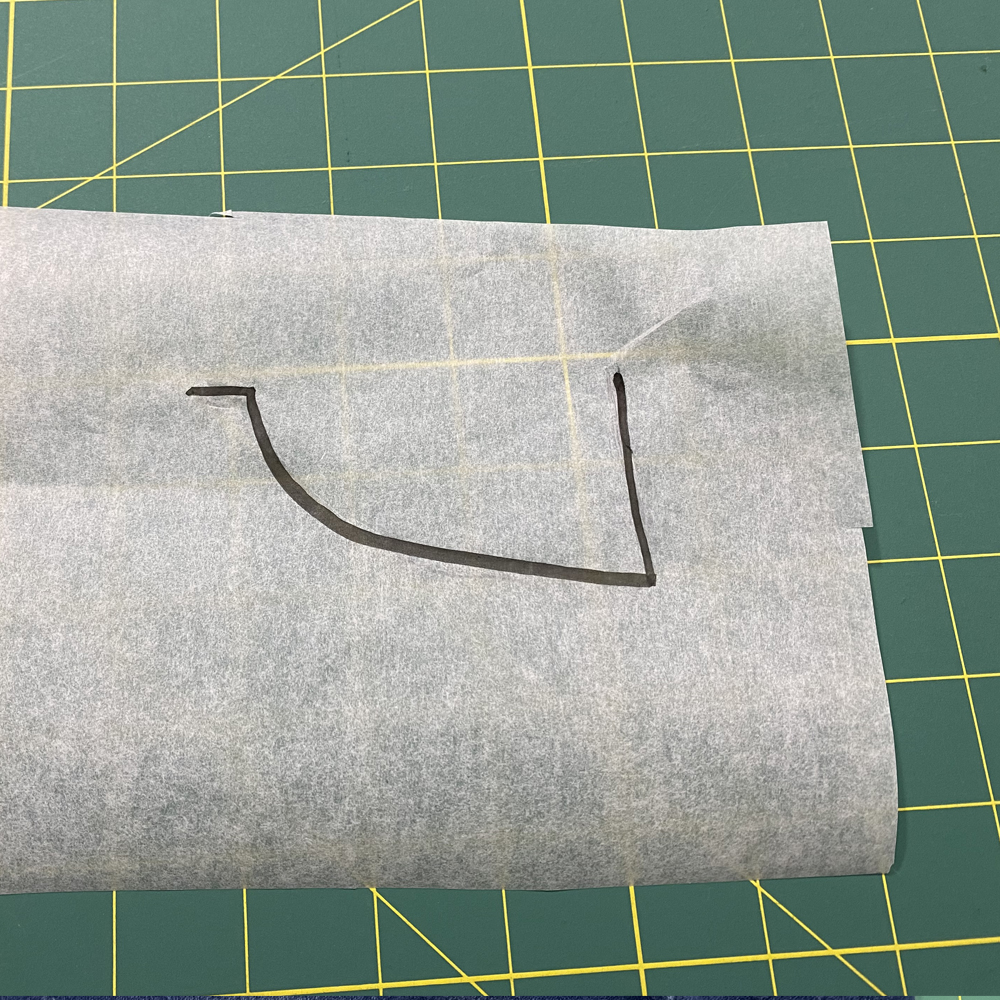
Once you have traced the outline, cut the shape out.

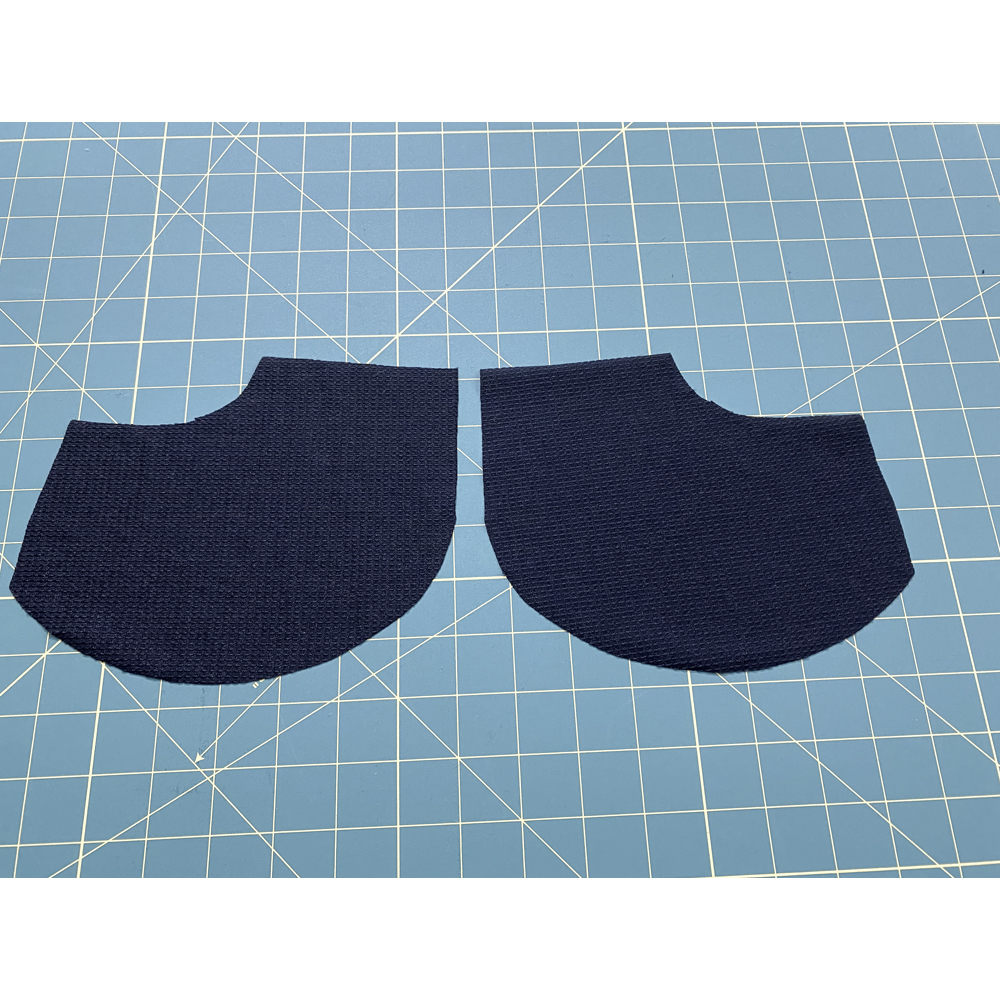
You now have your new front pocket lining shape. It should look something like this.
STEP 2: Modify your pattern piece to add the new cut line.
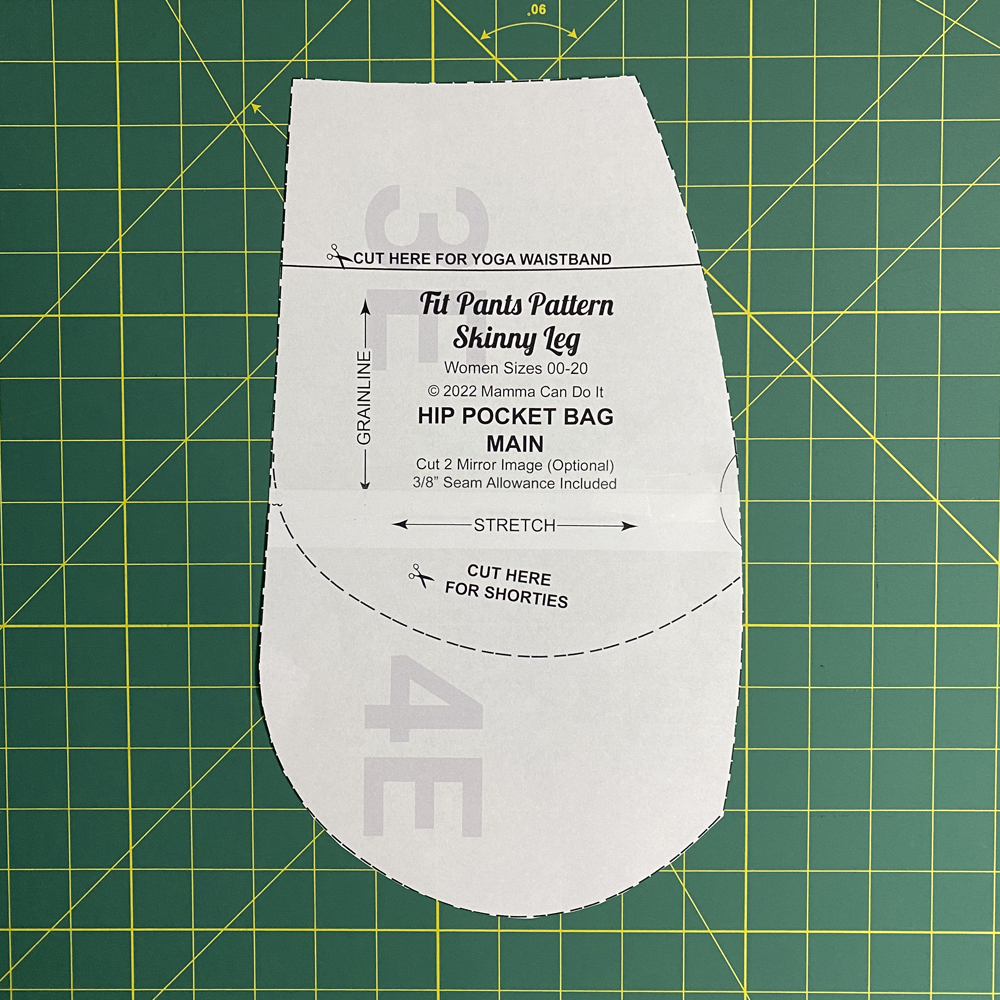
Next, determine how big you would like your pocket. I cut my pockets at the longer line on one pair and at the shorties line on the other pair. I ended up liking the shorter pocket better. It’s a personal preference, so pick the size you like the best.

Take your tracing paper with the new front pocket lining shape and line it up at the side and top of your pocket.
If you are adding a yoga waistband or the casing hack in this tutorial, cut your pocket on the yoga line.
If you are going to attach the waistband per the tutorial, extend your line up to the top. This is shown with the red dotted line in the picture above.
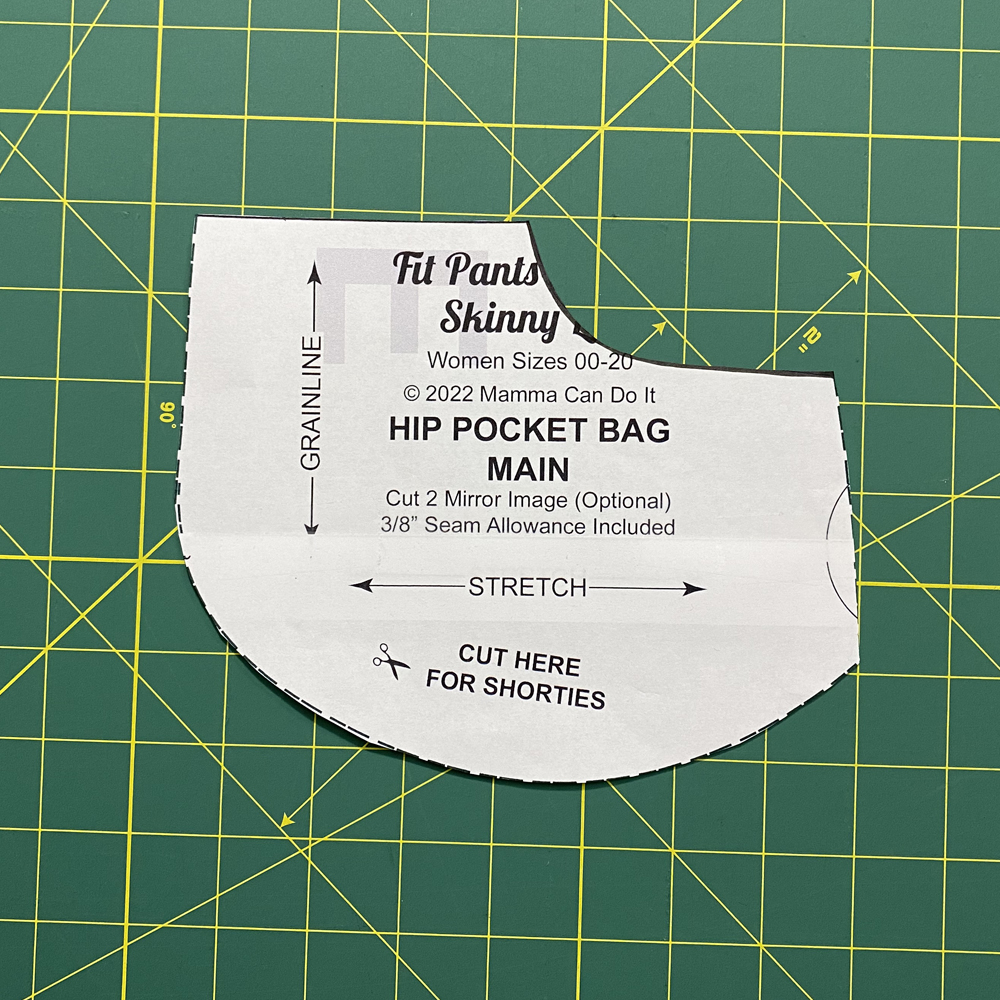
Cut out the new shape to create your new front lining pattern piece.
Cut out 2 mirror image of your front pocket lining.
** Use a light weight fabric for your pocket lining.
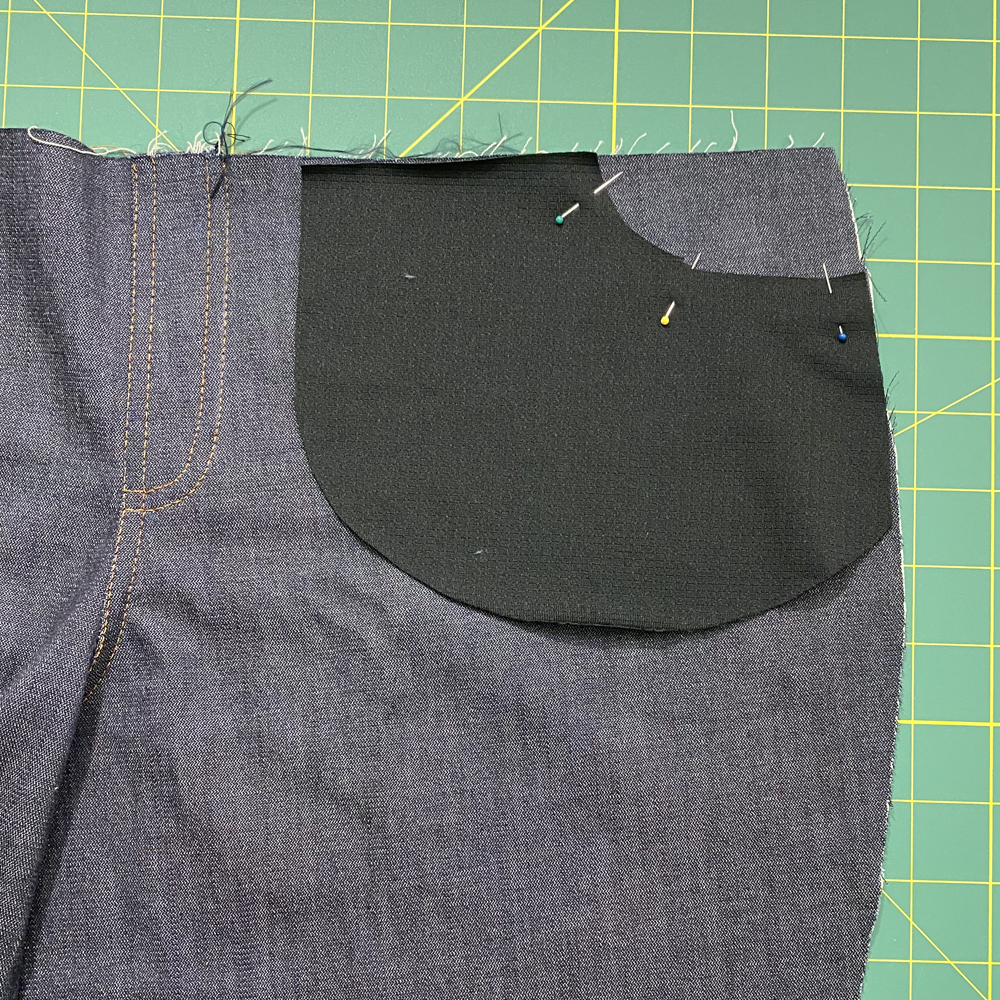
With RIGHT sides together, place your front pocket lining onto the front leg of your pants. Line it up at the top and side. Stitch along the pocket curve where it is pinned in the picture to your left.
Follow the Fit Pants tutorial to finish the rest of your pocket.
Adding a Casing Waistband
Please Note: 3/8″ Seam Allowance unless otherwise noted.
Determine where you would like your waistband to sit on your waist. Measure down that much on the front and back legs of the pants. This will be your new waist cut line.
I cut my leg pieces on the yoga cut line because I like where it hits my waist. I am going to use 1.5″ elastic and I will make my casing 3.75″ in width. I got this number by adding 1.5″ + 1.5″ = 3″. We add the 2 numbers together because we fold our waistband in half widthwise. You then add seam allowance to this number. Our new width is 3.75″.
The next step is to measure the waist of the front and back leg pieces where you made your new cut line. My front leg measured 9″ and the back leg measured 8.75″. I added the 2 measurements 9″ + 8.75″ = 17.75″. Then, I subtracted the seam allowance. For Fit Pants the seam allowance is 3/8″. We have to account for the seam allowance at the center seam and side seam of BOTH the front and back legs. We will subtract 1.5″. 17.75″ – 1.5″ = 16.25″.
Now we need to add seam allowance back in to account for where we sew the 2 ends of the casing together. 16.25″ + .75″ = 17″. You will cut your casing on the fold 17″ x 3.75″.
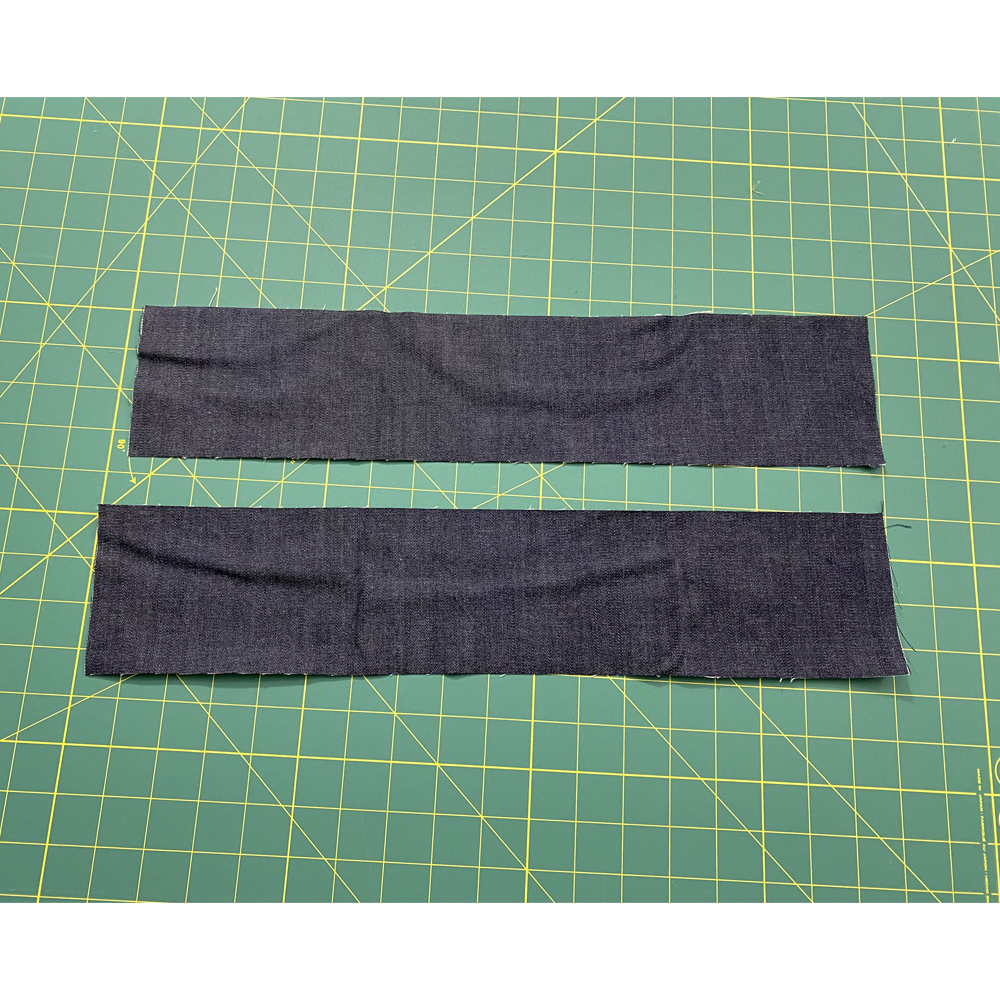
I didn’t have enough fabric to cut the waistband of my second pair on the fold so I made a front and back piece. To do this, take your front measurement, 9″ * 2 = 18″. Subtract the seam allowance of 1.5″. 18″ – 1.5″ = 16.5″. Add seam allowance back in. 16.5″ + .75″ = 17.25″. Cut 1 front piece 17.25″ x 3.75″. Do the same thing for the back piece. 8.75″ * 2 = 17.5″. Subtract your seam allowance 17.5″ – 1.5″ = 16″. Add the seam allowance back in. 16″ + .75″ = 16.75″. You will cut 1 back piece, 16.75″ x 3.75″.

If you cut one waistband piece, fold it in half lengthwise with RIGHT sides together and align the raw edges. If you have 2 separate waistband pieces. Place them RIGHT sides together and align the raw edges.
Stitch the short ends together.
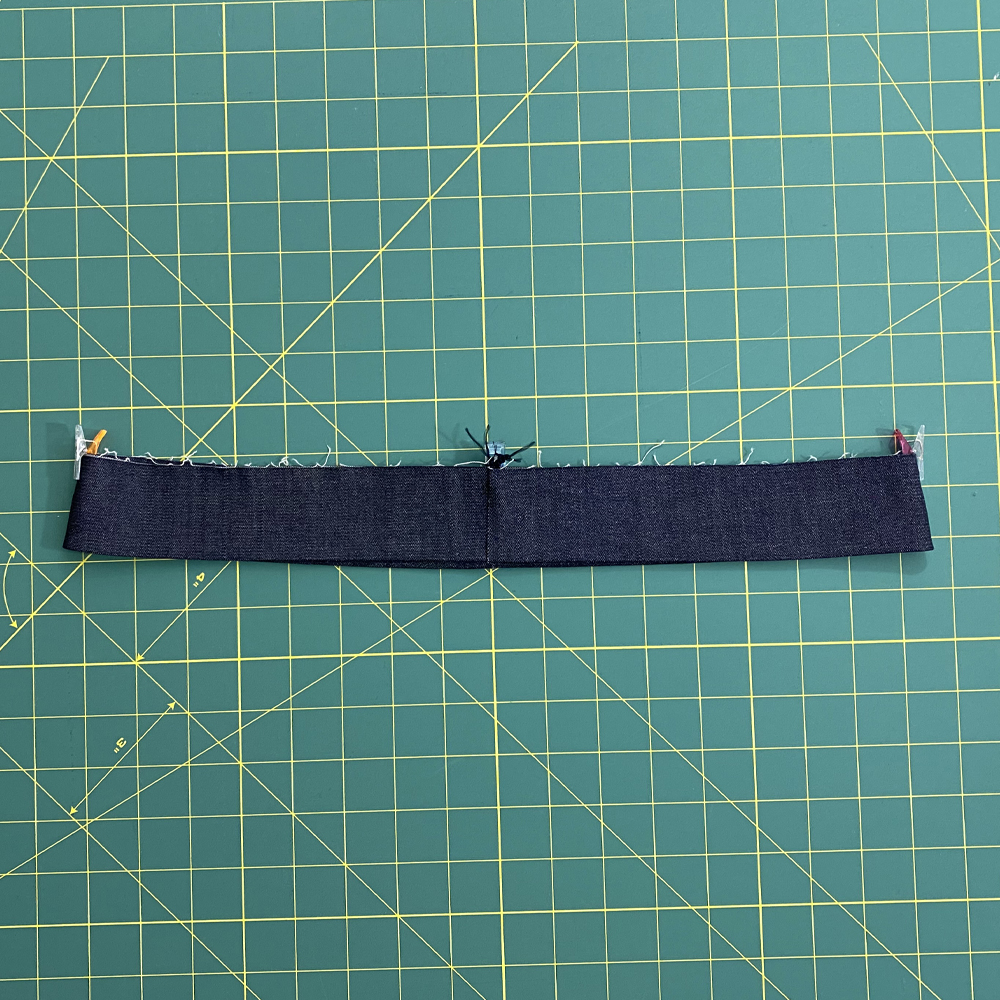
Turn the casing RIGHT side out and fold in half widthwise.
Align the raw edges and mark the quarter points.
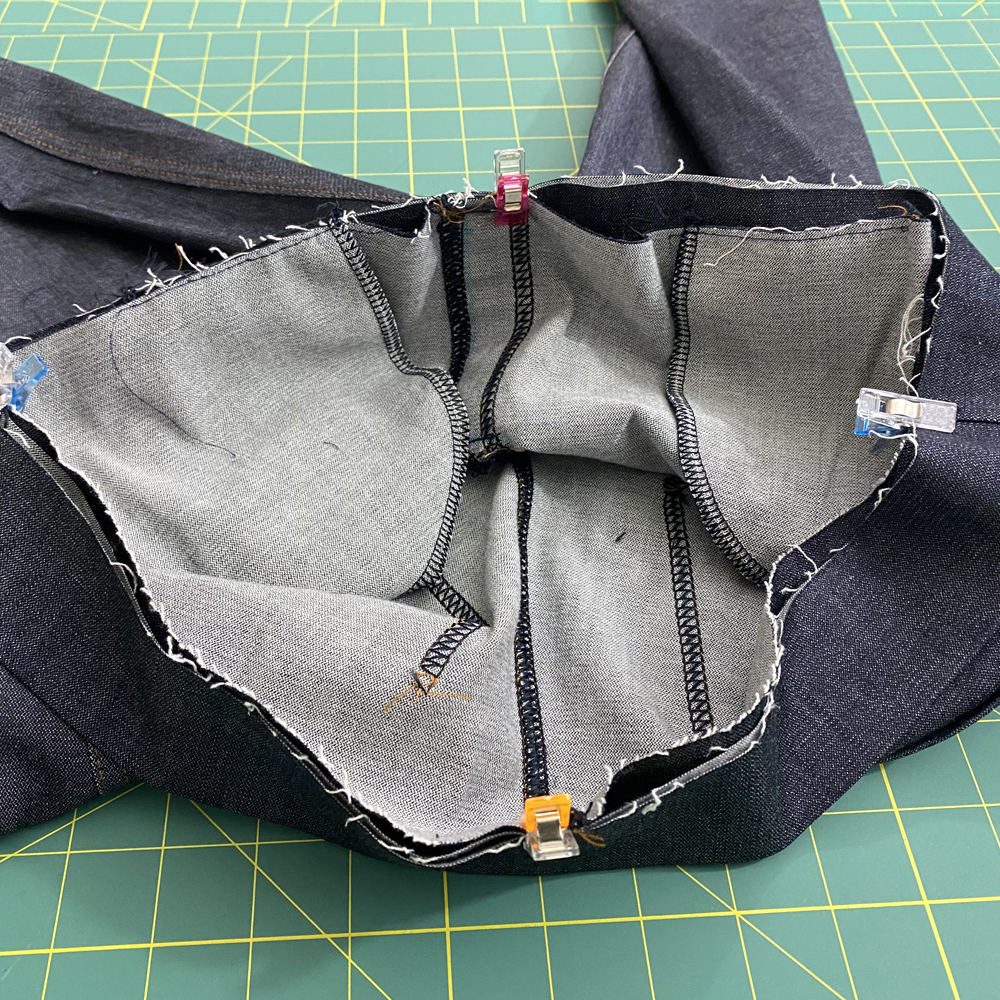
With RIGHT sides together, align the raw edges of the pants waist with the raw edges of the casing. I like to put the seam in the back. Stitch the casing and waistband together and leave a small opening to insert the elastic.
**If you made a front and back casing piece, align the seam of the casing with the side seams on your pants.
Measure your waist where your pants will hit your waist and subtract 1.5″ – 2″ from that number. I usually go with 1.5″ because I like it a little less snug. Cut your elastic to size.
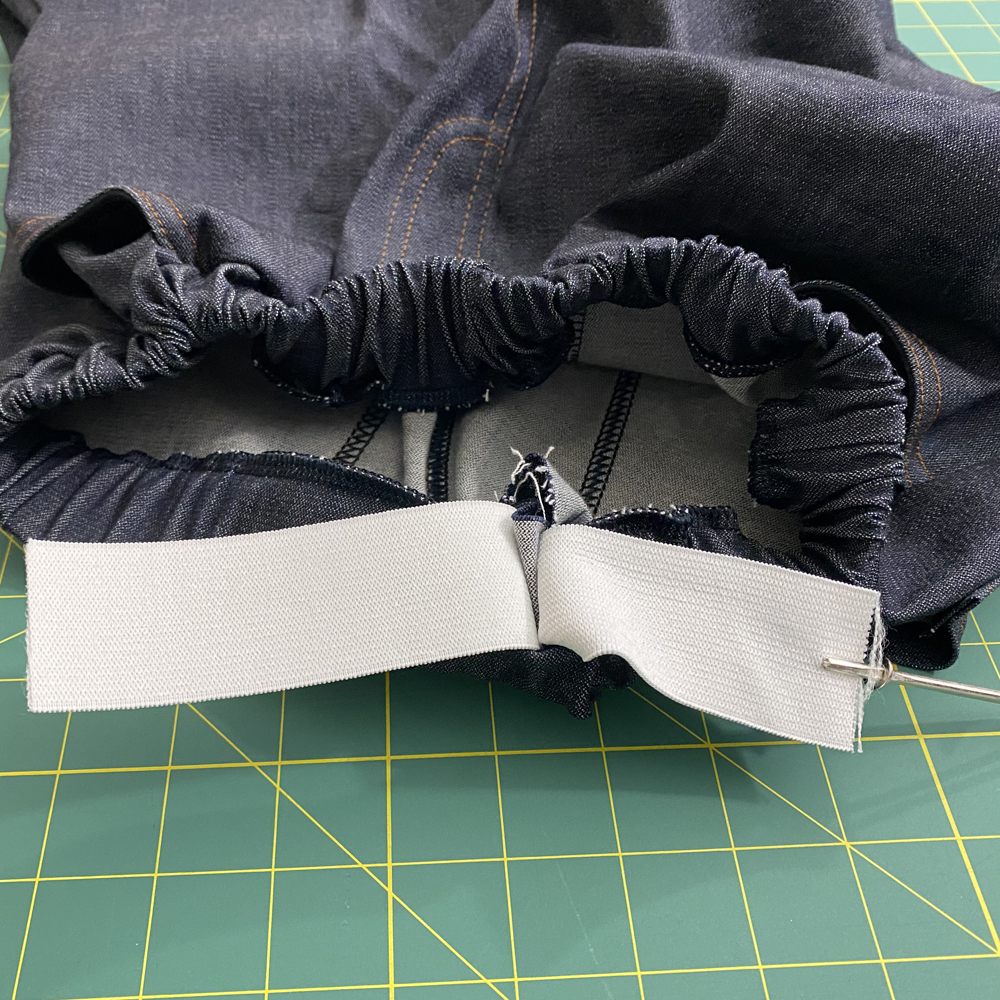
Using a bodkin or safety pin pull the elastic through both ends of the opening, make sure the other end doesn’t get pulled through.
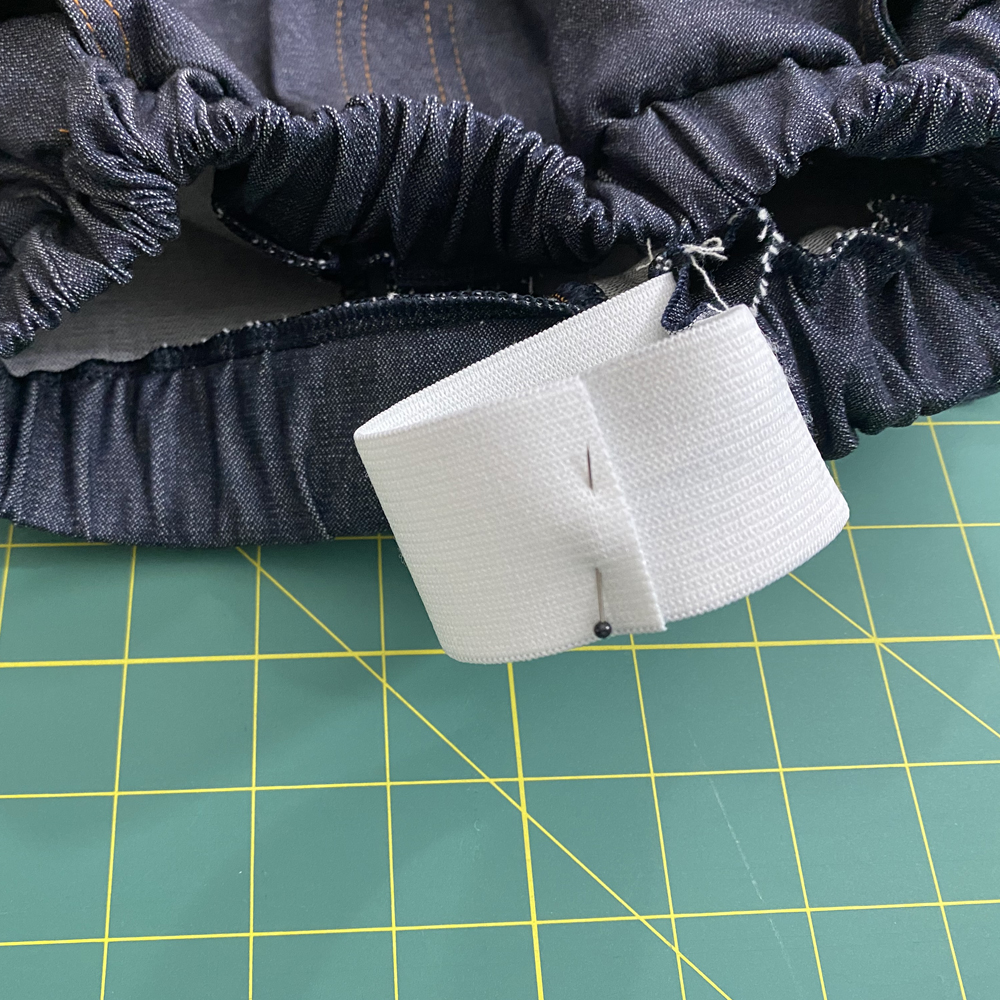
Overlap the 2 ends of the elastic.
Attach the 2 ends of the elastic together with a wide zig zag stitch.
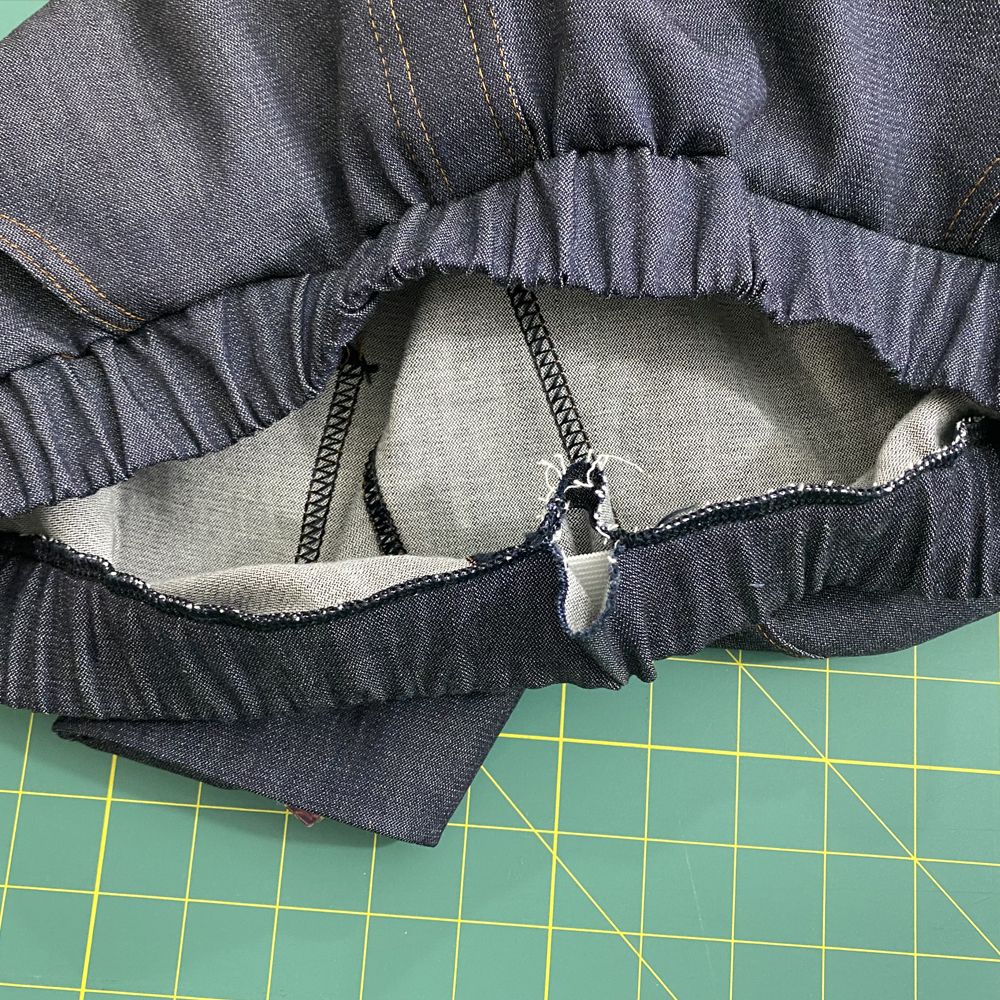
Push the elastic into the opening and stitch the opening closed.
HELPFUL TIP
Try your pants on before closing the opening to check the fit first!
That’s it, you’re finished!
You can also add rivets or buttons if you’d like. They’re a fun way to add some personal flare to your new pants!
We hope you found this tutorial helpful and if you try either one of these hacks, don’t forget to share it with us using the tag @mammacandoit so we can see it!
As always, we’re here to help if you need it! Join us on Facebook, Instagram, Twitter, Youtube, and Pinterest.
Affiliate links were used in this post which means a percentage of the sales go to me when you make a purchase. It does not cost you anything to use them and it helps me to keep making new patterns and tutorials for you!


