
Hello!
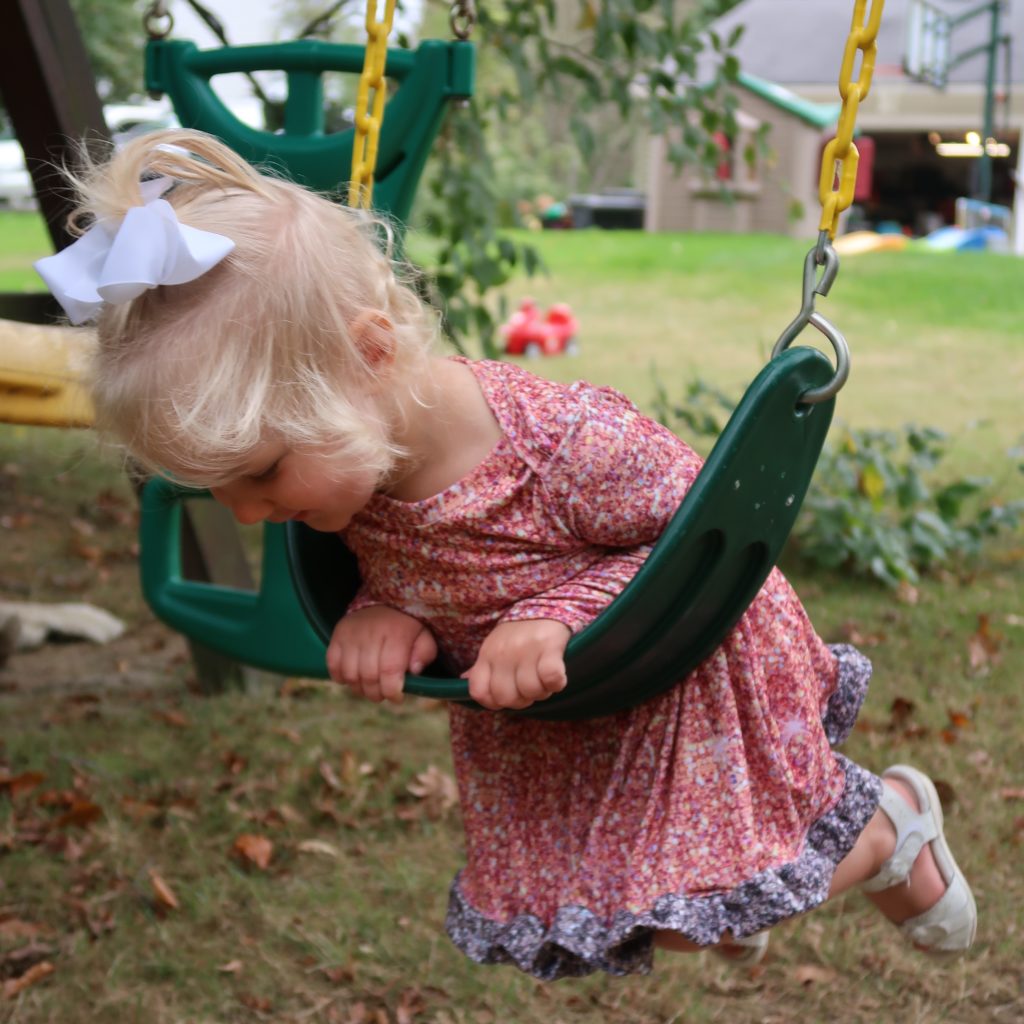
So you’ve seen the Onesie Dress Pattern and gotten excited! Maybe you have a teeny girl and can’t wait to make some adorable little dresses for her, or maybe you’re expecting a little girl and are dreaming about cute outfits to make. I’m in both boats. I have a tallish little toddler princess and am expecting another girl in a month. I’m dreaming of sister outfits galore!
When I saw the pattern for the Onesie Dress, I simply HAD to test it. But there was one problem-my almost 2 year old fit all the measurements for a 24 month size – except for the trunk measurement. Uh oh!
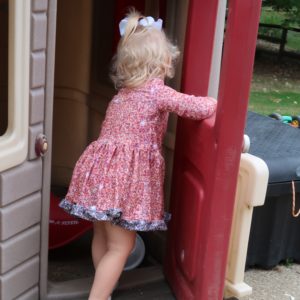
Then, I discovered a simple fix-omit the onesie portion of the dress. Awesome! And even better-it becomes a faster sew!
The process is simple.
Prep your pattern as you normally would. (If you haven’t purchased it yet, here’s a link to take you there!)
Prewash your fabric.
Cut out the pieces for the top front, top back, neckbands, sleeves, skirt, and ruffle (optional). No need to cut out the bottom front and back parts (woohoo – a time saver).
Sew the top of the dress following the directions. Skip the directions pertaining to the bottom snap portion of the onesie.
Gather your skirt and attach it to the top. (Helpful hint-baste the two pieces together before serging them. It makes the process so much easier! No need to use a special stitch-your serging will cut off the straight stitch anyways!)
You may want to topstitch the seam when you’re finished. This helps it to lay better.
Enjoy!
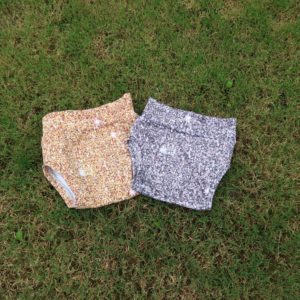
Pair the dress with a set of Under Skirties (to be released in 2020) and you’re good to go!
This post contains affiliate links.


