Mamma Can Do It recently started carrying Cut File Designs on our site. If you are unfamiliar with cut files, they are digital designs that you can download for die cutting machines for application on fabric, signs, glass, and mugs just to name a few. You can also use these machines for paper crafts and much much more. The designs you will see here at Mamma Can Do It are mainly used for application on fabric. The most popular cutting machines are Silhouette Cameo 4 and Cricut Explore Air 2.
A couple questions that I hear from beginners who purchase our Mamma Can Do It Cut Files, are, ‘how do I get my heat transfer vinyl to stick to my t-shirt and how do I get it to last wash after wash without peeling off?’
Here are some tips and tricks for applying vinyl with a home iron for awesome custom t-shirts that last!
First, you want to use good quality vinyl. Not all vinyl is created equal! Some great brands are Siser Easy Weed Heat Transfer Vinyl (HTV) and Thermoflex Heat Transfer Vinyl (HTV). These are not the only good brands out there, but they are the ones that I have had the most success with easy weeding and easy transfer to t-shirts with the best adhesion.
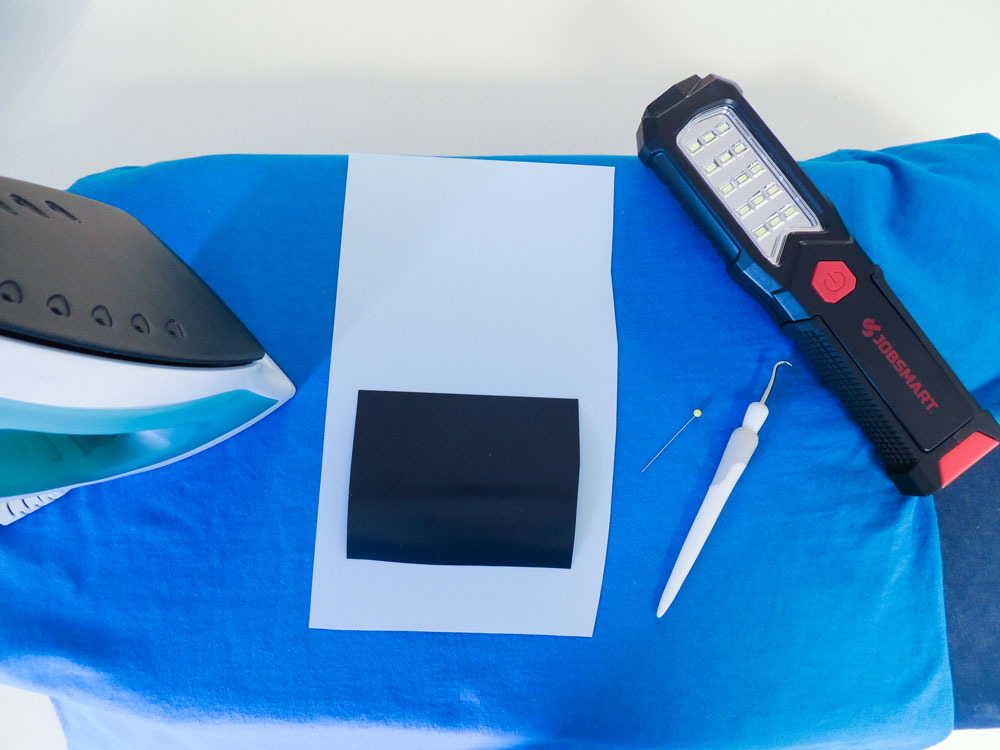
Step 1: Cut Your Design and Gather Your Supplies
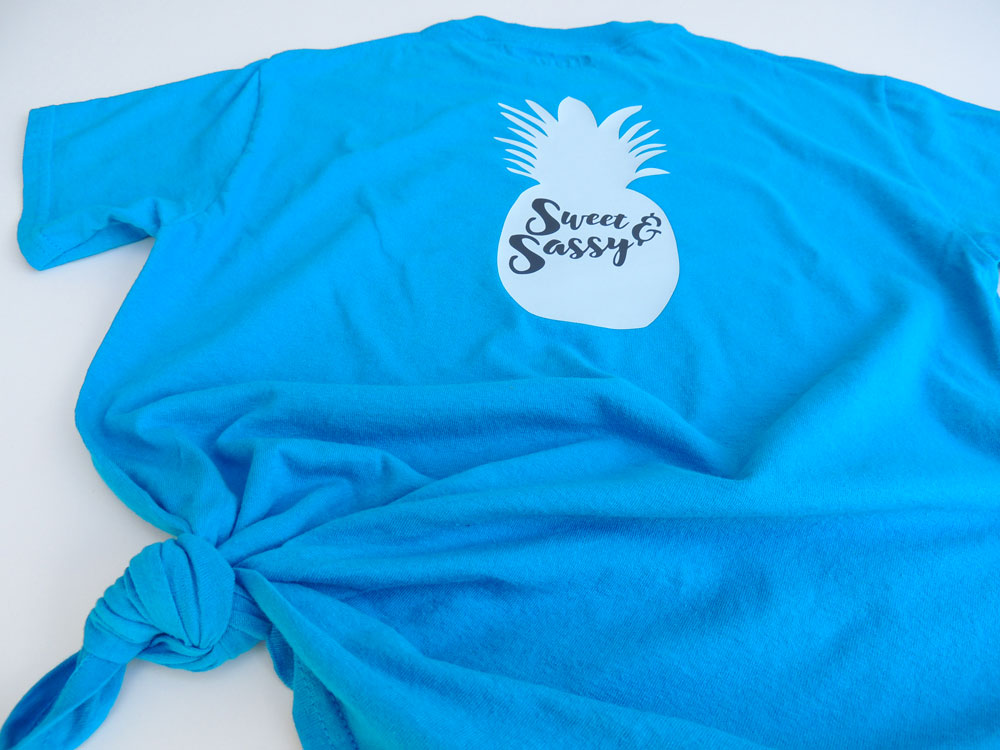
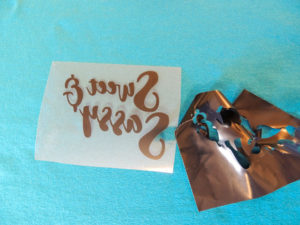
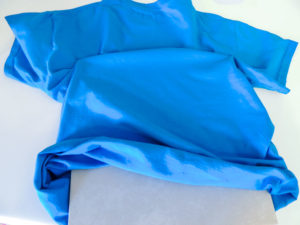
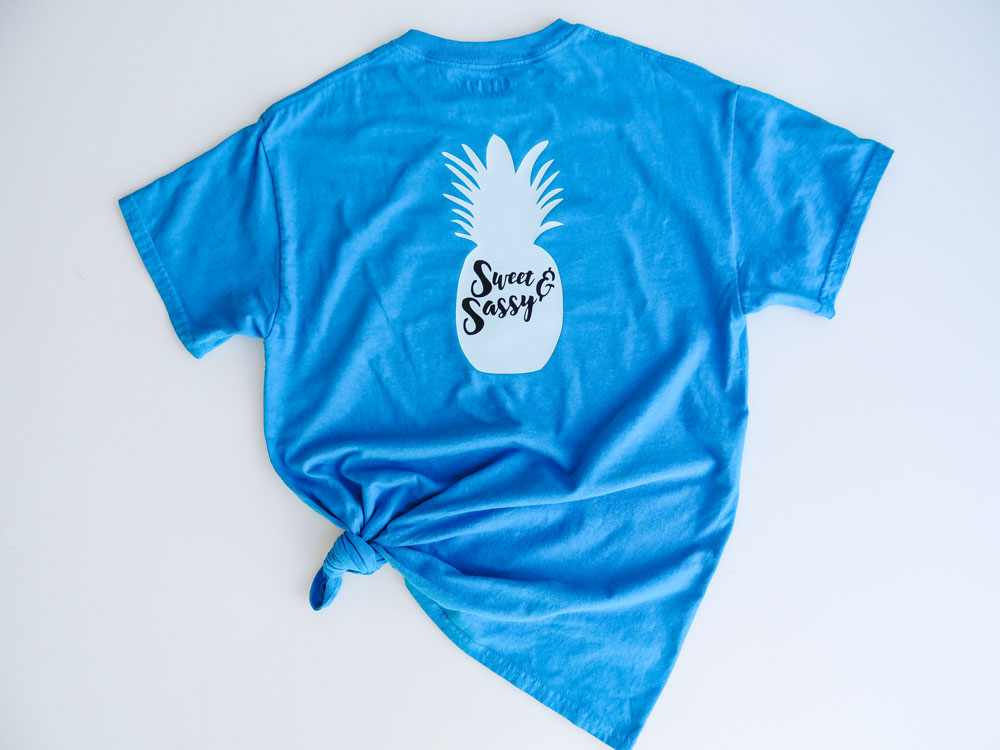
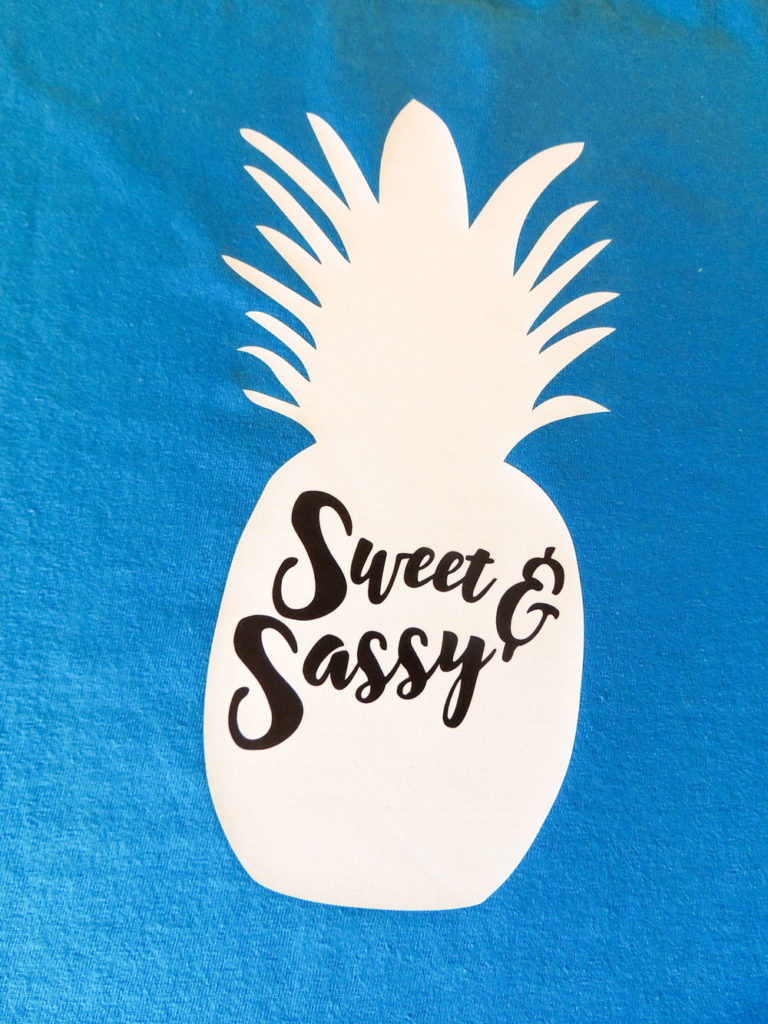
Choose and cut your design. I chose this Sweet & Sassy design to make a birthday gift for my sister. You will also want to wash your t-shirt to make sure that the shirt does not shrink and warp the vinyl. You do not want to use fabric softener. This messes with the bondage of the vinyl to the t-shirt. There are some that swear by not washing, but I prefer not to take that chance.
Supply List:
- Iron
- Buy One or Make your own T-Shirt
- Cut Design
- Weeding Hook Tool
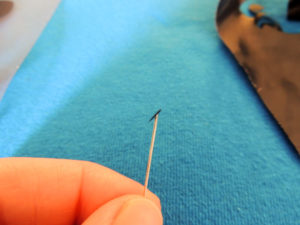
- Sewing Pin
- Flashlight
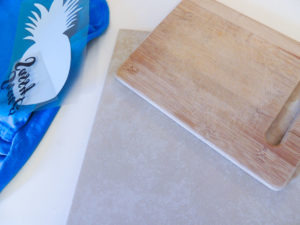
- Cutting Board or Ceramic Tile
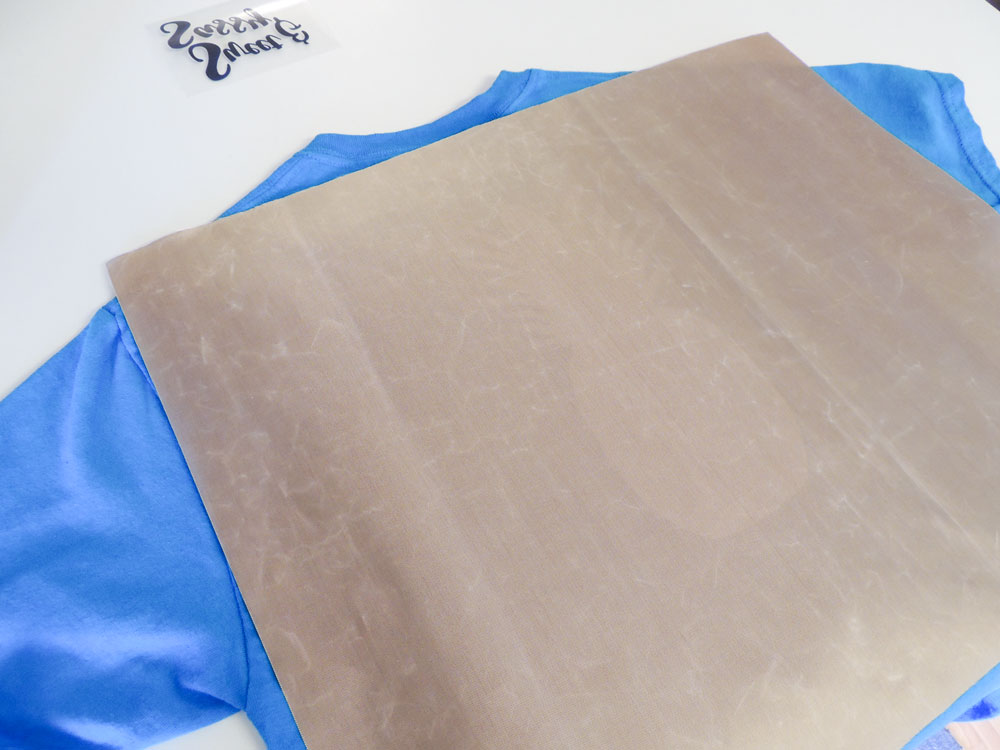
- Teflon Sheet or Parchment Paper
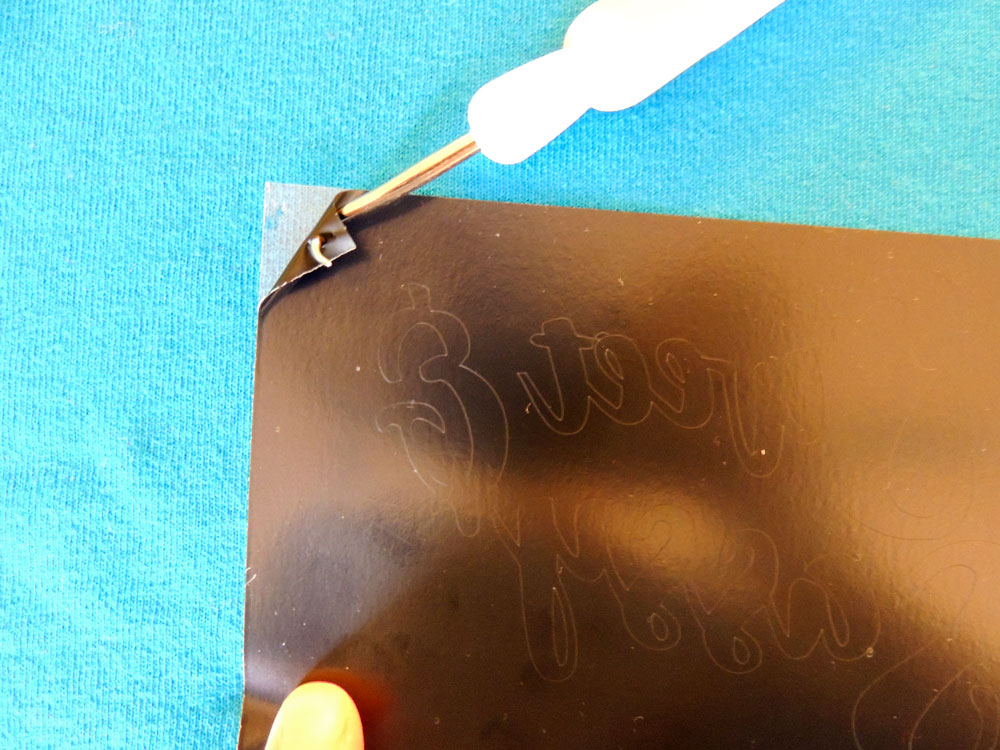
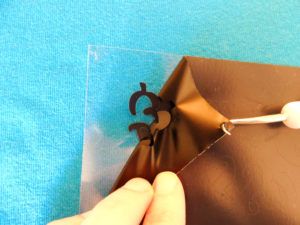
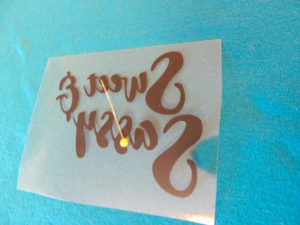
Step 2: Weed Your Design
If you are new to vinyl cut files, weeding is just the process of removing all the vinyl from around your design. In essence, you are weeding like you would a garden around your design (your flowers). At least I think that’s where the word weeding comes from.
Step 3: Prep Your T-Shirt
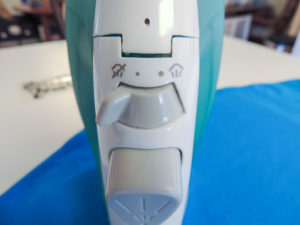
You will have already washed your t-shirt, but there are a few more things that you can do to prepare your shirt. Grab your home iron. Make sure your iron’s steam feature is turned off and that you are using the temperature settings appropriate for the type of vinyl you are using. Each brand will have a different set of temperature settings that are the best for that type of vinyl. Also make sure that you are using the appropriate iron settings for the type of fabric you are using. For example, polyester does not like high heat. Press your shirt with your iron where your design will go. This helps get out any water that might be in the fibers of the fabric. Heating the fabric before application also helps the vinyl adhere better.
Tip: You do not want to use your ironing board for applying vinyl. You want pressure from both you pushing down with the iron and pressure from the back like from a hard surface. A ceramic tile I bought from a local hardware store provides this hard surface. For onesies which are too small for a ceramic tile, use a wooden cutting board. Place the tile or wooden cutting board inside the shirt so that only one layer of fabric is being pressed during application. You can also purchase a heat press mat.
Step 4: Applying Your Design
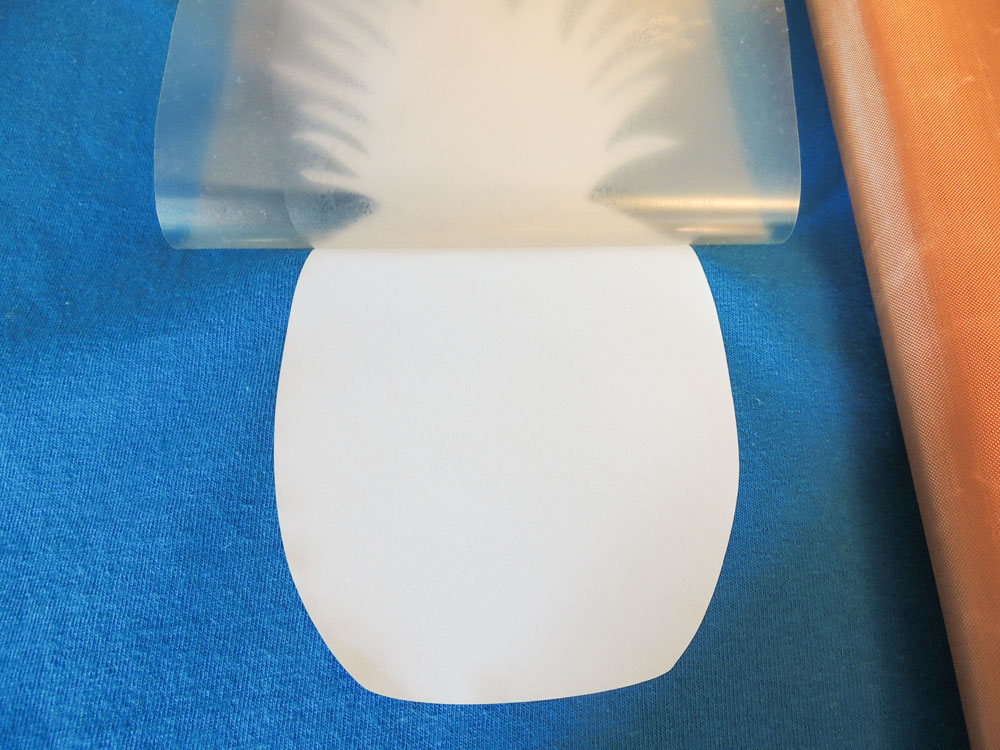
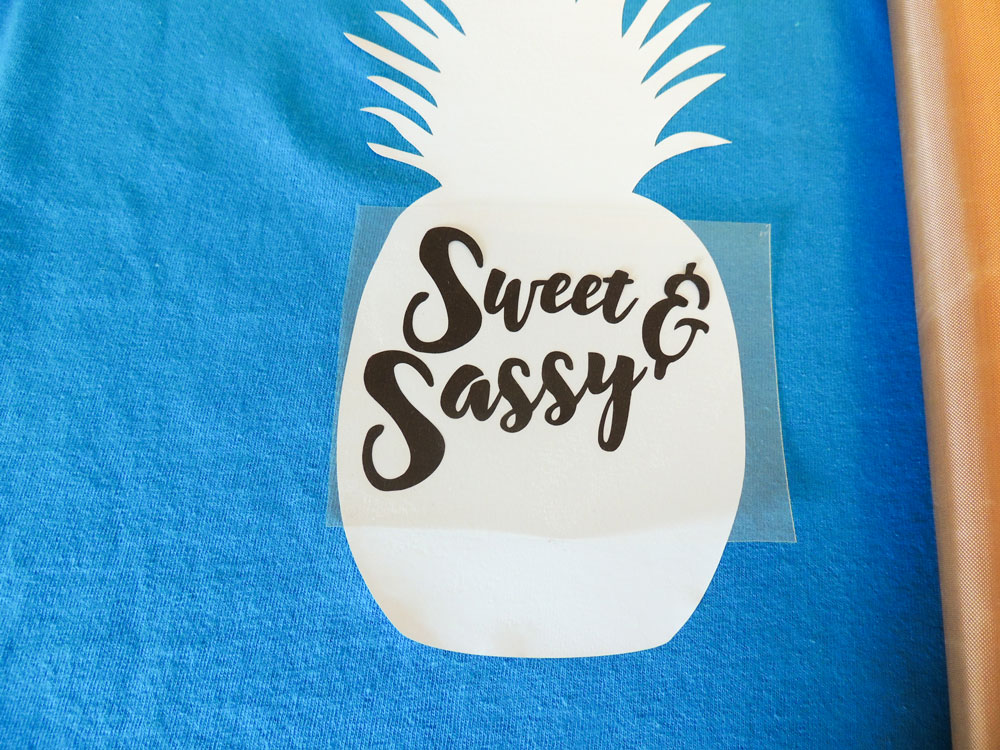
Place your design onto your shirt sticky side down. The shinny clear carrier sheet will be on top. Lightly press the design onto your shirt with your hand. If your design has words, it will read correctly. Since this design is layered I will place my bottom layer first onto my shirt. In this case, it is the pineapple shape.
Use a heat resistant sheet in between your iron and the vinyl so that your design does not melt onto the iron. I use a Teflon Sheet for mine, but you can also use Parchment Paper.
You want to press downward for about 10-15 seconds in each section of your design. You will need to use a fair amount of downward pressure here to make sure that your design is adhering to your fabric. Make sure you press each section so that the clear carrier sheet comes off cleanly from your vinyl. Pull your carrier sheet off the design. You will want to start pulling the clear carrier sheet the opposite way that you weeded your design. When weeding you wanted to pull into the cavities of your design or words, but when taking your carrier sheet off you want to keep these cavities protected so that they do not snap or stretch.
After your first layer carrier sheet is off, place your next layer. You only want to press your design with the carrier sheet on enough so that the sheet comes off cleanly. If you press the second layer for too long with the carrier sheet on, the design will have creases where the second layer carrier sheet was placed. Iron your design again with the heat resistant sheet in 10-15 second intervals until the design does not come up when you peel the clear carrier sheet off.
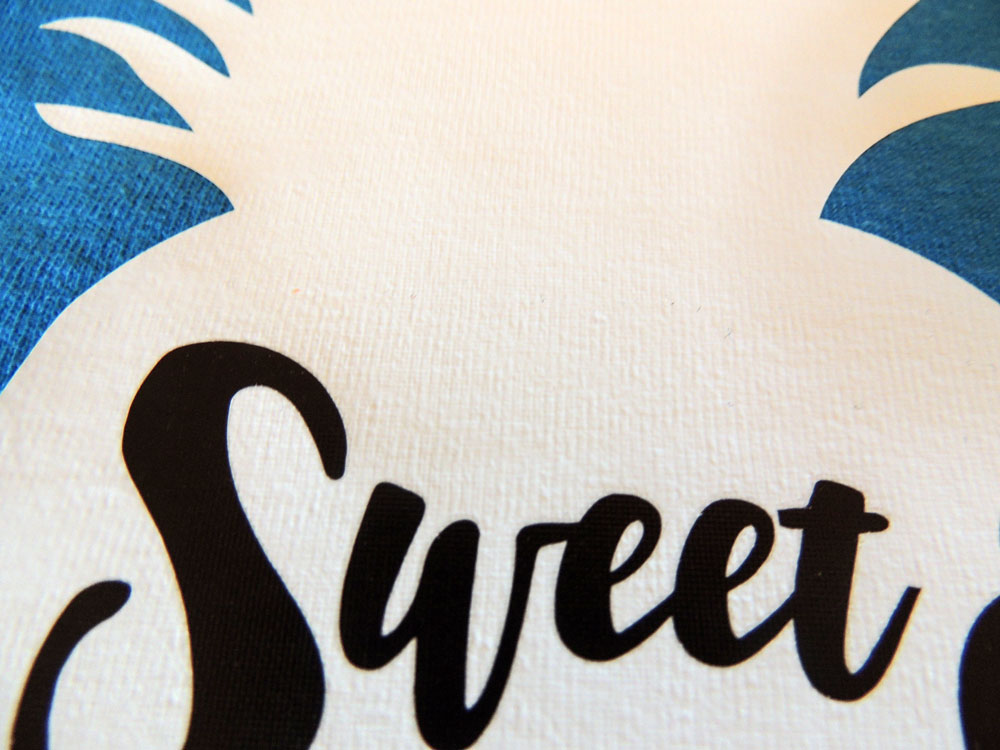
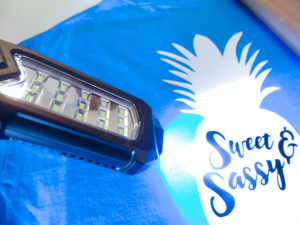
Iron again with your heat resistant sheet making sure all the edges are pressed down firmly and do not come up when you run your hand over them. Remember to use a good amount of downward pressure. I usually break a sweat if I’m doing it right. Press in sections for 10-15 seconds, making sure that all areas of the design are pressed. I use a flashlight to see if I see the fabric grainlines through my vinyl. This tells me that my vinyl has sufficiently bonded to my fabric. Make sure that you can see the grainlines, especially at the tips of fine detailed letters or shapes.
Now you are ready to wear your awesome custom t-shirt that will last wash after wash! If you have any other questions be sure to join our Mamma Can Do It Facebook Group. It’s a place where you can share all your Mamma Can Do It makes!
Links contain affiliate links and as an Amazon Associate I earn from qualifying purchases. This helps me earn a little bit and stay at home with my little ones. Thank you.


