My extended family has been great about getting my son t-shirts when they/we travel. I love it! It gives him something practical to wear and remember the trip/people who gave it to him at the same time. But, eventually, he outgrows them and they have to be retired, with lots of good wear left. Enter the Classic T-shirt pattern with hacks by Mamma Can Do it! I jumped at the opportunity to try this t-shirt pattern and upcycle one of my son’s shirts. Be sure to check out The Classic T-shirt pattern here (Affiliate link).
The first version of the Classic T-shirt that I made was straight off the pattern (aside from needing to lengthen the t-shirt for my son). I don’t remember what type of fabric it is, but it’s an incredible soft blue tie-dye fabric from So Sew English Fabrics. He wore it to back to school night and I was hard pressed to catch a picture where he wasn’t moving!
I appreciate the opportunity to work with this Mamma Can Do it project (Thanks Elizabeth)! Feel free to follow my random assortment of projects over at Facebook and Instragram under @SusanSewsLove!


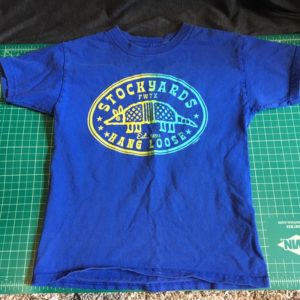
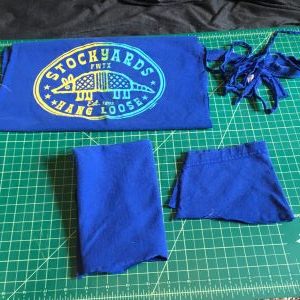
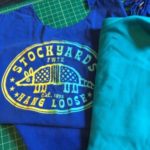
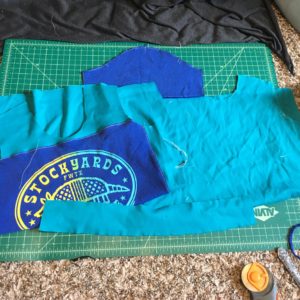
To start out with this upcycle, I chose a t-shirt that I wanted to use. In this case, it’s from a family visit to the Fort Worth Stockyards. I laid the shirt out and cut along the seams so that I had 4 separate pieces (front, back, and 2 sleeves) and a piles of scraps (seams and neckband). Watch a time-lapse of the Disassembly, planning, and cutting over at Youtube.
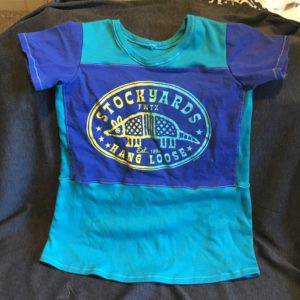
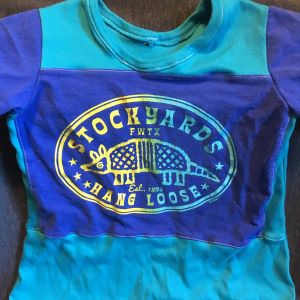
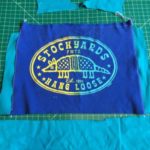
Next, I take the existing front panel and compare it to the pattern piece to decide how I want the image on the shirt to transfer to the new garment. I decided to cut a fairly small rectangle around the image because I felt that would be the most balanced. I pulled out my t-shirt fabrics and let my son choose the coordinating color. I probably would have chosen a greyish neutral color, but I’m not the one wearing it. 😁 Once I have chosen the fabric, I focus on first cutting out and assembling the front pieces.
You could cut the pattern apart and make specific “pieces” for each one, but since the next one I make may be a different size shirt or design, I just fold the pattern piece as desired, add a bit extra for seam allowance, and assemble. As you can see, I knew I would need to trim the top corners of the cut out, but I waited until I have the rest of the front pieces assembled, then trimmed the corners to make a smooth transition. I also used a small zigzag stitch to tack the seams in front down.
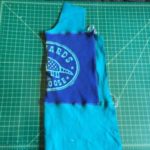
Once I have the front assembled, I can go ahead and cut out the back, sleeves, and neckband using whichever fabric is desired for those pieces. I made the sleeves to match the center panel and used new material for the back and neckband.
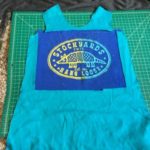
From this point, I simply followed the instructions provided with the pattern for the assembly. When I was down to only the hem left, I noticed that the back was slightly longer than the front because of the piecing (maybe 1/4 -1/2 inch difference) so I laid it flat and cut the back to match the front before I hemmed it.
Overall, I was very pleased with how both the straight pattern t-shirt and the hack turned out! Hopefully my son will get a lot of use out of these t-shirts this school year, and I plan to keep the pattern around for future use!