Hi, it’s Esther again! The other week I showed how to hack your MCDI Onesie into a Onesie dress. I hope you found it helpful. You can find that post here: Dress Hack. They are one of my favorite sews and my little munchkin gets a lot of compliments in her dresses. Today I’m going to be explaining how to take that same Onesie pattern and turn it into one of those adorable baby nightgowns with the elastic casing at the bottom. It’s even quicker to sew than the complete Onesie pattern and it’s SOO cute!
First of all, make sure you have purchased your Mamma Can Do It Onesie. (How can you say no, when you can make SOO many cute things out of it. ? ) I’ve included affiliated links throughout this post that will take you right to the site to purchase the pattern!
I’ll show you how I switched up my pattern and then the changes that I made while sewing.
PATTERN PREP:
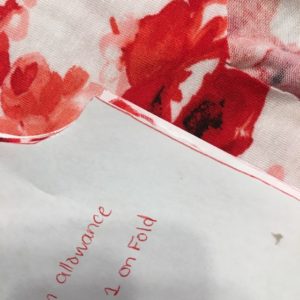
Get your desired size ready. I chose 0-3 Months, so I have my pattern all traced out and ready to go. Lay your front piece on the fold. I measured from the top of the shoulder down to my desired length.
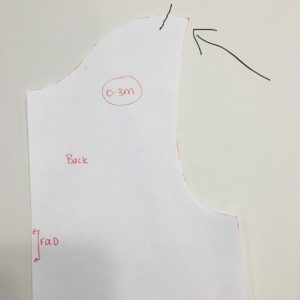
I kept in mind the fact that the average baby is 19.75” at birth. Your absolute best way to determine your length is to measure the baby you are sewing for, but if this is not possible, you can compare other rtw clothing or even do a search on standard sizing. You will lose a little over an 1” from your shoulder after you attach your front to your back, so keep this in mind, and the 1/2 “ that you will lose from hemming the bottom for your elastic casing. I chose to make mine 21” long on the 0-3 months.
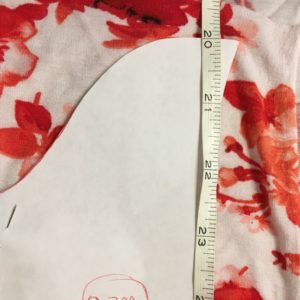
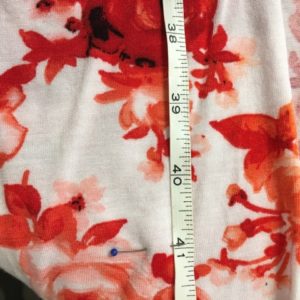
Mark your length and cut straight across the bottom for the full width of your onesie. (Please excuse the fact that my tape measure goes from 20-41″ instead of 0-21.” My kids have helped themselves to cutting my tape measure numerous times.)
Finish cutting out the front.
Lay your back piece on the fold. Lay your front piece on top and line up your arm pit.
Cut straight across using the length of the front piece as your guide. Your pattern adjustments are ready!
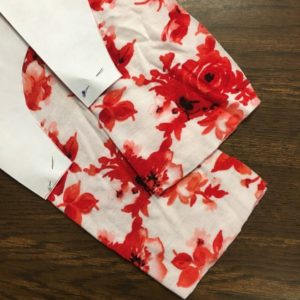
Finish cutting everything else out. (You won’t need the leg binding pieces!)
TIME TO SEW:
Start sewing your pattern. After you have attached your sleeves, put your front and back RST and sew all the way down your arms and gown.
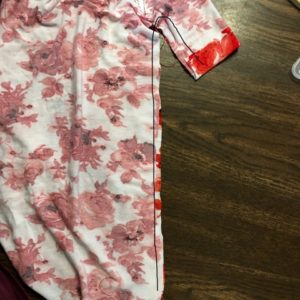
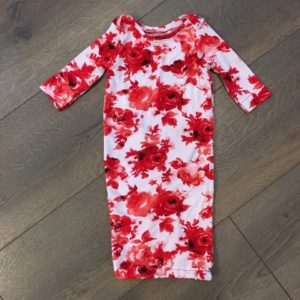
Turn right side out. It’s looking like a nightgown! ?
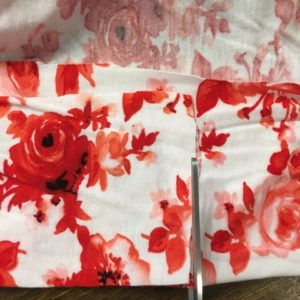
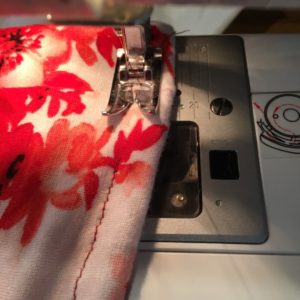
Your last step is your elastic casing. I chose to use 1/4” elastic. I remember having trouble with a store bought night gown because the elastic was too thick and my baby has a big head. I love how this turned out with thinner elastic. Fold your hem up 1/2” and sew all the way around leaving about an 1” open to feed your elastic in. I chose my elastic length based on the width of my onesie. It measured 16” around, so I made my elastic 14”. It looks cute with a more gathered look on the bottom, but you don’t want to make it so small that it won’t fit around baby’s head. (If you choose ½” elastic, just be sure to fold your hem up an extra quarter of an inch to account for it.
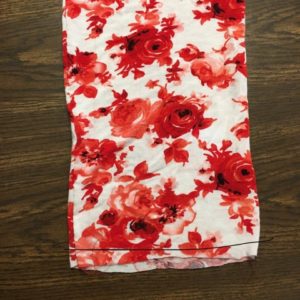
Feed your elastic through by pinning a safety pin to one end. Sew your elastic together and topstitch over your opening.
Step back and take a look at your cute baby nightgown!
I hope you’ve found this tutorial helpful! I’d love to see your creations if you choose to sew up the nightgown. You can post them in the Mamma Can Do It Facebook group!