I discovered Mama Can Do It right around the time I had my 4th baby. Another mom in one of my sewing groups posted her swaddle blanket and I just HAD to have it. Swaddle blankets are a lifesaver when you have a newborn and toddlers at home with you and I was thrilled to have a pattern to make my own. Who knew that first purchase was the rabbit hole to a world of fun patterns? Next for me was baby sized Adalynn. One of my favorites so far is from an up-cycled maternity sweater and cotton lycra I had dyed, my daughter loves it too. It’s perfect for our drafty old house and playing outside in cooler temps, plus it’s twirly!
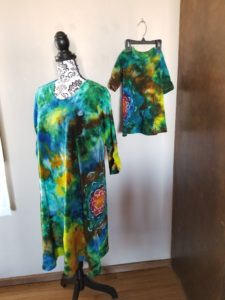
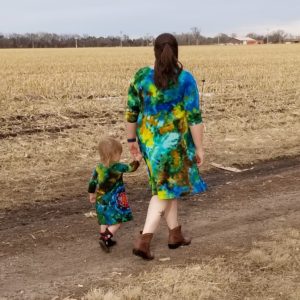
When the adult sized Adalynn came along I answered the testing call and was so excited to be selected: now I get to make Mommy and Me dresses! One thing I love about sewing my own clothes is adding my own spin on them. I started looking in my wardrobe for ideas and found one: rouched sleeves. My favorite cardigan is 3/4 sleeves with rouching at the end and as luck would have it, there is a 3/4 sleeve option for the Adalynn.
I assembled and cut my pieces like normal, using the great worksheet provided in pattern to determine which size I needed. After that I got to work on my sleeves. To add the rouching I needed elastic: I used 1/4″ elastic I had on hand for making diapers. I stretched out the elastic from my cardigan to see how much of the sleeves was rouched: 4.5″. To determine how much elastic I needed to get that 4.5″, I stretched it to 5″ to account for sewing down the ends: for my elastic it was 2.75″.
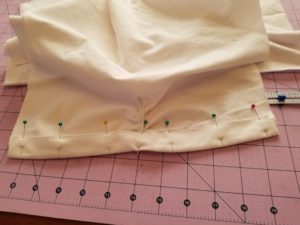
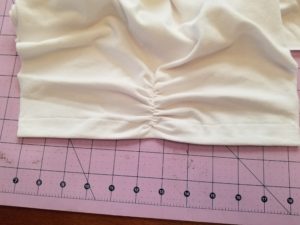
The next step is folding the sleeve in half, hand pressing (to create a crease), and marking where the elastic starts and stops. Working on the wrong side I made two marks on the crease I created, at 1″ and 5.5″ from the edge. This will keep the bottom of the elastic inside the hem.
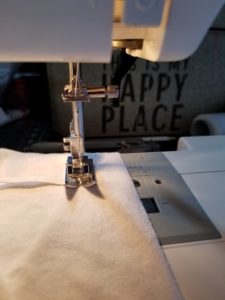
Now for the fun part: sewing in the elastic. Head over to your machine and set it to a short stitch (I used 2 on my machine) and sew across the bottom of the elastic at the bottom mark stopping in the center, pivot the sleeve, lengthen your stitch if wanted (the longer the stitch, the bigger your ruffles will be) sew up the length of the elastic using the crease and too marking as a guide, and tack down the end.
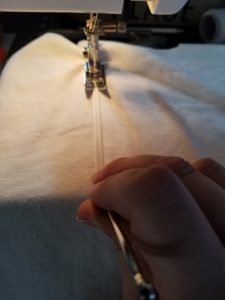
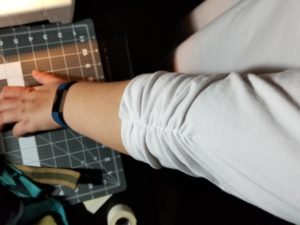
This step is a little tricky: you need to stretch the elastic as you sew, but you also need to hold your fabric tight behind your presser foot. If you don’t do this you’ll pull your fabric forward when the needle lifts.
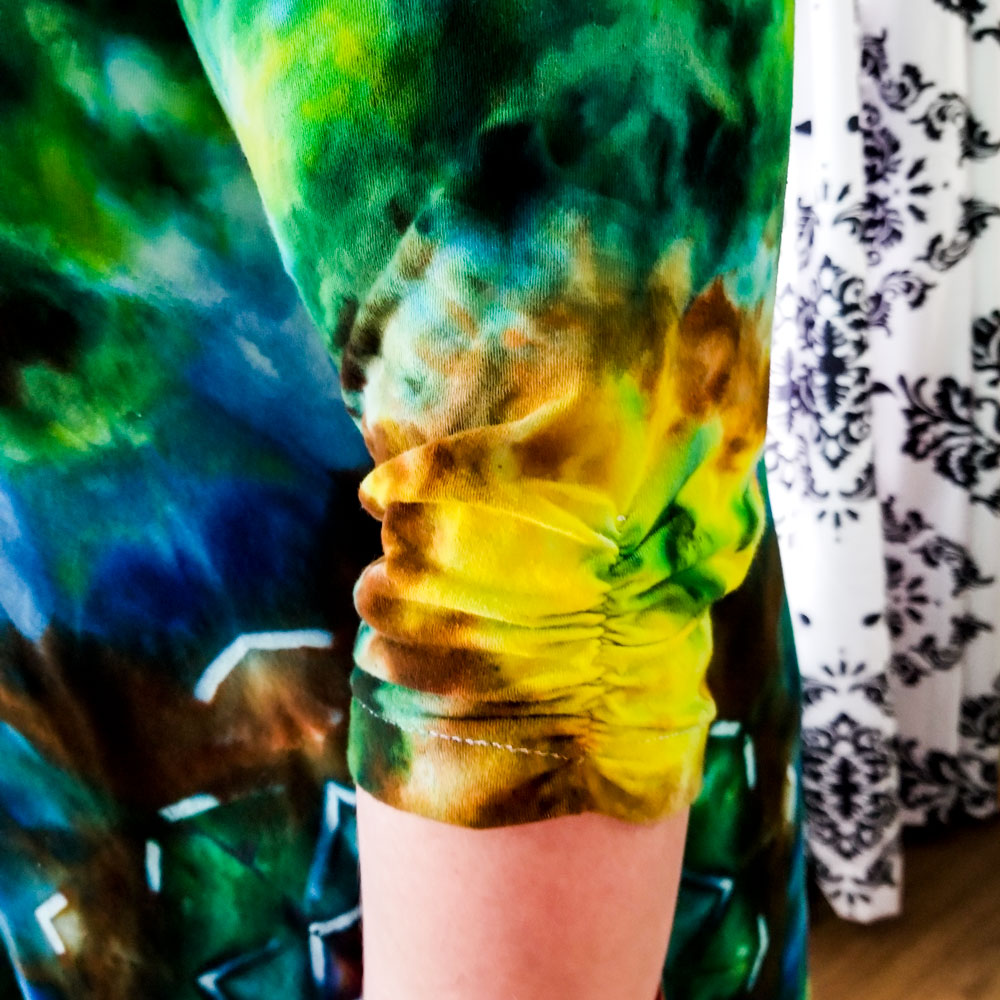
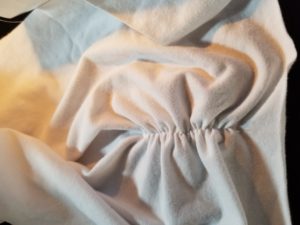
Flip it over and admire your handiwork!
Now it’s time to hem your sleeve. You will need to stretch your elastic as you work to avoid sewing over the rouching. Go slow and utilize your bodkin if needed.
Repeat with the other sleeve and and finish assembling your dress according to the pattern instructions. Step back and admire your beautiful new dress.
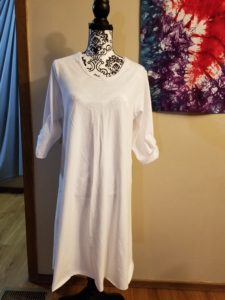
If you love sewing and wearing dresses this is a must have for your wardrobe; it is so comfortable and can easily be dressed up or down to fit any occasion, plus it’s such a quick sew with an easy to follow photo tutorial if you’re new to sewing clothes. You can find the pattern here (00-20) https://mammacandoit.com/products/the-adalynn-dress-women-00-20?aff=86 and here (14w-40w) https://mammacandoit.com/products/adalynn-dress-women-plus-14w-40w?aff=86 . You won’t be disappointed!
If you’re a busy mom like me white clothes quickly get stained so they’re not a part of your wardrobe. Another hobby I love is dyeing so I took my dress down to my dye room and got started. I used dyes from Dharma Trading Company and a technique called ice dyeing to dye matching Mommy and Me Adalynn dresses.