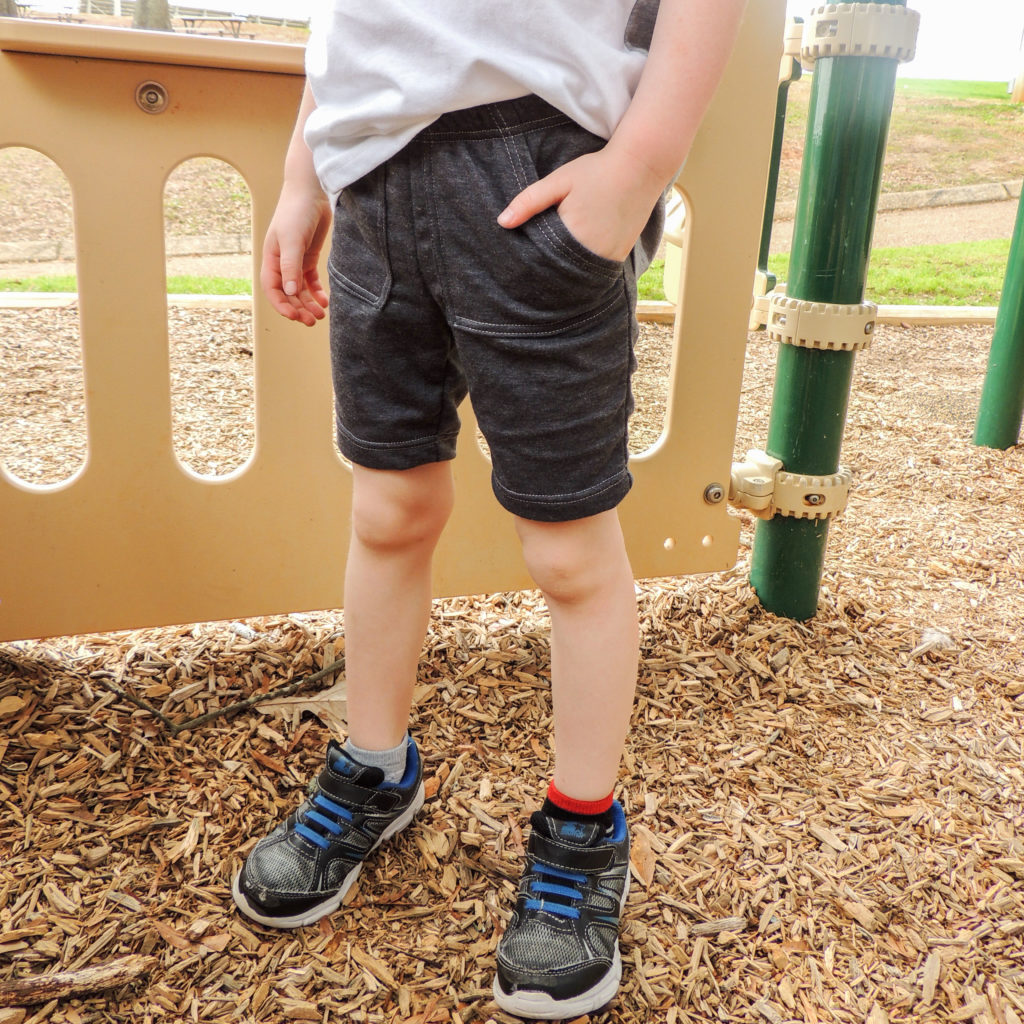
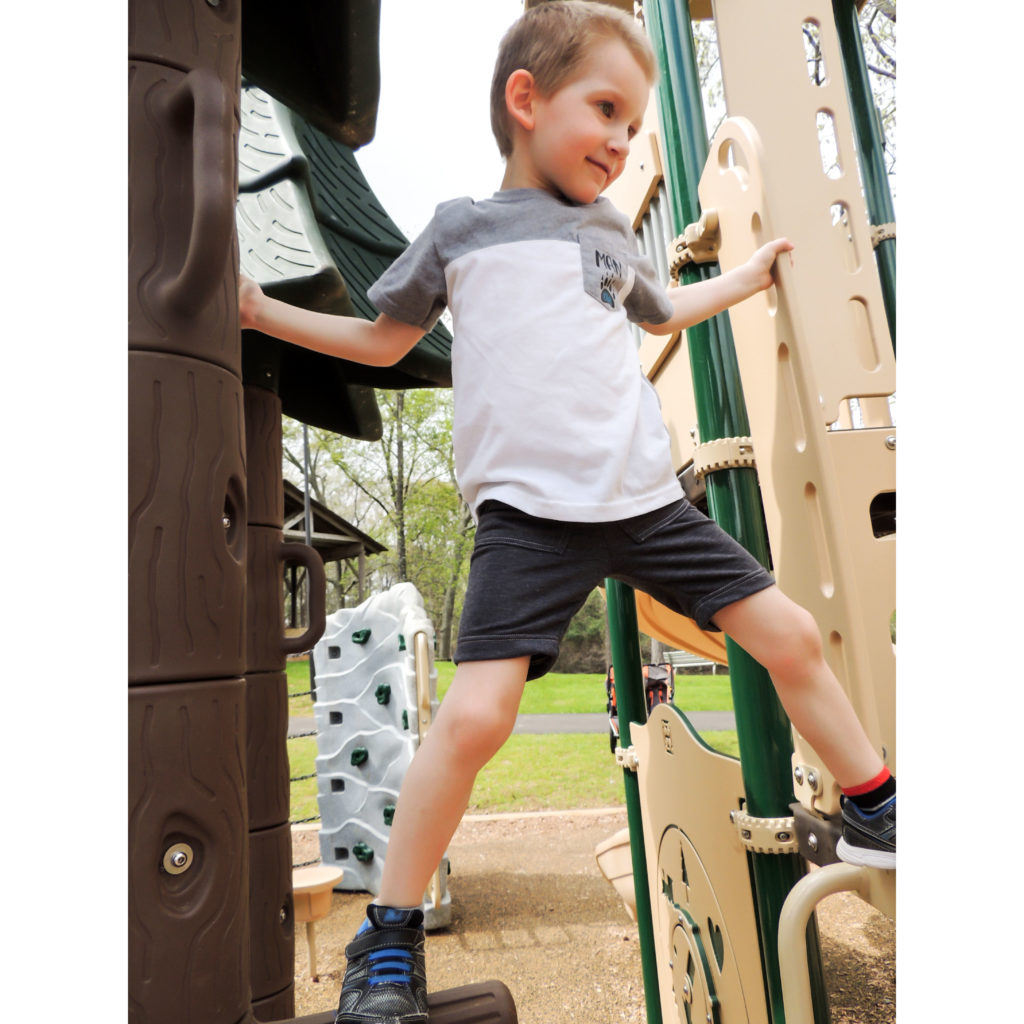
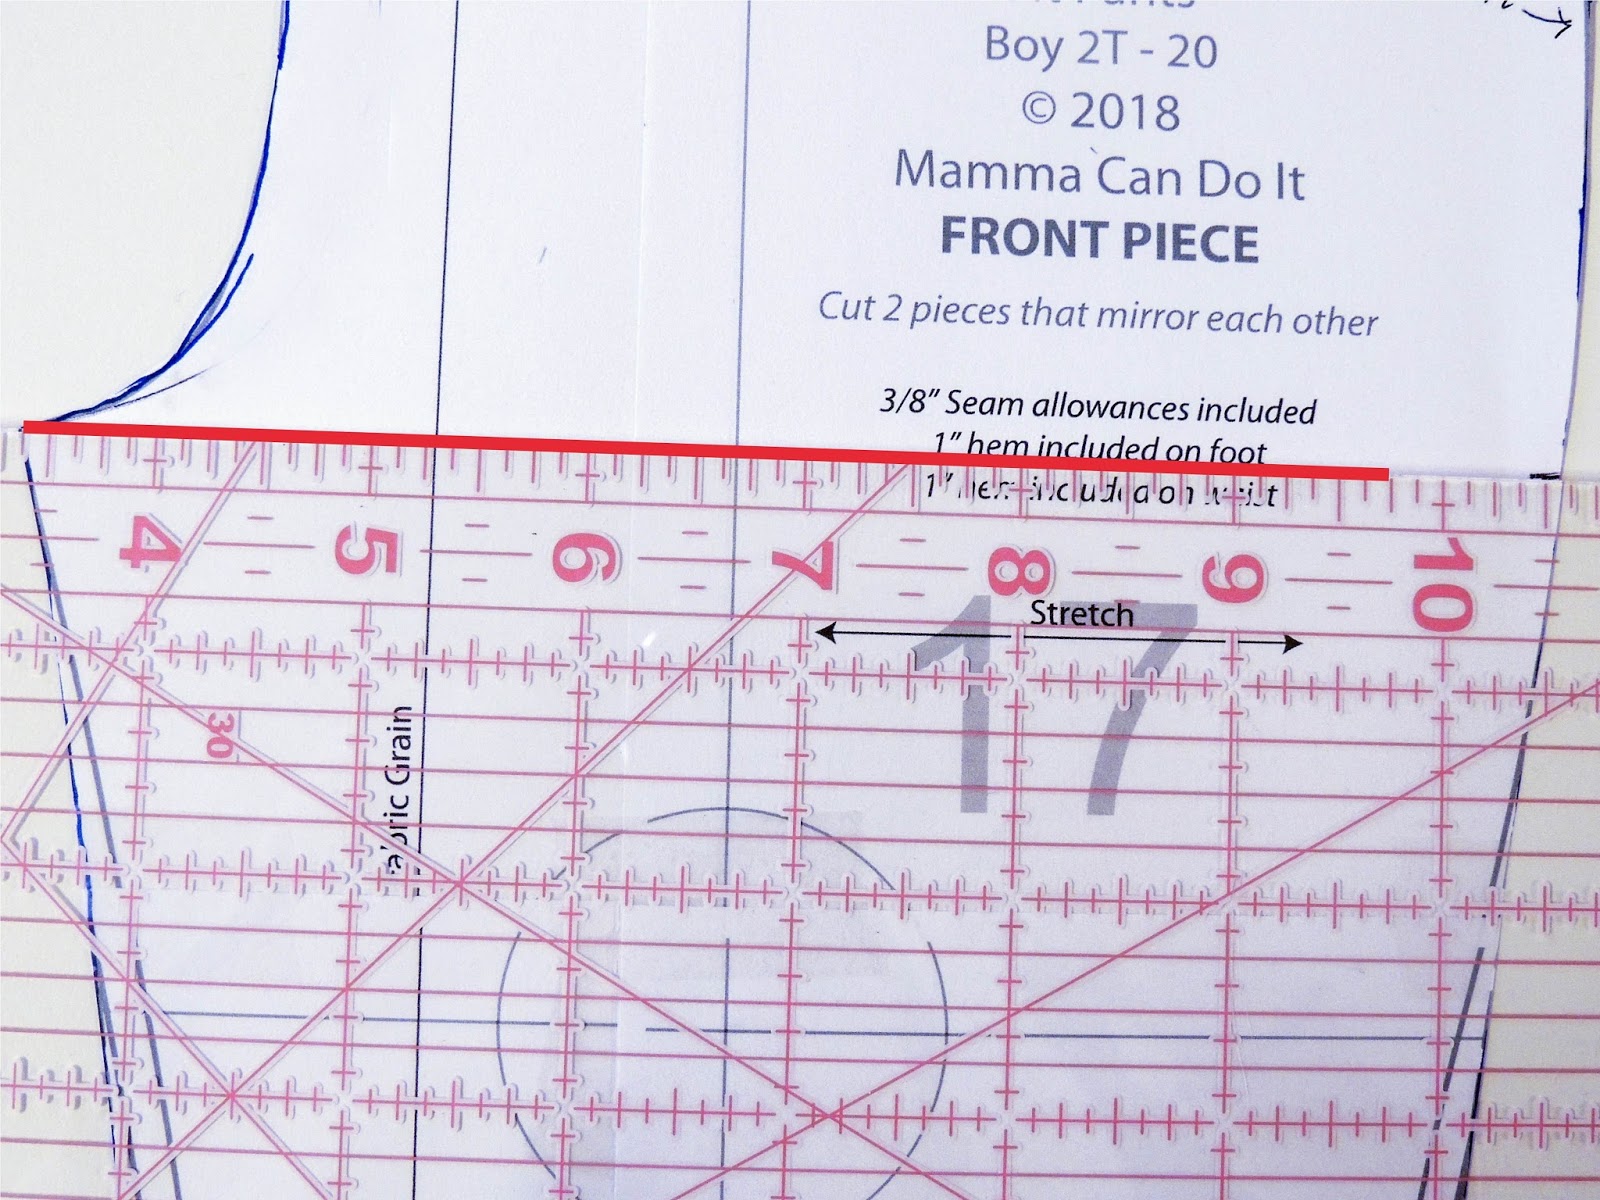
Did you see that Mamma Can Do It just released their newest boy pattern. This fit pants pattern is perfect for the boy who hates jeans, loves pockets, and wants a fashion trendy pair of pants or shorts. My son loooooves these. He has a store bought pair of french terry shorts with patch pockets so I decided to hack the fit pants to include a patch pocket. The original design is packed with pockets (front side slant pockets and three back pocket options), but I like that with patch pockets I can add some stitch detail along the sides or use a different fabric for a pop of color.
Let’s get started!
To create your pockets draw a line from the crotch point to the opposite side of your front pants pattern piece.
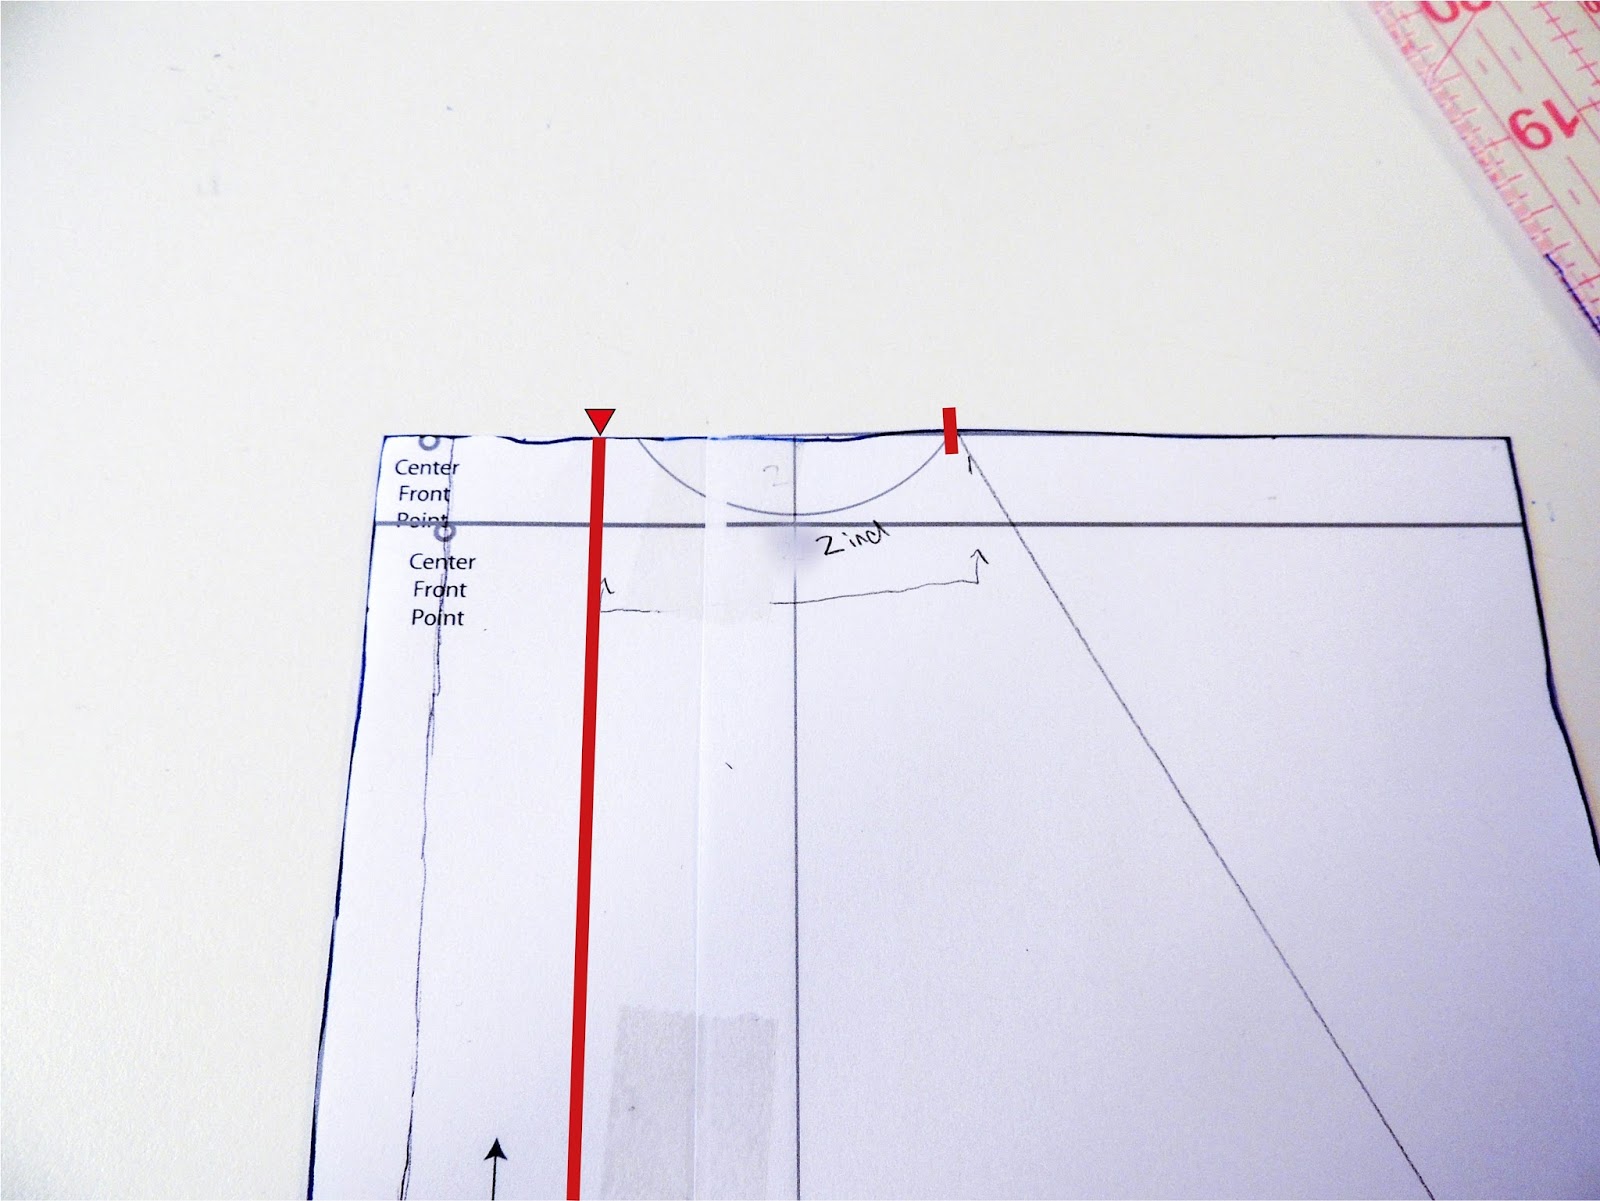
Next, figure out how far from the center you want your patch pocket to be (red triangle in my picture). Remember that there is a 3/8 inch seam allowance from the left side. Mark 2 inches from your mark you just made (the red slash in my picture). I also mark or notch my main front fabric pieces at the red triangle and slash to help match my pockets up later. This is the 4T size so if your size is smaller, it might look better less than 2 inches or if your size is bigger, it might be more. Use your judgement to see what looks best.
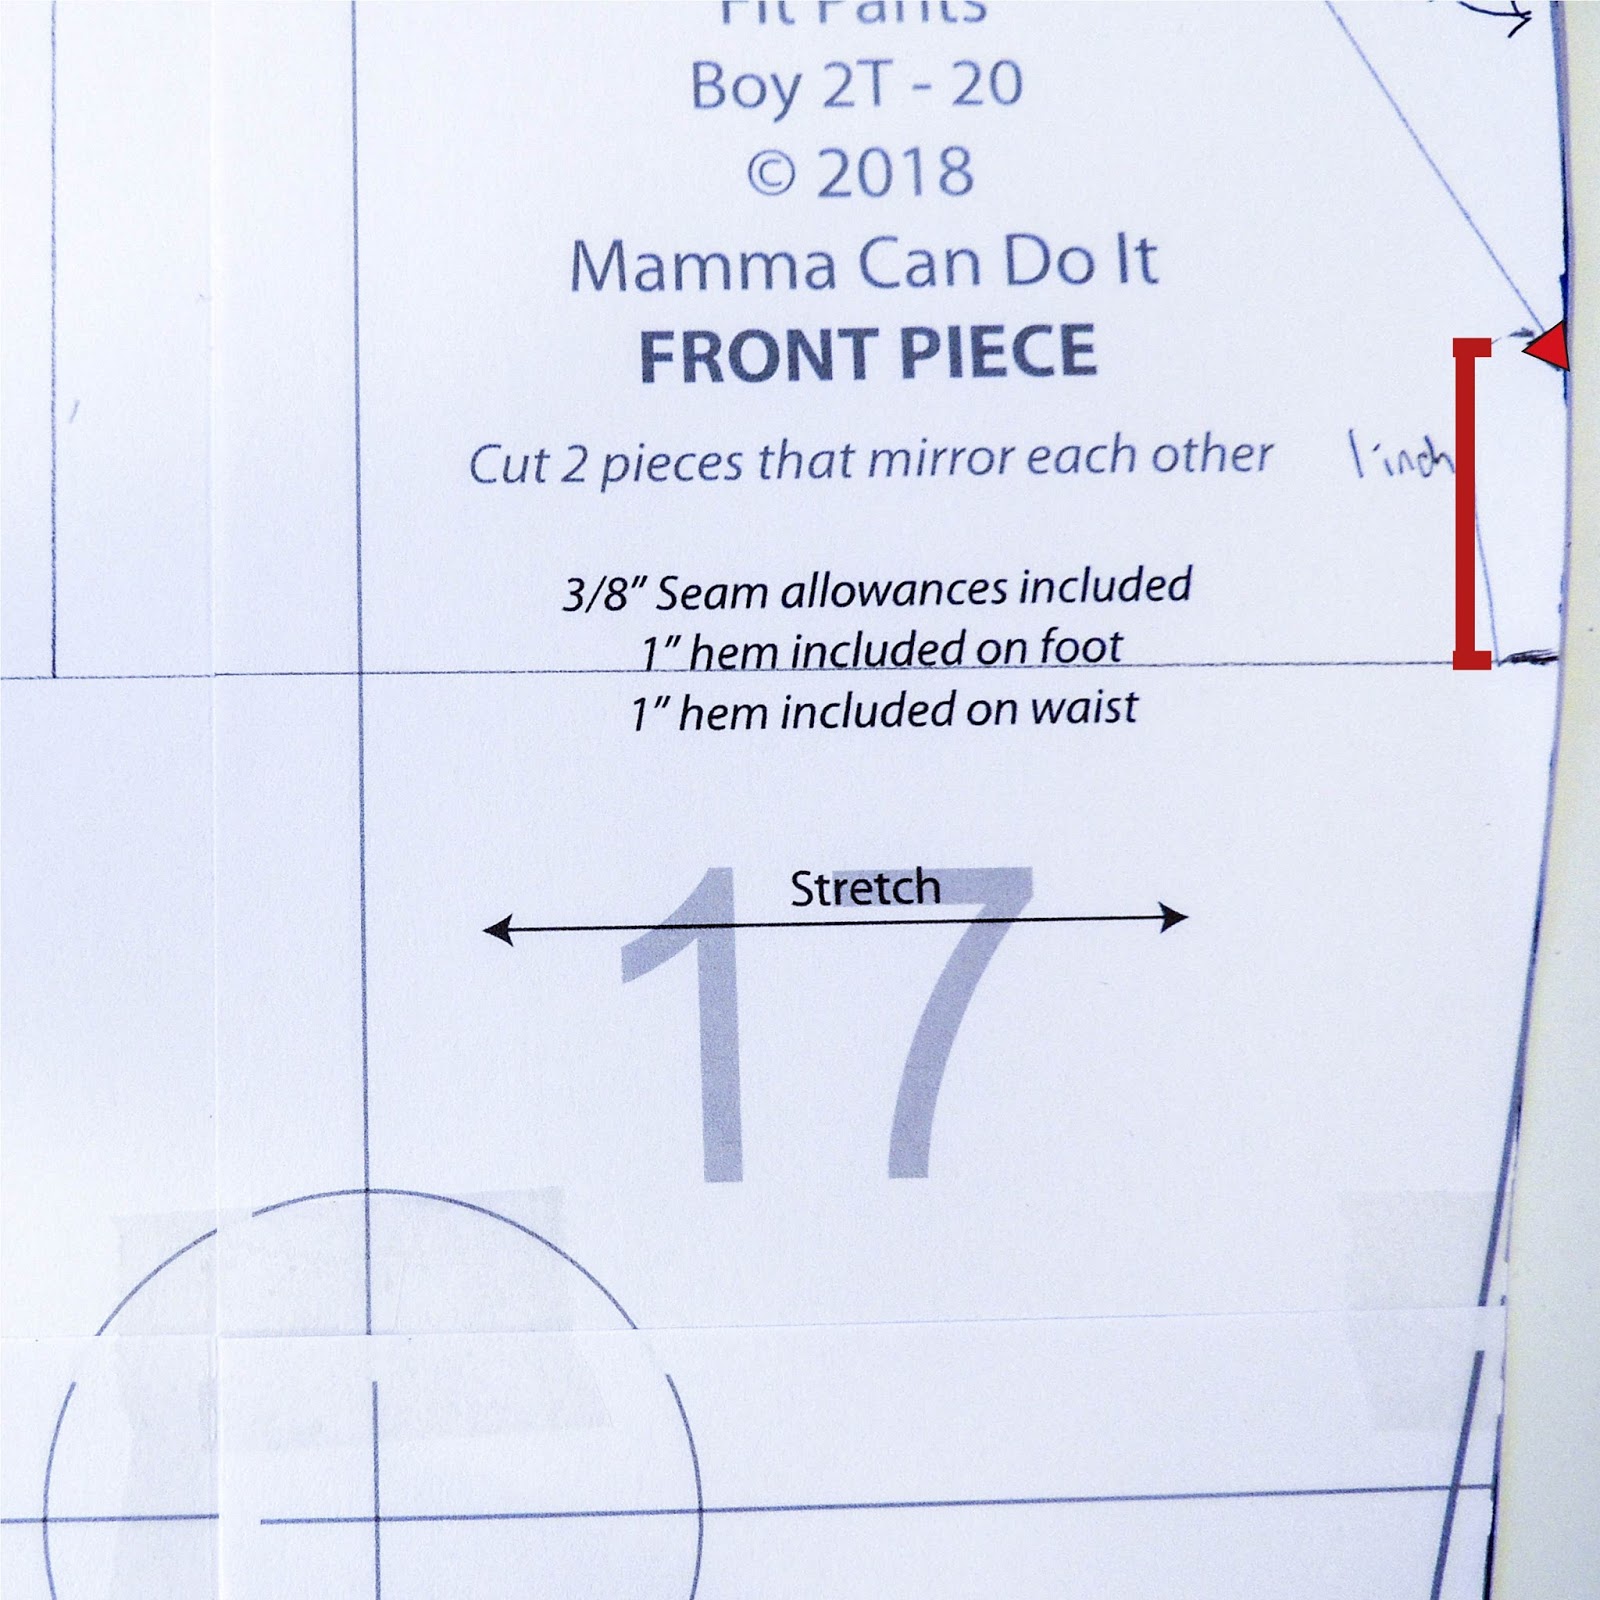
Measure up about 1 inch from your bottom line along the right side of the pattern piece (red triangle in the picture above). Again, this might be less in the smaller sizes and more in the larger sizes. I also mark or notch my main front fabric pants pieces at the red triangle and bottom dark slash (picture above) to help match up my pocket pieces later.
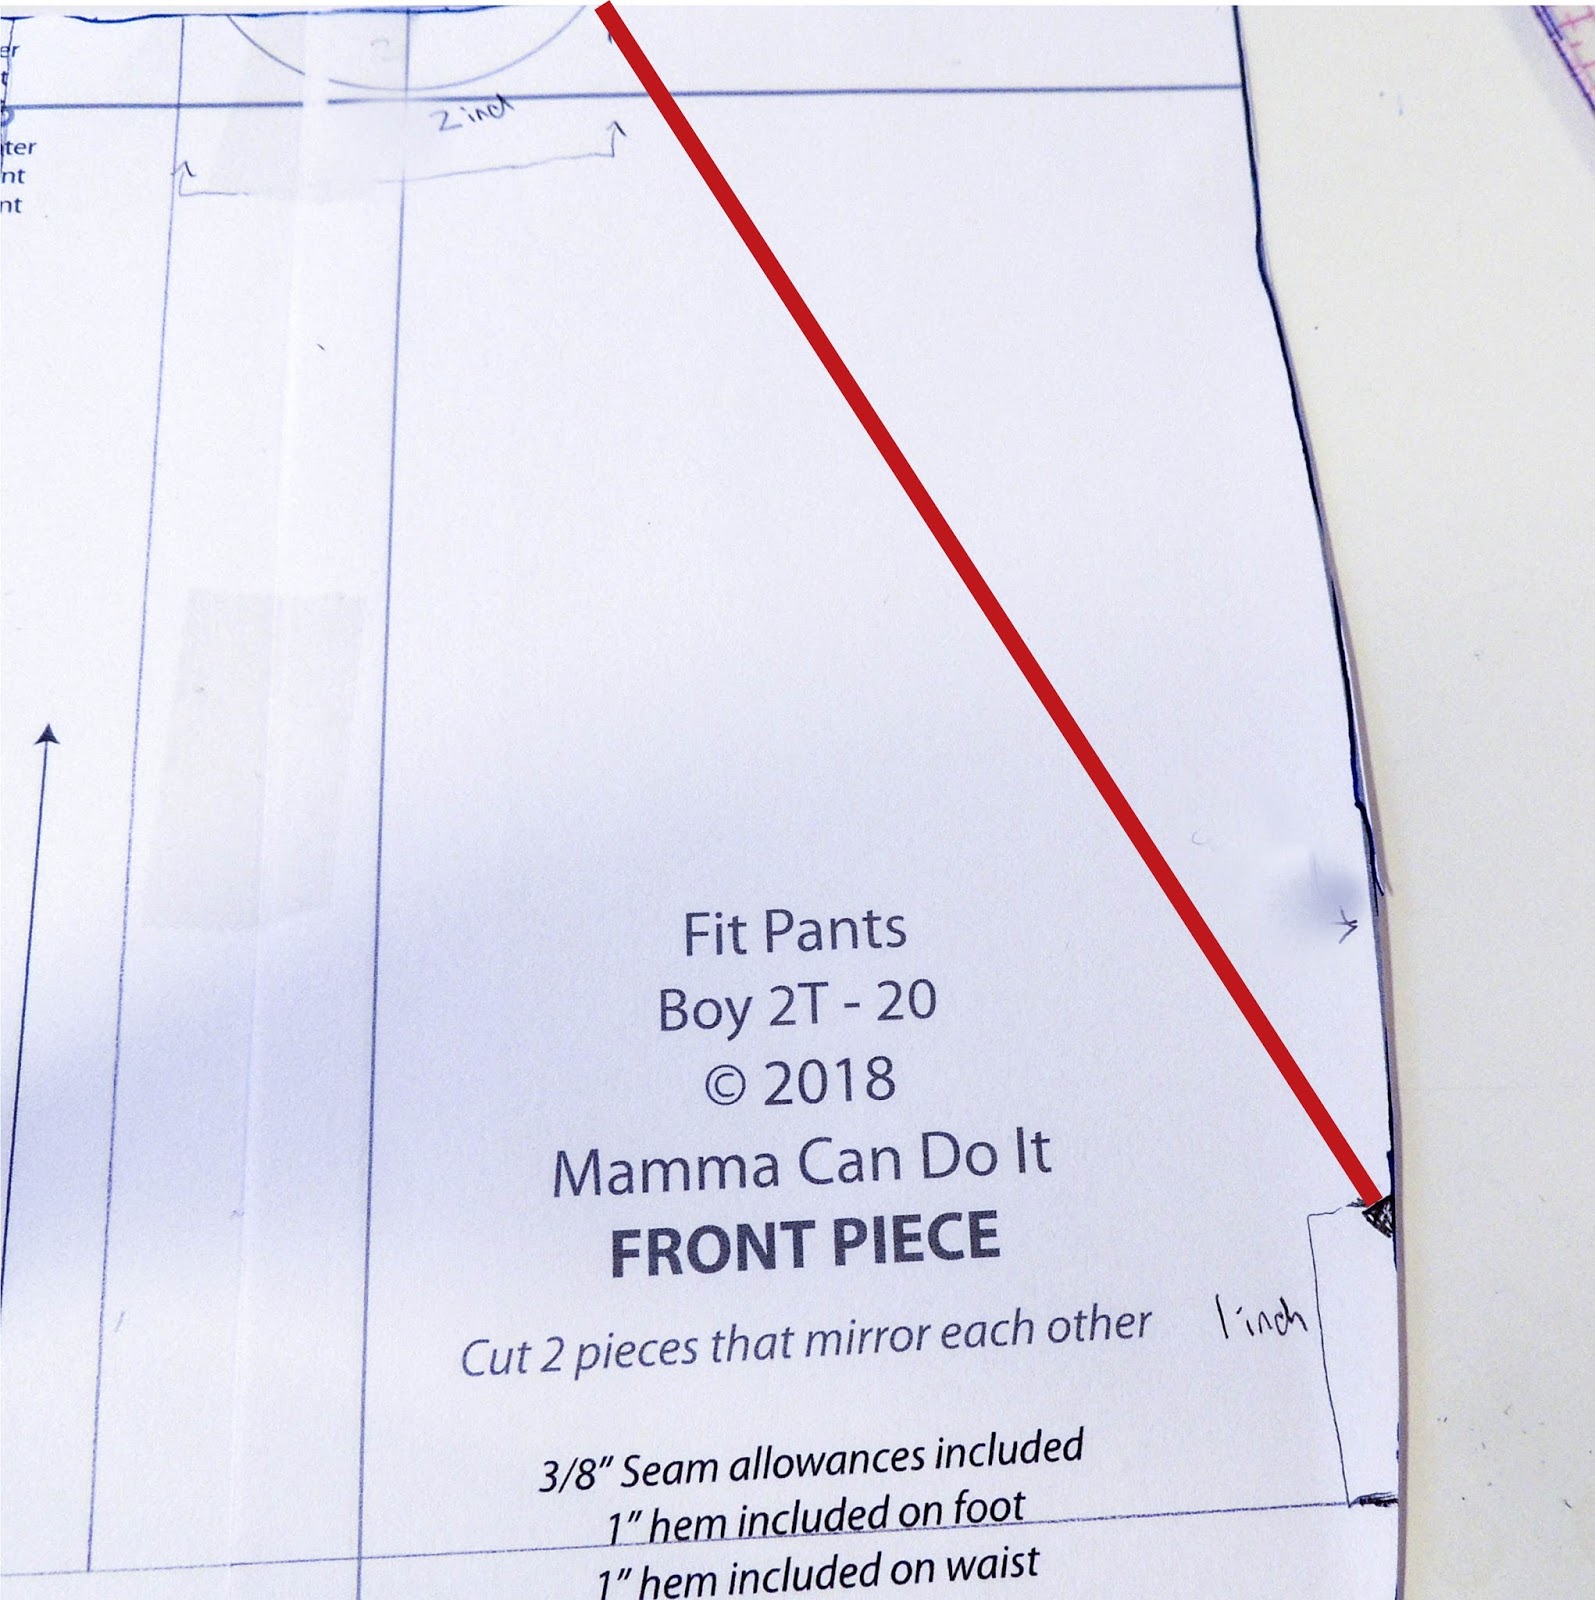
Draw a diagonal line from your mark at the top (the slash three pictures up) and the triangle mark you just made at the side.

Trace your pocket piece onto a clean sheet of paper from your pattern piece. I trace by holding it up to a sunny window. It will look like this.

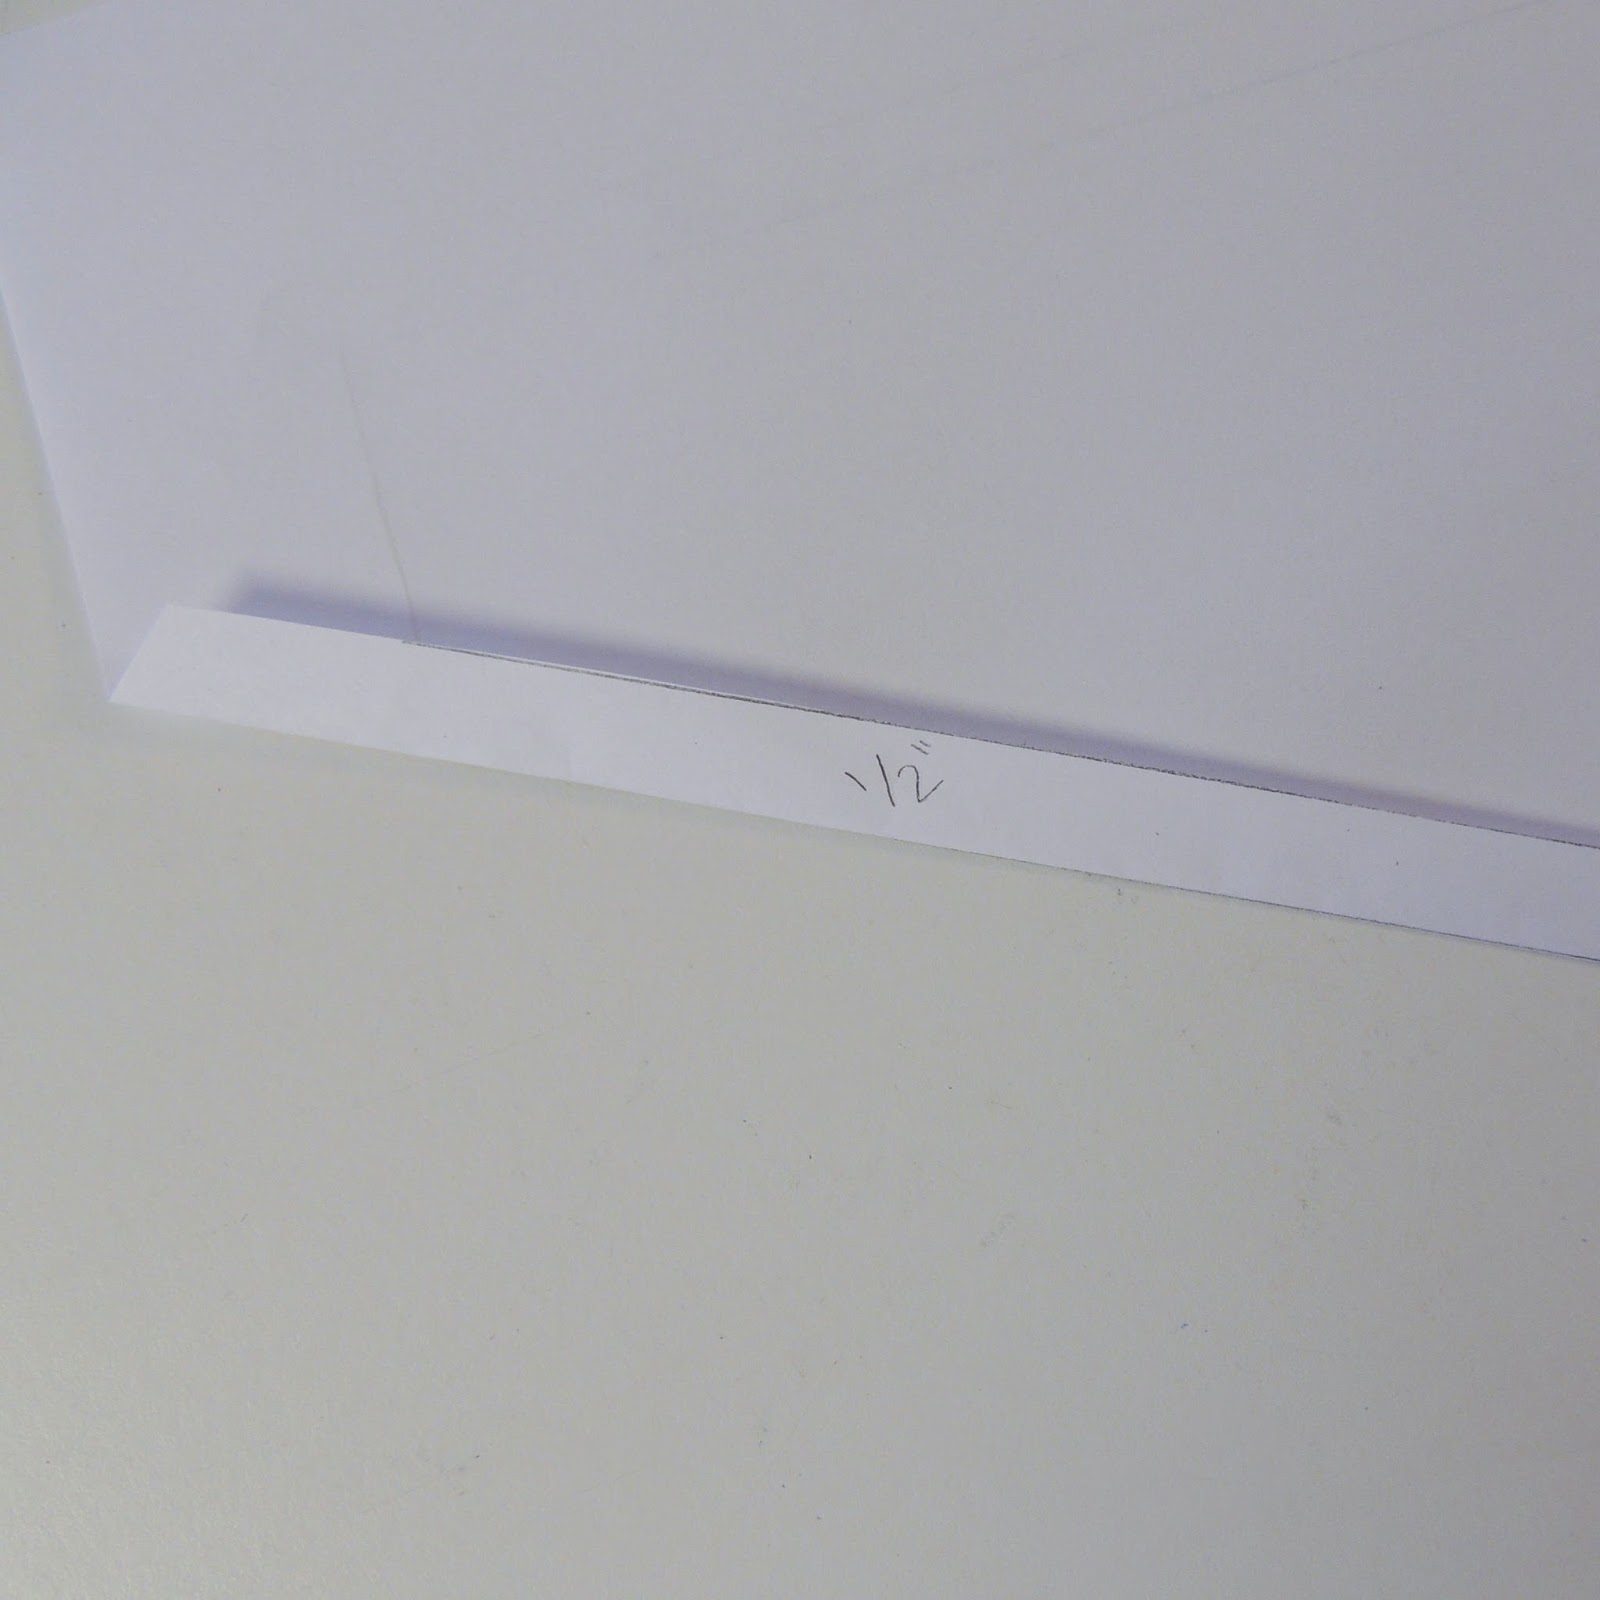
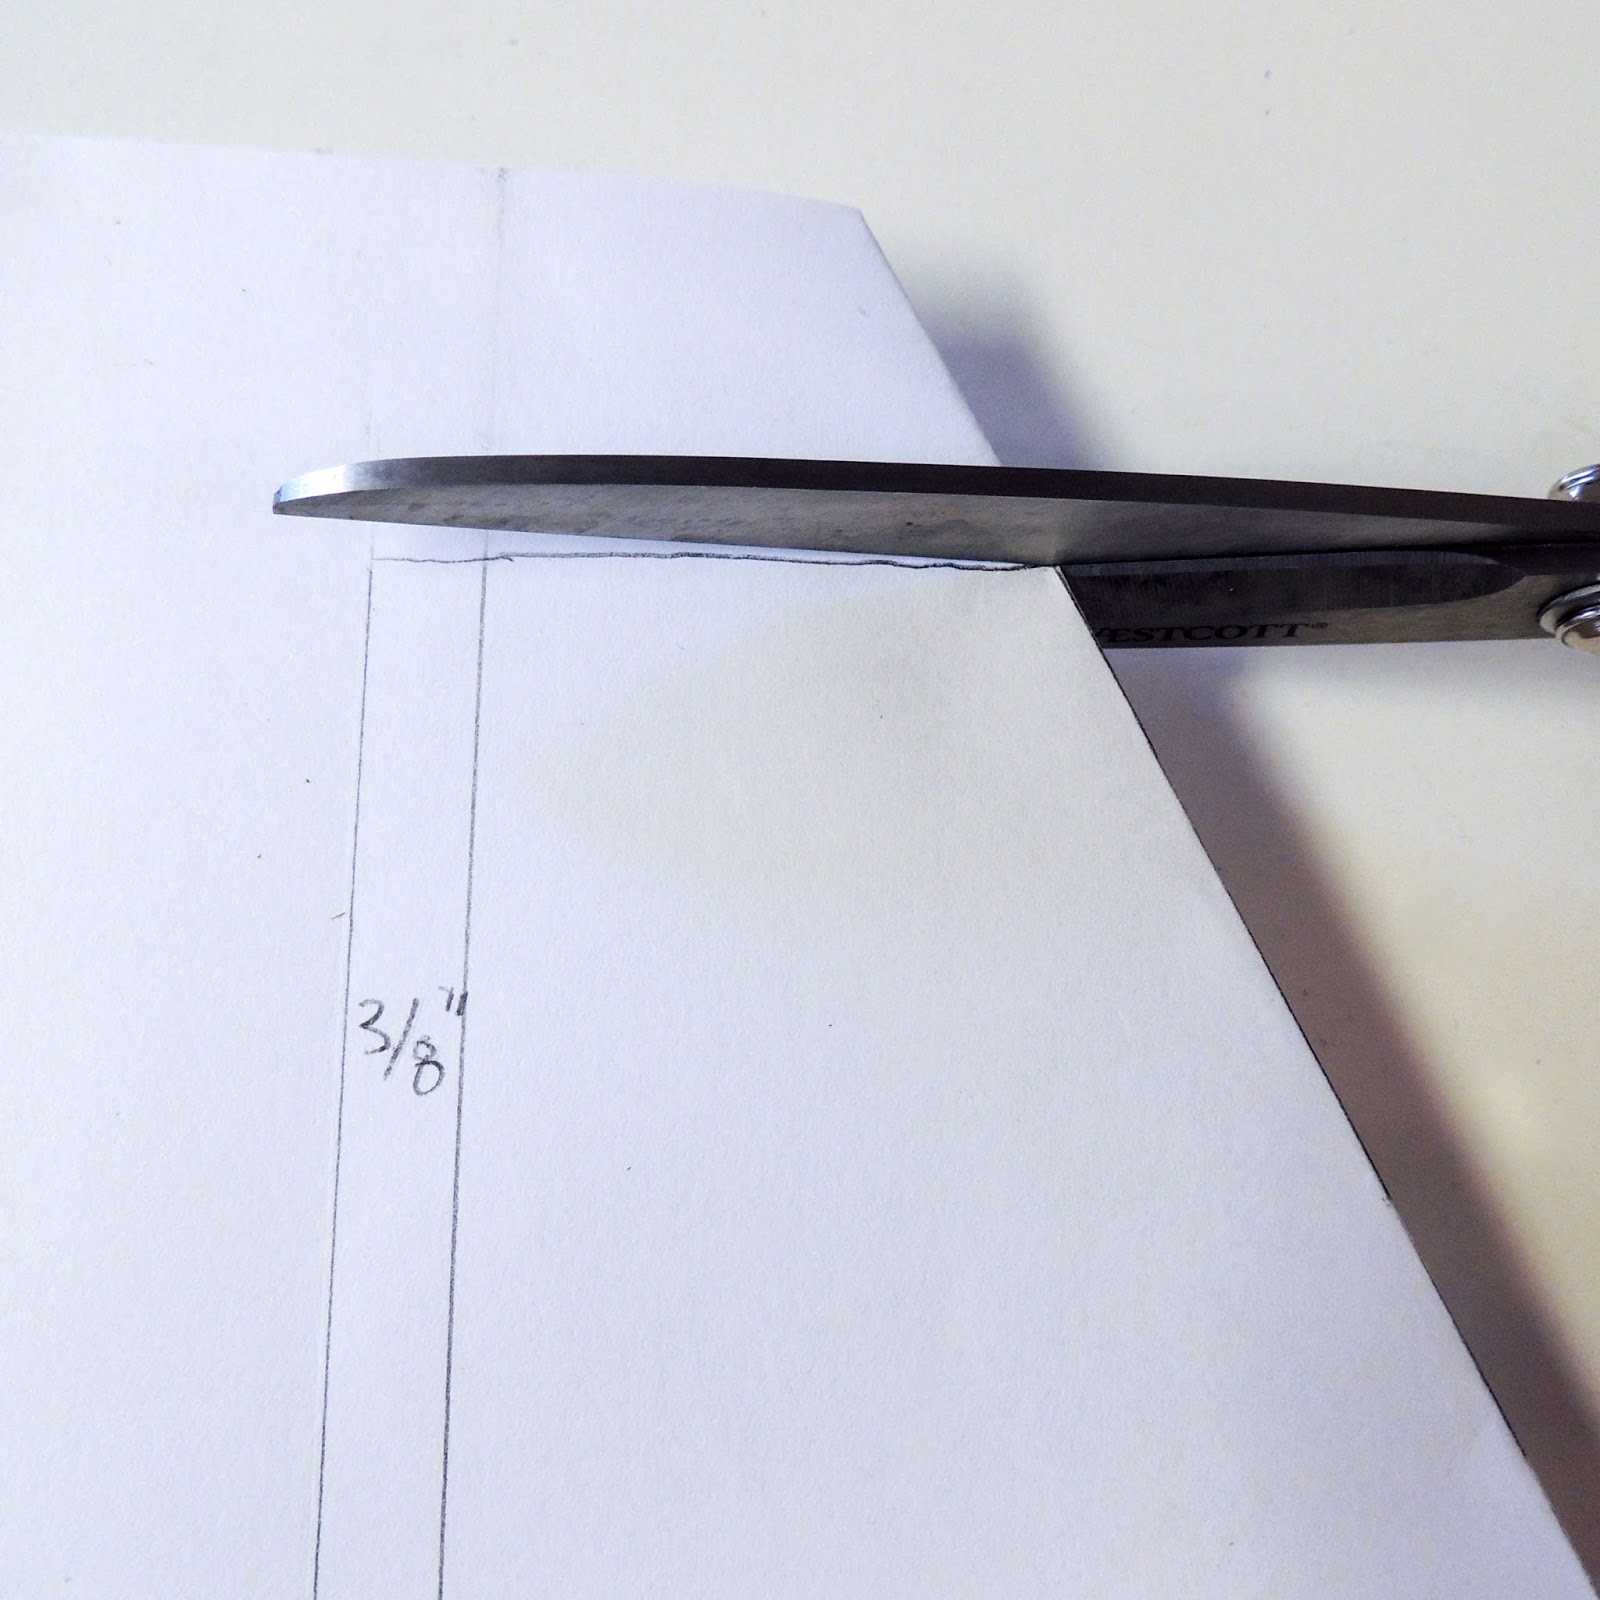
Add seam allowances to your patch pockets. I added 1/2 inch to the pocket opening and 3/8ths an inch to the left side and bottom. The top and the smaller side (right in the picture above) do not need a seam allowances since they will be positioned at the very top and side seam of the pants. Trim the bottom of your pocket piece.
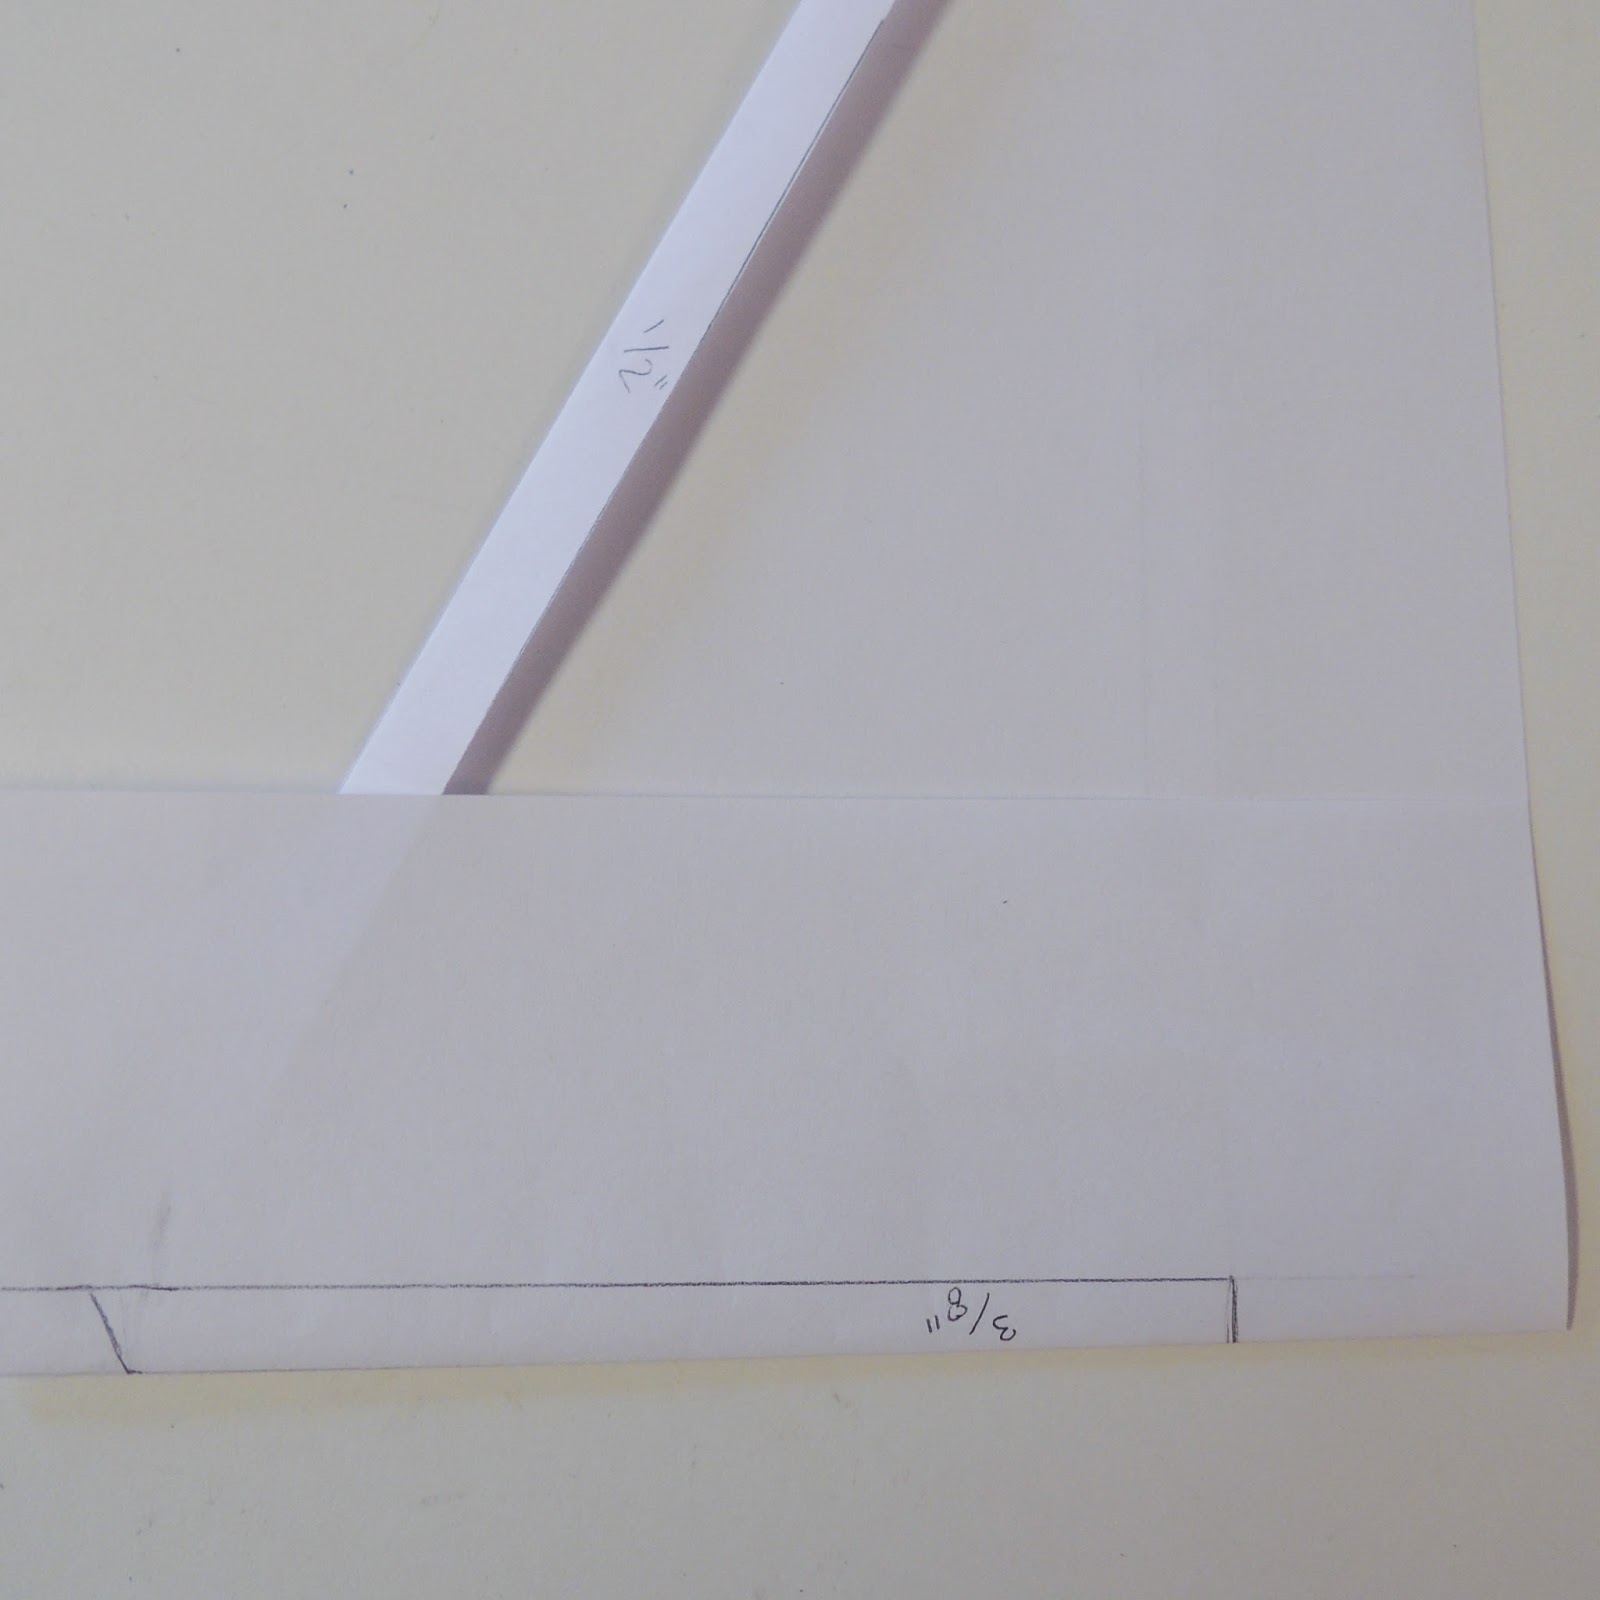
Next, fold your seam allowances towards the back like this.

Trim your pocked pieces again on the right side and at the top.
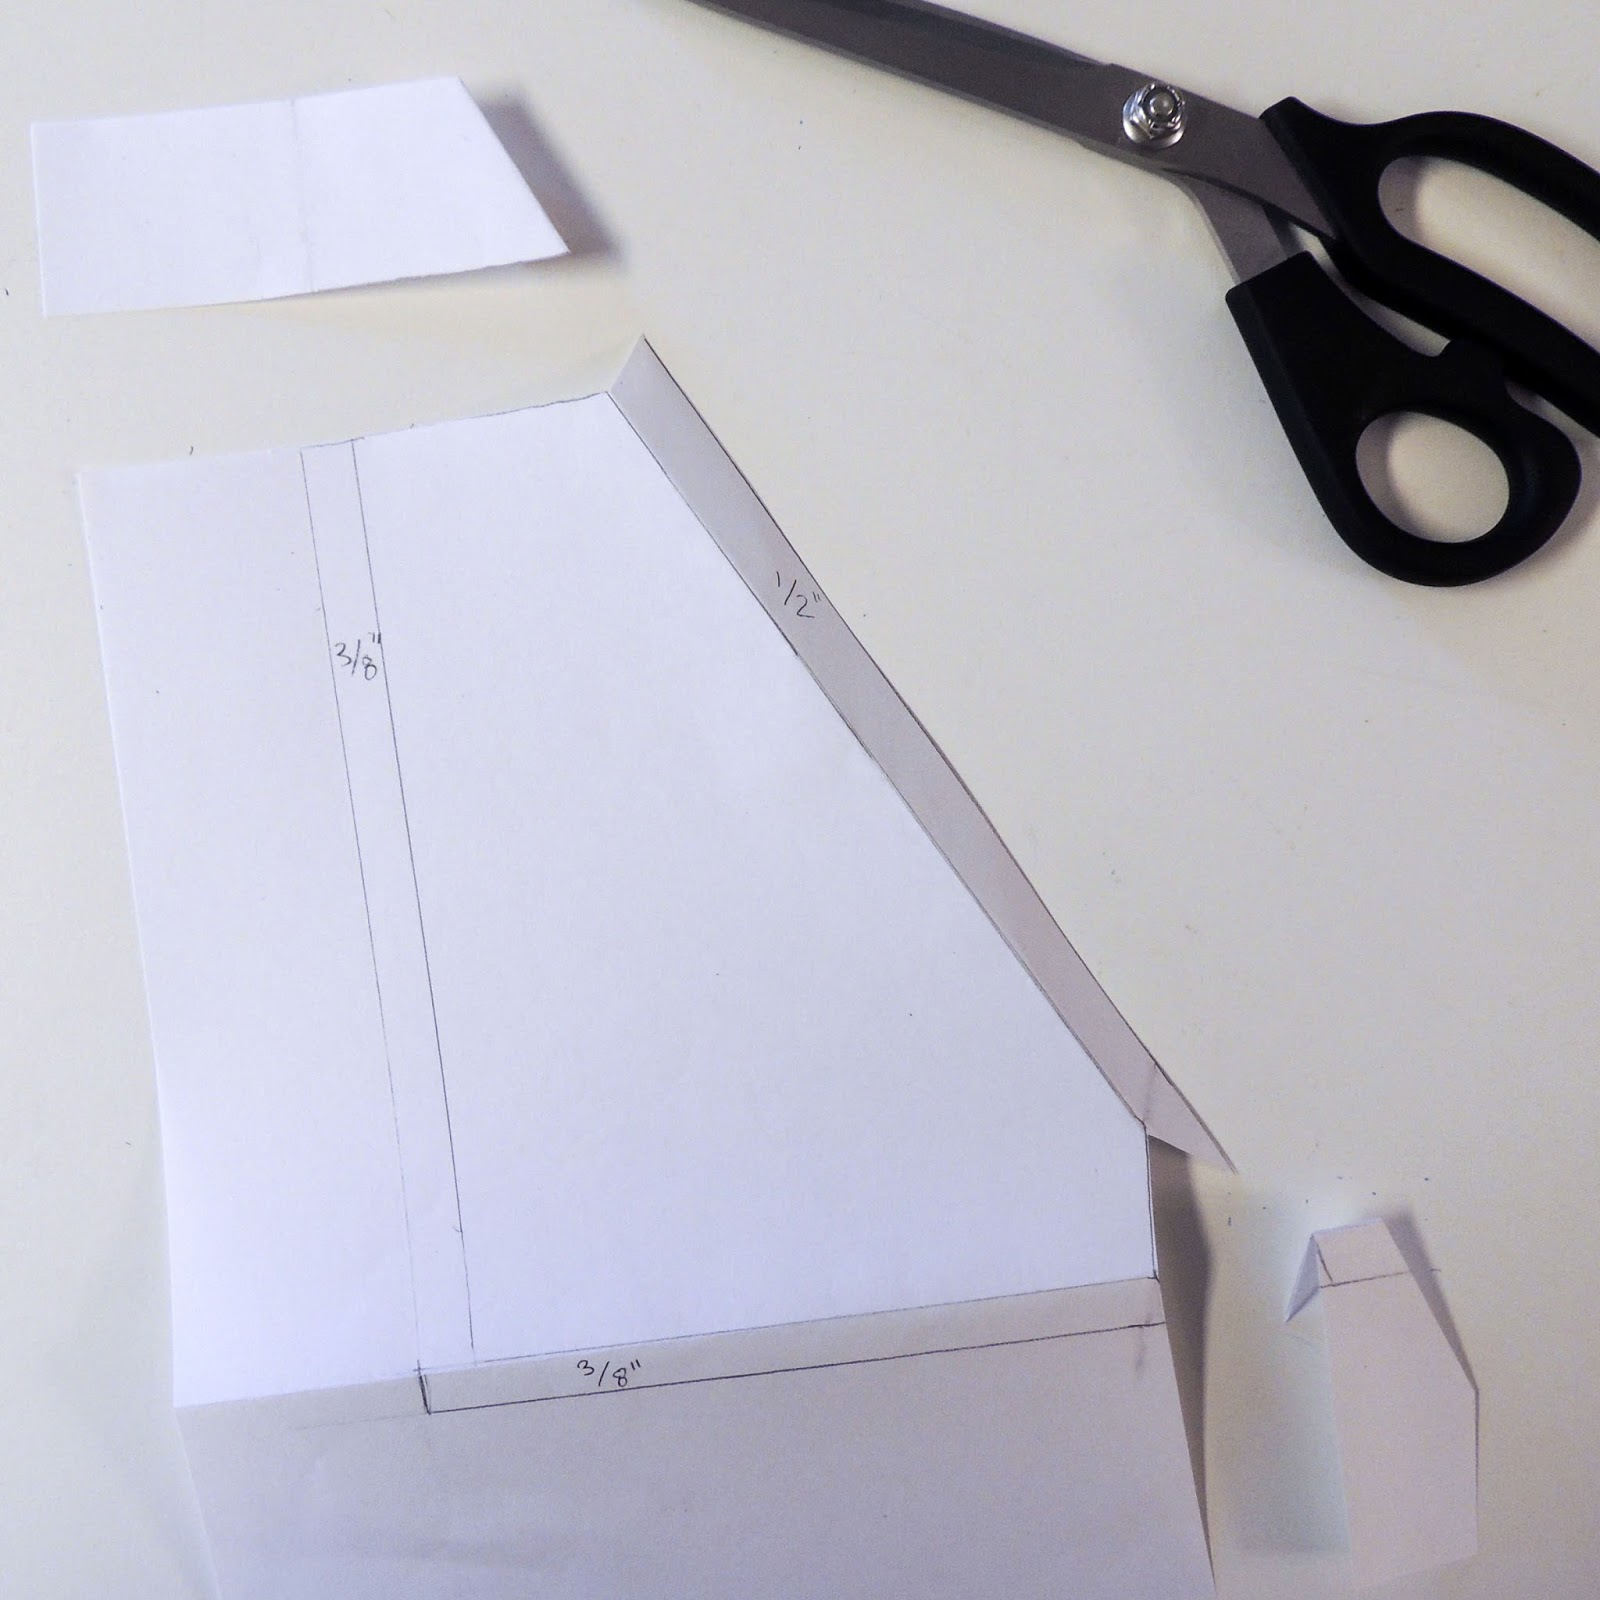
Your pockets should look like this now. Finish trimming along the outside of your pocket pattern piece. Cut out two mirrored pockets from your fabric. I made a slight notch in my fabric on my front pattern pieces where I wanted my pockets to be placed at the top (right corner in the picture below) and at the bottom slant opening and bottom of pocket (after seam allowance is subtracted). This helps to line up the patch pocket on your front pants pieces later.

Fold your seam allowance to the wrong side of your fabric a 1/2 inch and stitch your pocket opening seam allowance down using a stretch stitch. Repeat with your other pocket piece.

Fold and clip/pin your seam allowance to the wrong side 3/8ths of an inch along the side and bottom of your pocket pieces.
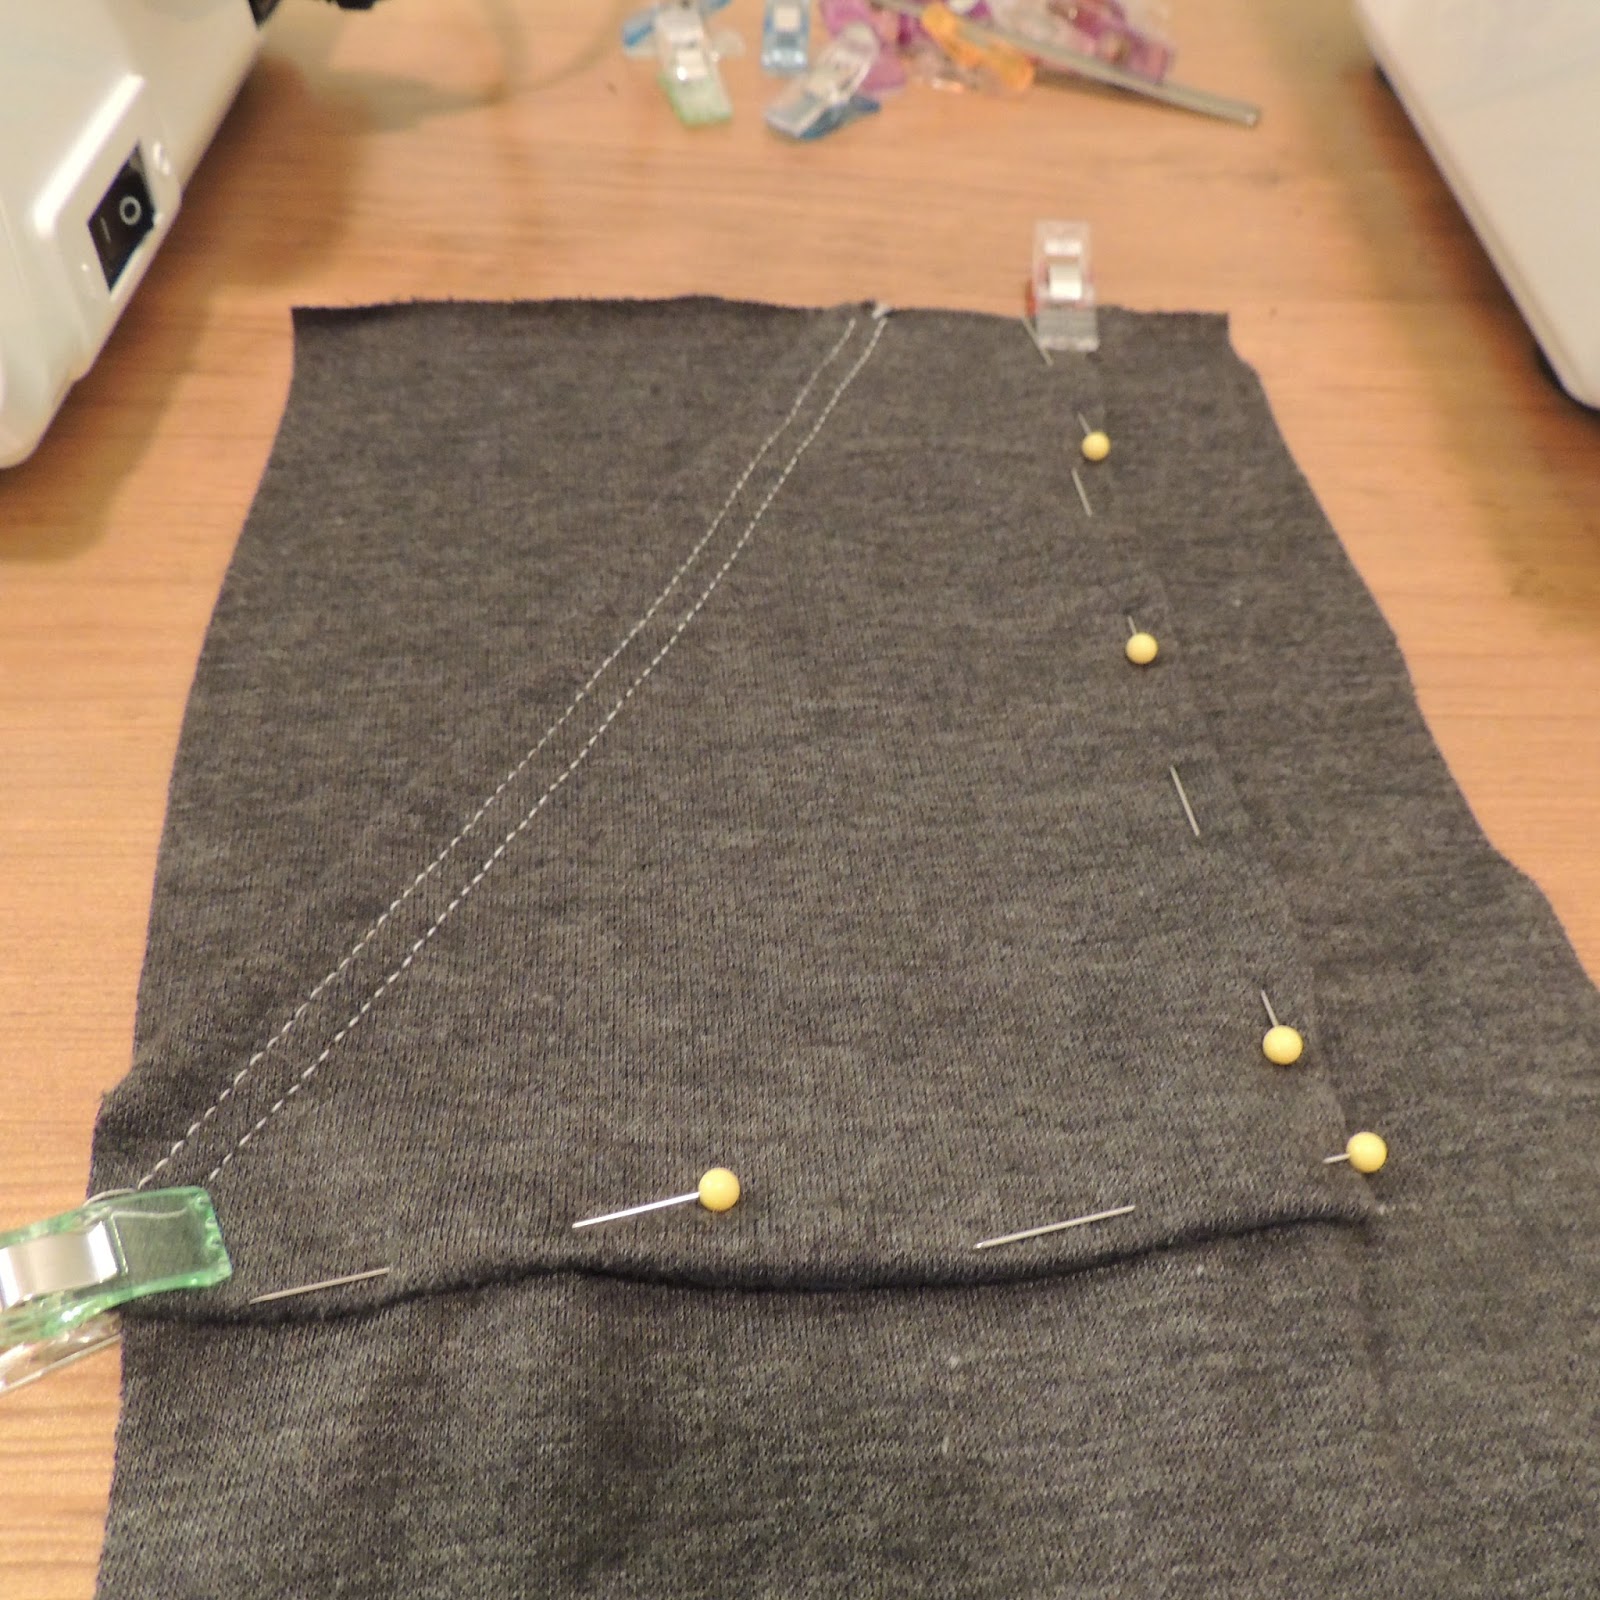
Pin your patch pocket pieces onto your front pants pieces (double check to make sure that it is the front pants pieces and not the back!). Your crotch curve will be along the straight edge of your pocket piece and your slanted pocket opening will be along the side seam.
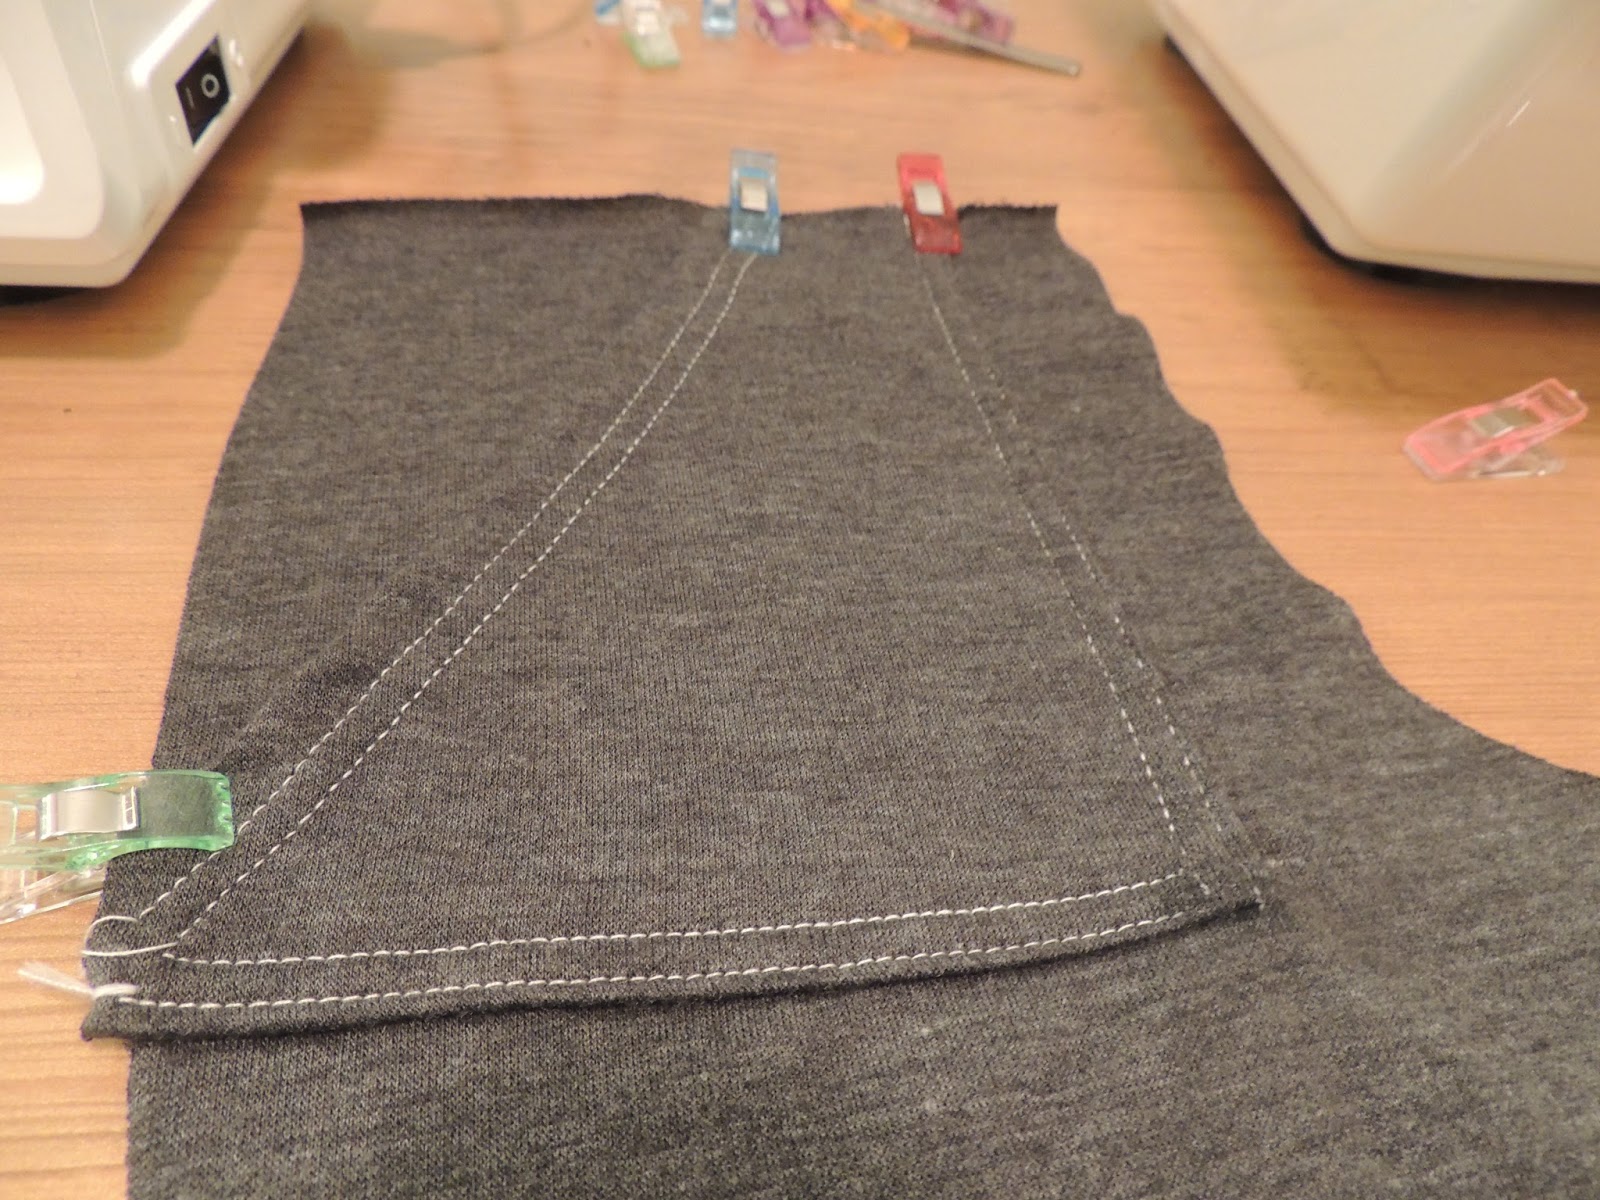
Sew your pockets onto the front pants pieces along the bottom and vertical side about 1/4th an inch away from the edge using a stretch stitch. Baste (long straight stitch) along the side seam and top if you want to help keep your pocket pieces in place while you stitch your side seam and elastic onto the top. Follow the pattern tutorial and you will have an awesome pair of patch pocket pants or shorts! Thanks for sewing along with me!

This blog post does contain affiliate links.


