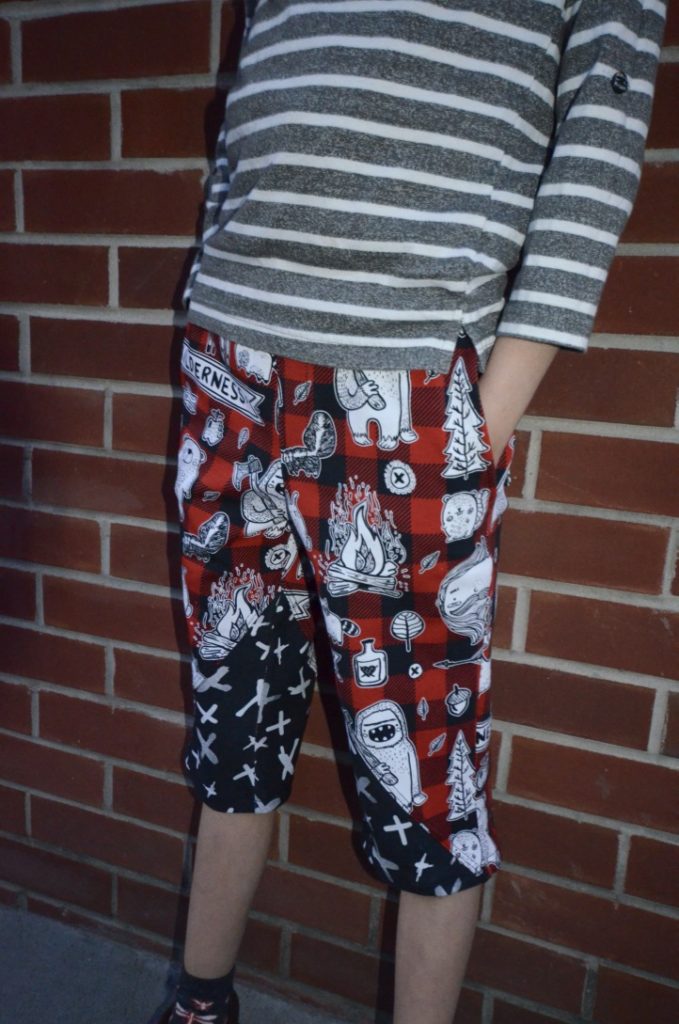
Hi, this is Milena, mom of 2, Ricardo of 7 years old and Leonor of 8 months old. I started sewing in 2017 and quickly fell in love!. I was really excited when Mamma can do it – sewing patterns – invited me to test the Boy Fit Pants as my son has been eager for me to sew him a nice pair of pants (the elastic waist makes it a perfect fit for my skinny boy). As soon as I told him I had the perfect pattern for him, the fabric was chosen and there we went. I wanted to do something cool for him so I thought of a good color block and that is what I will share with you.
Achieving that funky and amazing effect is simple and open the door for some many variants to the pattern. Hope you guys find this useful, so here we go.
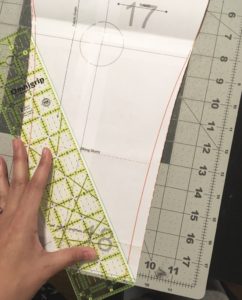
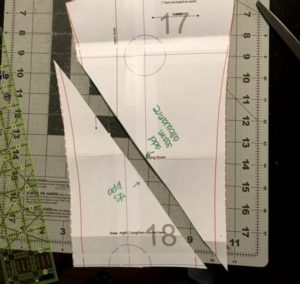
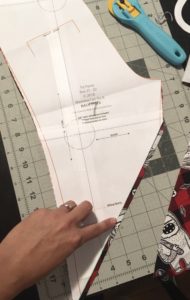
Step 1: Deciding what your color block will look like
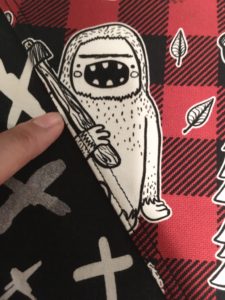
I wanted something angled and straight (easier to put together after) so I took my pattern (knee lenght), trace that line and cut it, remember that we just took a pattern and cut it to create 2 pieces instead of one, these 2 pieces need to be sewn together later so we need to add the correspondent seam allowance, I do this when cutting the fabric so I like to write on my pieces so I don’t forget when cutting (It has happened!). You can do this or go ahead and add it into your paper pattern so you don’t need to think about it when cutting your fabric.
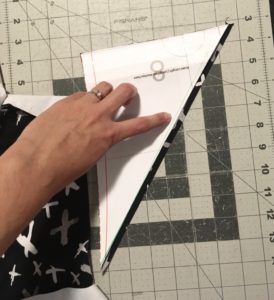
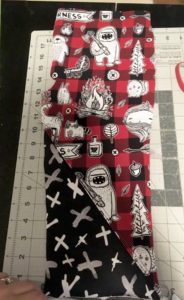
Step 2: Cutting your fabric pieces
On this step you just have to cut all your fabric pieces not forgetting to add the seam allowance when cutting as you can see on the pictures below (in case you didn’t add it already on your pattern pieces). Since I’m using my serger I only keep 1/4″ for seam allowance, but use as much seam allowance as you need.
Step 3: Sewing the color block parts together
Now, you have to match the parts that you cut, right sides together
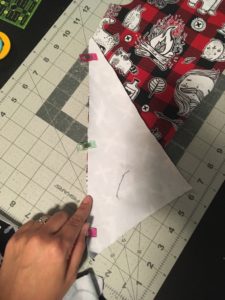
Serge / sew and give it a good press. I press the new seam towards the top part as I want to top stitch on that side of the fabric. I use lots of steam to press it as I will top stitch next to give it a clean professional look

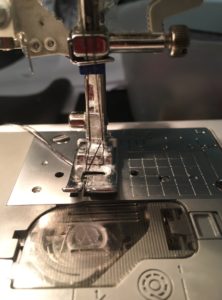
Step 4: Top Stitching
I don’t own an coverstitch so I use my twin needle for all my top stitching and some hemming. I was initially intimidated by a twin needle but now I love it! it’s not as hard to use and the finish is amazing.
On the picture below I show how I thread my machine with the twin needle, one thread behind and the other thread in front as shown in picture below, this helps avoid the thread getting messy. I use tension 3.5 (lower tension) and a stitch size of around 3 or 4.
After sewn, the stitch will look like the picture below, “coverstitch look” with your regular sewing machine. The fabric may look a little wavy specially with knits, but nothing a good press won’t solve
If you don’t want to use a twin needle just yet, you can always top stitch with a regular stitch.
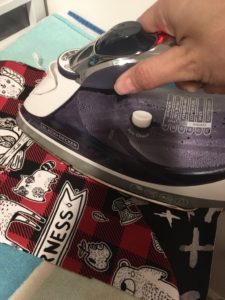
Step 5: Pressing it again (Because it’s never too much pressing!)
To finish press it again (remember steam is your friend here) and you will find yourself with your original pattern piece but now with a cool combination of 2 fabrics instead of 1
Follow the pattern instructions to build the rest of the pants and admire your final results.

The cool thing about this technique is that you can be extremely creative, combining 2, 3, 4 fabrics, different directions to cut the pattern and different pieces. Have fun with it!
Tips:
- Cutting straight pieces out of the pattern are easier to put back together, a round cut will be a little tricker to put back together but with much attention an patience totally doable.
- Remember to add your seam allowance! either add it to the paper pattern when you cut it or add it on the fabric when cutting it.
- Don’t be scared of a twin needle, it’s simple to use and the finish is clean and nice
- Press press press, the more you press the easier is to put this together, top stitch and finish it.
Hope you enjoy this tutorial and enjoy the MCDI Boy Fit Pants.

Milena


