Hello fellow sewing enthusiasts, I’m Amanda and wow! This is my first blog…EVER so bare with me!
I had the absolute pleasure of being selected to test the new amazing men’s Knit Boxers and Lounge Shorts Pattern here at Mamma Can Do It. I absolutely loved this pattern and the fit was fantastic on my husband so he’ll definitely be getting a bunch of new knit boxers for fathers day! However, living in sunny Queensland, Australia, where shorts are an absolute necessity year round I decided to attempt to “hack” this pattern and use some woven fabric.
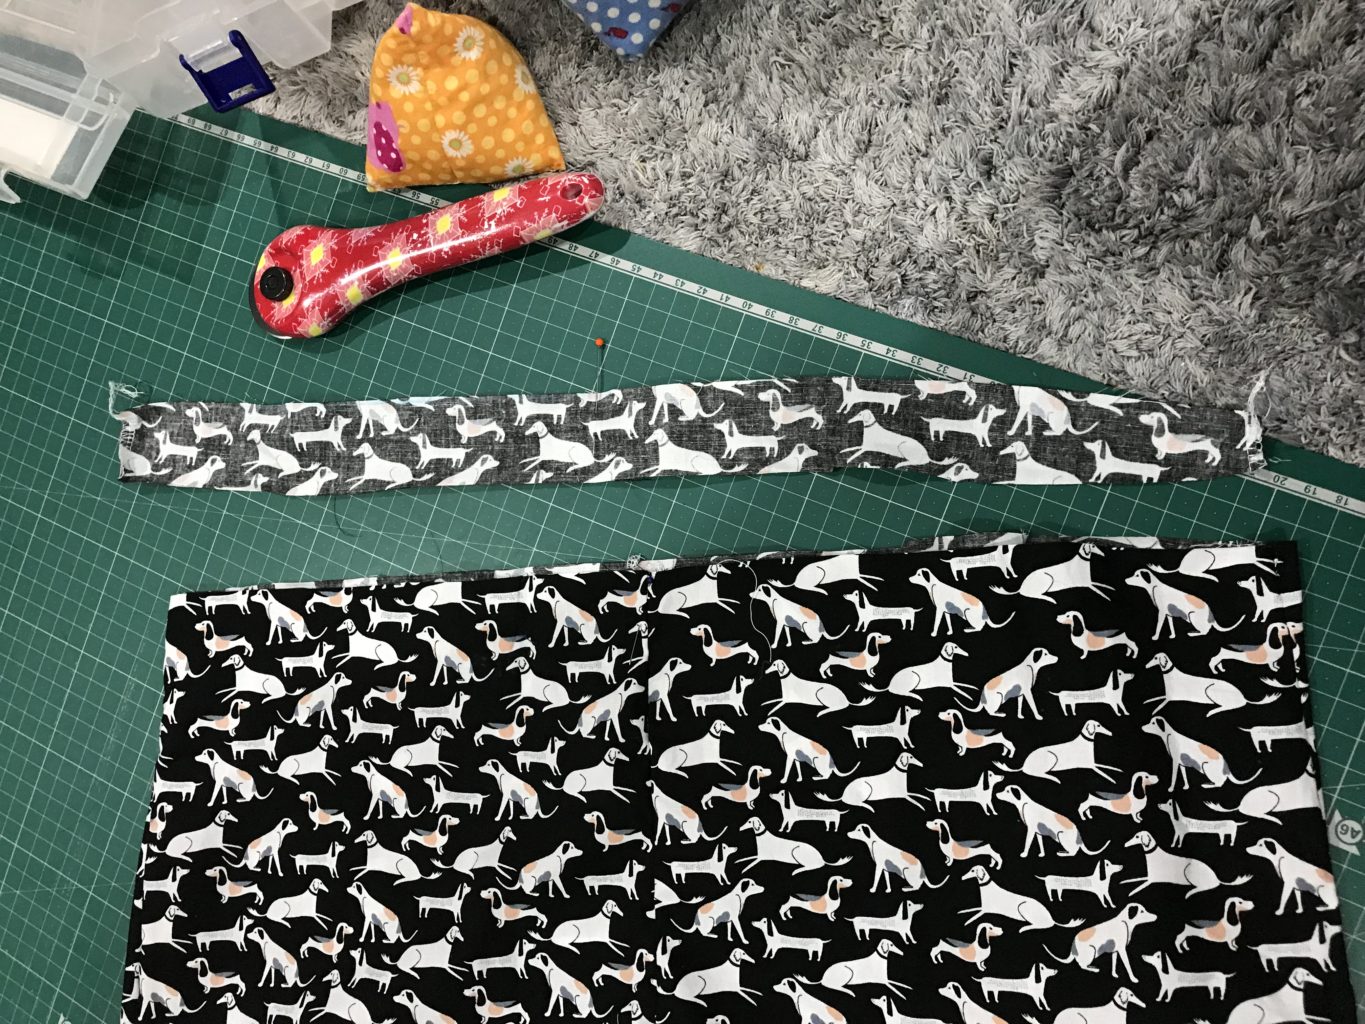
First things first was to draft my pattern off! With knit fabric I used a size 32, however I decided to go two sizes up and go with a 35 for starters. I decided to still use the 32 elastic measurements + 0.5” as my hubby likes to wear his shorts a little lower.
I added 3” to the length of both front and back pattern pieces and 3.5” on the gusset. The reason I added the extra 0.5” to the gusset is due to the fact that this will give me the extra ease I need for a more comfortable fit and less stress on the gusset when attaching to the front and back.
For my first test pair I am using the enclosed elastic option. I’m unsure of how the husband will like it so let’s give it a go!!
I’ve chosen to do my woven shorts without a fly, so I’ve skipped straight to step 17 in the pattern tutorial. I used an overlocker to quickly finish my front seam and as this is only a fit test pair I’ve skipped top stitching.
While what I thought was gently easing the gusset in I actually ripped my gusset piece and about an inch into my front piece. Drat! Time to recut those pieces!
Let’s try that again! While recutting I realized I incorrectly added the length in my front pattern piece and I didn’t follow the “gusset slope” now that I’ve fixed that up and restitched my front pieces together the gusset piece fits perfectly! Success!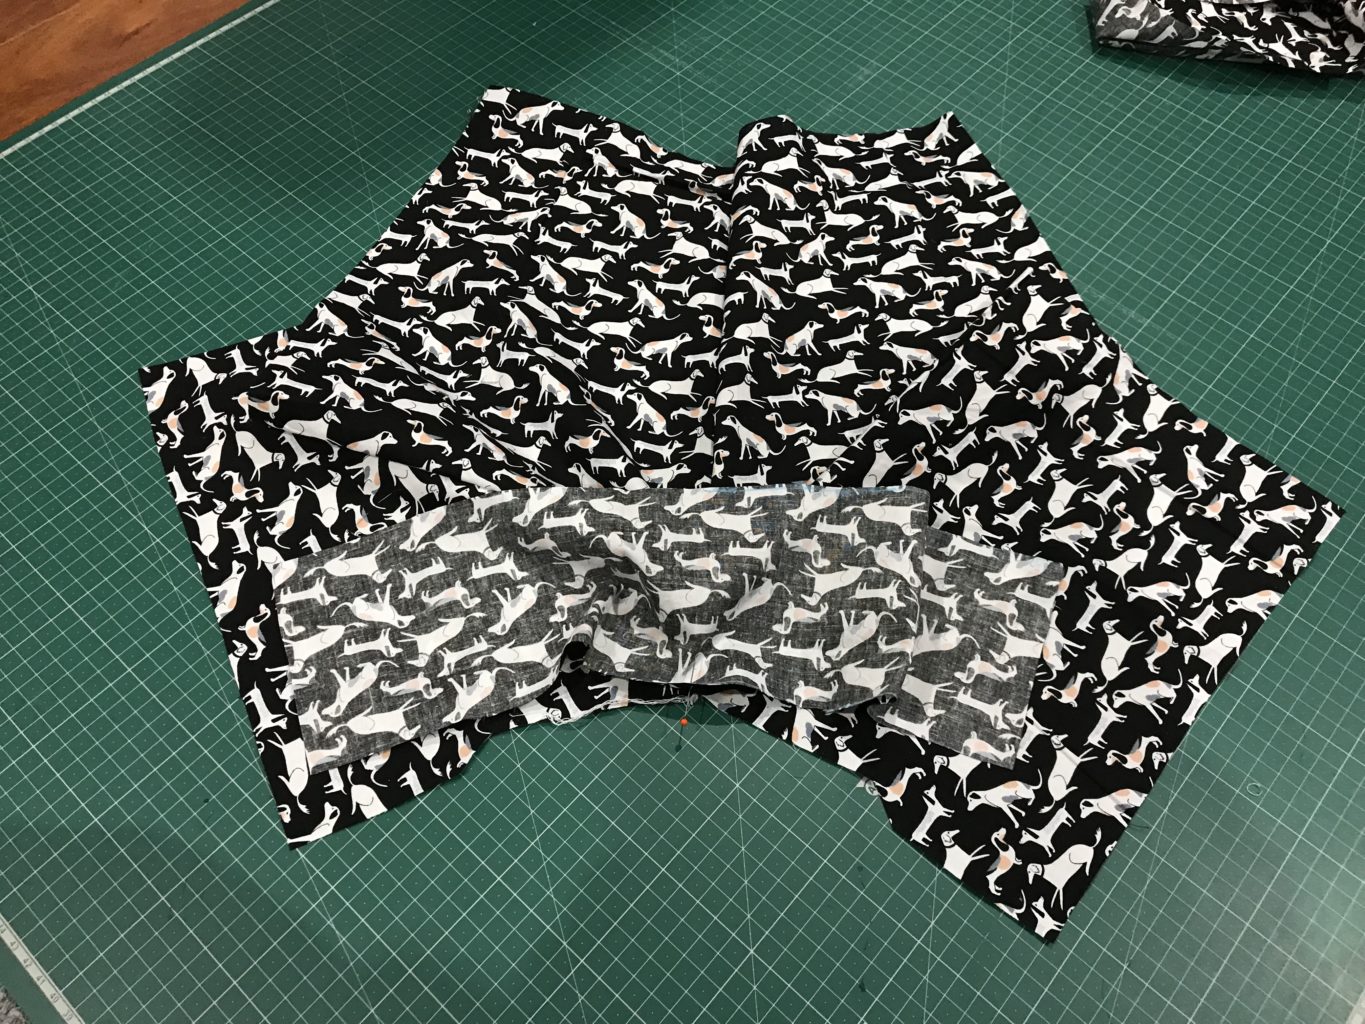
Now that, that has worked out better, and there are no rips this time! Phew! It’s time for me to pin the gusset to the back. So far so good! It definitely needed that extra half inch on the gusset for the woven to be eased in though. 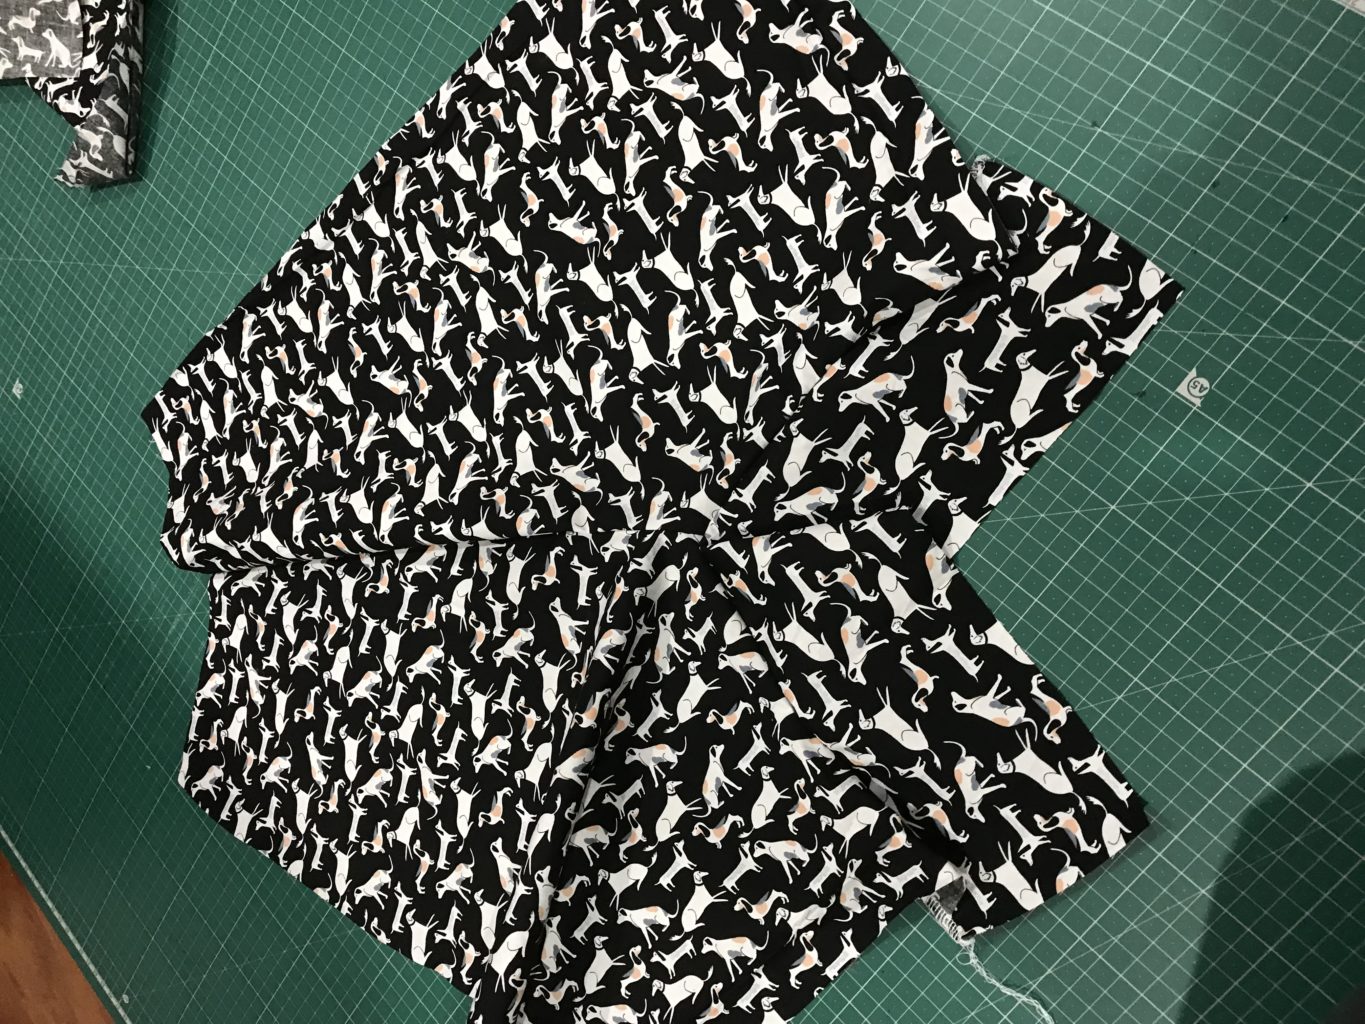
So while at the machine I whipped up the side seams, I started from the bottom and sewed up towards the waist, but for some strange reason, maybe it’s my terrible attempt to add length, but my back piece turned out to be around 1-2” longer than the front. At this stage though I’m going to leave it as we might need it for booty ease?

Ok, I need to chop that bit off. But seeing as this is only my test pair, let’s see how the fit ends up!
As I am doing enclosed elastic I did need my pieces to match up at the top edge. I believe it was just my cutting or measuring so I will test that before I sew my final pair.
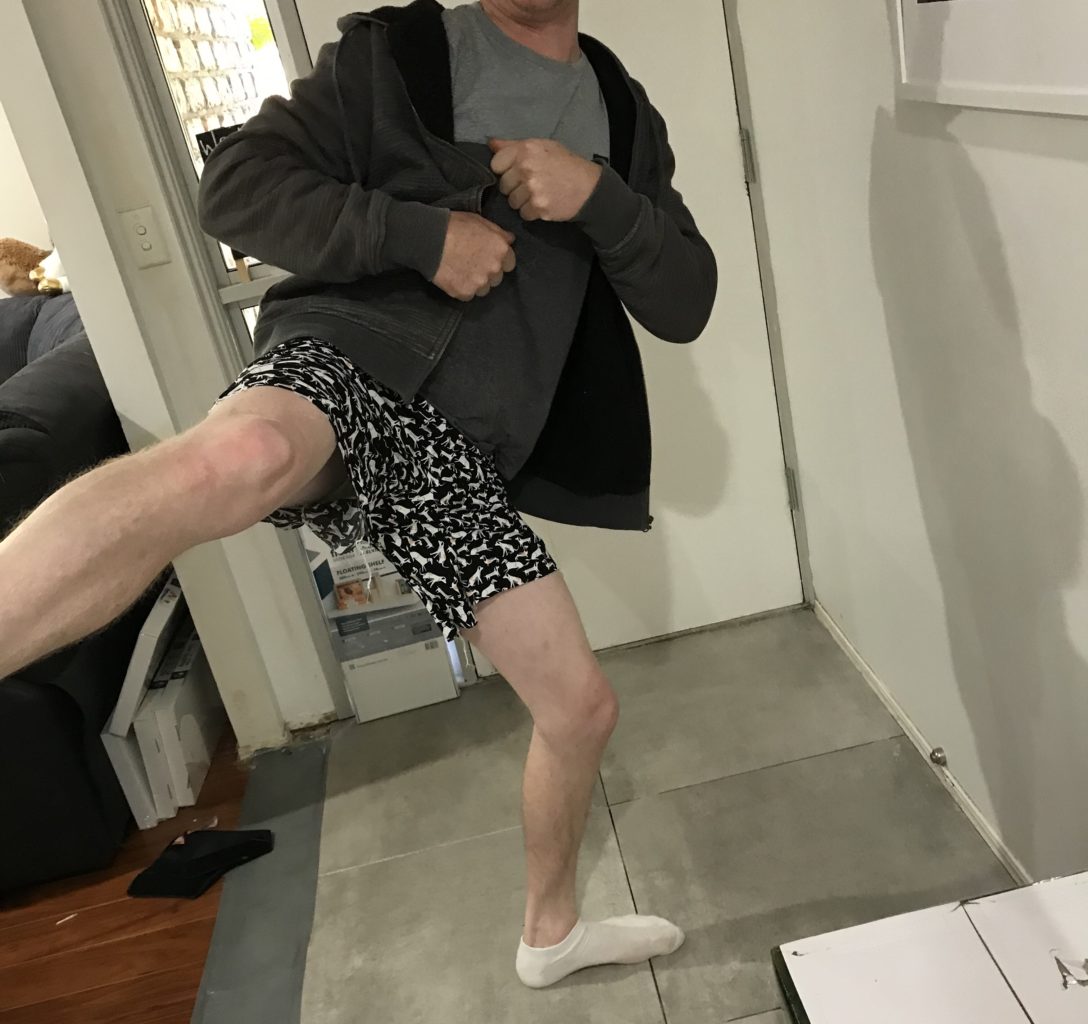
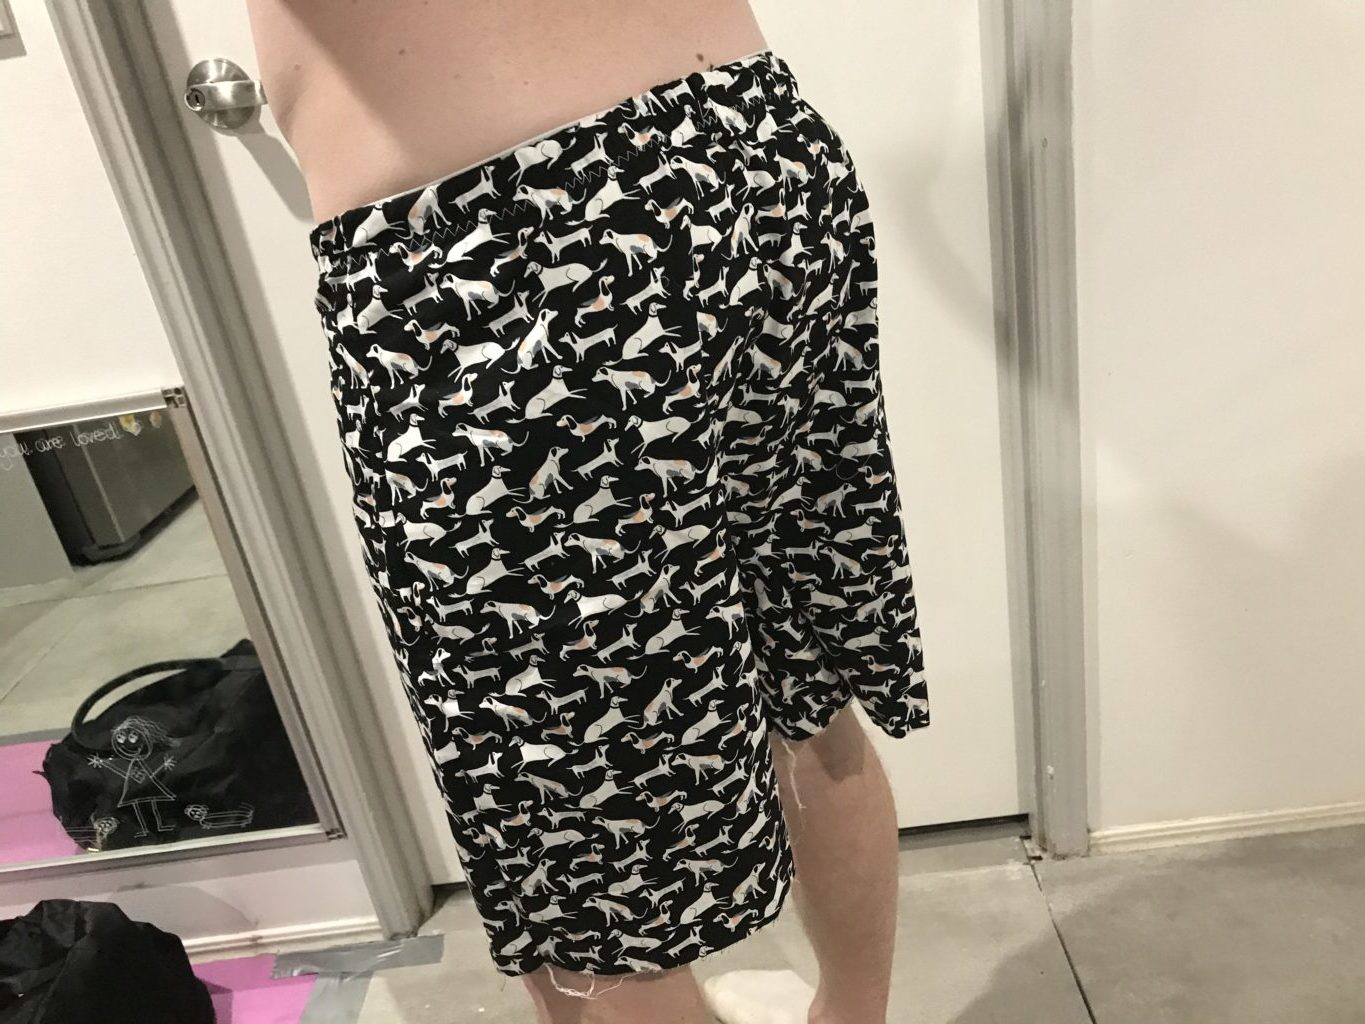
I got the hubby to do some fit testing and the movement looks awesome! 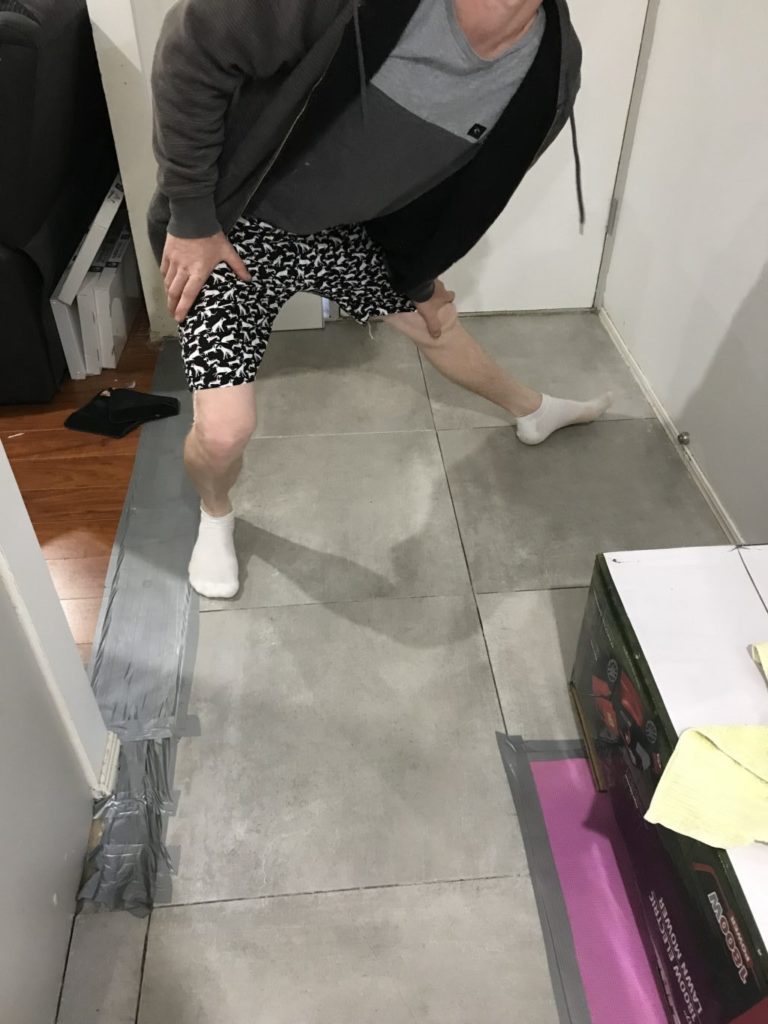
 Now that my front and back pieces are all level it’s time to add my elastic! My hubby wears his shorts lower than his natural waist, and tends to carry his wallet, keys, and an iPhone X in his pockets so I choose to size down to his preferred waist elastic size of 30.25″ which is the recommended elastic length for size 33. I followed the tutorial directions and I’ve slid the elastic “loop” into the inside of my shorts, and now it’s time to stitch!! I’m getting excited!!
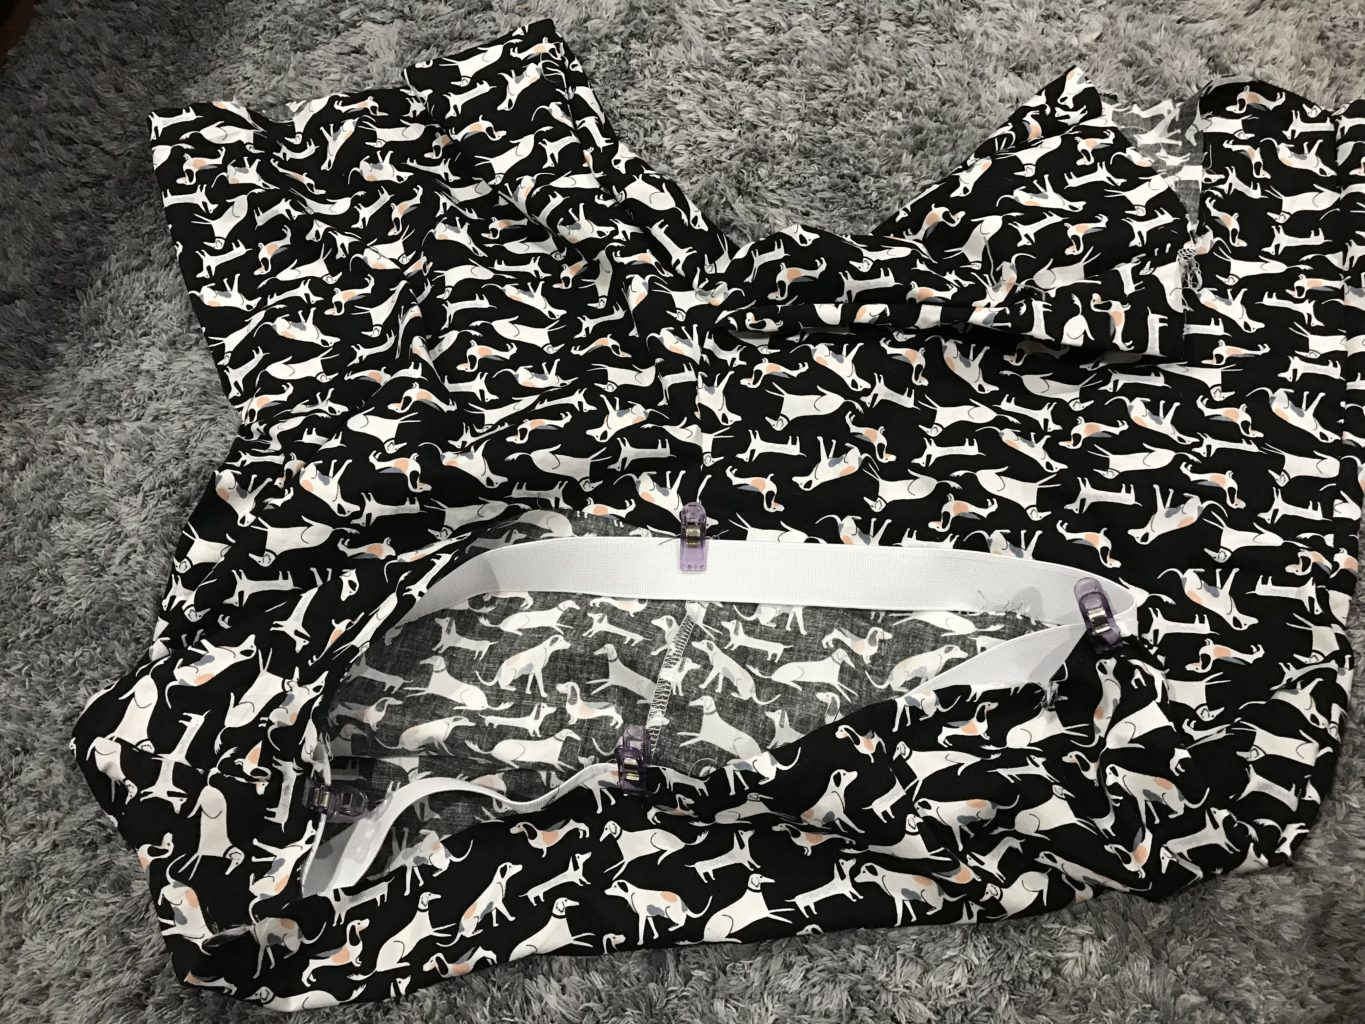
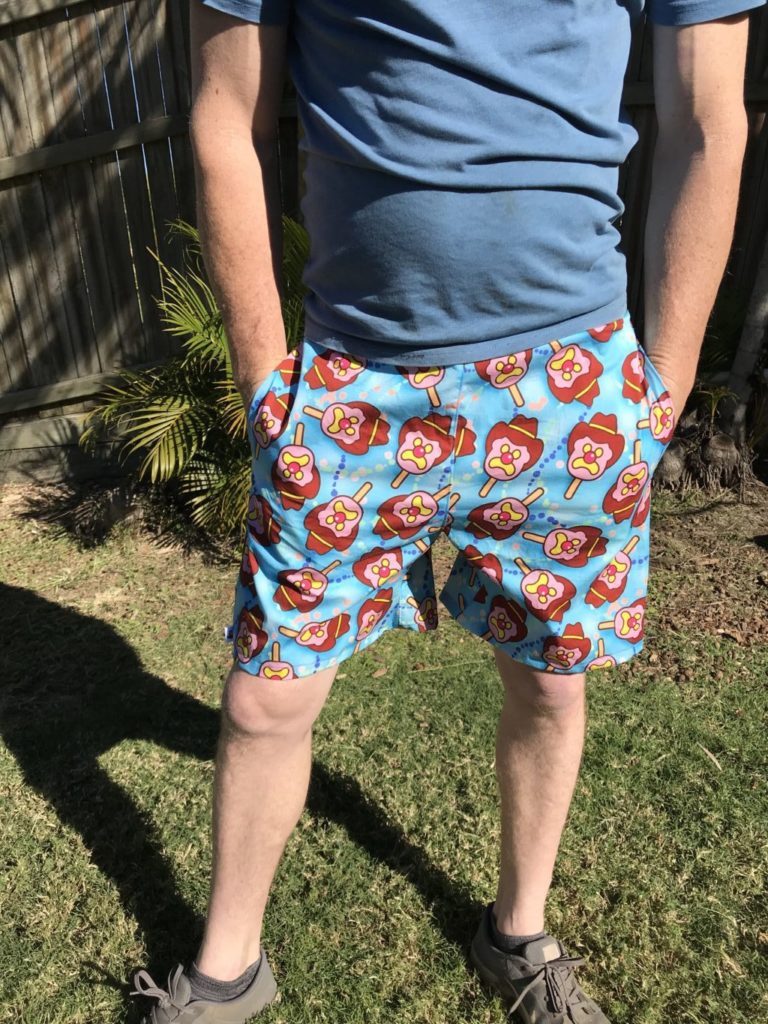
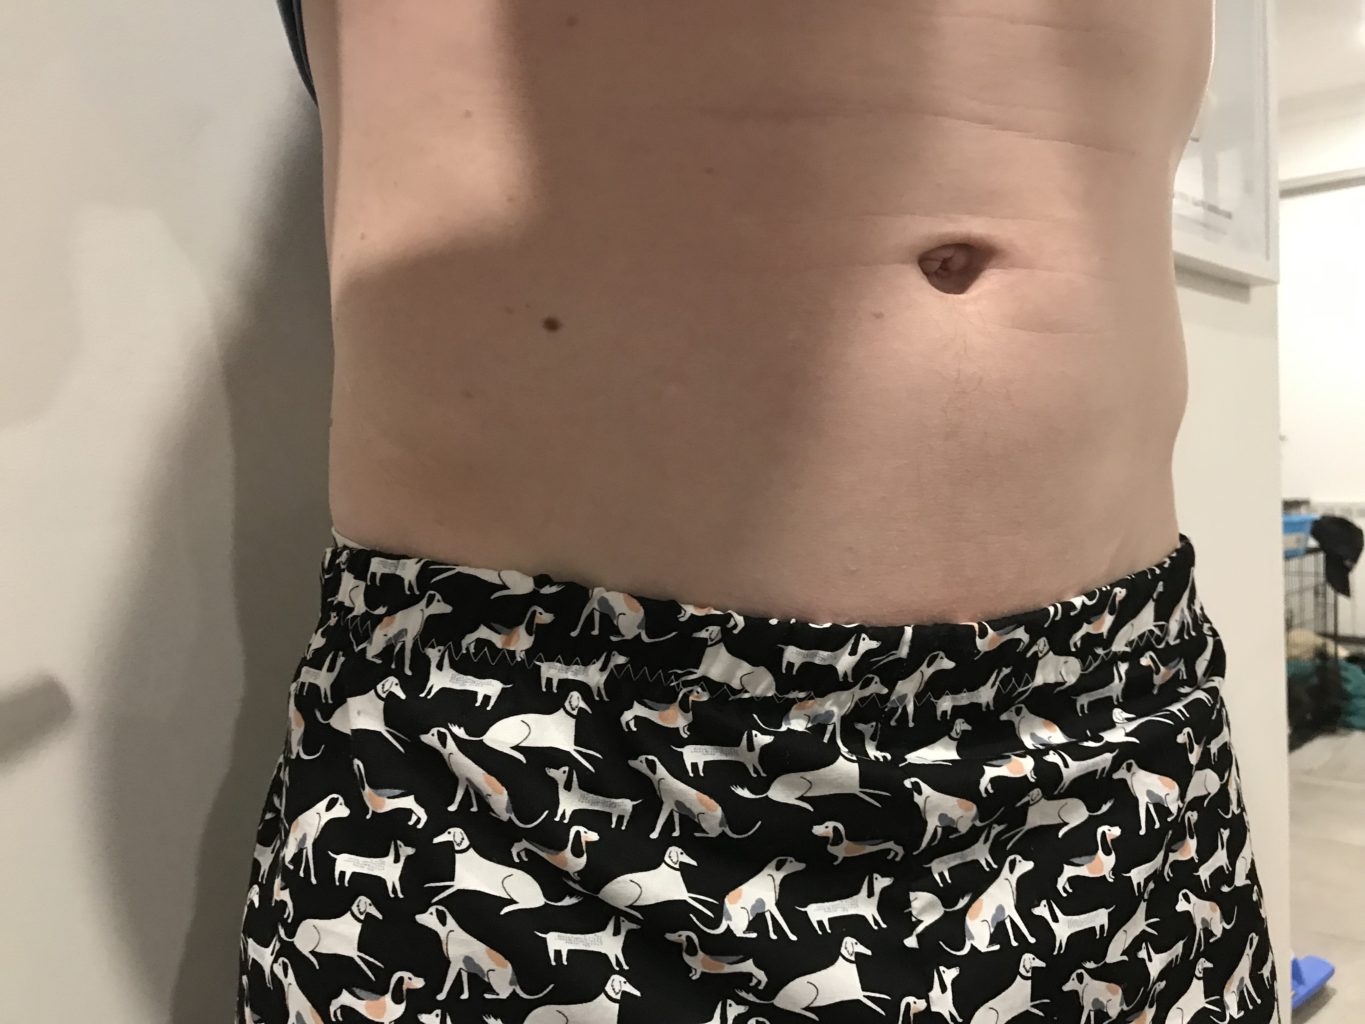
Elastic is sewn on! The only negative comment hubby had was “aw no pockets!” So pockets will be hacked in the next one, but these are amazing! Fit feed back from him was awesome, and apparently there is no difference movement wise to a very common clothing brand we buy from here in Australia which was very reassuring.

Time to make my final pair! I decided to redraft the pattern piece for the front in case it was just my length increase that was done incorrectly! I’m using some higher quality 100% cotton for this pair so it will be stronger and more durable than my fit pair which was just a cheap cotton poplin. 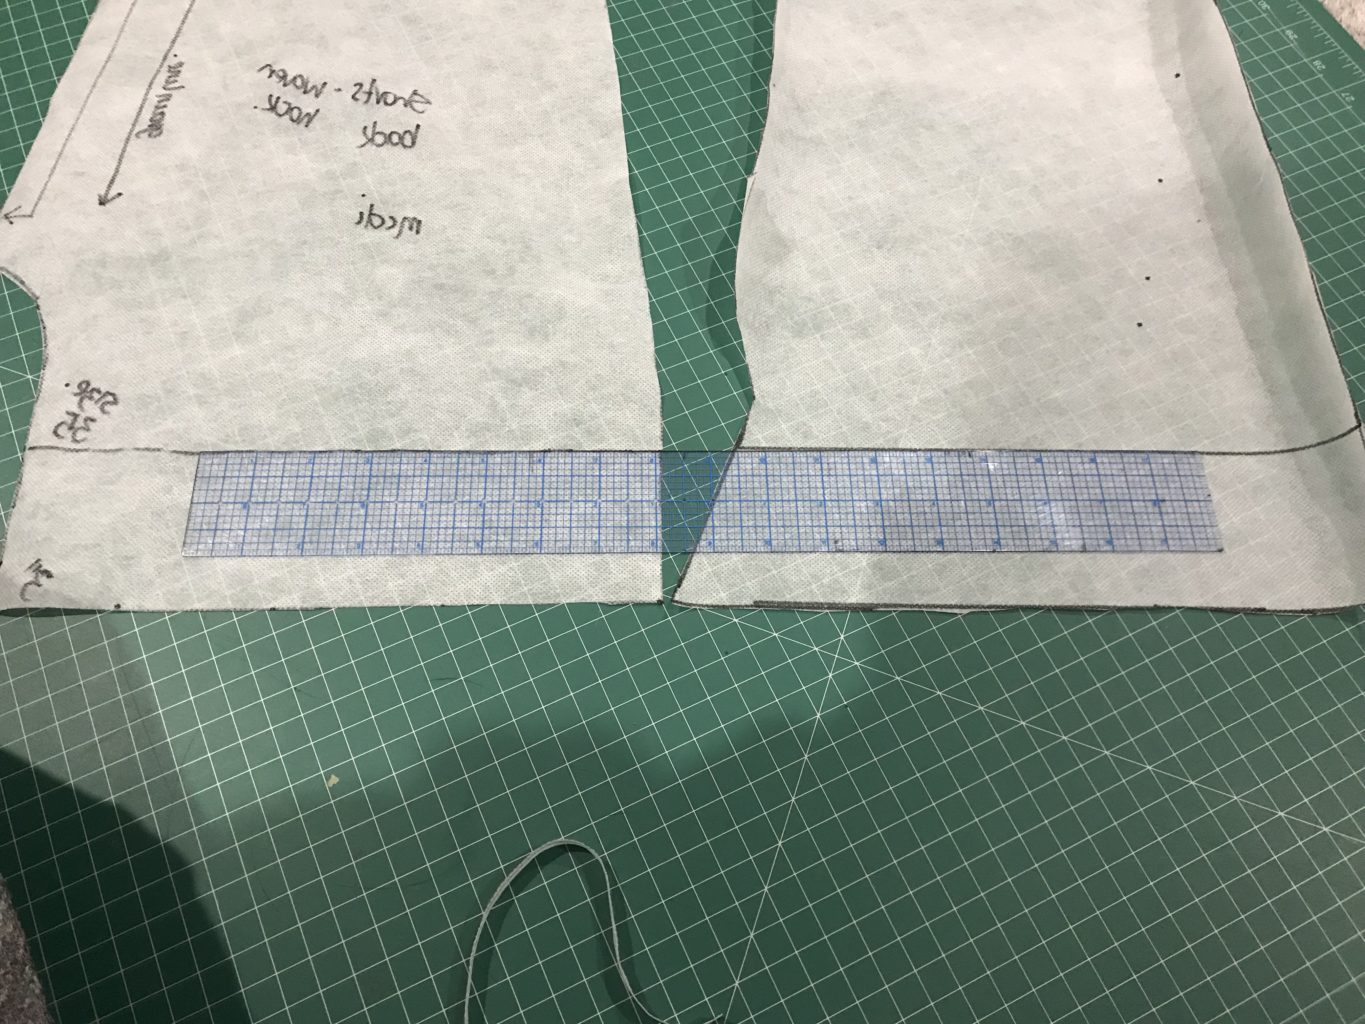

So after redrafting and measuring both front and back pieces to triple check that they are both increased by exactly 3″, I cut my fabric. TADAH! Perfect!
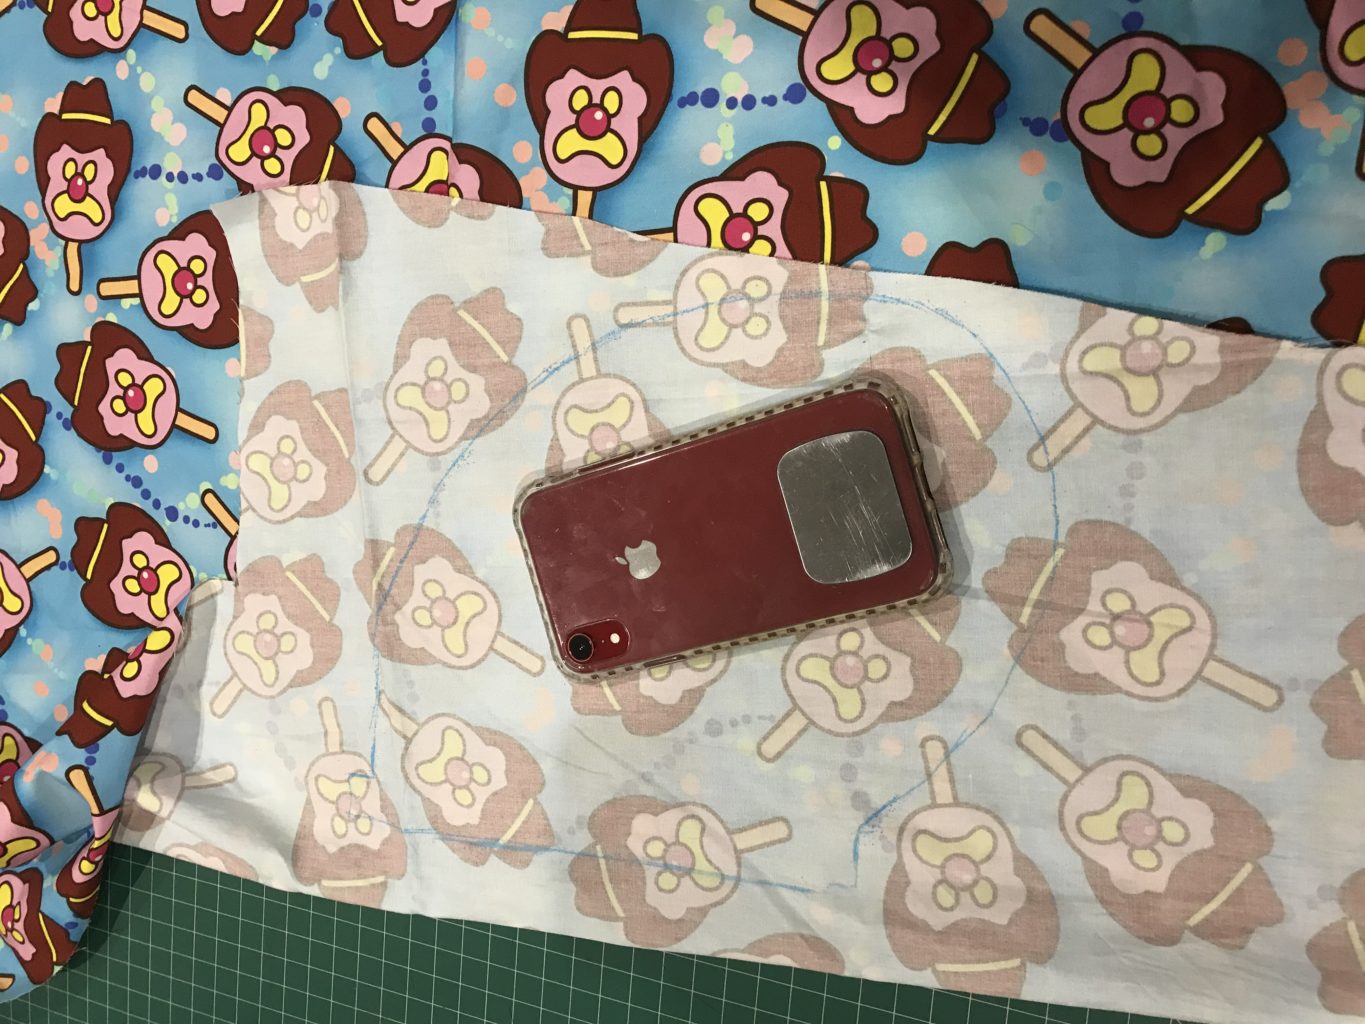
Since my husband said he wanted pockets, I also drafted some inseam pockets to add to this final pair. I’ve just used my own knowledge of a basic inseam pocket but made sure it was large enough to fit his phone safely. Nothing worse than having small shallow pockets!
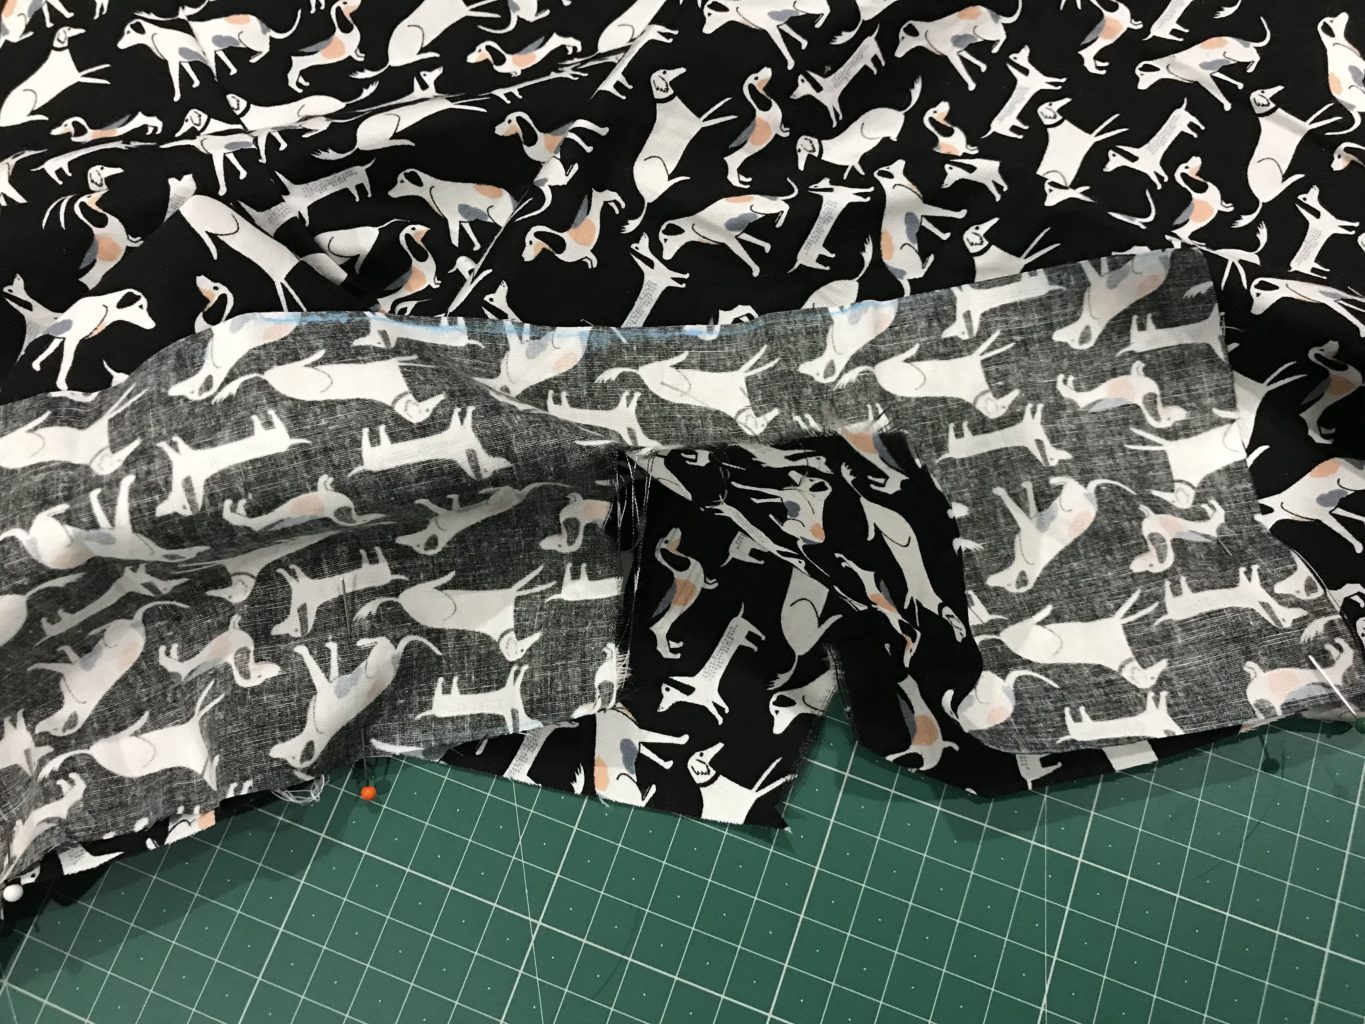
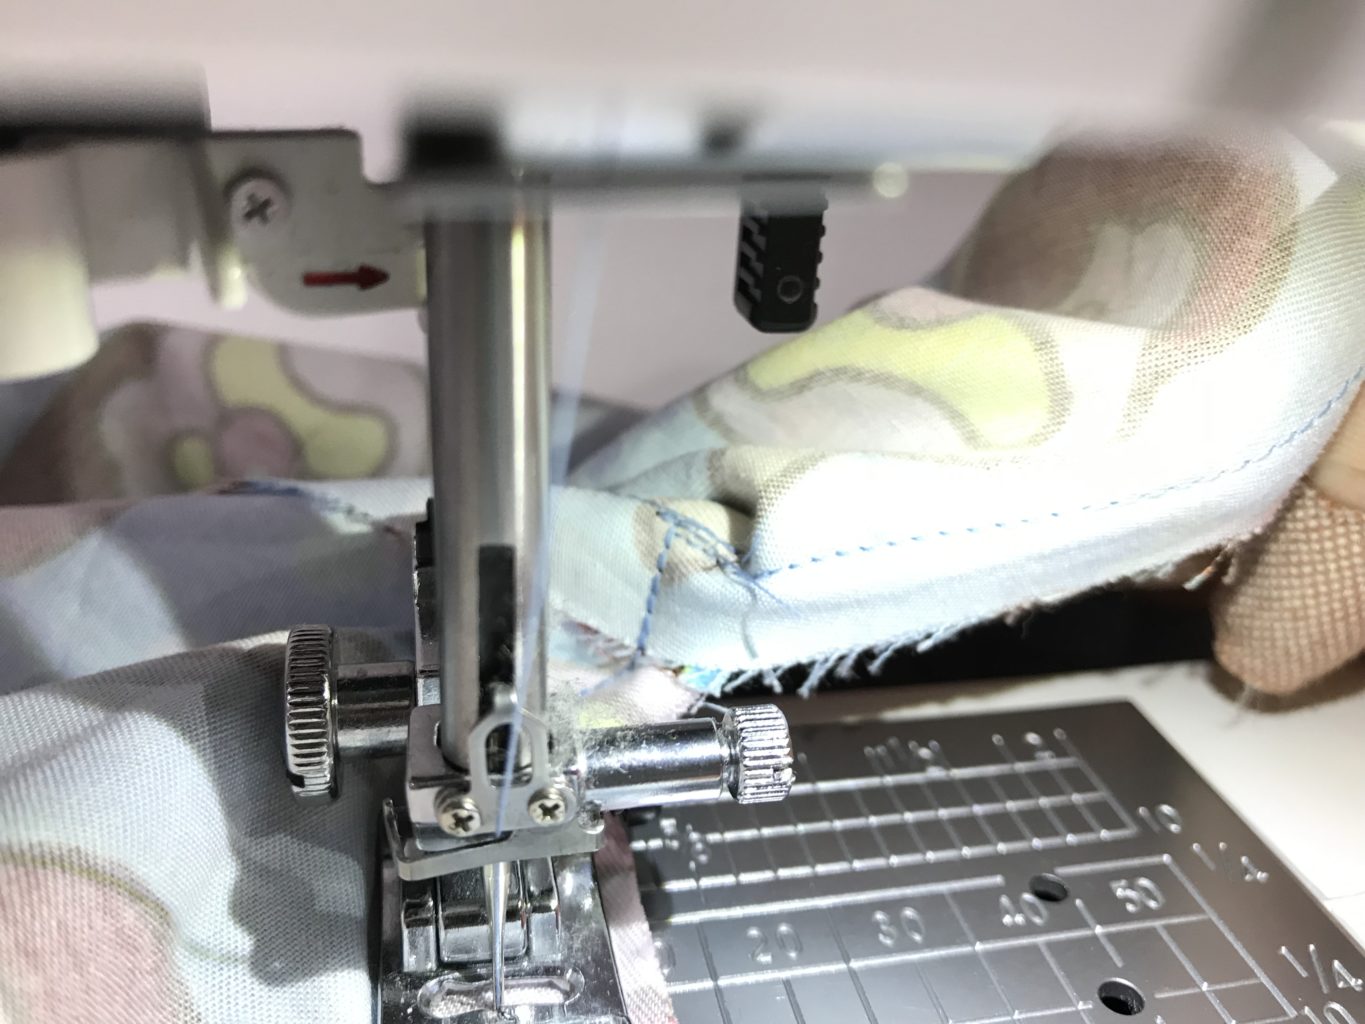
Following the pattern tutorial, I stitched the two front pattern pieces together at the front crotch and top stitched the seam to the left. I have also attached the gusset to the front and back. I decided to top stitch the seam towards the gusset for a neat finish, and to reinforce that seam as it will be a stress area.
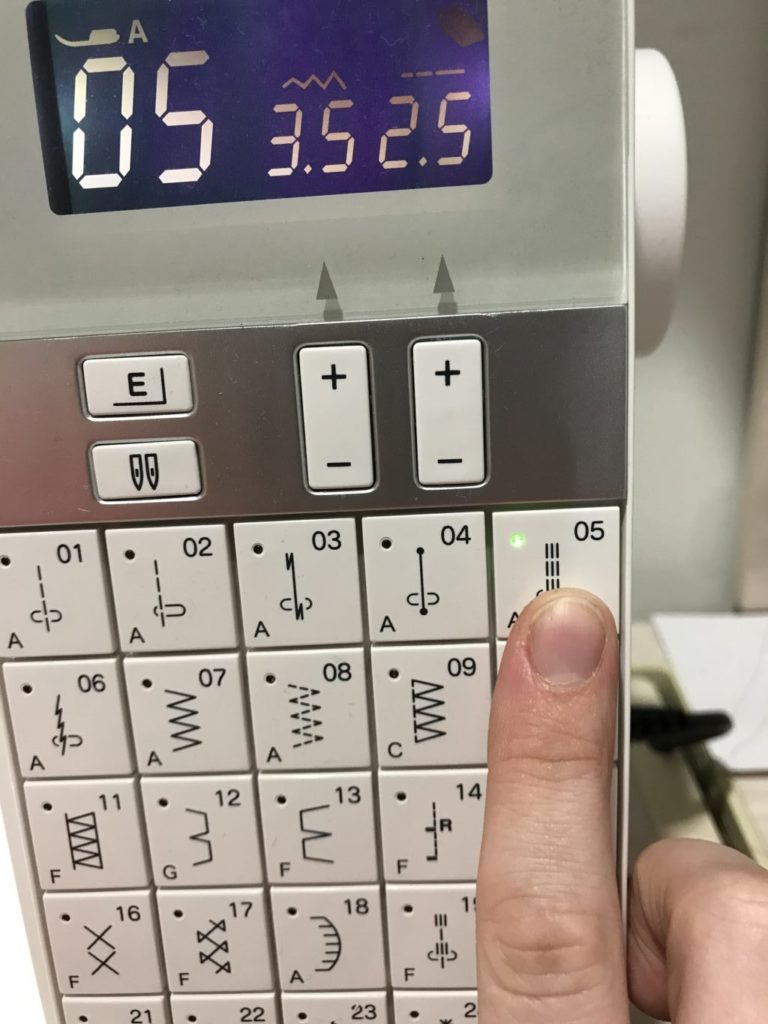
I cut 4 pocket pattern pieces. Time to attach my pockets. I’ve pined right sides together on both front and back pattern pieces and attached them with a 3/4″ seam allowance which is the same as the pattern allowance. I’m now ready to pin both front and back pieces together as well as all 4 pocket pieces. I’m stitching from the bottom up to the pocket, then around the pocket and up to the top of the shorts. When attaching my pockets like to reinforce the top and bottom with a triple stitch.
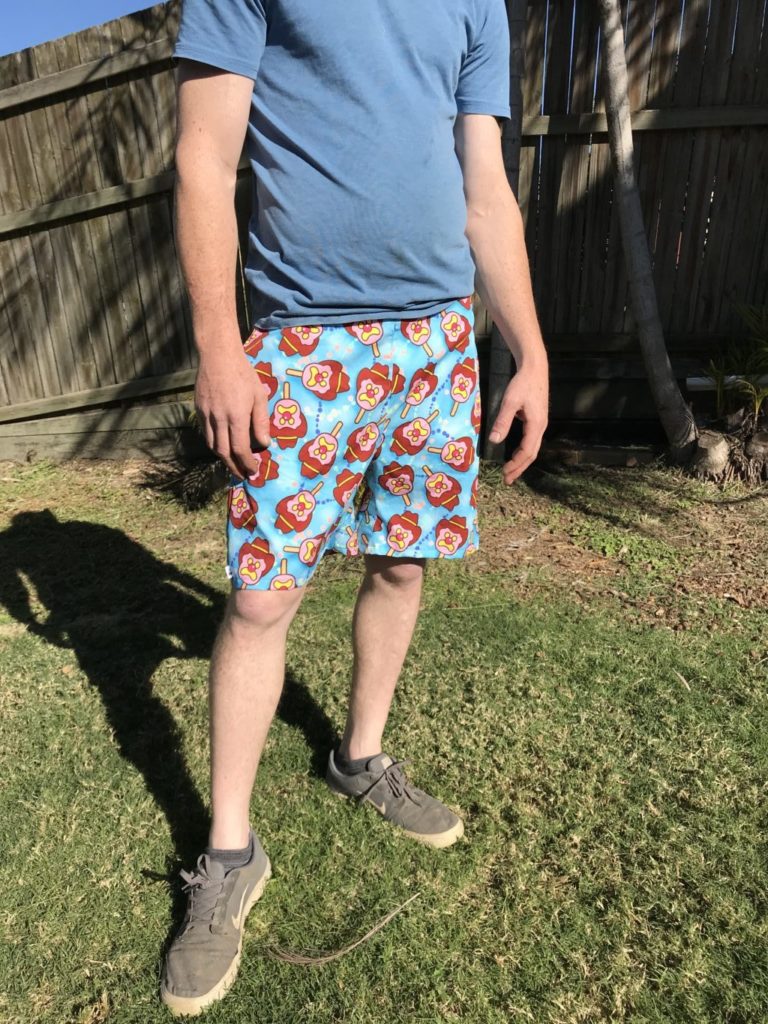
All that is left to do is attach my elastic and hem them! They look fantastic! I’ve attached the elastic, my care labels, and hemmed the bottoms up 1″ by folding up half and inch and pressing then up another half inch before top stitching it down. Finally they are complete! Now hubby can try them on.
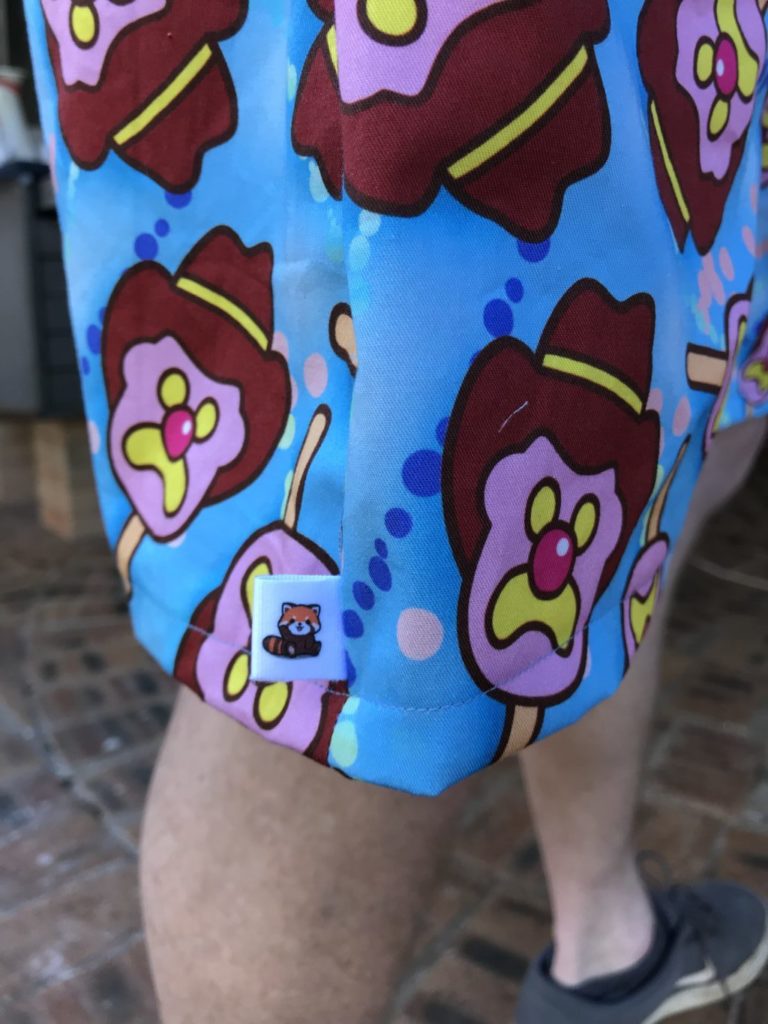
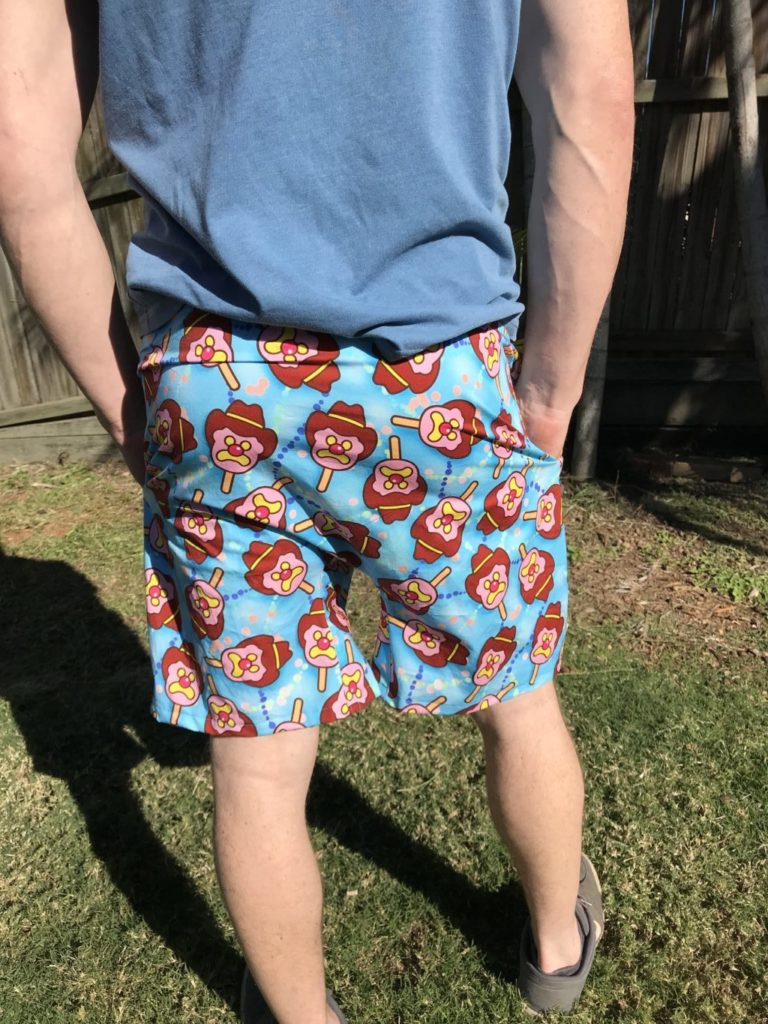

I am absolutely thrilled with the fact I was able to test this amazing pattern and not only just test it for the knit fabric that it is designed for, but then to go ahead and make it into some pretty cool woven shorts too! The hubby has not taken them off since and has asked what fabric I have that I can make him more out of!
I hope you made it this far and thank you so much if you have! It’s been a pleasure. I hope to have the opportunity to test for Mamma Can Do It again in the future.


1 thought on “Knit Boxers and Lounge Shorts: Woven Day Shorts Hack”
Your tutorial is amazing! I’ll follow it to make some for my hubby, thank you so much!