Search

Loving the New Relaxed Peplum!

peplum, ladies peplum, sewing peplum, sewing tunic, tunic length top

I tried to sew a peplum once a while back. It was a really popular pattern. I kept seeing it a lot in different Facebook sewing groups, so I decided to give it a go. I hated it. I didn’t like the way it fit me. I liked the way it looked on a lot of people, but apparently, that particular pattern, needed A LOT of adjustments to fit my body. So I’ve used it a handful of times sewing for my little cousin, and I donated the top I made for myself to the thrift store. I still liked the style though, but have been reluctant to try making another peplum type top because of how that top fit me.

BUT… when I saw the tester call for the Mamma Can Do It Relaxed Peplum top, I decided that I needed to try it. I love how their other patterns fit me, so it was worth the risk. 😉

A Little About This Pattern:
 
This pattern really is a great one! It has lots of options, to make anyone happy. You can sew it in almost any fabric. You’ll get different results, but they all look amazing. It’s fun and easy to sew, and looks beautiful on!
You can choose to make this pattern in both top and tunic length. Both that I made during testing were tunic length. I like this length, because it is perfect for wearing with leggings. There are three (yes 3!) skirt options that come with this pattern. You can make your peplum a gathered skirt (with multiple options here), a circle skirt, or a half circle skirt. You can choose to use short sleeves, 3/4 length, or long sleeves. If you like banded necklines, that is included. Or if you prefer the finish of bound necklines, you’ll find a pattern piece and instructions for that as well. See, plenty of choices to make anyone happy.
My First Top:
 
** Please note, this was Version 1 in testing, therefore there were some minor changes to the pattern, not reflected in this version **
This top was made using a Double Brushed Poly from Knitpop. It is SO SOFT. I made it short sleeved and used the bound neckline. I decided to go with the gathered skirt, because I only had a little over a yard of this fabric and wanted to be sure I had plenty. My gathered skirt has a curved hem (I believe this was one of the things changed in the final version – the curve was made a little more pronounced). I loved the fit of version 1. It was very comfortable, and was already a good pattern. I’ve already worn this several times!

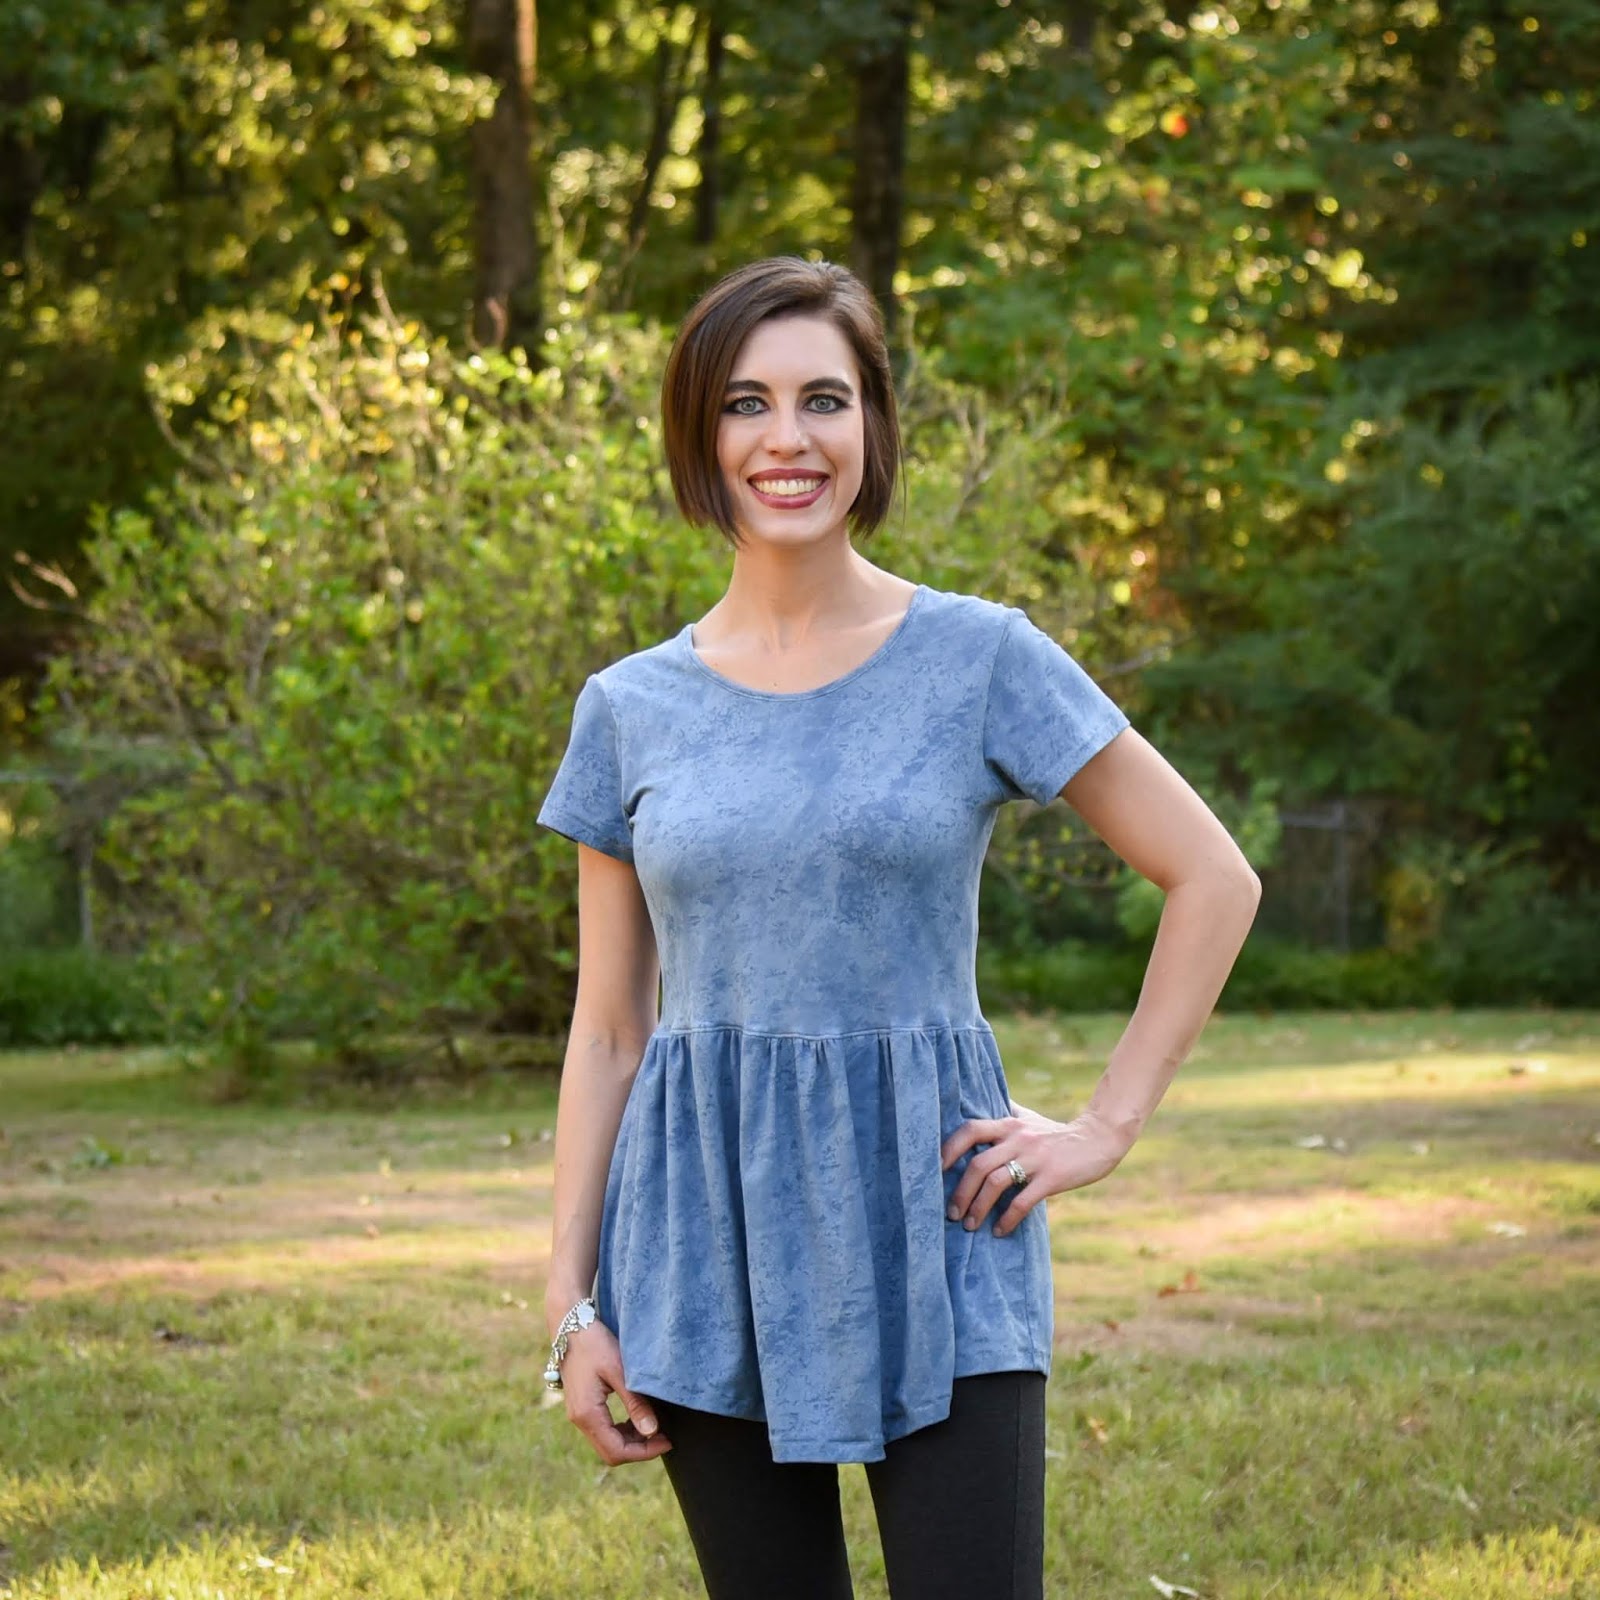
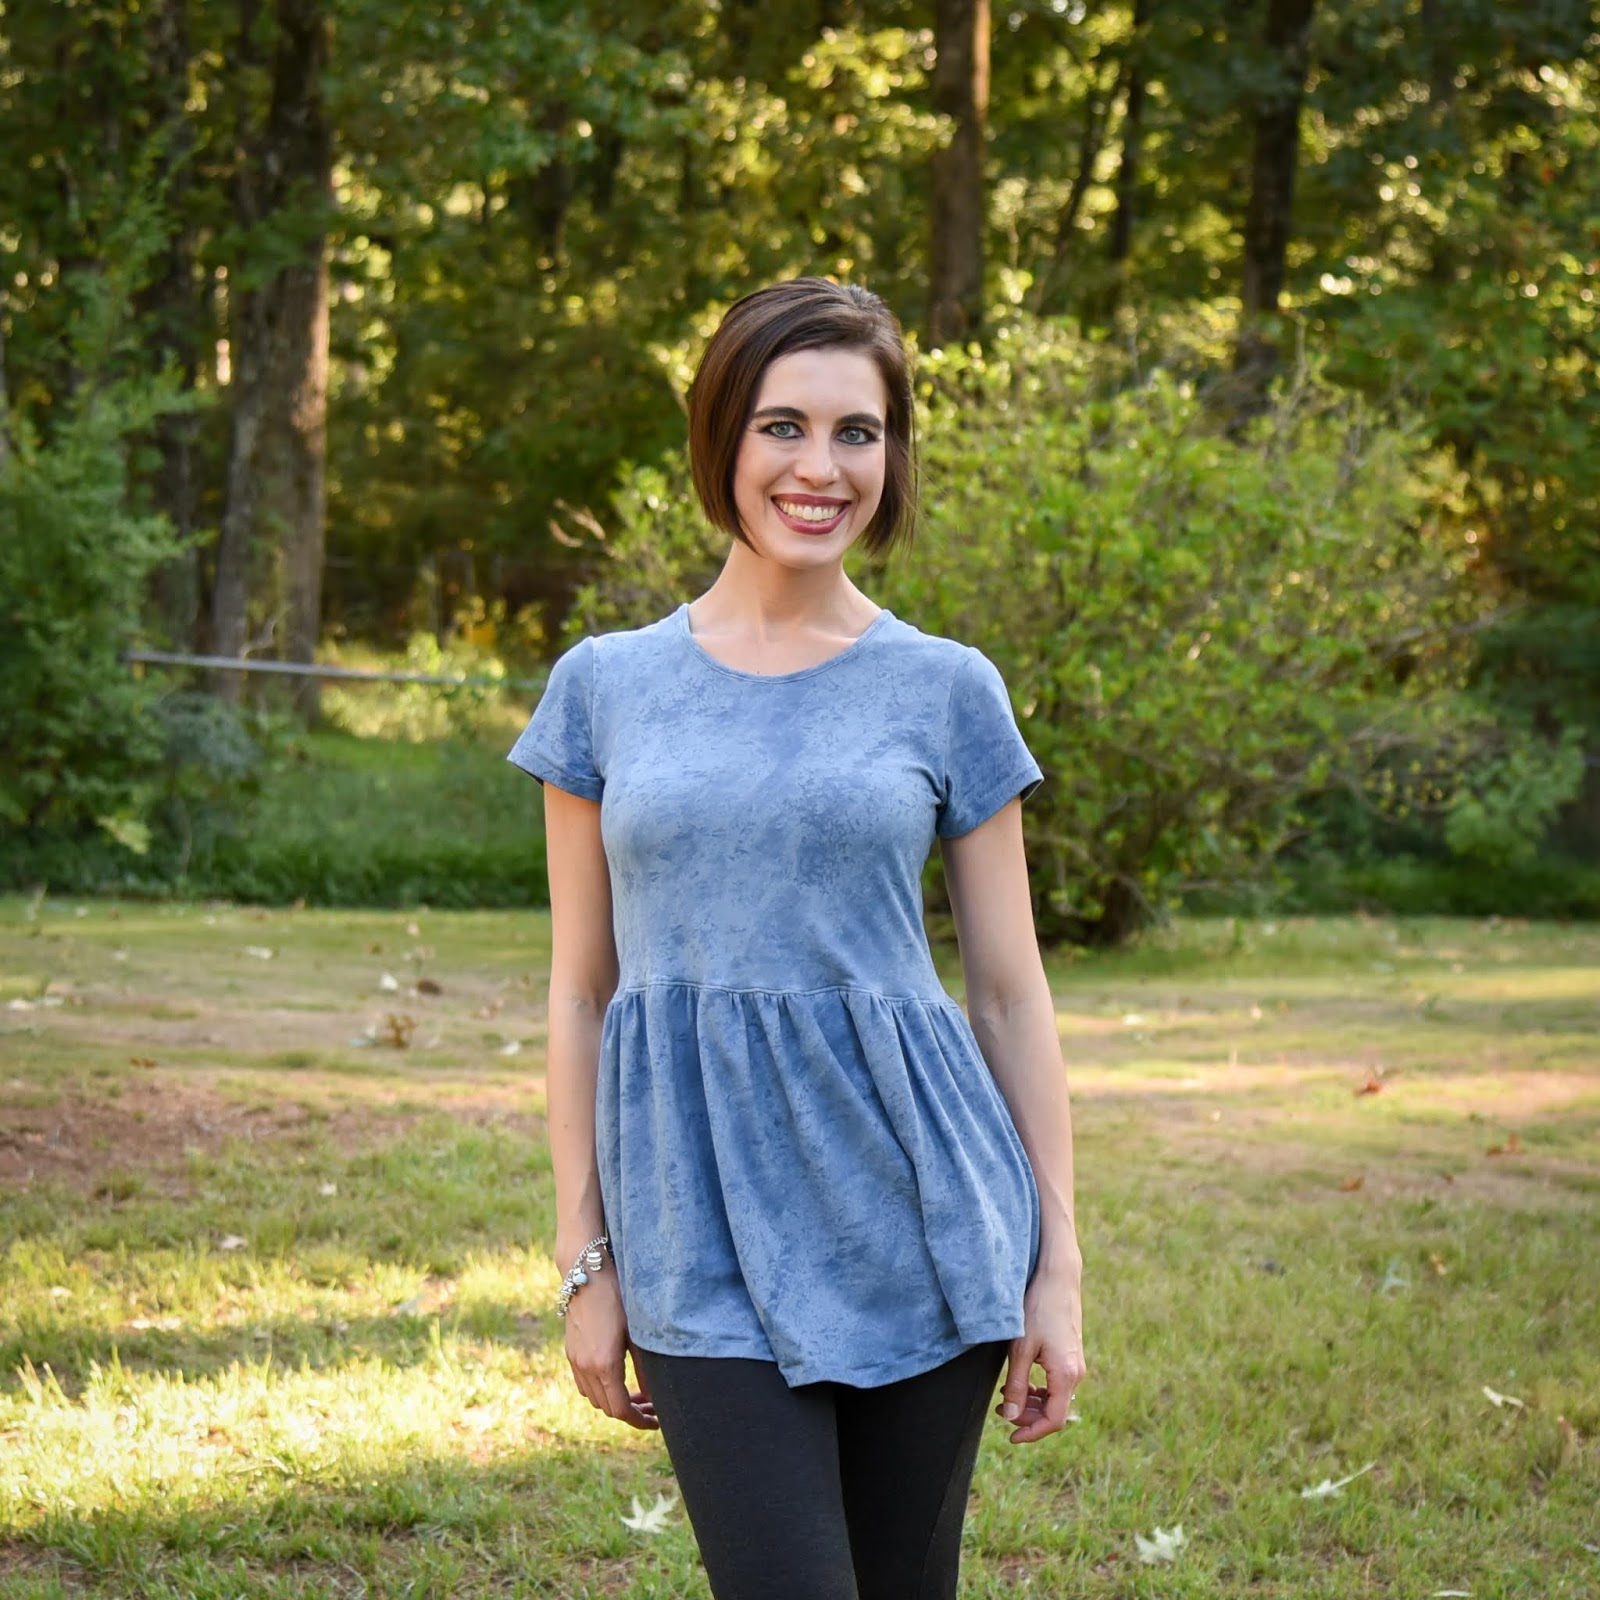
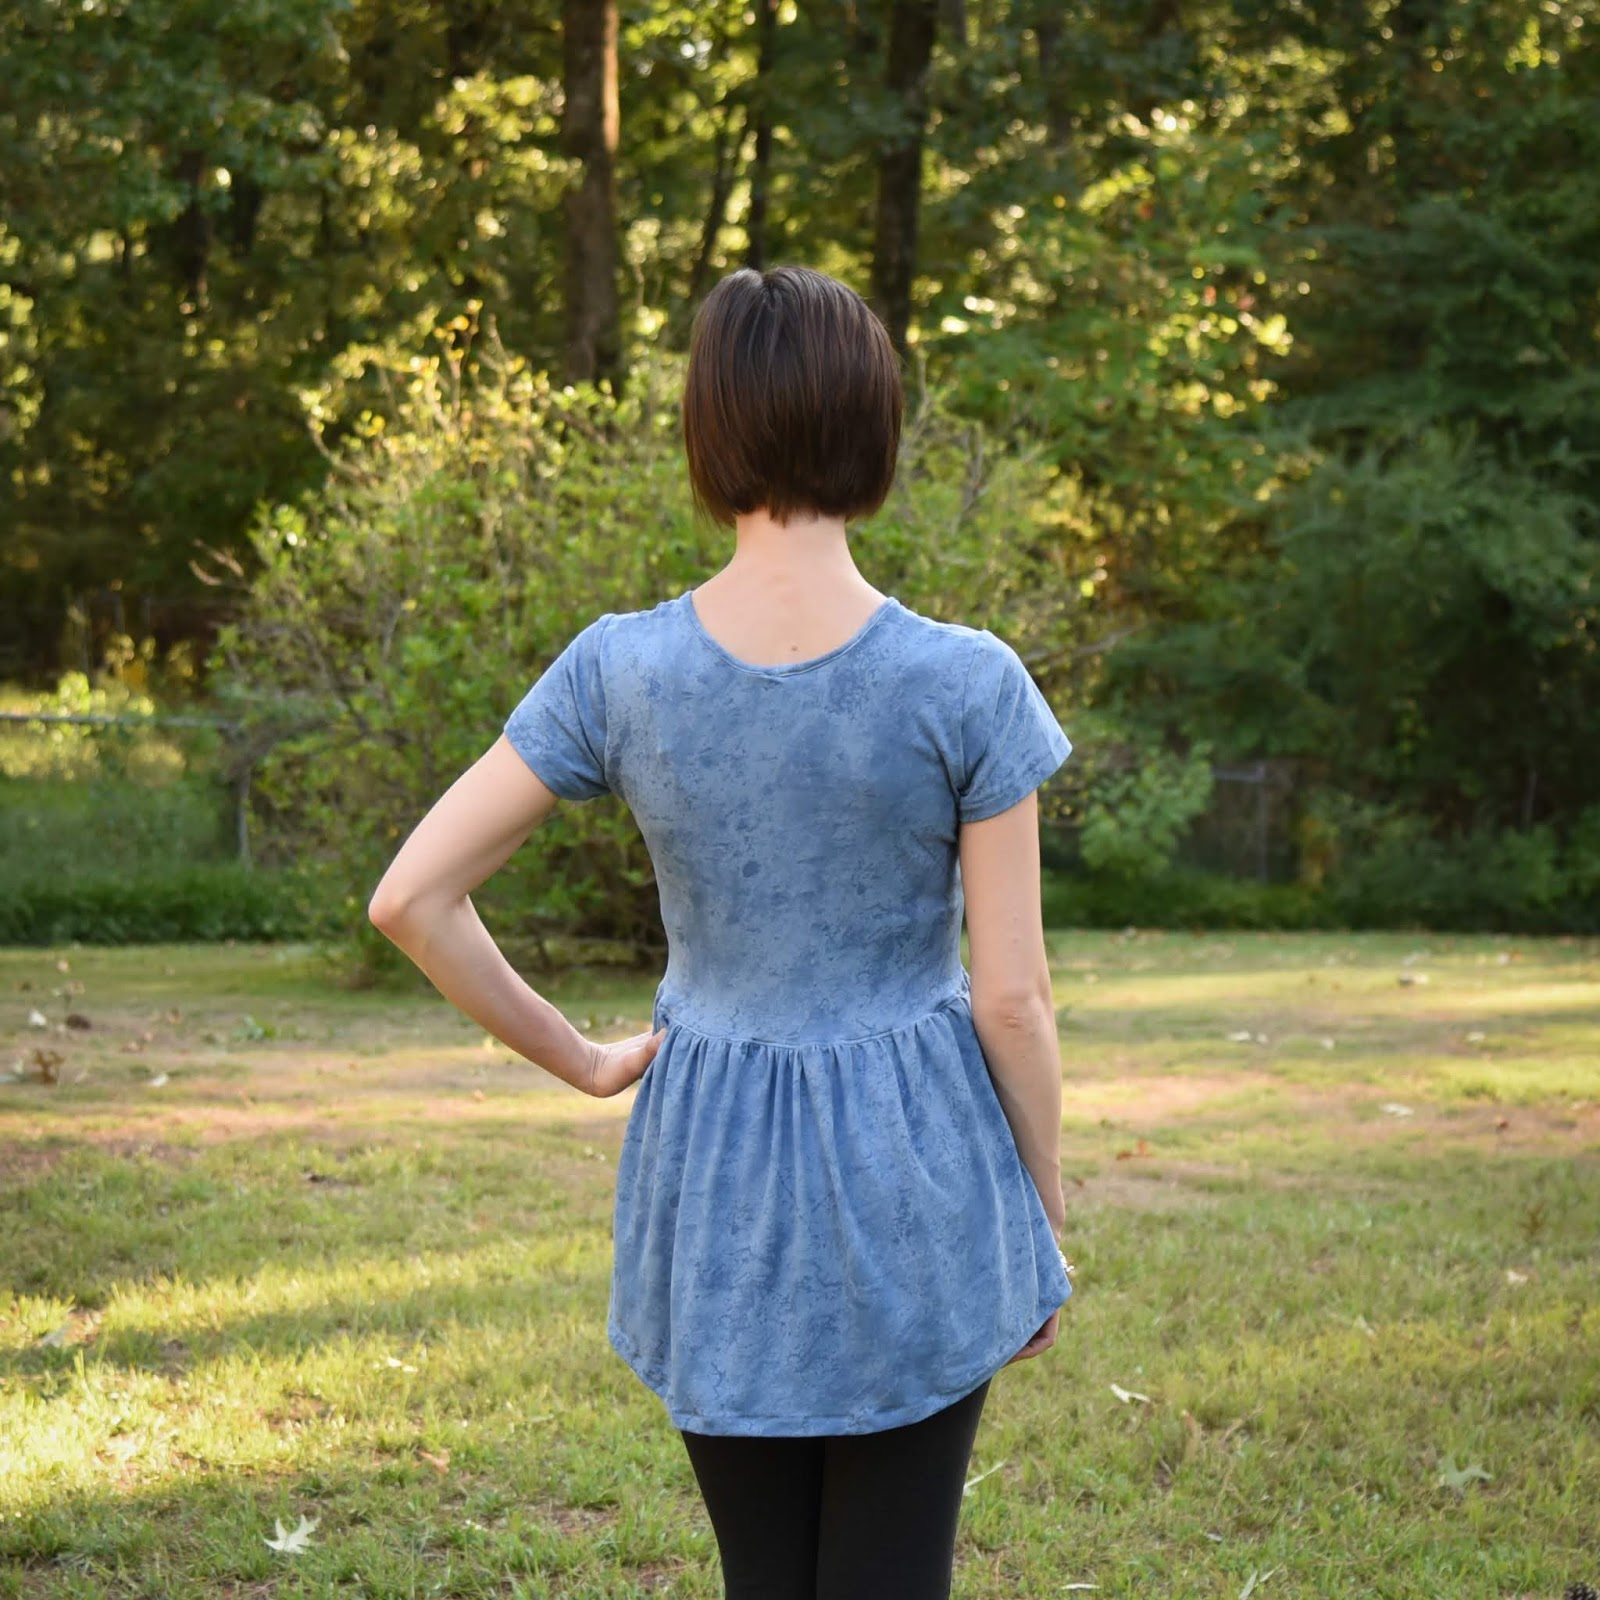
I made a size 4 based on my bust measurement. My waist measurement falls closer to a size 6 but due to the amount of ease included in this pattern (for the intended relaxed fit), I chose to not grade the pattern at all. I just made a straight 4.  I do like the fit. 🙂

My Second Top:

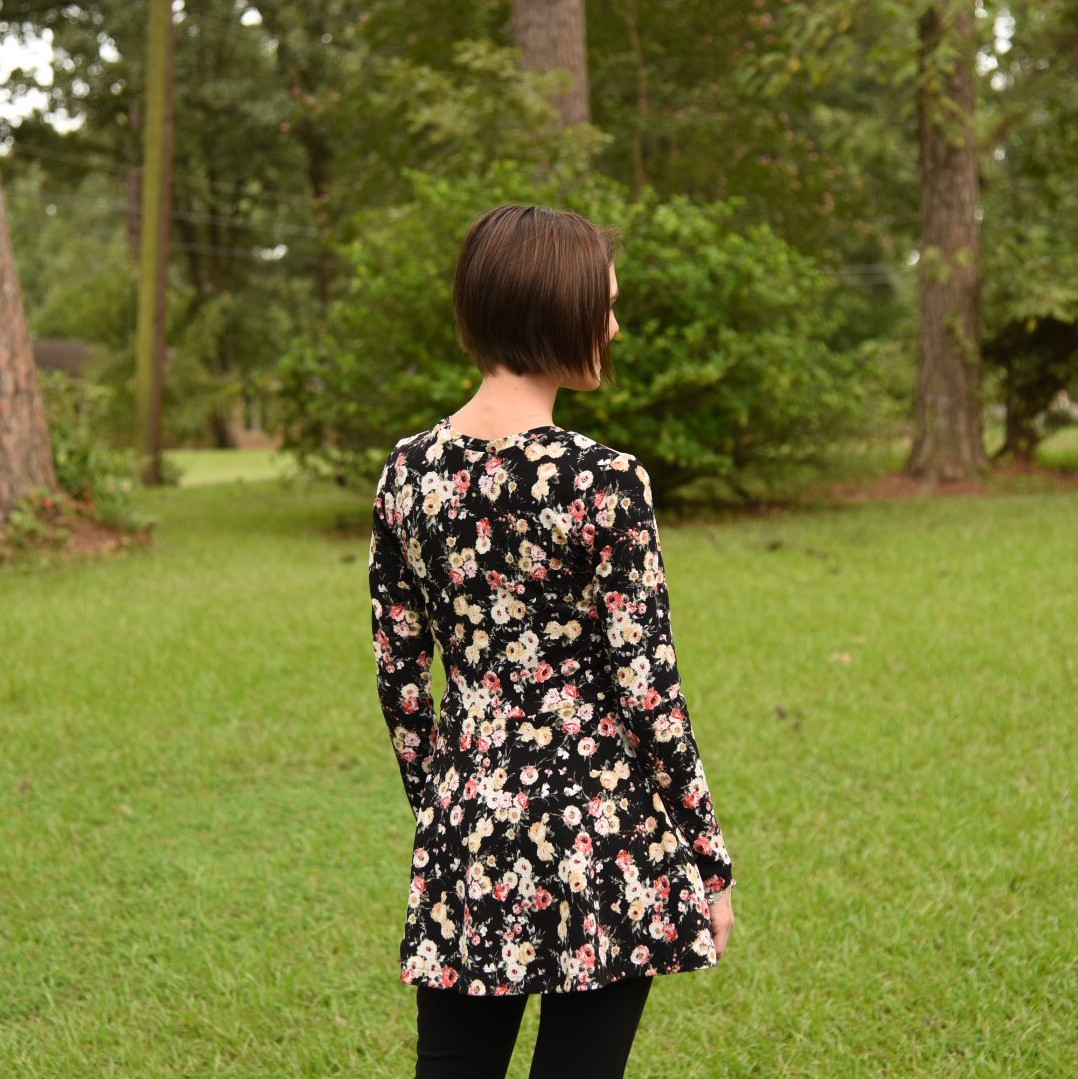
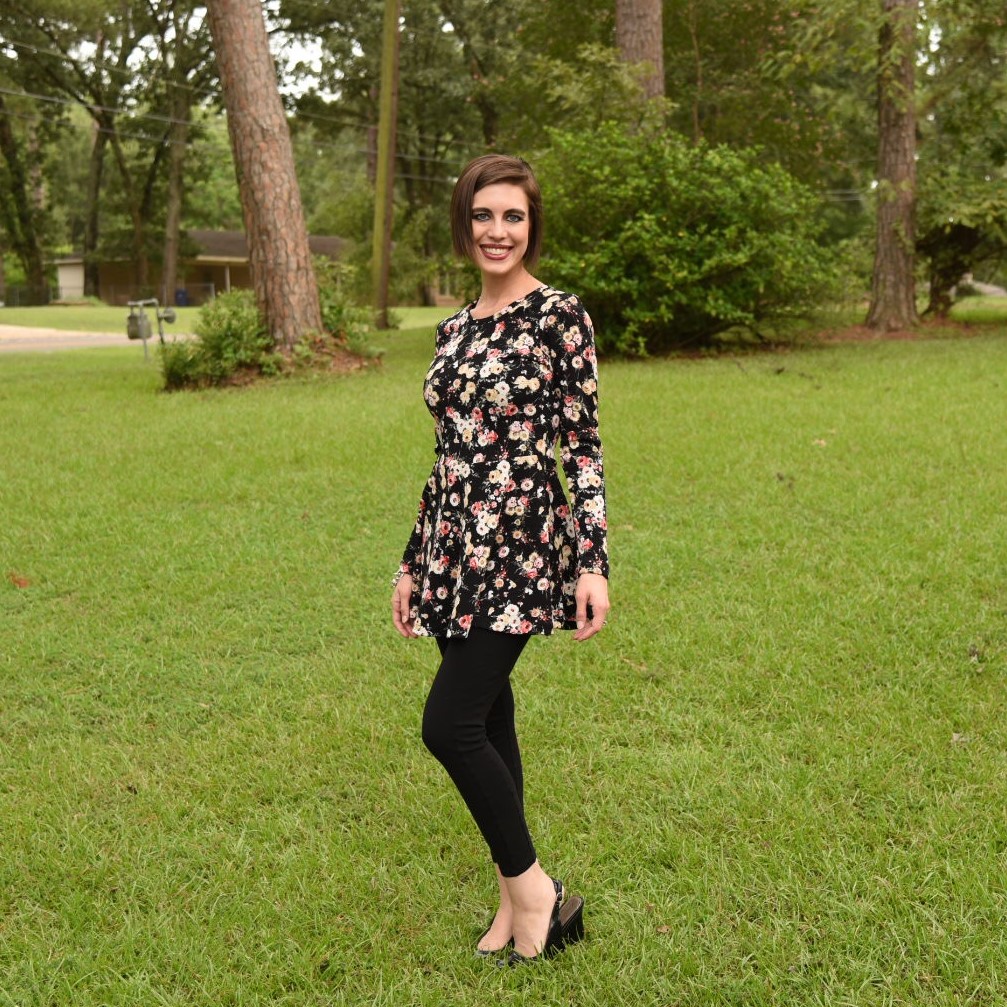
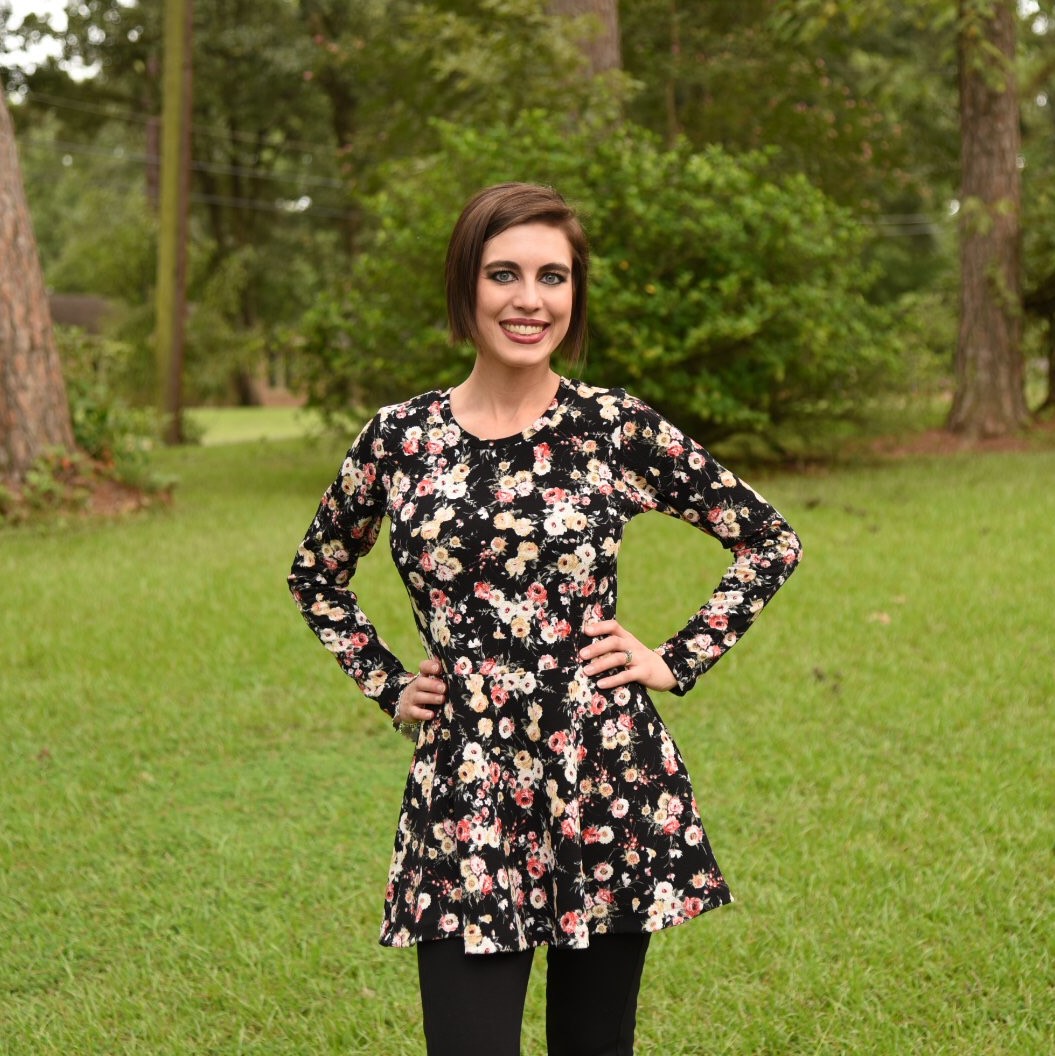
My second top was made from liverpool fabric I got from Fabric.com a while ago. Liverpool fabric is my favorite to sew. I love the way it feels. I love wearing it too!

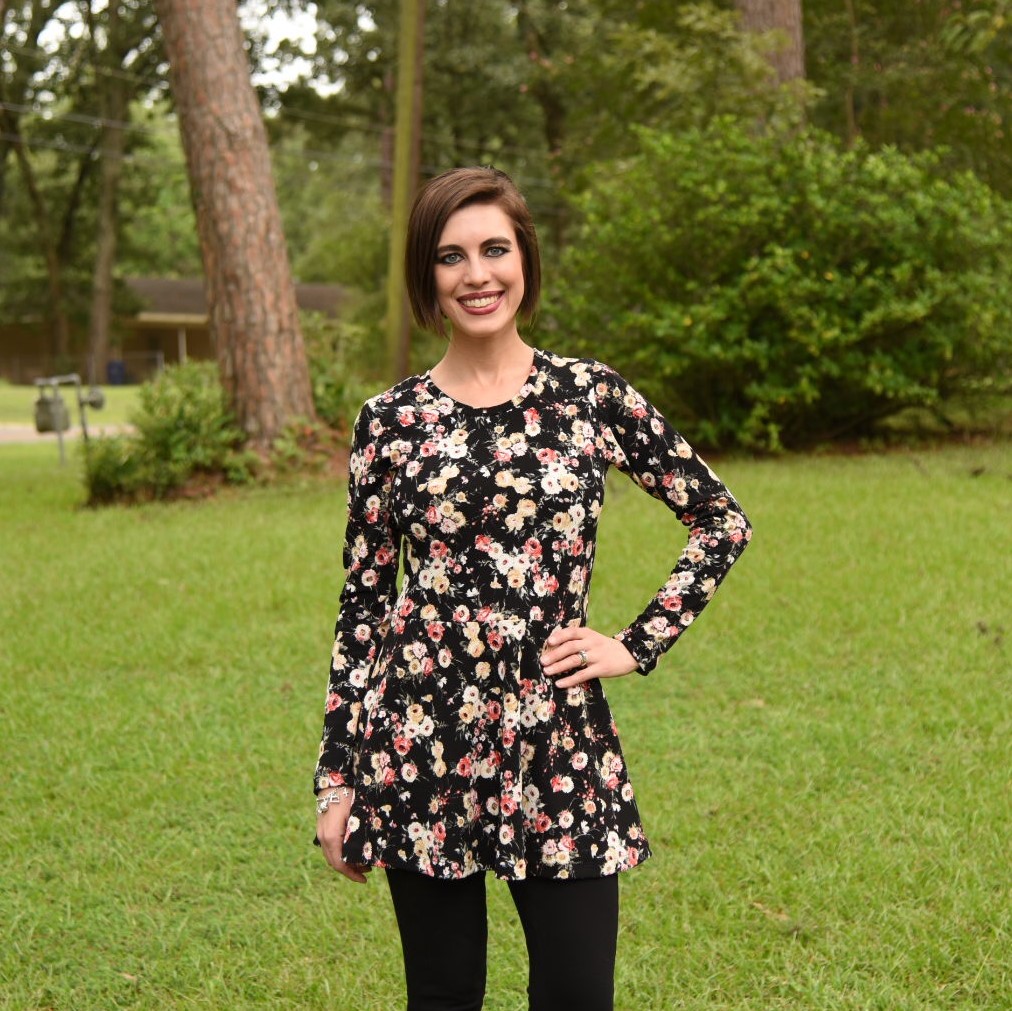
This was the final version of the pattern. I decided to use long sleeves, because, even though we are having temperatures in the 90s still, I know fall is coming! And, I want a few handmade things for the cooler weather too! 😉 I chose to sew the half circle skirt on this one. I thought that the circle skirt pieces would look nice in the liverpool (and they do!).

This time, I chose to use the neckband piece rather than the binding piece. I like the binding for thinner fabrics and the band for thicker ones like liverpool (just a personal preference though).

This is also tunic length. Perfect for pairing with leggings!

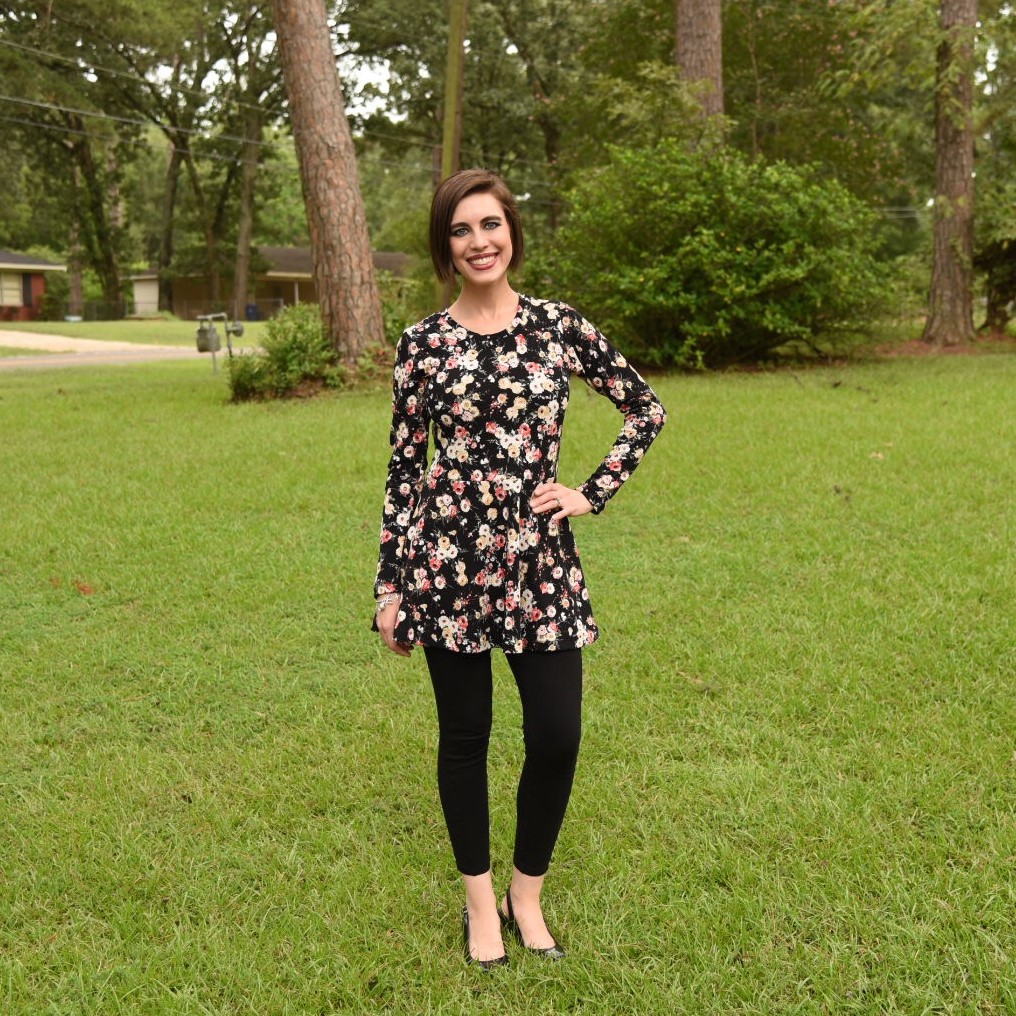
I also sewed the straight size 4 this time, with no adjustments. I’m super happy with the fit!

Overview of the Pattern:

  • several sleeve lengths (short, 3/4, long)
  • asymmetrical sleeves (not cut on fold)
  • banded or bound neckline
  • gathered skirt option (with straight, high-low, or curved hem)
  • circle or half circle skirt option
  • top or tunic length (tunic length is great for pairing with leggings)
  • excellent photo instructions
  • great support from the Mamma Can Do It Facebook Group 

My link to Knitpop http://bit.ly/2KKjW9y (affiliate link)
Please note that I have included affiliate links included in this post. It doesn’t cost you any extra to use them, but I do get a small percentage of the sale when you do. 💓
If you don’t already, come follow my personal blog too! You can find it at http://custommadebylaura.blogspot.com/

Share:

Facebook
Twitter
Pinterest
LinkedIn

Related Posts

Leave a Comment

Your email address will not be published. Required fields are marked *

Reverse appliqué tutorial

I have had this Valentine’s fabric in my stash forever, just waiting for the perfect project to come along. With Valentine’s Day just around the

Scroll to Top