
Sew this easy Ornament gift card holder in under an hour. Follow this simple tutorial to add a personalized touch to a gift. They have a small hanger so they can be hung in a tree or even on the mantle. This is a simple way to make a gift extra special and it’s great scrap buster too!
Get the free pattern here
Supplies:
• Main Fabric & Contrasting Fabric for pocket, topper and hanger – Scraps or 1/8 yard Woven fabric. (ex. 100% Cotton, Flannel and Cotton Canvas)
• Fusible Fleece Interfacing – 1/8 yard (optional)
• Point Turner (optional) – I like this one.
• Sewing Clips
• Cutting Mat
• Scissors
• Sewing Machine
Sewing Tutorial
Cut out your fabric pieces and apply the interfacing (if using) to the WRONG side of the fabric. Apply the interfacing per the directions on the interfacing package.
This pattern includes a 1/4″ Seam allowance.
Make the Topper & Hanger
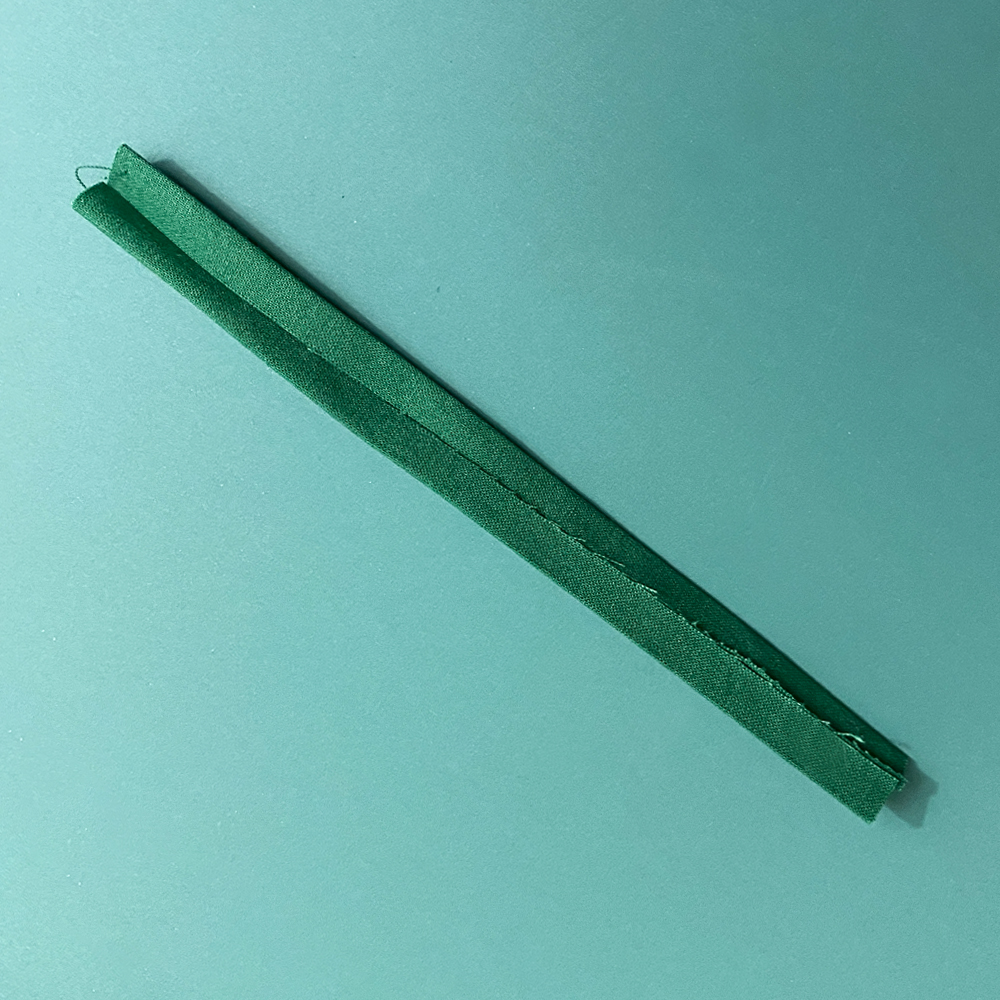
With WRONG sides together, fold hanger piece in half widthwise, press. Unfold and fold each long side to center press line, press each side. Refold the center and press well.
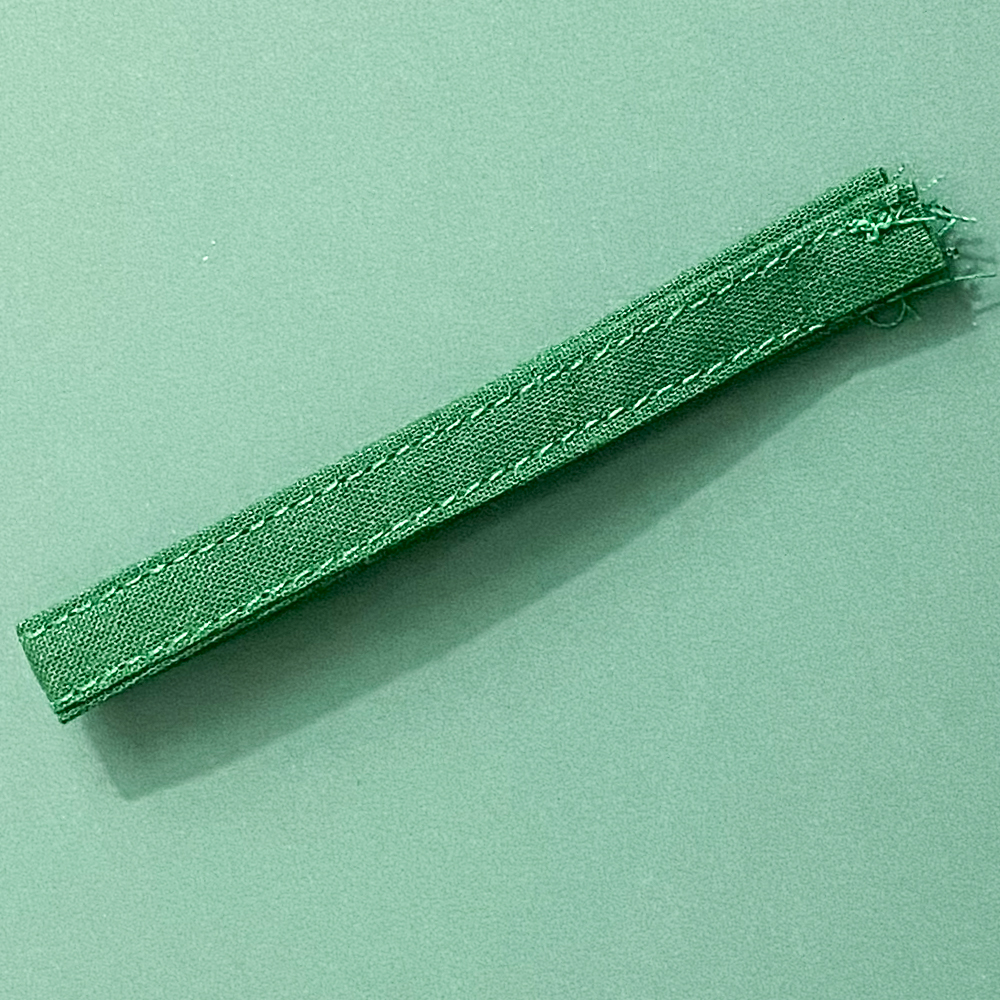
Edge stitch along both long sides.
With WRONG side together, fold hanger piece in half lengthwise lining up the raw edges.
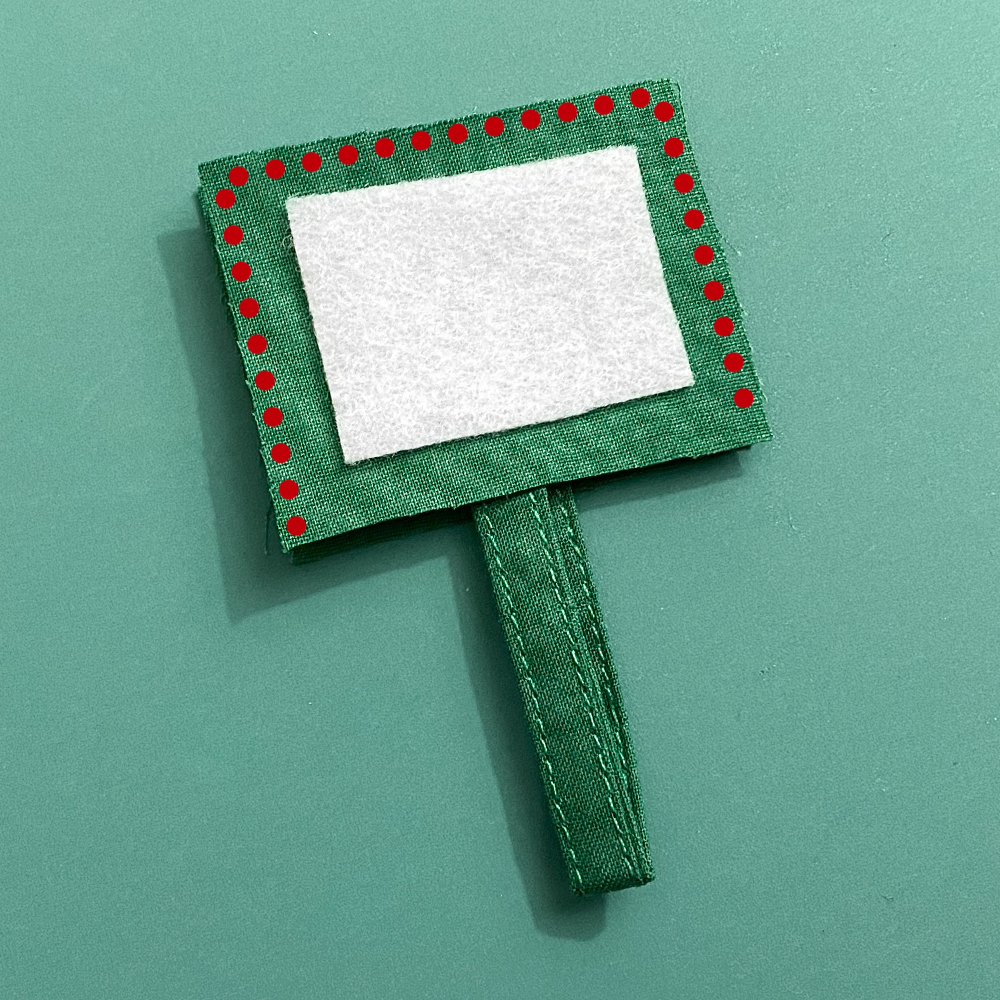
Place one of the ornament topper pieces RIGHT side up. Place folded hanger piece in the center of topper piece. Place the second topper piece on top. The hanger piece will be sandwiched in between. Align the raw edges and stitch along the three sides. Leavethe side that has the folded hanger piece sticking out unsewn.
Clip corners as close to the stitches as you can without cutting through them. Turn Right sides out and poke corners out, press.
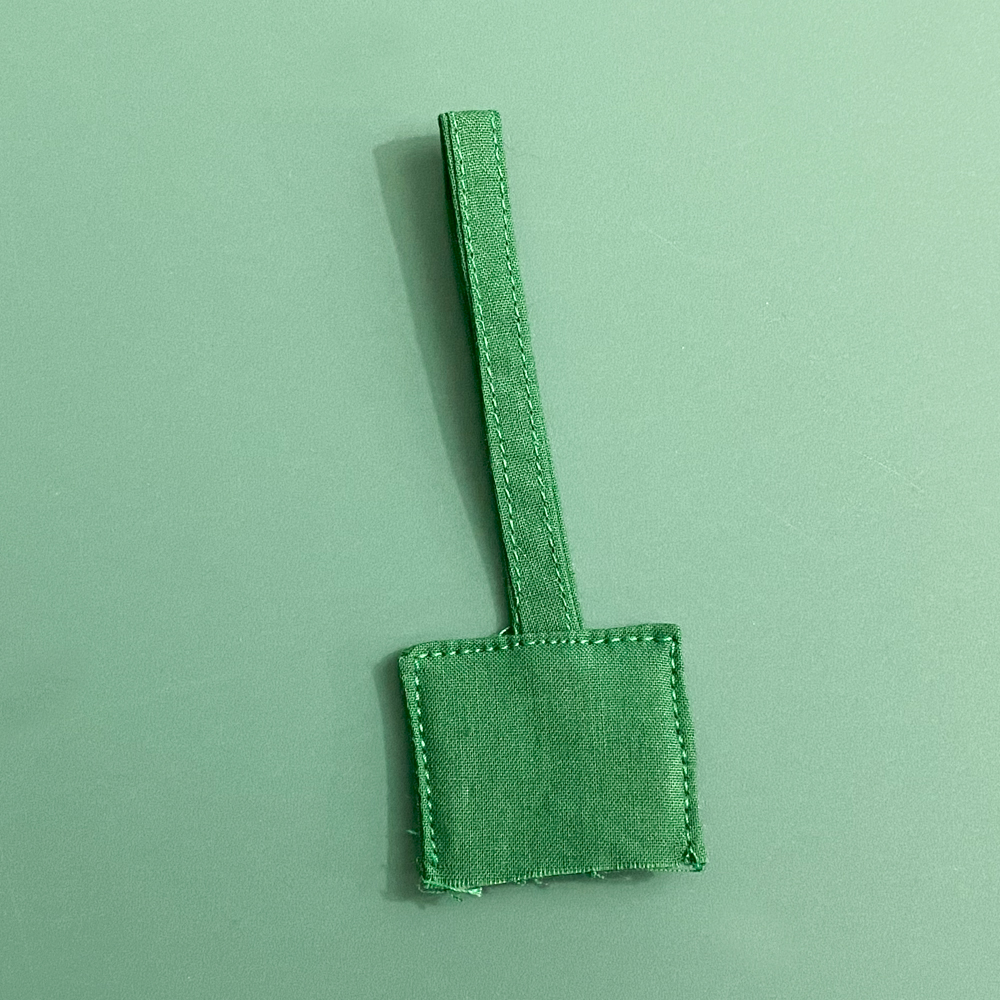
Edge stitch along the three sides that you previously sewed. Set aside.
Make the pocket & finish
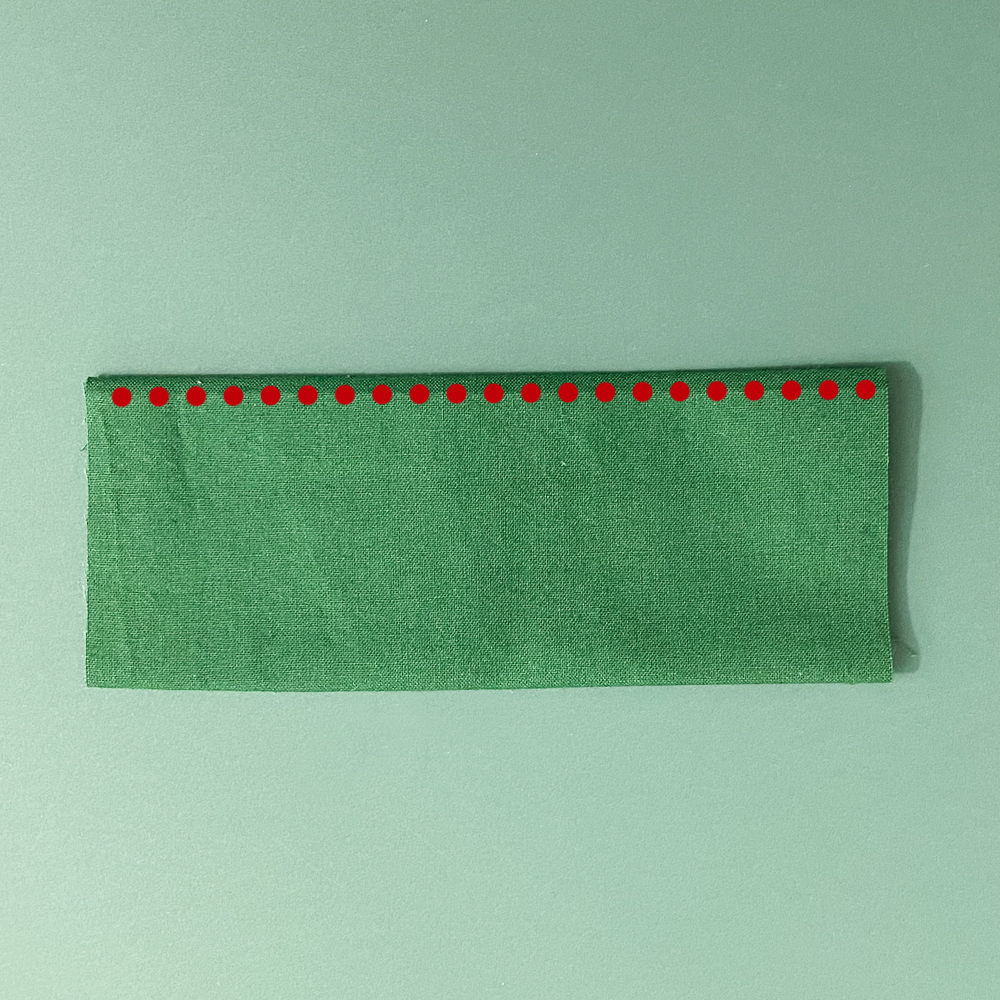
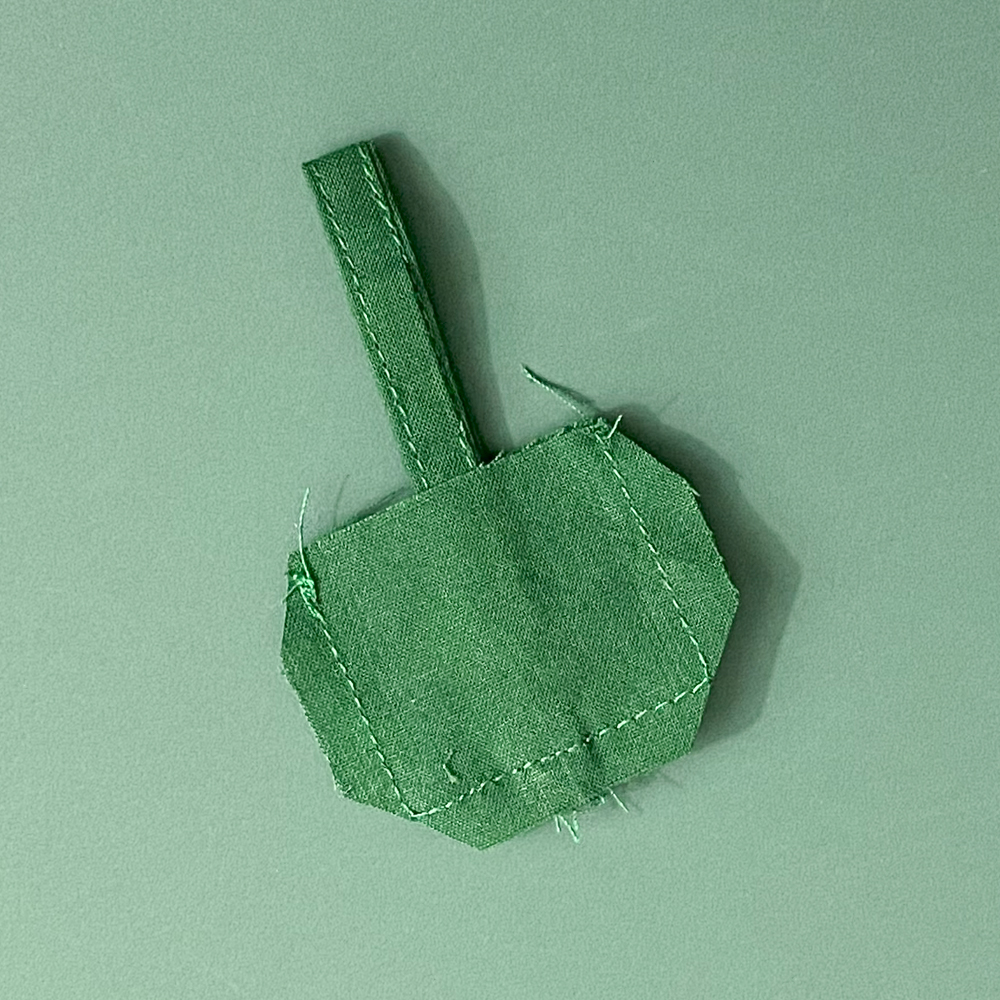
Fold one of the long sides of the pocket 1/2″ toward WRONG side and press. Fold pocket piece in half width wise. Tuck raw edge of unfolded side inside the folded edge (this will be the bottom). Stitch 1/8″ along top folded edge. This will be the top of the pocket.
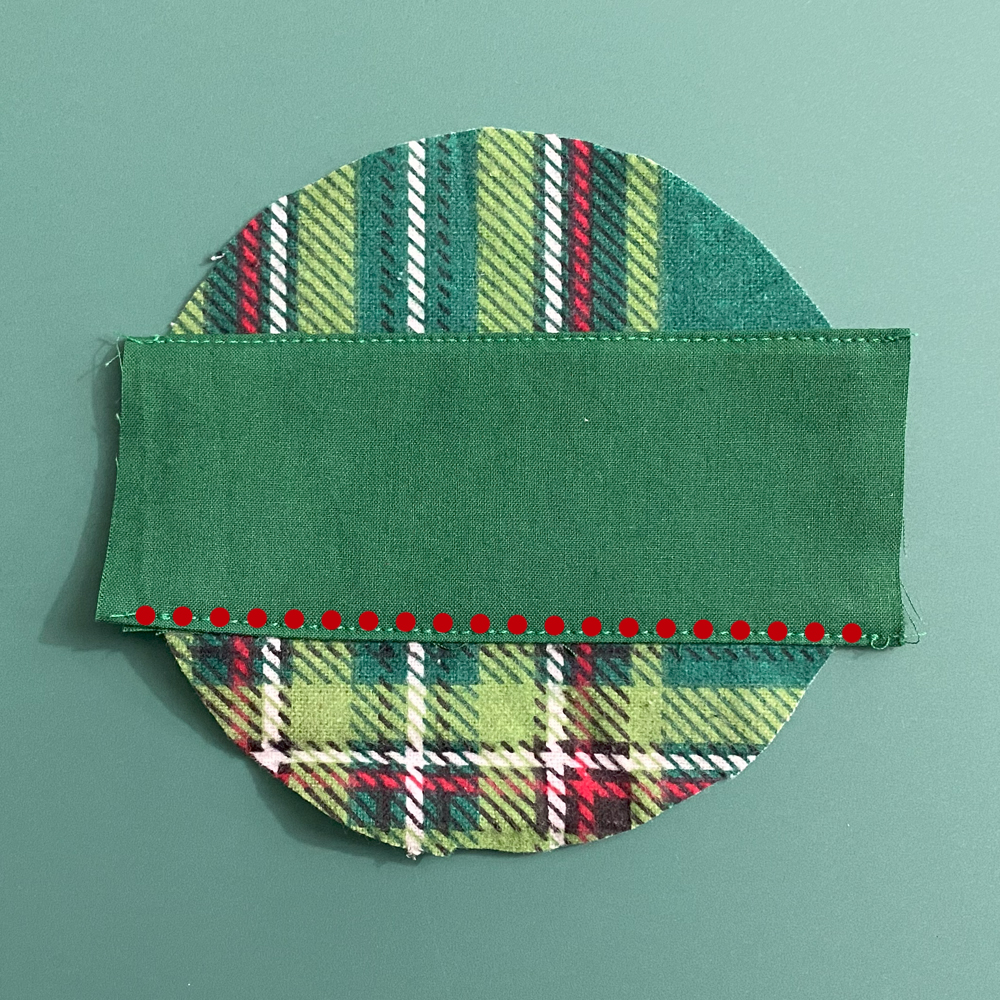
Place pocket piece in center of one of the ornament pieces. The RIGHT side of the ornament piece will be to WRONG side of pocket piece. The stitched side of the pocket will face toward the top of the ornament piece. This will be the opening of the pocket. Stitch 1/8″ along the bottom of the pocket piece. This is the side that was left unstitched.
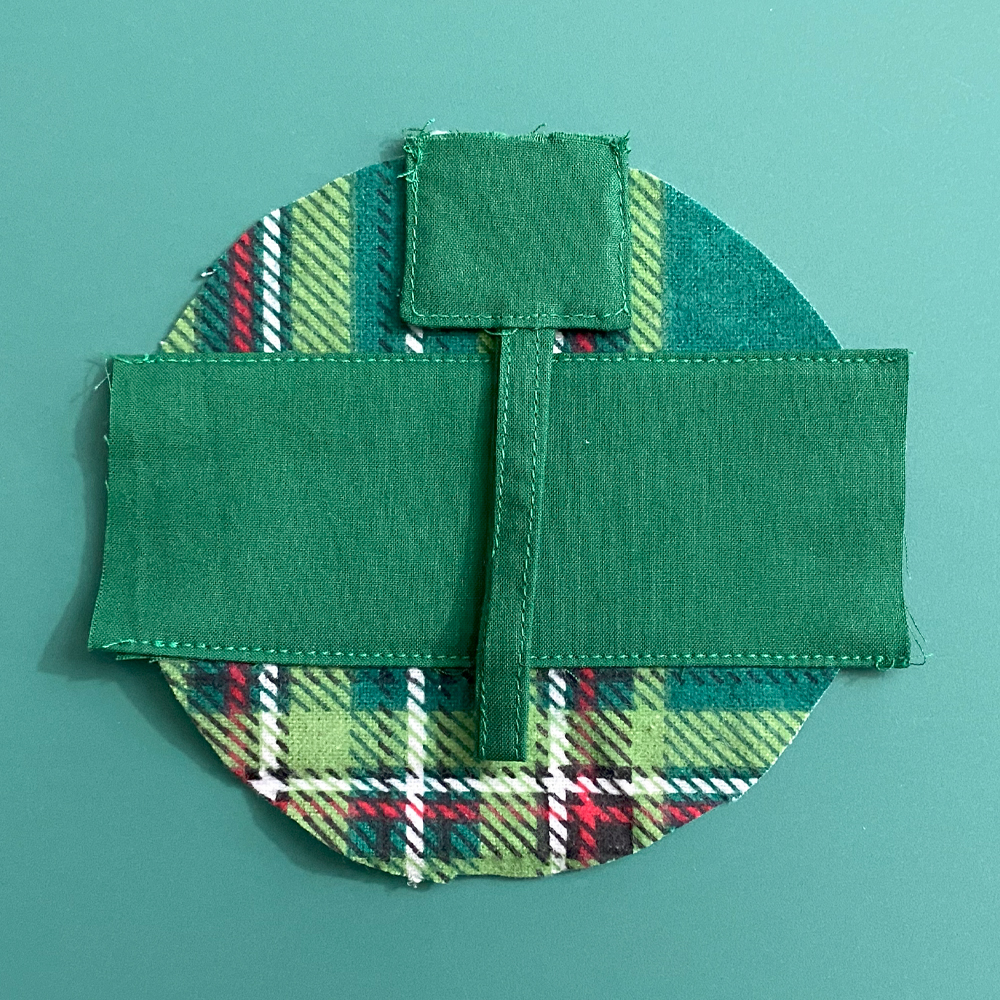
With RIGHT sides together, center the top hanger piece in the center of the ornament. Pin/clip to hold in place.
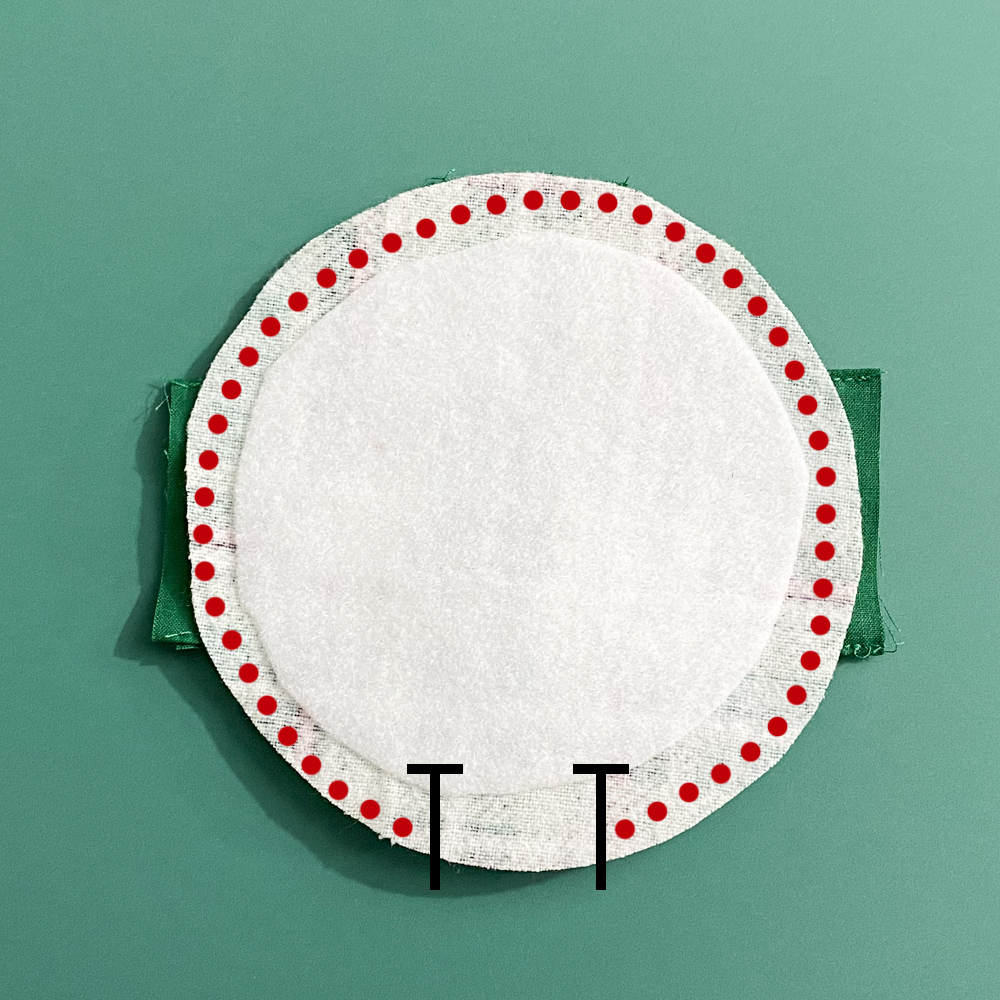
With RIGHT sides together, place remaining ornament piece on top. Stitch around the perimeter, leaving a small opening for turning.

Trim seam allowance and over hang of pocket with pinking shears or cut small snips around the outside curve. Turn RIGHT sides out.
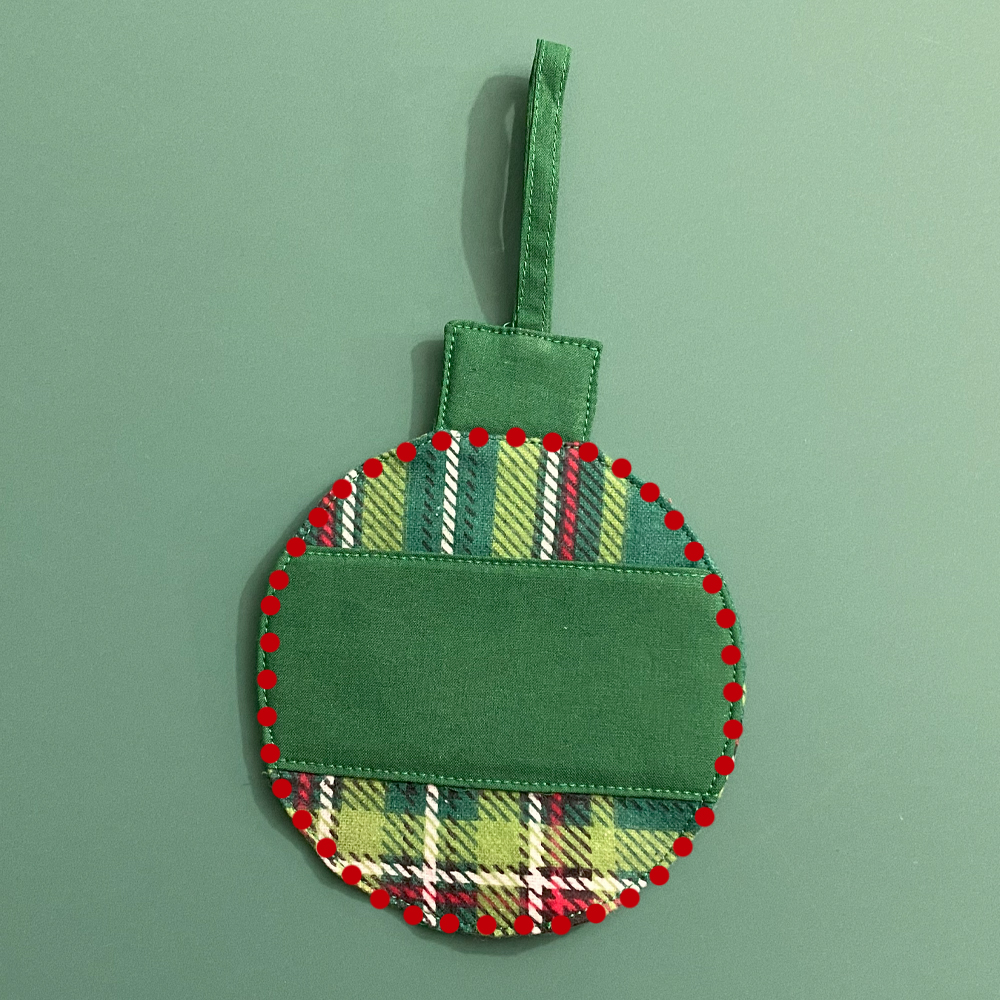
Tuck the seam allowance from the opening inward. Press well and topstitch around the entire outside of the circle.
Add a gift card & give it to someone you love!
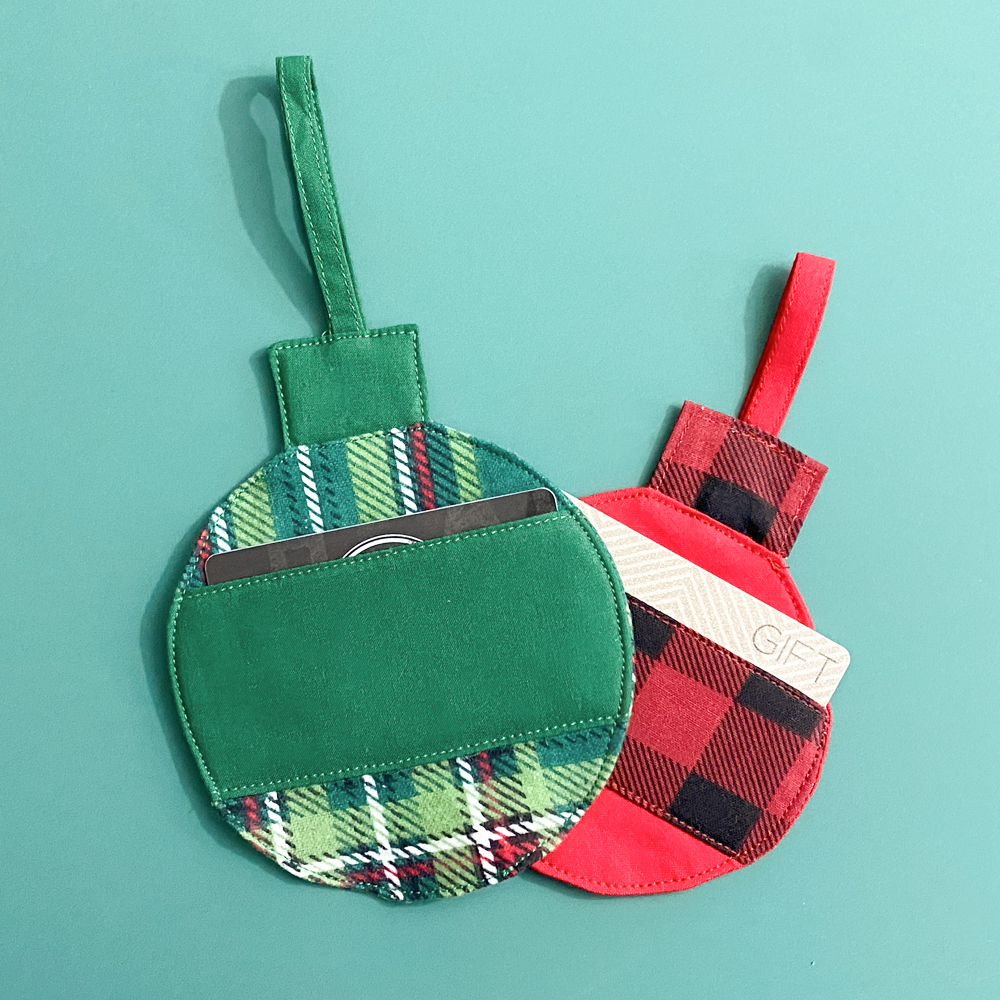
Show off your wallet and share it with our community of sewists. Make sure to tag us on Facebook and Instagram using @mammacandoit so we can see you in them!
Don’t forget to join us on Facebook, Instagram, Twitter, Youtube, and Pinterest to stay up to date on all things Mamma Can Do It!


