I’m so excited about the release of the Mamma Can Do It Relaxed Fit Peplum pattern!
I’m Laura, I usually blog at www.KittyMakesIt.com but I’m happy to do a guest piece here for the new MCDI Peplum top! You can follow me on Instagram @KittyMakesIt
This pattern was so fun to test! I love working with Mamma Can Do It because I can customize the fit and look of the pattern to my body and life! I like the smooth look of a perfectly fitting bust and I also like the put-together look of a pleated peplum for work.
MCDI graciously let me do both and I’m sharing my how-to with you!
Here’s my post on how to do a full bust adjustment (FBA)
Let’s get pleating!
This is a really easy modification and it really changes the finished look!

Pattern
I’m using the women’s pattern, but this method will work with this girls‘ too, so grab the bundle!
Fabric Choice
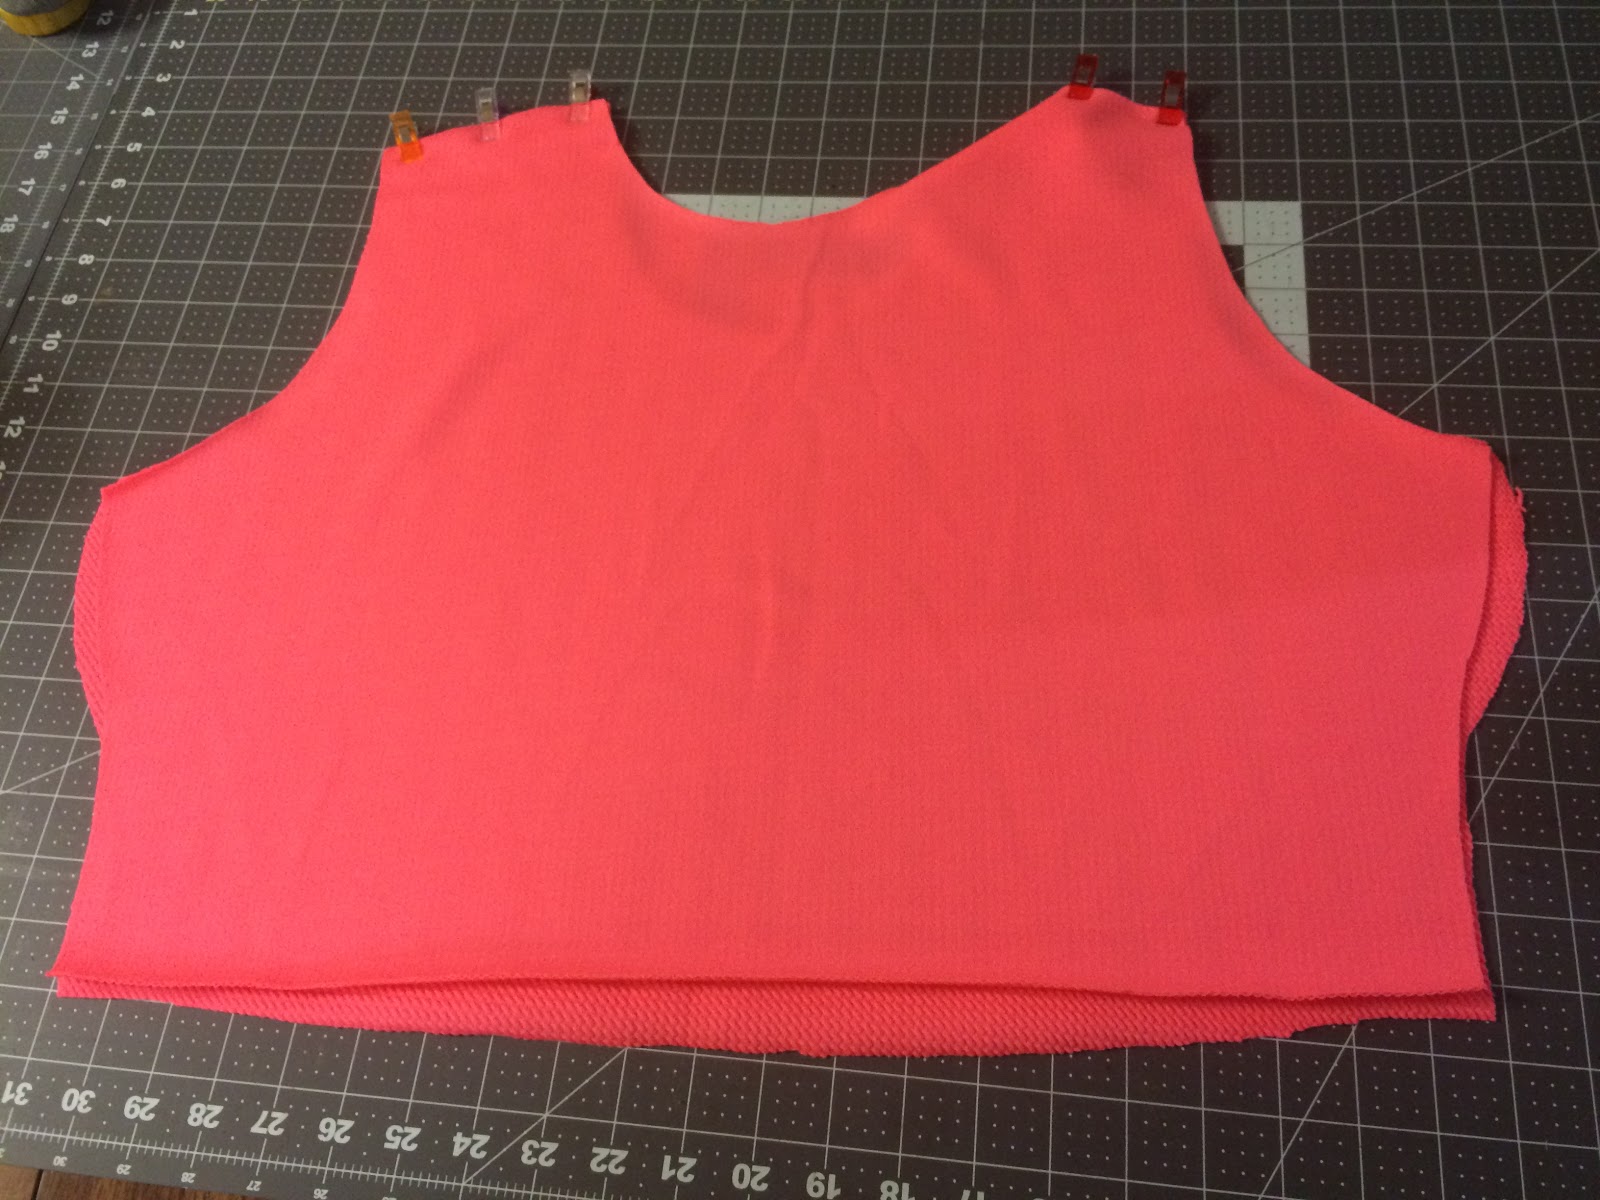
Prepare the Bodice
Prepare the skirt
Sew the two skirt pieces together on the side seams, right sides together as described in the tutorial.
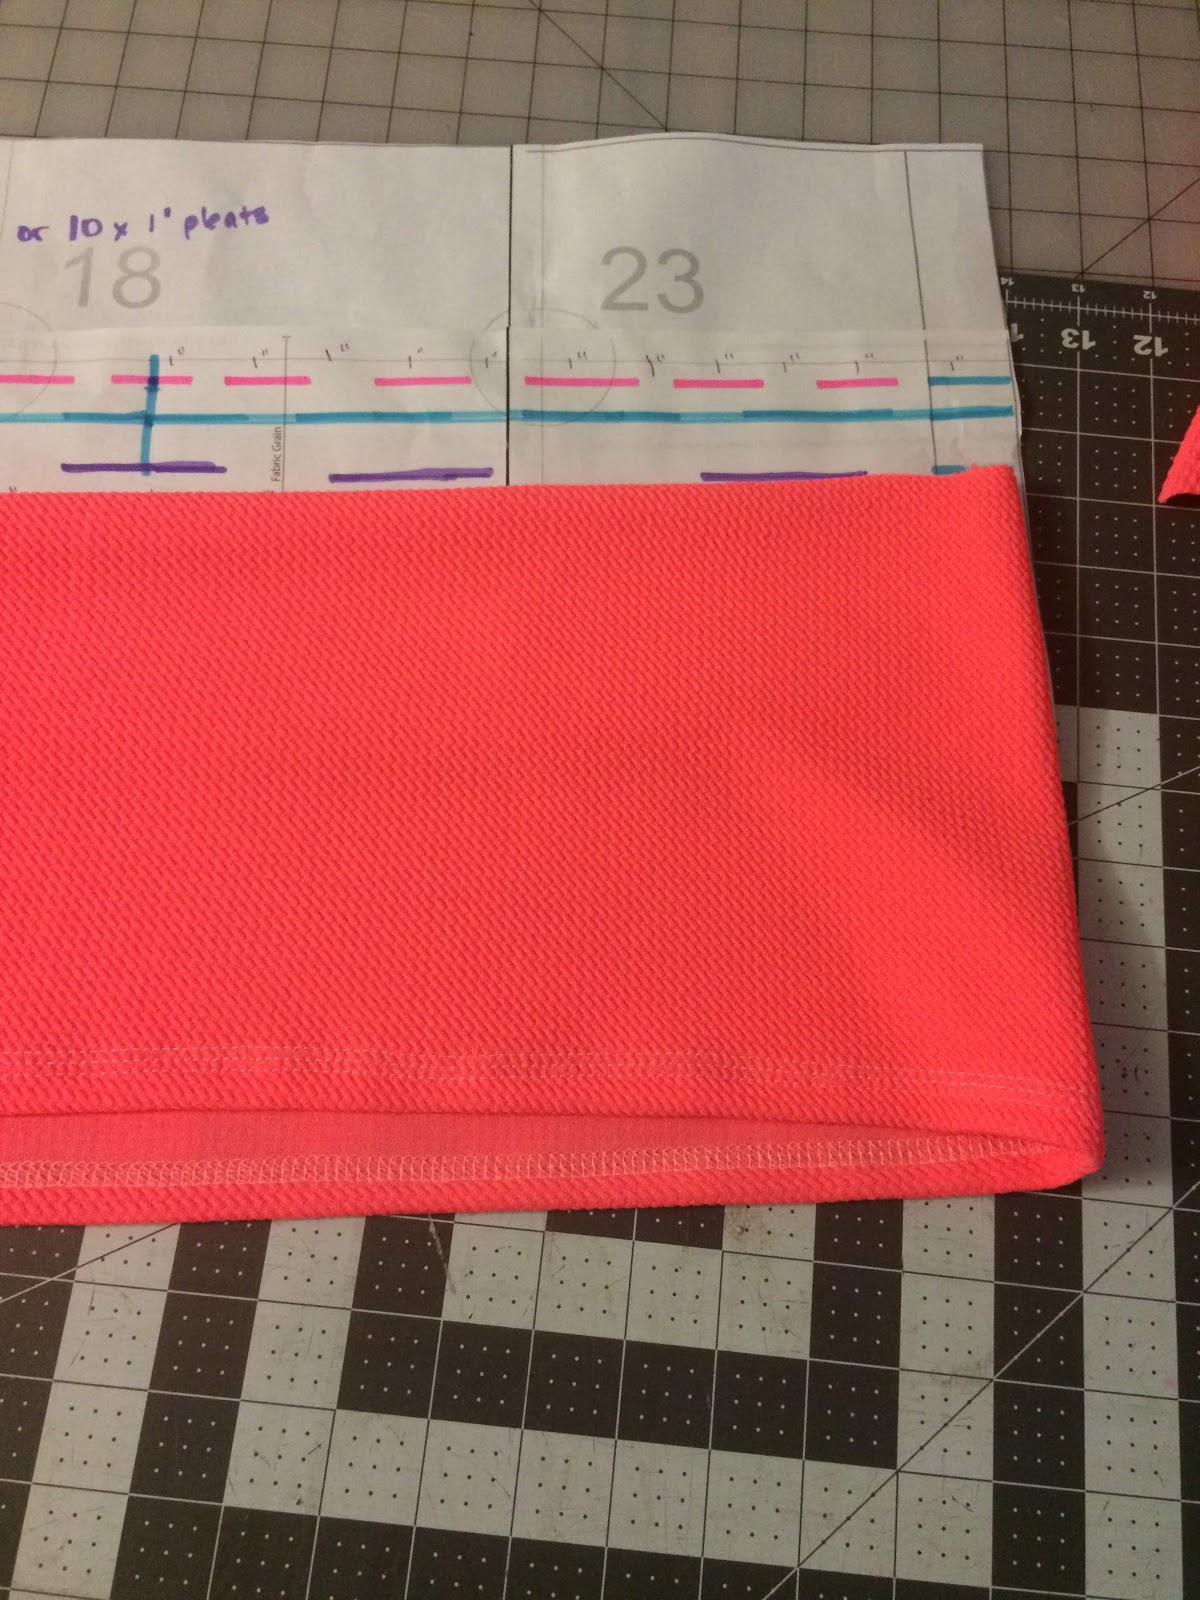
Hem the skirt, as described in the tutorial.
Prepare the pleats
There are several ways to go about this. You can do math and be really exact, or you can just wing it and eyeball the spacing.
How big do you want your pleats?
I like my pleats 2″ total, so they stand up about an inch when you pinch.
You might want fewer more obvious pleats, or twice as many smaller pleats. Satisfying personal preferences are why sewing for yourself is so great!
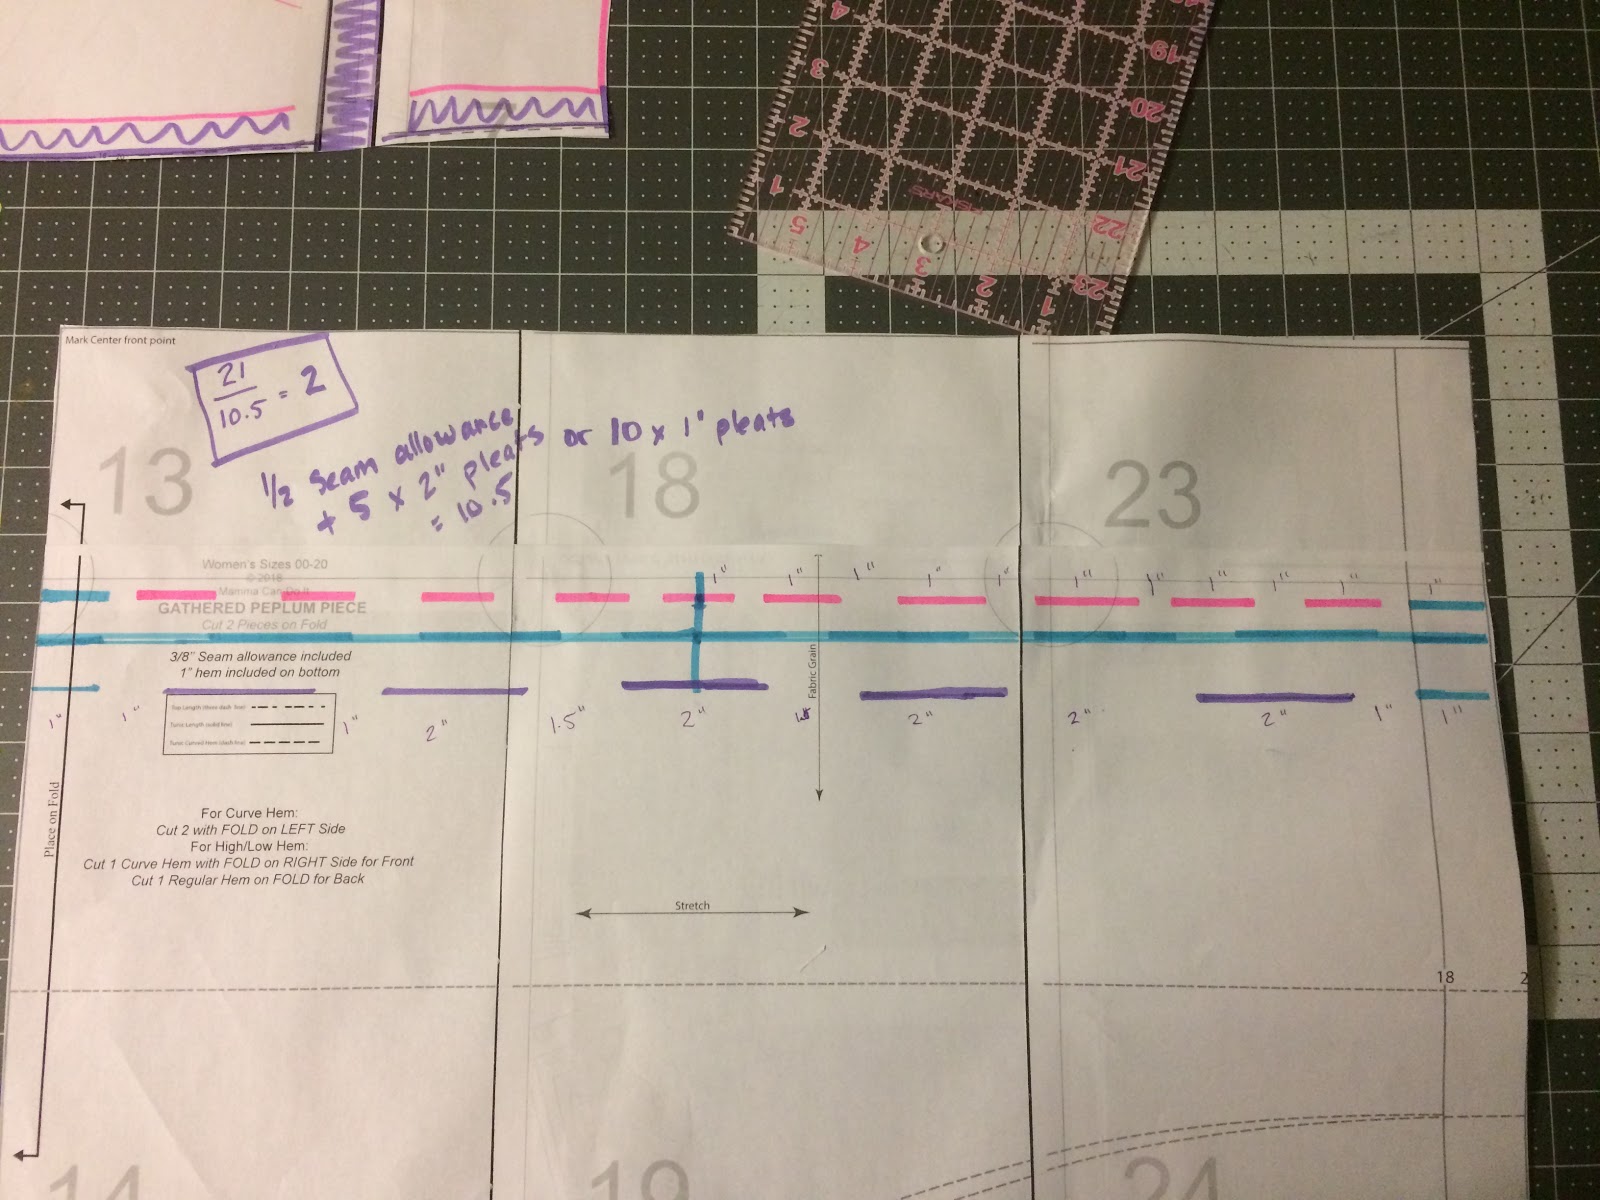
Math-Method
Since I knew I was going to blog about this, I wanted to be sure my spacing and pleats were perfect!
I measured the bottom of my bodice and my skirt piece. I graded up from an 18 waist to a 20 hip, so my bodice pattern piece was 10.5″ and my skirt was 21″, both to be cut on the fold.
Math-wise, I knew I could get 10 small pleats or 5 large ones. I drew out both possibilities.
I identified my center pleat (purple line on the left side), seam allowance (blue line, right side) and quarter center pleat (middle line) first. Then I calculated the distance between pleats based on 1″ and 2″ pleats and drew out both scenarios.

Fork Method
I could then transfer the marks to my fabric. I could also use the pattern piece as a guide while I clip.
I opted to wing it. Since I knew how many pleats I could fit, spacing was easy. Just make sure your pleated skirt is the same width as the bodice, like you would do with gathers. I find it helps to have a
ruler handy.
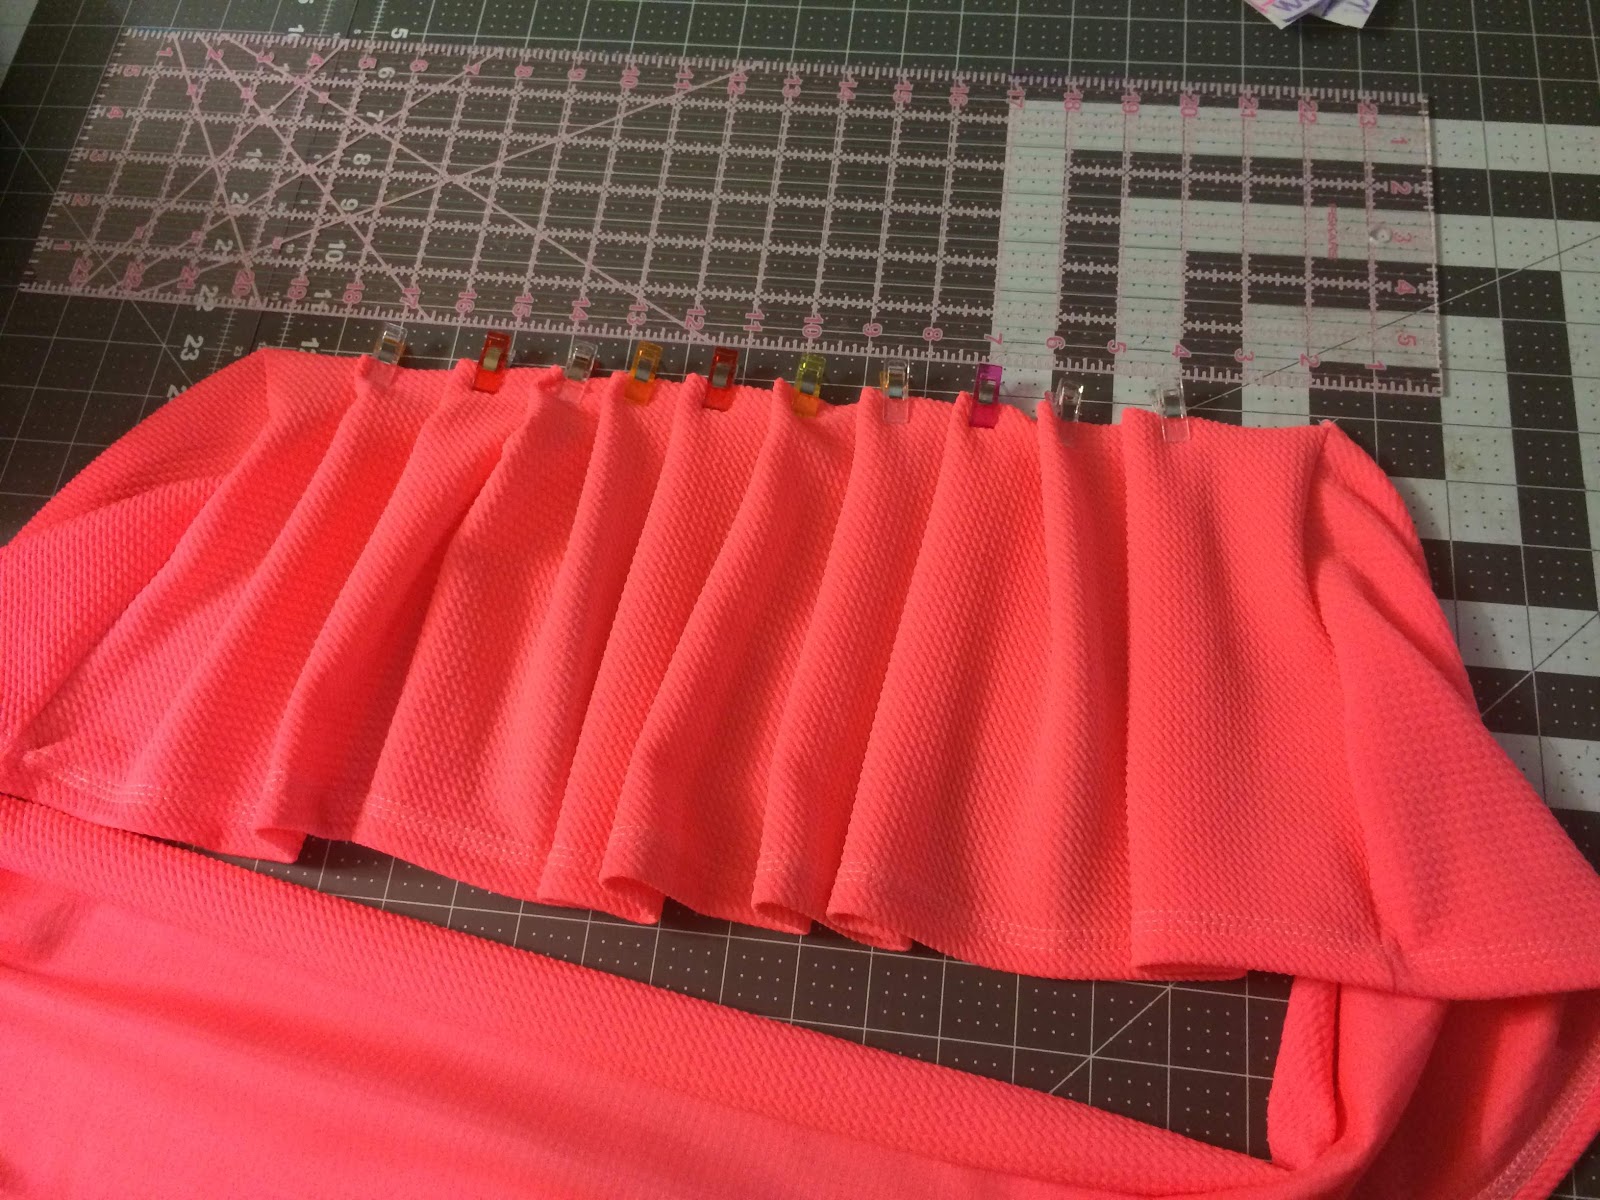
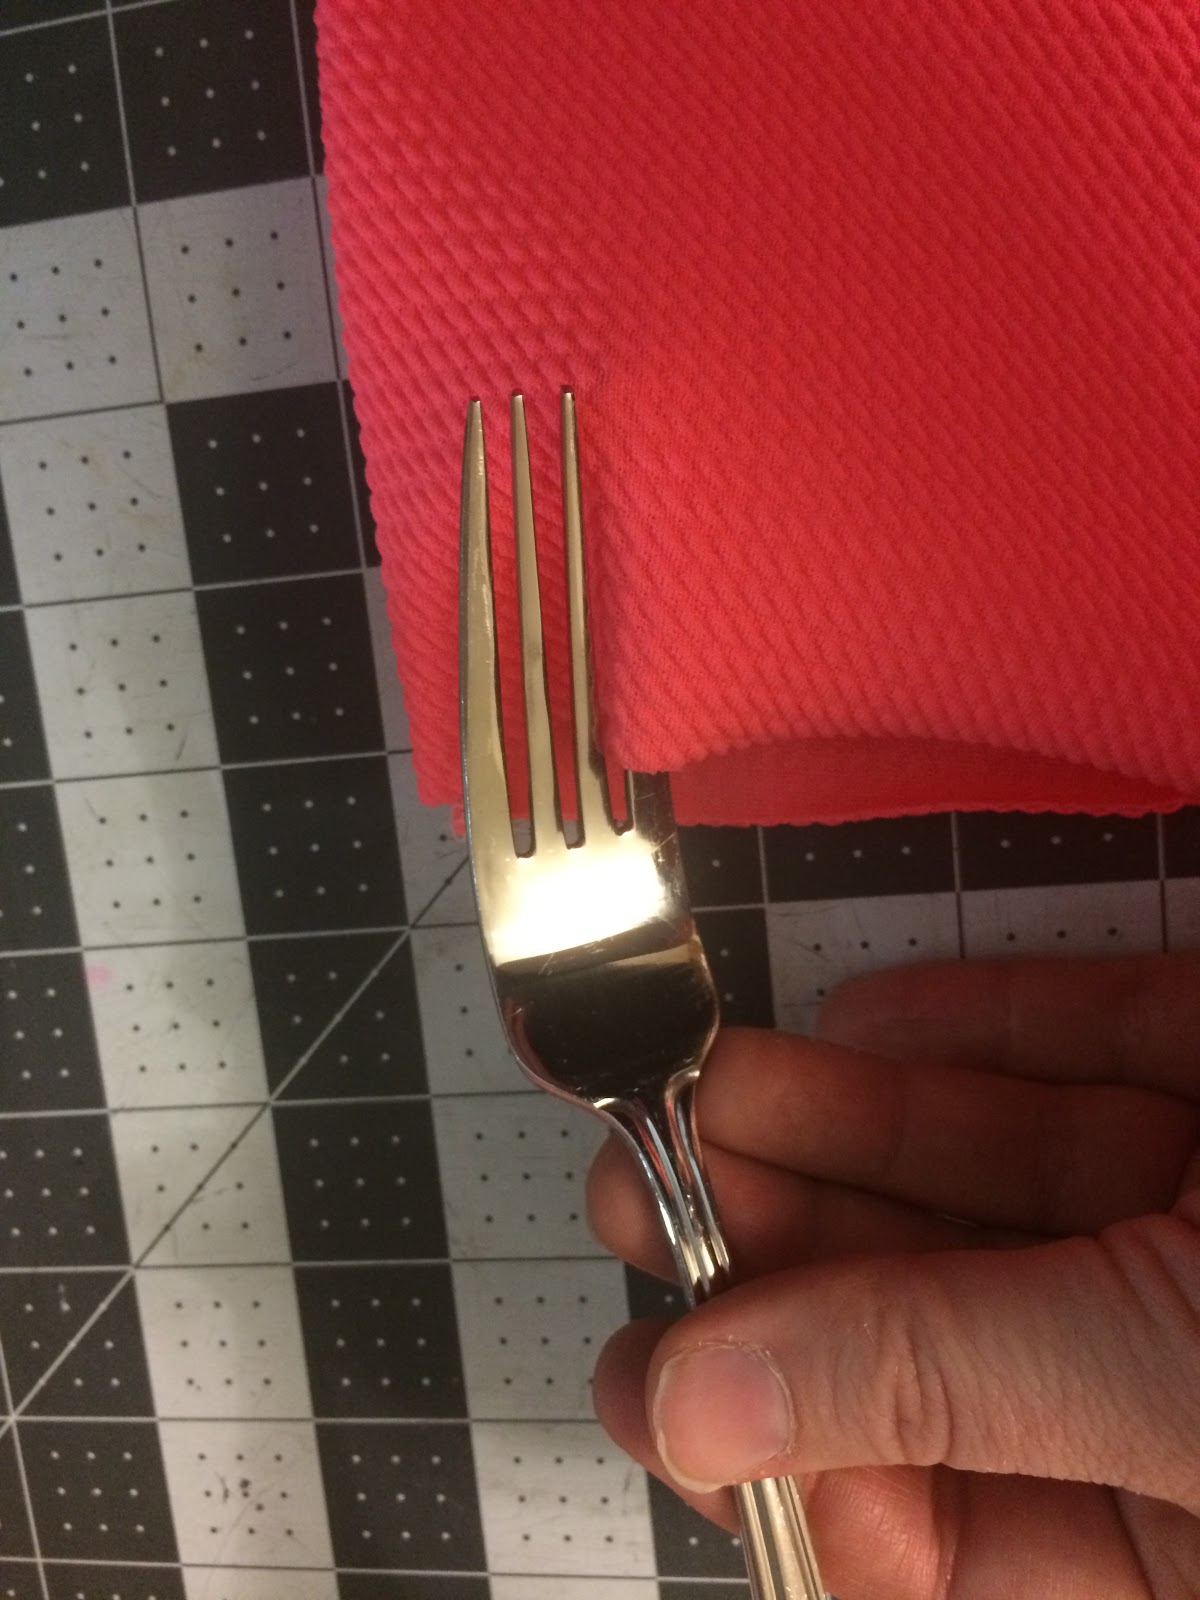
I used the fork method to help keep my pleats consistent.
I slip one tine of the fork into the center of the pleat, roll the fork to fold the fabric over and clip. My fork happens to make perfect 2″ pleats.
Attach the skirt
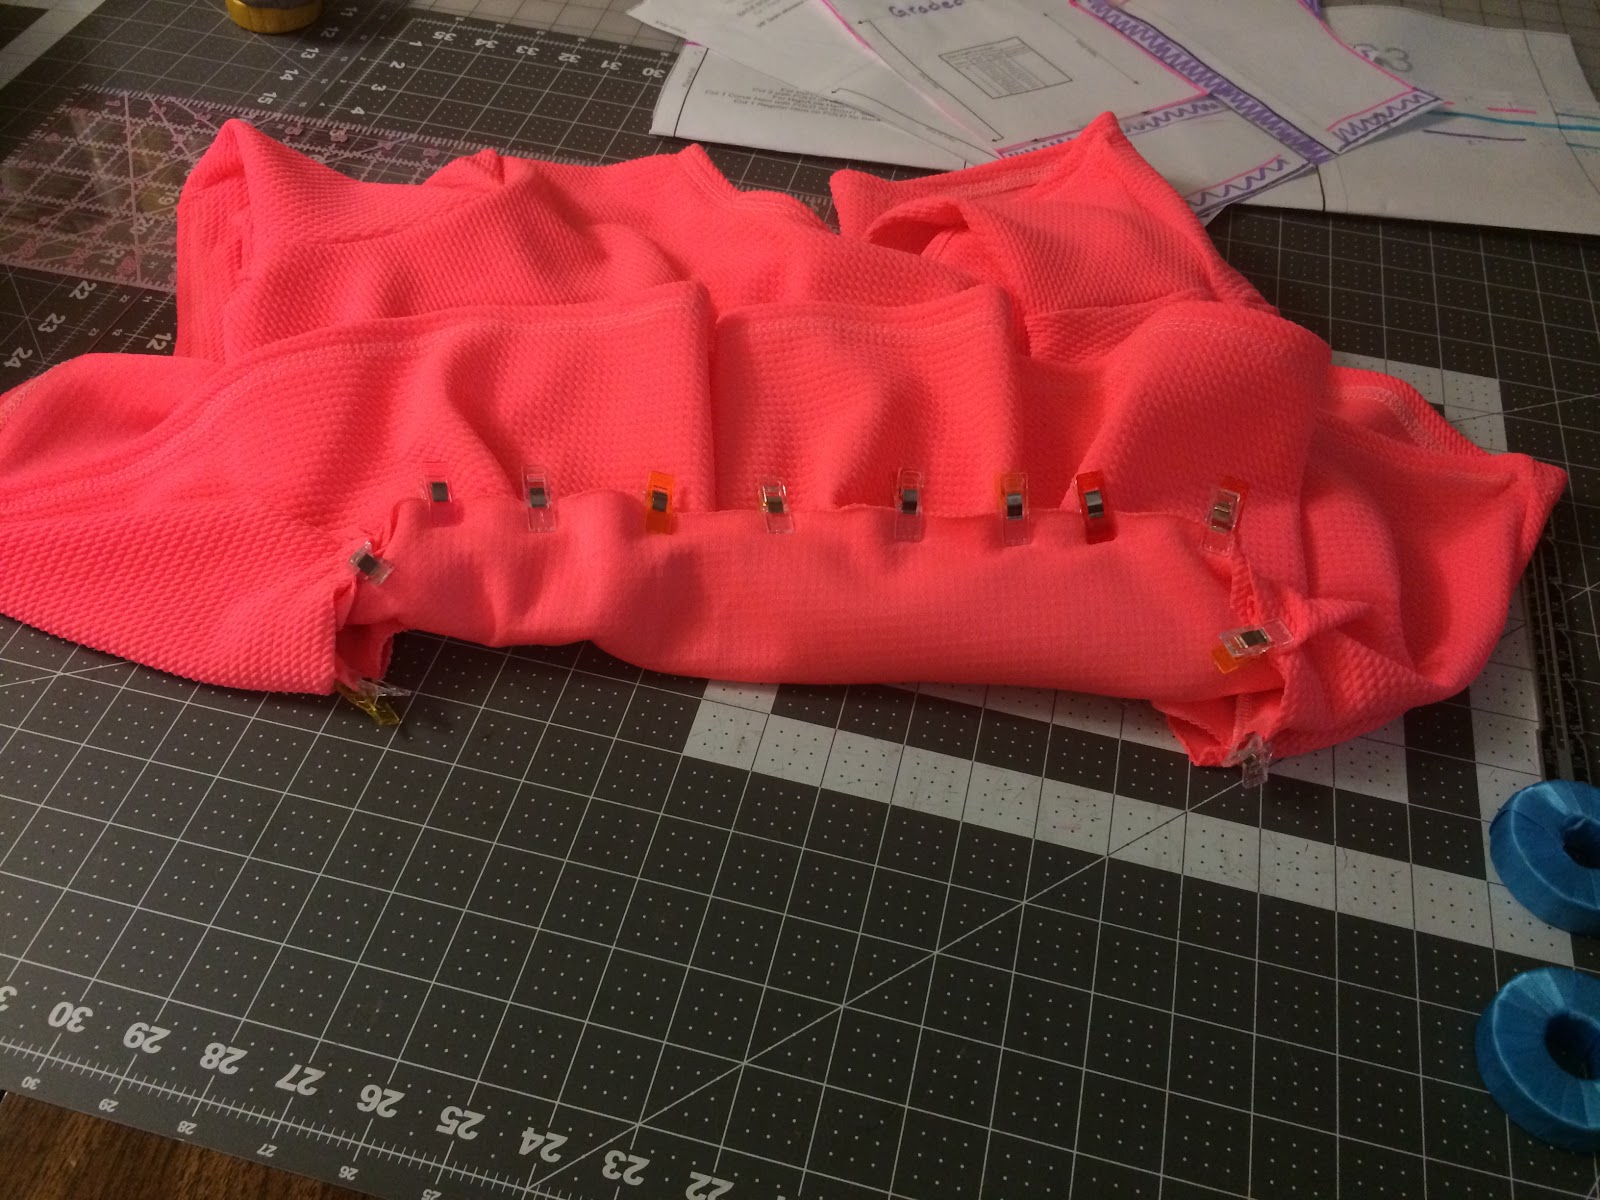
With either method you chose, now you have your pleats folded and clipped into place. I like all my pleats to go the same direction, but you could do them mirror image so they point toward the center pleat.
With the skirt right side out and the bodice wrong side out, put the bodice over the skirt, aligning the waists with fabric right sides together. Unclip each pleat and reclip to include the bodice.
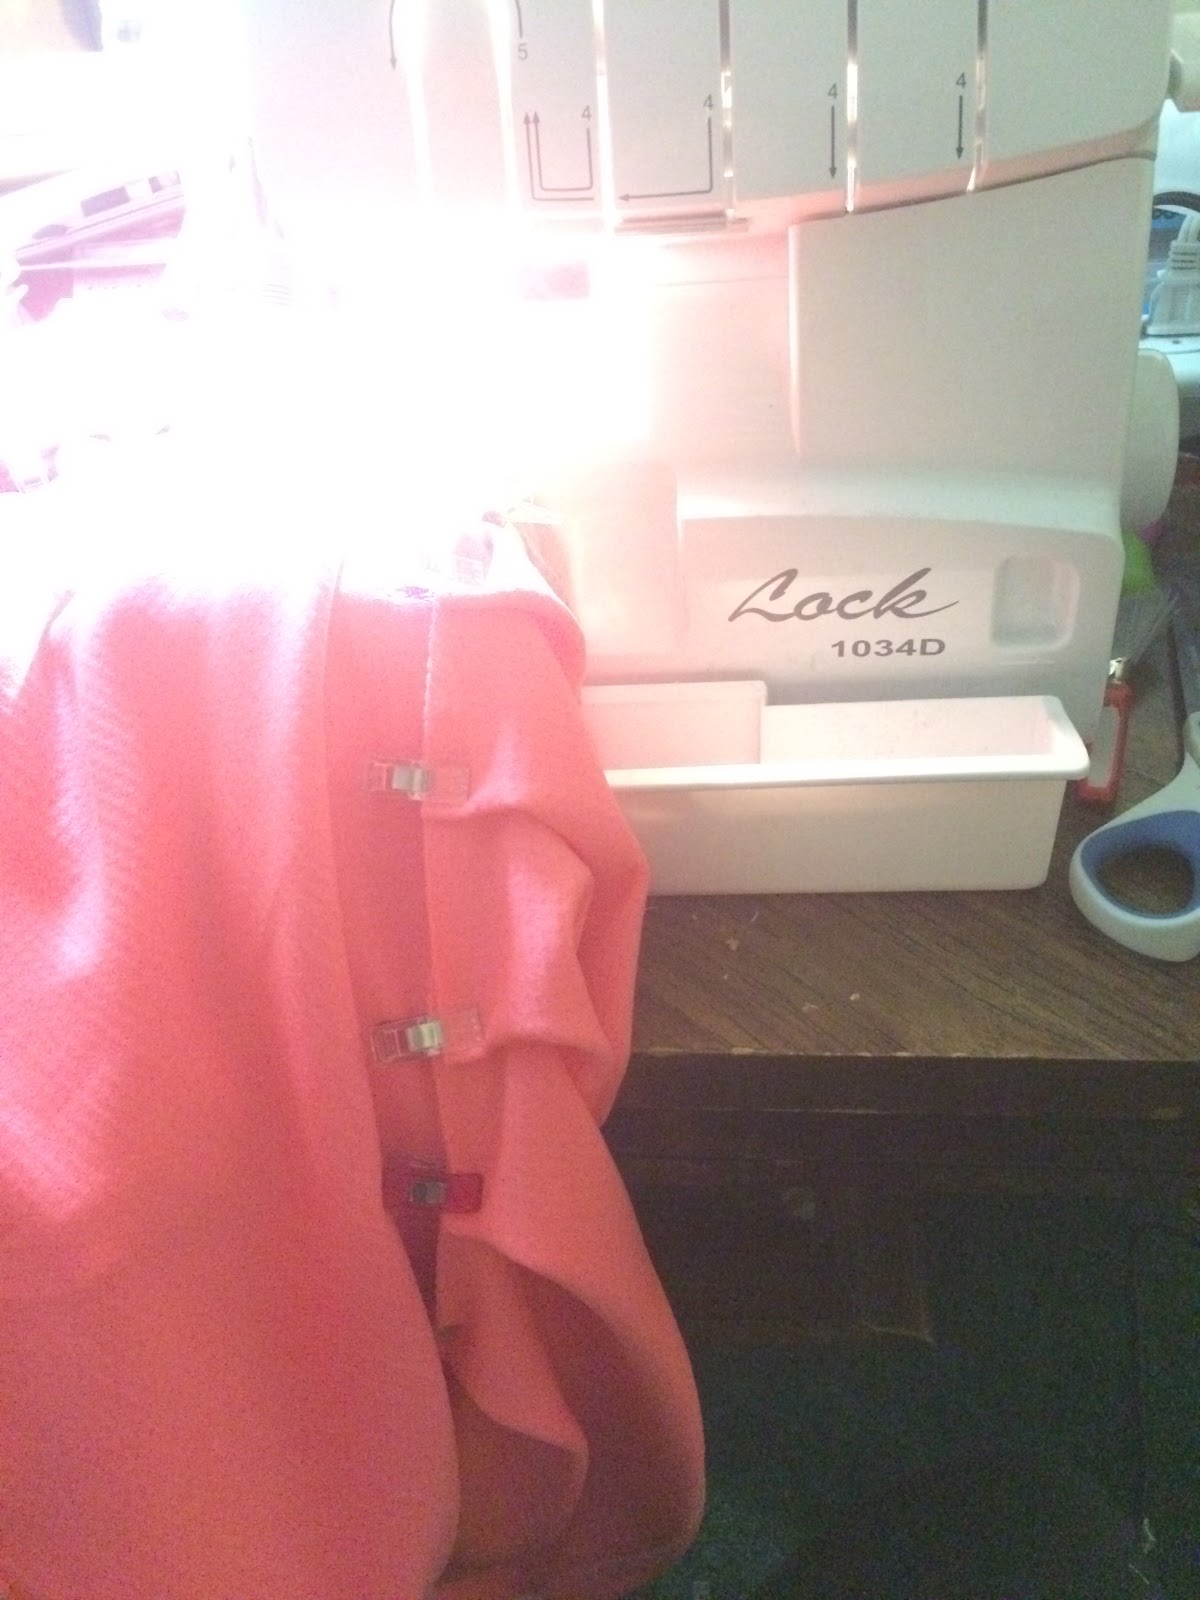
As you sew this seam, you’ll be catching the folded fabric to make your pleats. Be sure that when you folded, you didn’t fold at an angle. Pleats should be straight at the waist. I find it easier when I do the pleats all folded the same direction so that I can serge with the fold and help prevent pleats from slipping out of the seam while I’m serging.
Iron
You’re all done at this point, but if you take the extra time to press your pleats you won’t regret it!
Styling
This top is great for wearing to the office! I paired with a skirt here, but only because my
Mamma Can Do It Fit Pants were in the laundry that day!
This post may contain affiliate links. They don’t change the prices you see, but I might get a small percentage to help fund materials for my next post.


4 thoughts on “Pleated Peplum Hack”
Pingback: Full Bust Adjustment – Peplum Top | Mamma Can Do It Sewing Blog
Pingback: Relaxed Peplum Lookbook: Style, Fabric Picks, & Options | Mamma Can Do It Sewing Blog
Pingback: The Relaxed Peplum -So Many Options | Mamma Can Do It Sewing Blog
Pingback: Blogger to WordPress – Kitty Makes It