I had the pleasure of sewing something new this week: The Relaxed Peplum from Mamma Can Do It . This exciting new pattern is loaded with different skirt options and available in girl’s and women’s sizes. My first time (actually second time) sewing up this new shirt I followed the instructions and fabric recommendations, but as I sat there looking at my collection of woven fabrics I knew I needed to try to use them for this pattern.

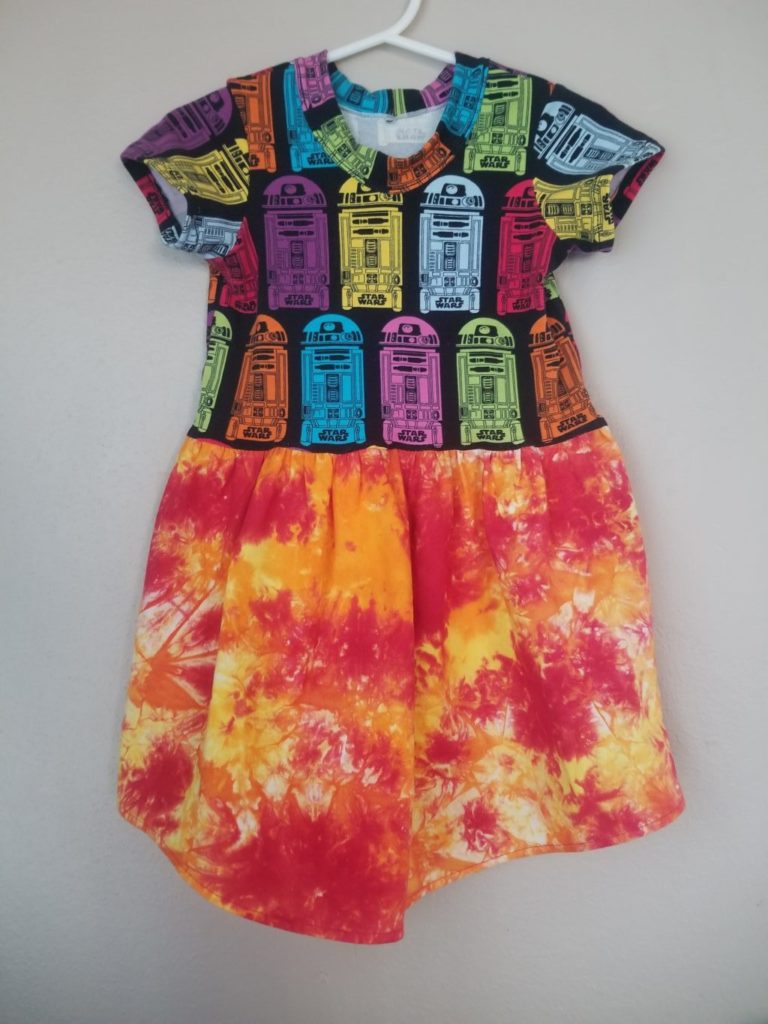
So I brought my daughter down into my sewing room and let her pick one knit and one woven fabric for a new top and got to work. She picked out a Star Wars knit and kona cotton I dyed. She was as happy with her new top as I was! Isn’t it cute?
Because woven fabrics don’t have the stretch necessary to get over shoulders I knew I would need to use one of the gathered skirt options. The curved hem is what I decided on, but you can use any of the gathered options. I did not have to make any pattern adjustments to make this work, but I did a couple of things during construction that will help.
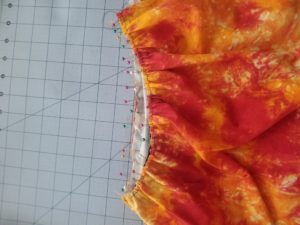 After cutting all of my pieces out I marked the center points of the bodice and peplum before getting started. Make sure the marks on your peplum are long enough to be visible after you’ve gathered. This will make pinning them much easier. As I gathered I pinned my seams and center points of the peplum and bodice to help me make sure my gathers were even. Once I finished my gathering I pinned very close together to ensure that my gathers stay even and neat while I sewed. You will still need to use a stretch stitch (or serger) to attach the bodice to the peplum. I recommend finishing your edges if you don’t have a serger to reduce fraying. This can be done after attaching the peplum to the bodice by using a zigzag stitch.
Depending on how you choose to gather your fabric you may need to pull your basting stitches out. I used a single line of stitching, which won’t allow the stretch necessary for putting on the top and was able to pull that thread very easily.
Because I used a slightly heavier woven, I needed to add the topstitching recommended in the tutorial. Very light wovens may not require this so you can decide to skip it if you wish.
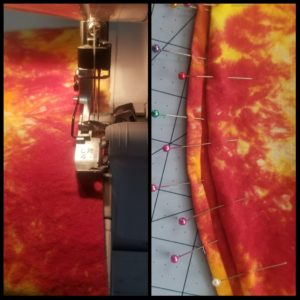
It is important to note when using a woven is to finish all the edges to prevent fraying. The side seams need to be serged, cut with pinking shears, or zig-zagged. For the bottom edge you can do a rolled hem on your machine, which I did by folding the hem up 1/4″ twice before top stitching: the weight of the hem will keep it from flipping like a knit hem. Other hemming options include using a hemming foot, doing a narrow rolled hem on your serger, or keeping the 1″ hem but zig-zagging or serging the raw edges first.
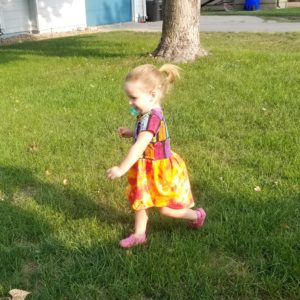
My daughter would not sit (or stand still) for a picture, so please excuse the in-action photo. It’s the best I could get. She is also in (cloth) diapers, so that’s causing the back to puff out a little.
Happy Sewing!
This post contains affiliate links. By making a purchase through an affiliate link I may receive a small percentage of the sale which allows me to, in turn, buy what I need to make cloths for my kids.


2 thoughts on “Relaxed Peplum with Woven”
Pingback: Relaxed Peplum Lookbook: Style, Fabric Picks, & Options | Mamma Can Do It Sewing Blog
I find it helps to add some clear elastic to the inside of the top of the gathered woven fabric (stretching the elastic slightly and using a zig zag stitch), so that it retains a degree of stretch like the knit top. And I attach the skirt to the knit top with a loose zig zag.