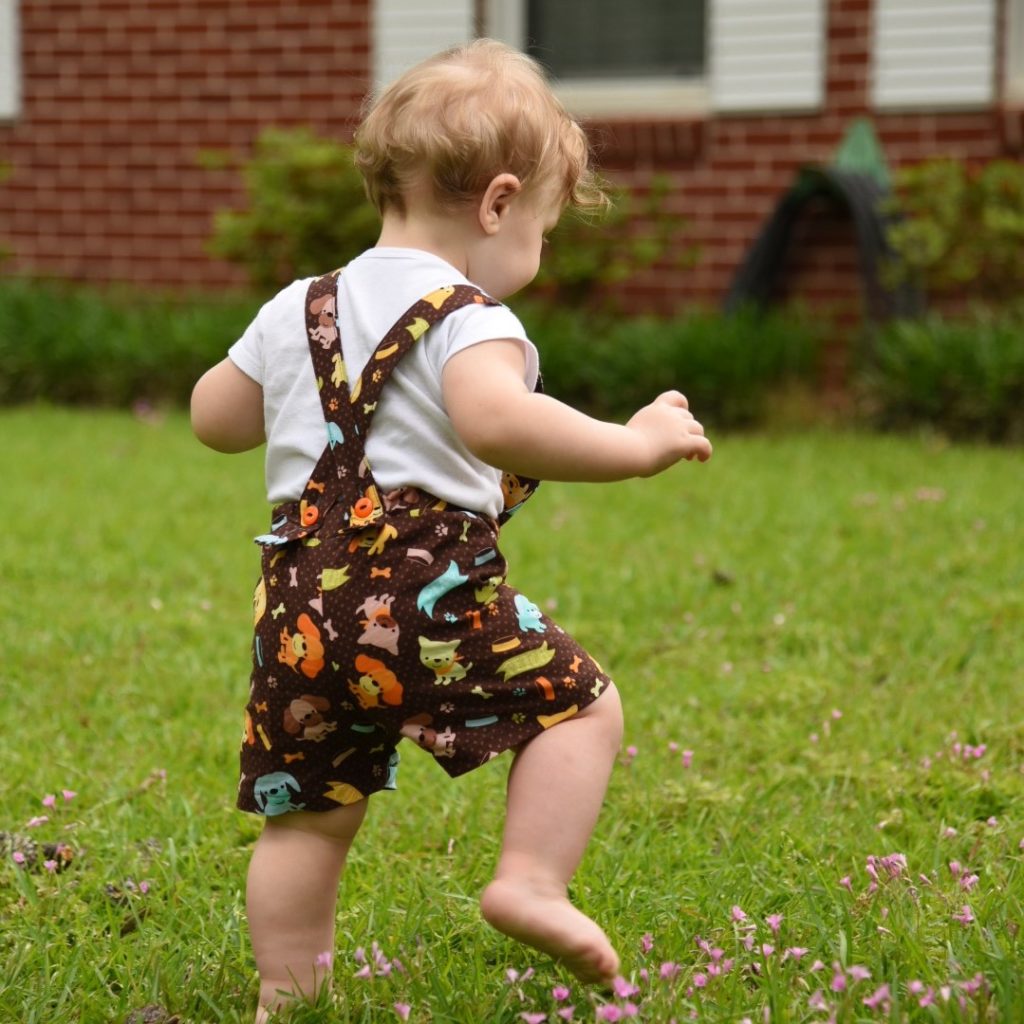
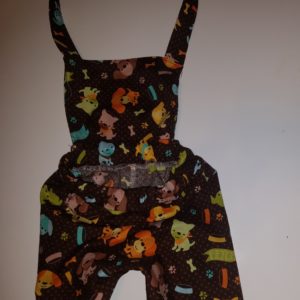
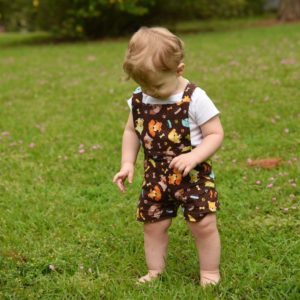
Hey Guys! It’s Laura again! I enjoyed testing the Breezy shorts SO much, but my absolute favorite thing to dress my little guy in is a ROMPER… so I decided to make a romper hack!
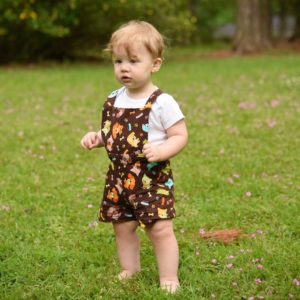
I had this idea and went through how I would do this in my head several times before I actually cut fabric. I was SO happy with how the romper turned out, so I wanted to tell you about it! I already know some things I’ll do differently next time, so I’ll share those ideas with you as well.
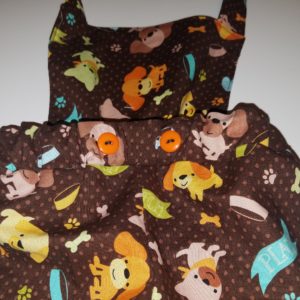
I used woven fabric for mine and I’ll tell you exactly what I did!
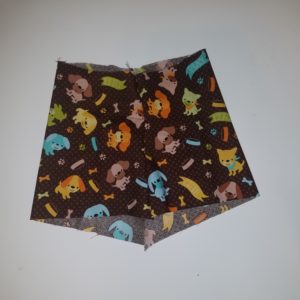
STEP 1: Cutting the Shorts
The first thing we are going to do is cut our fabric for our shorts. I wanted the finished size to be about the same size as the pattern is intended to be, so I started with the line you are supposed to cut for a yoga waistband. BUT, I added about 1/2″ to the height.
SO, from the line for the YOGA WAISTBAND, ADD 1/2″ before cutting.
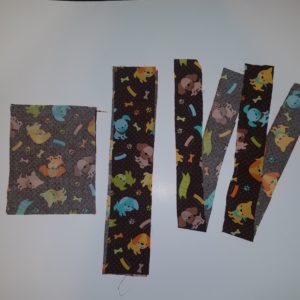
STEP 2: Cutting Waistband, Front Bib Piece, and Straps
Waistband: We are going to make a waistband now. But we will be using WOVEN fabric to match our shorts, so DO NOT cut the waistband included in the pattern!!!
Measure the top of your shorts. We will have ONE waistband piece and TWO shorts pieces. Subtract 3/8″ from the length of the shorts and then multiply that by 2.
LENGTH OF TOP OF SHORTS – 3/8 inch = NEW LENGTH X 2
Cut 2 waistband pieces this length by 2″ Tall!!
Front Bib Piece: You will need to determine how big you want this piece to be. It’s really up to you. I measured across my little guy’s chest (just the front of the chest measurement) about where I wanted the sides of the bib piece to hit. Then I measured from where I wanted the top of the bib to be down to his waist. So you’ll have TWO measurements — one for width and one for height. I added 0.25″ to ALL sides of my rectangle piece. For example, if your original rectangle was 8″ width X 6″ height, you might make it 8.5″ width X 6.5″ height. This extra will give you your seam allowance. You can add however much seam allowance you want.
I cut mine to be a rectangle exactly, however when I make it again, I think I’ll taper in the top of my rectangle ever so slightly so that the top part won’t be quite as wide as the bottom. However, this is just personal preference now that I’ve seen it on him!
You will need to cut 2 Bib pieces once you chose the size!
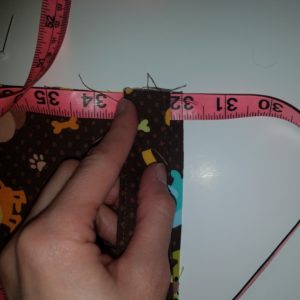
The Straps: Now grab a tape measure and measure from about where you plan for the top of the front bib piece to sit. Wrap it over the shoulder, and measure all the way to just below the waist at the back. You will want to add at least 0.5″ to this measurement. You can add more if you want to make your straps a little longer for “growing room.” You DON’T WANT THEM TOO SHORT! If they’re too short, you won’t be able to button them in the back! Too long is okay though!
Use this measurement for the length of your straps. Make them about 2″ wide. CUT 2.
Step 3: Making Your Straps
Attach a lightweight fusible interfacing to each strap piece. Take one of the short ends of the strap pieces, fold it in about 0.5″ and press. Fold in each of the long edges of the straps in 0.25″ and press. Next, fold the strap piece in half lengthwise matching the already folded edges, and press.
Topstitch down the two long sides, and the short side that is folded in.

Your straps are ready!
STEP 4: Attaching the Straps to the Front Bib Piece
Take one front bib piece and lay it on a flat surface right side up!
Measure in 0.25″(or whatever your seam allowance is) from each edge and mark with a pin. Lay the edge of your strap piece here. Pin it in place.
Tip: you might want to pin your strap pieces out of the way so you don’t accidently catch them when you’re stitching.
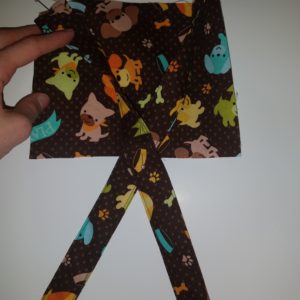
Lay the other bib piece on top, right side down. Match all of the edges, pin the top (where the straps are now sandwiched) and the sides together. Stitch along the sides and top of the bib piece.
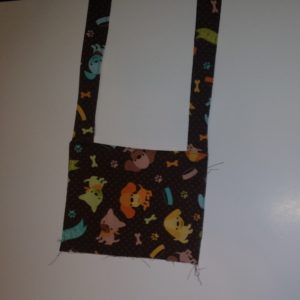
Turn your bib piece right side out. Press it neatly, and then topstitch along the sides and top of this piece.
STEP 5: Making the Waistband Pieces
Take each waistband piece and fold them both in half right sides together. Match the two short raw edges.
Stitch the short edge together, press the seam allowance open.
STEP 6: Attaching the Bib Piece to the Waistband
Find and mark with a pin the center of the bib piece at the bottom (raw) edge.
Find and mark the center front of each of your waistband pieces. This will be the opposite side of the loop from your seam.
Lay one of your waistband loops down. On the right side of the loop, lay your bib piece. Match the mark on your bib piece with the mark on the front of your waistband to make sure that it’s perfectly centered. Pin it in place.
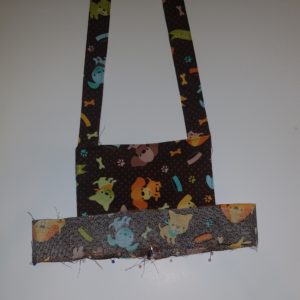
Then put your other waistband piece inside of this. The right sides of both waistband pieces should be facing the bib.

Pin it in place in the front attaching the bib to both waistband pieces. Then pin the waistbands together all the way around.
Stitch them together all the way around.
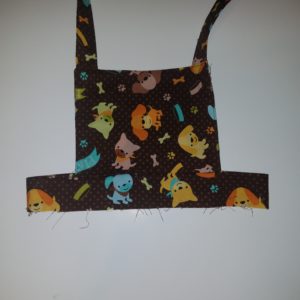
Fold your waistband piece down away from the bib and press. Topstitch the top of your waistband, just under the bib piece, all the way around if desired.
STEP 7: Construct Your Shorts
Go ahead and construct your shorts as directed in the pattern.
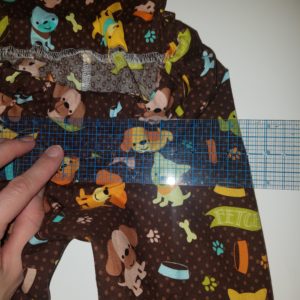
STEP 8: Attach your Waistband to Your Shorts
Find the center front of your waistband piece. Match it to the center front of your shorts, right sides together. This is so important because we want our bib to be centered!
Now match the back seam of your waistband piece to the back seam of your shorts and place a pin (still right sides facing).
Pin all the way around.
Stitch all the way around, but leave a gap about 1.5″-2″ for threading elastic through.
Use a safety pin to thread elastic through (use elastic based on the pattern instructions). Then stitch up your gap you left and finish the raw edge with a zig zag stitch or a serger.
Now you’ve got your shorts put together and the elastic is through.
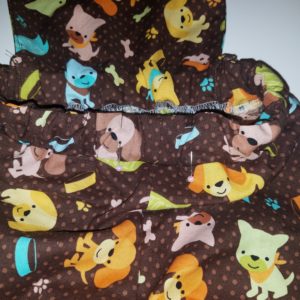
Optional Step:
Work your fabric on your front waistband, pulling it straight so that it is pretty flat. Stitch down each side of the waistband, just beneath the edges of the bib. This makes the front of the waistband look flat. Otherwise, it’ll look elasticised everywhere. This is up to you.
Step 9: Buttons and Buttonholes
On the back of your romper, measure over about 1″ from each side of the center seam and mark with a pin. Sew your buttons where you marked.
At the end of each strap, measure up 0.5″ and mark. Sew a buttonhole. You can optionally sew a second buttonhole on each strap just above the first to fit a little smaller.
And…. Now we are done! Isn’t it nice to have a pattern you love that you can modify to be whatever you need??


THANK YOU so much for reading my blog post and tutorial! I hope you found it helpful!! <3
I have included my affiliate link to this pattern in this post. If you choose to purchase this wonderful pattern, I would so appreciate you using it!
Breezy Shorts Pattern | Baby Sizes NB-24 Months
Be sure to come and share your creations with us in the Mamma Can Do It Facebook Group! I can’t wait to see what you make!!!


